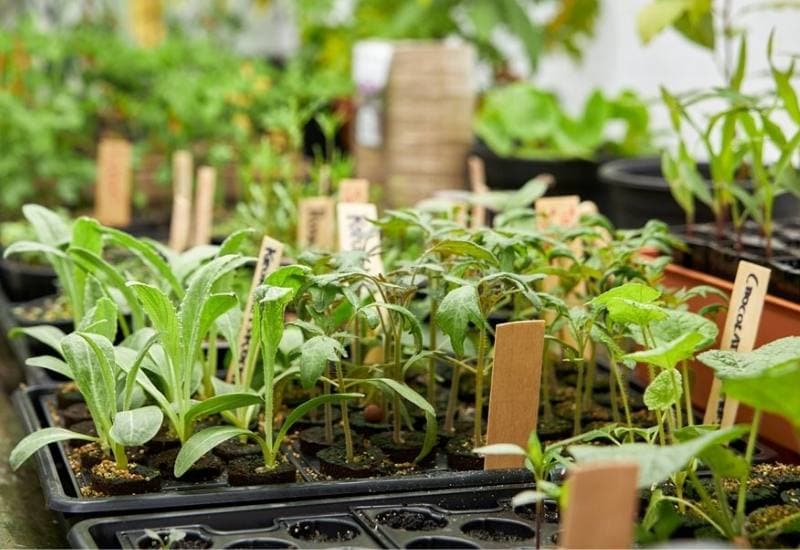
Starting seeds indoors can give you a head start on the gardening season and provide an earlier spring harvest, but it is a delicate process.
Plants are most vulnerable in the seedling phase, where they are susceptible to disease and easily drowned, so they need extra attention and care to make sure they survive this crucial first stage of life.
From choosing wrong growing medium to not supplying enough light and heat to their seedlings, there are several common mistakes that even experienced gardeners still make when starting seeds indoors that can derail your efforts. As a gardener, I know how it can be discouraging it can be when some seeds fail to germinate or seedlings don’t look perfect.
So let’s explore what each one is and how to avoid making them so that you are set up for success!
10 Indoor Seed Starting Mistakes You Must Avoid
Here is our list of the 10 most common indoor seed starting mistakes that are commonly made by both beginner and experienced gardeners, and our best advice on how to stop them from occurring in the first place:
1: Failing to provide seedlings with enough light
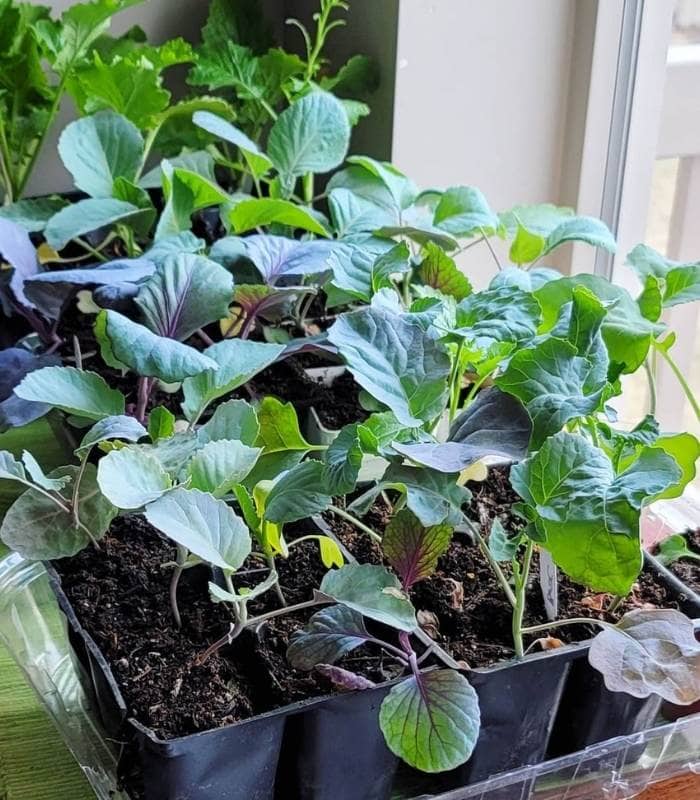
This mistake is first on the list because it tends to be the most common issue beginners face when starting seeds indoors.
Underestimating how much light your young plants need will result in straggling, leggy plants that become tall and unstable as they reach towards their insufficient light source, making it more likely that their stems will break before or during transplanting.
Young herbs usually need at least 10 hour of light per day, and young fruits and vegetables need more like 12-14 hours (crop dependent).
Install Artificial Light To Give Seedlings Enough Light To Be Healthy
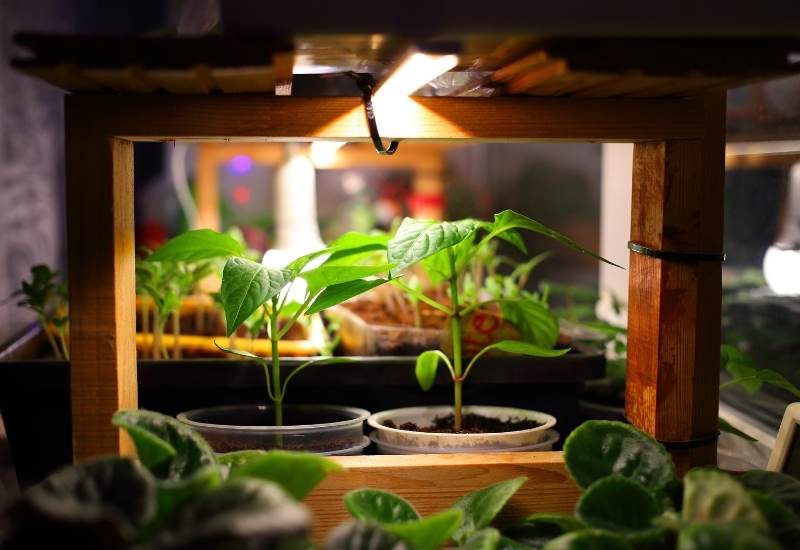
The best way to ensure your newly sprouted seedlings get enough light is to install grow lamps, which can be purchased online or at garden centers.
The big indoor seeding season is early spring when there are still limited daylight hours, which means your windowsill will probably provide too little light even if it is south facing.
Supplementing the light requirements with grow lamps that are around 4 inches from the plants is the best way to avoid starving your plants of adequate light, and you should make sure they are adjustable so you can move them upwards as the seeds grow.
If starting seeds in the summer, a south facing windowsill should provide enough light.
2: Not supplying seeds & seedlings with enough heat
Part of the point to starting seeds indoors is to extend the growing season and get a head start when the ground is still frozen.
Soil temperatures need to be approximately 60-75℉ for most fruits and veggies to sprout (certain alliums and legumes prefer around 55℉), but you should always consult your seed packet for this info.
Seeds and seedlings that are kept in cold conditions might fail to sprout, or sprouted plants will become slow-growing and weak.
How to avoid too-cold conditions
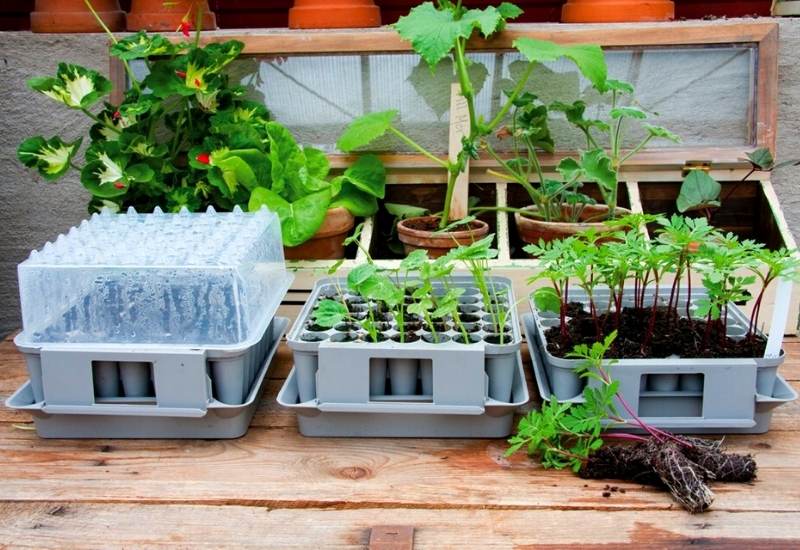
Many master gardeners will have a designated grow room/shed or heated greenhouse where thermostats and humidifiers keep the heat at the optimal level for sprouting and new growth. If you don’t have anything like this, not to worry.
Keep your seedlings in a warm room of your house up high on a shelf, as heat rises and they will be warmest close to the ceiling.
Heat mats are an affordable investment if you have a particularly drafty house, as they heat the soil from below and can keep it at the optimal temperature for growth.
Make sure it’s not getting too hot though! Temperatures should never exceed 90 degrees fahrenheit, as this will have the opposite effect and could sterilize the seeds or kill young plants.
3: Planting seeds too densely without thinning
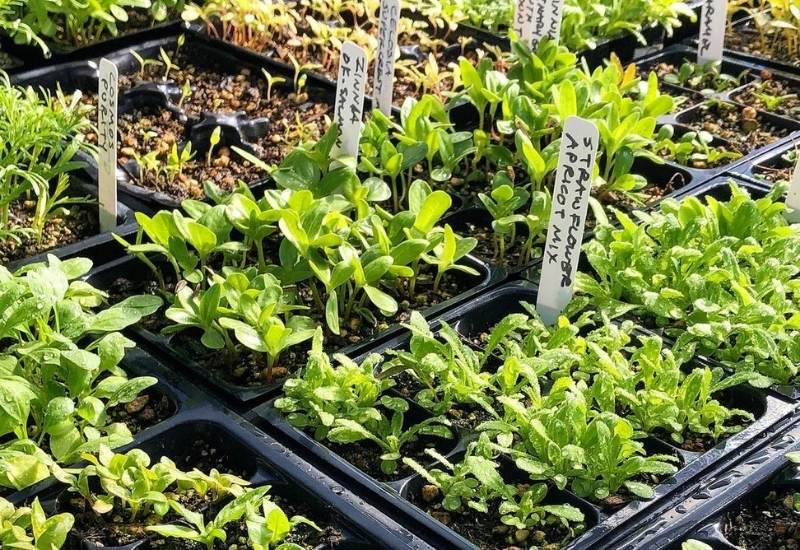
When planting seeds, it can be hard to find the balance between planting enough to account for germination failures and planting too much and having overcrowded seed trays.
A common issue is the latter, where seeds are planted too densely which results in very cramped seed trays where young seedlings are competing for resources.
This creates leggy plants with poor airflow that are more prone to infection. Unless you’re growing microgreens, you need to make sure there is adequate space between each plant to prevent weakening the whole tray.
Thin Out Crowded Seedlings
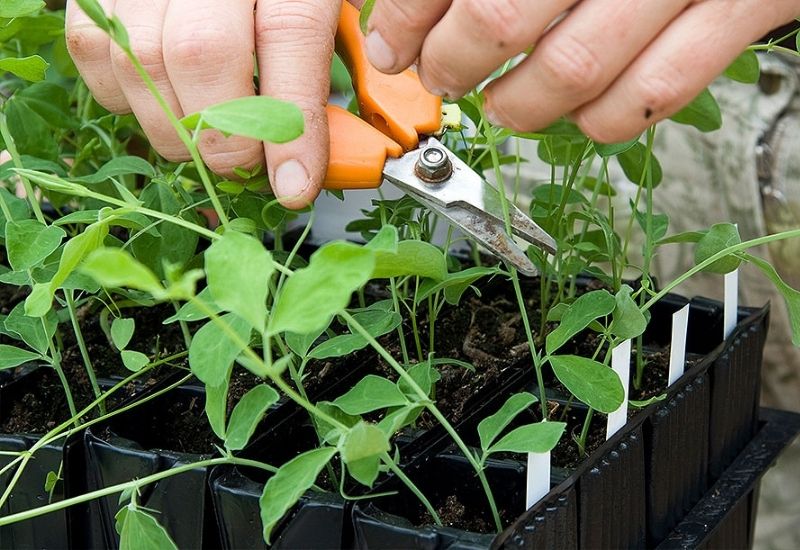
You are likely familiar with the term ‘thinning’, which is when you remove young seedlings to achieve the right spacing between plants.
Often on the back of your seed packet it will give the exact spacing that seedlings should be thinned to, because at the planting stage it is tricky to try and space them perfectly.
To avoid crowded seedling trays you should thin as early as possible by snipping away the unwanted sprouts at the soil level.
You can also pluck them out but this can sometimes uproot nearby plants and disrupt root webs, so it’s safer to trim.
4: Growing seeds in poor quality soil
Soil is one of the most important components of starting seeds indoors, and it needs to contain all the essential nutrients and biology for new sprouts to thrive.
Using bad quality soil or just filling your seed trays with soil from your backyard is a recipe for disaster, as with the former your seed wont have what it needs to succeed and the latter can introduce harmful diseases or pests into your growing medium.
Seeds grown in poor soil may or may not sprout, and the plant will begin its life in an already weakened state.
How to avoid using bad soil
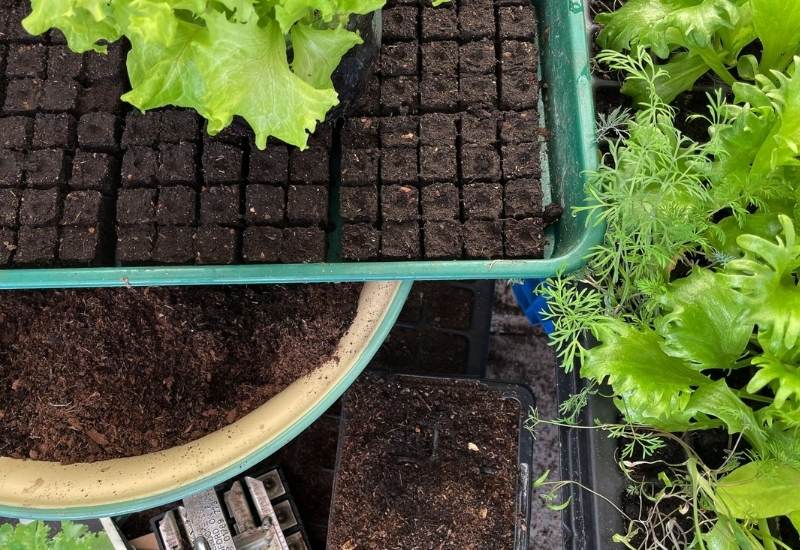
The best way to create excellent soil is to build it yourself, so you can ensure it contains all the essential components for your seeds to germinate and seedlings to thrive.
Seed-starting soil should be light and aerated as opposed to dense and heavy, so that the sprouted plant can easily move through it and put roots down without too much resistance.
You can buy a bag of this type of seed-starting soil at a garden centre. Although peat moss is often recommended it is not a sustainable resource and we recommend using other, more environmentally-friendly soil mixes for seeding.
Your soil should also have excellent drainage, which you can create by adding coco coir, perlite or pumice to the mix, but make sure they are in small pieces.
At least 1/3rd of your mix should be compost or a similarly rich source of organic matter that has a good balance of nitrogen, phosphorus, and potassium.
Mix all the ingredients together in a large container before filling your trays, and your seeds will be set up for success.
5: Watering too little or too much
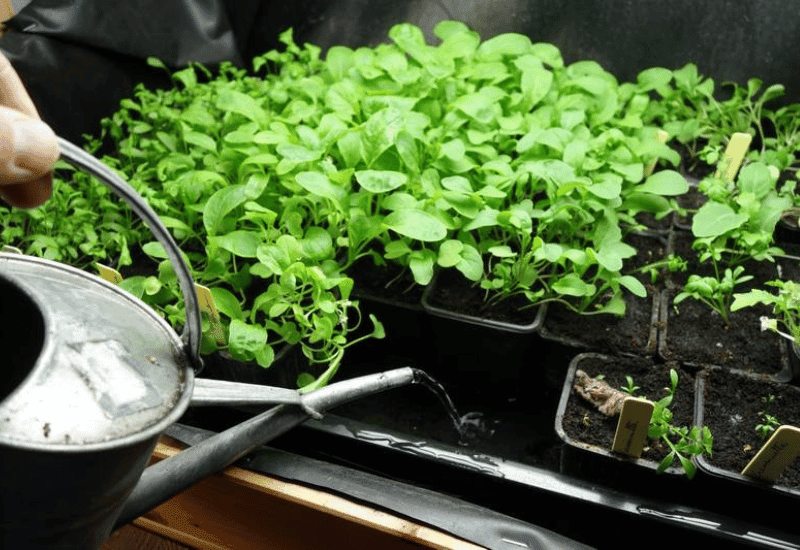
Overwatering seeds is a more common mistake than underwatering, but both will result in poor germination rates and an inhospitable growing environment.
Overwatering can wash out newly planted seeds or create soggy soil that causes the roots of newly sprouted seeds to rot, which almost always kills them. It can also create an environment for fungal diseases to propagate and cause ‘damping off’ (explained a little further down this list).
On the flipside, seeds need water to germinate and young plants do of course need moisture to survive, and too little water will cause wilting or lack of germination. Who said this was easy?!
How to avoid watering issues
It is generally easier to fix problems from underwatering than overwatering, so always err on the side of caution and water less than you might think and then adjust upwards.
To avoid flooding newly planted seed trays, soak the growing medium before planting so seeds are sown into an optimally moist environment.
Once your seeds are germinated, keep a consistent watering schedule that allows the very top layer of soil to dry out a little between waterings.
Misting with a spray bottle is a good way to apply an evenly-light layer of moisture or, if you have the infrastructure to do so, use a watering table that you can place seed trays in so they soak up the moisture from below and directly into their roots.
6: Selecting the wrong size container or not ‘potting up’
Choosing an incorrectly sized seed tray, container, or pot for the crop you are growing, or failing to ‘pot-up’ larger seedlings, can result in rootbound, unhappy plants.
Plants become rootbound when the roots run out of room in the limited space of a container, and so they begin to wrap around themselves.
This makes it hard for them to adapt to a new environment when they are transplanted into a larger container or into the ground, as the roots are all tied up in a big knot.
If you have ever purchased mature seedlings from a nursery, you will probably have seen this effect upon unpotting, and you need to loosen the roots- which can damage them- in order to break them out of their tangled mess.
How to avoid rootbound plants
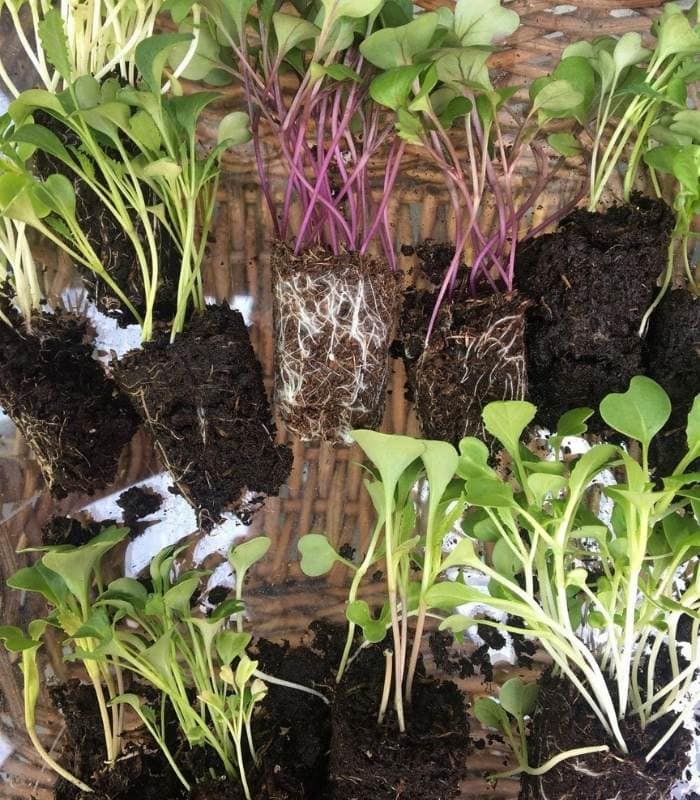
Choose appropriately sized containers for your crops and pot up to a larger container by about 2 inches whenever they begin to outgrow their containers.
For example, if seeding a small lettuce variety, there is no need to plant them in large 6 inch pots, but instead select a standard 1020 tray with holes.
Conversely, when growing a larger vegetable like squash or tomatoes, they will need enough space for their roots to spread out and a 4 inch pot is a more appropriate option.
Whenever the plant looks to be getting too tall or wide for its container, fill a container that is two inches larger with your same soil mix and repot it to provide more space for the roots. Continue to repot as needed until the date of transplant.
7: Planting seeds at the wrong depth
Planting seeds too deep can result in germination failure, but planting them too shallow can do the same.
As you already know, the seeds of different fruits and vegetables vary enormously in size and shape, and they all have different specifications for planting depth and spacing.
Some flower seeds, like snapdragon or chamomile, need light to germinate and actually shouldn’t be buried at all.
How to avoid planting at the wrong depth
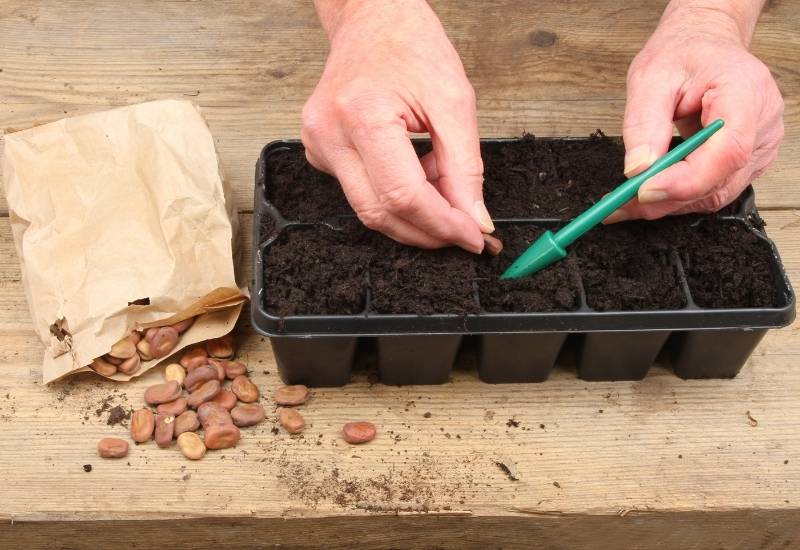
Read the seed packet! Even if you have grown this vegetable before, scan the packet to double check the planting requirements. There’s nothing sadder than spending money on seeds and having none of them pop up!
If you have been given random seeds from a friend or lost the original packet, a good rule of thumb is to plant them approximately two times as deep as the diameter of the seed itself. Like watering, it is better to err on the side of caution and plant them too shallow versus too deep.
8: Not providing seedlings with enough air-circulation
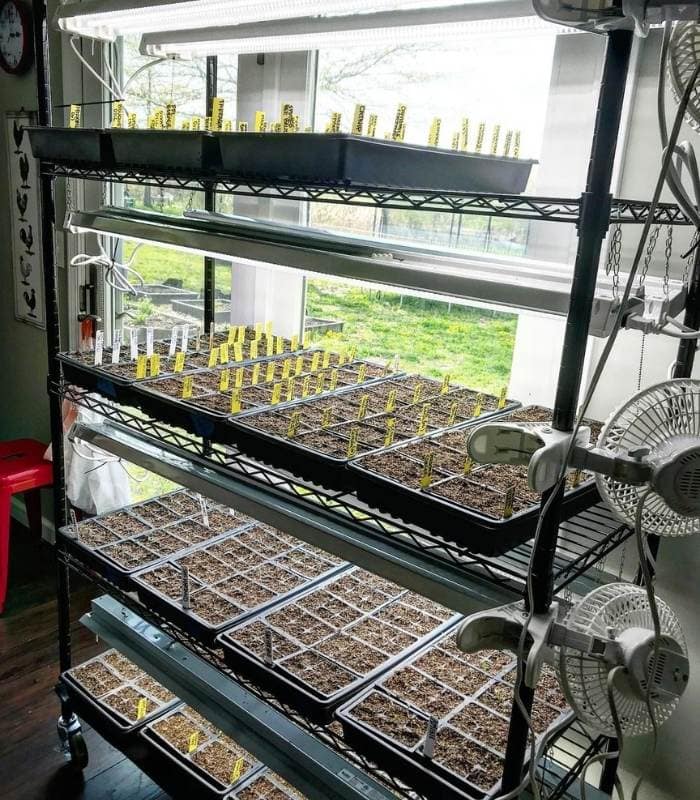
Poor air circulation between seedlings, combined with a too-moist environment, can create an environment optimal for damping off.
Damping off is a soil-borne fungal disease caused by a few different pathogens that causes young plants to become weak and floppy at the base of their stem.
It usually kills seedlings, spreads like wildfire, and is hard to treat once plants are infected.
How to avoid damping off
Although damping off is also related to overwatering, the most common cause is a lack of air circulation between crowded seedlings or because they are being grown in a stagnant, humid environment.
To avoid the likelihood of this disease infecting your seedlings, place a fan in the room where you are growing them (not too close that it is constantly blowing on them) just so that they are in a space with constant airflow and oxygen circulation.
Additionally, follow the advice for mistakes 3 & 5 by thinning seedlings and watering with caution.
9: Failing to harden off seedlings before transplanting
Forgetting or just choosing not to harden off seedlings can result in serious disappointment, since after all your hard work seeding them your plants could die or become stunted right after you’ve transplanted them.
Seedlings need time to adjust to the wind, rain, and direct sunlight of the outdoors after being raised in a sheltered and controlled indoor environment.
Since transplanting is already a shock to their system, you want to ease this process for your plants by letting them slowly adjust to the outside conditions.
How to avoid poorly transplanted seedlings
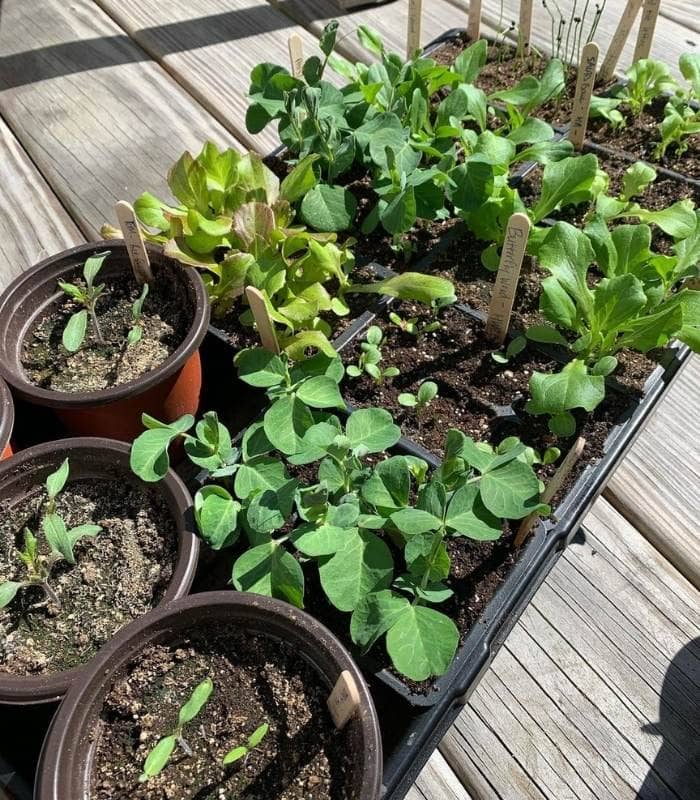
You should always harden off your seedlings by gradually introducing them to the outside world little by little in the weeks before planting.
Make sure to schedule your transplanting date so you know when to begin the hardening off process (usually 8-12) days beforehand).
On day one, just bring your seed trays or pots out for an hour, and place them by a wall or a similar wind barrier so they don’t get too battered about.
Every day add an extra hour to the time they spend outside so that by the time you plant them, they have already experienced being outside for a full day!
10: Applying chemical fertilizer to seeds
Applying fertilizer to unsprouted seeds can do some serious damage and even sterilize them. This is true even for organic fertilizers, but especially true for synthetic, chemical fertilizers that are glyphosate-based.
Seeds sprout outside in our great big world everyday with no help from fertilizers, because they are little packages of DNA and energy that just need the right soil and moisture to grow.
Even using strong fertilizers on sprouted, mature seedlings can burn their roots and do much more harm than good.
How to avoid sterilizing or burning seeds & seedlings:
Let your seeds do their thing. As long as you have high quality soil, moisture, space, and light you don’t need to fertilize your seeds.
Once seedlings are larger, not long before transplanting, you can give them a boost with a seaweed or kelp organic fertilizer, or some good old aged compost, but we never recommend using synthetic chemical fertilizers on seedlings at any stage.
Gardening Mistakes are the Best Lessons
Every gardener needs to make their own mistakes and learn from them, it’s a rite of passage! Avoiding these common mistakes can save you time, money, and heartbreak, but there will always be things that go wrong.
A great way to learn from every season’s mistakes is to keep a gardening journal where you can jot down what works and what doesn’t so next year you can build off what you already know.
If it is your first time growing from seed, just remember to always read and follow the seed packet instructions for specific planting info and give them lots of love and attention!

Written By
Maya
Maya is a freelance content writer and avid gardener currently based in Sweden. She gained her BA in Environment and Geography in Canada, which is also where she first learnt about the detriments of the industrialized agricultural system. During the summer she began farming through the WWOOF program, and over the next six years has continued to grow and learn at a number of organic farms and gardens across the US and Canada. She is passionate about the role of regenerative agriculture in wildlife conservation and climate change mitigation, and thinks growing your own food is a key part of revolutionizing the system. In her free time she likes to read, garden, and pet nice dogs.
