
If your roses looked tired last spring, the real problem probably started in fall.
That’s the part most gardeners miss—thinking fall is the end of the season. But for roses, it’s the beginning of everything that comes next. The care you give them now determines how strong, healthy, and beautiful they’ll be when they wake up in spring.
After all, they’ve put in the work all season—bringing color, scent, and life to your garden. They’ve fed the bees, wowed your visitors, and probably made you smile more than once. But as they wind down and head into dormancy, they need a little help to rest and recharge.
This is where a lot of gardeners slip up. It’s easy to think the season’s over and walk away. But the truth is, what you do—or don’t do—for your roses in fall has a huge impact on how they’ll perform in spring.
Ignore them now, and you risk weak growth, fewer blooms, or even winter damage. But with a few simple tasks, you can set them up for a great comeback.
Here’s 12 things I always do to make sure my roses come back bigger, stronger, and ready to show off next season.
Should You Deadhead the Last Blooms of Your Roses?
“To deadhead or not to deadhead?” is one of the first questions that comes up when fall rolls in. By now, your roses are starting to fade, and you might be wondering if you should keep cutting back spent blooms like you did all summer.
But here’s the thing—fall is different.
During the growing season, deadheading keeps your roses blooming longer. You’re basically telling the plant to keep going. But in fall, your goal changes. Starting around October, you actually want to encourage your roses to slow down and get ready for dormancy. That means letting those last few blooms turn into hips—the round seed pods that form after flowering.
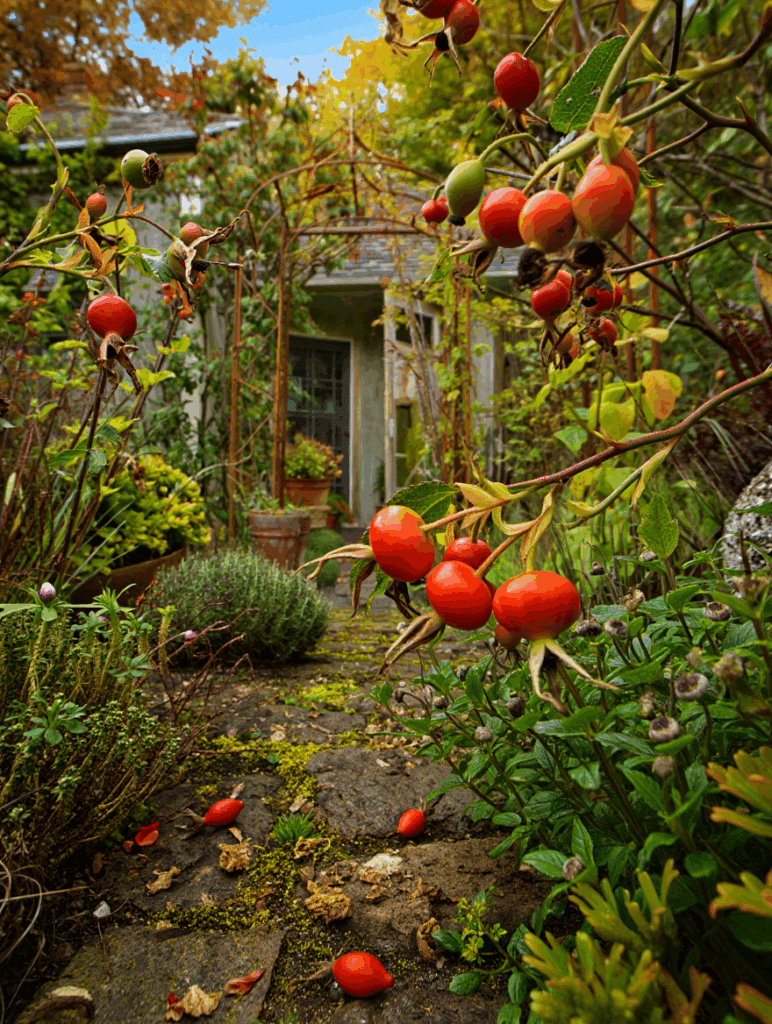
Letting your rose form hips sends a signal: the season’s done, it’s time to rest. It also gives you a little extra color in the garden, and birds love to snack on them through winter.
If your rose is well-established and healthy—especially rambling varieties—it’s best to leave the final blooms alone. But if the plant is still young, weak, or newly planted, go ahead and deadhead. You want it to save energy for root growth, not seed production.
You can still snip a few flowers for bouquets or remove buds that clearly won’t open in time. But overall, fall is when you start letting go. Let the plant rest, and it’ll reward you with stronger growth and better blooms next spring.
Remove All the Fallen Leaves from Around Your Roses
As the foliage from your roses and neighboring plants or trees fall, they will collect around the base of these flowering beauties, and that’s a problem. Decaying foliage is the breeding ground for molds, bacteria, parasites etc., especially when it rains a lot, like in fall.
As we all know that roses are beautiful, but also quite prone to infections and diseases and infections, remove all fallen leaves.
On to the next step.
Improve Drainage to Keep Your Roses’ Roots Safe and Dry in Winter
This is something many amateur gardeners really forget! Fall is a rainy season, and winter is cold as well! While your roses have no leaves above ground, their roots are still there under your feet. And what happens if it rains a lot, and drainage is not good? You get pockets of stagnant water that can cause rot, and they can asphyxiate your beloved thorny (prickly) jewels…
If you live in a cold area, the problem gets even worse, because these pockets water can turn to ice, which can literally damage their roots!
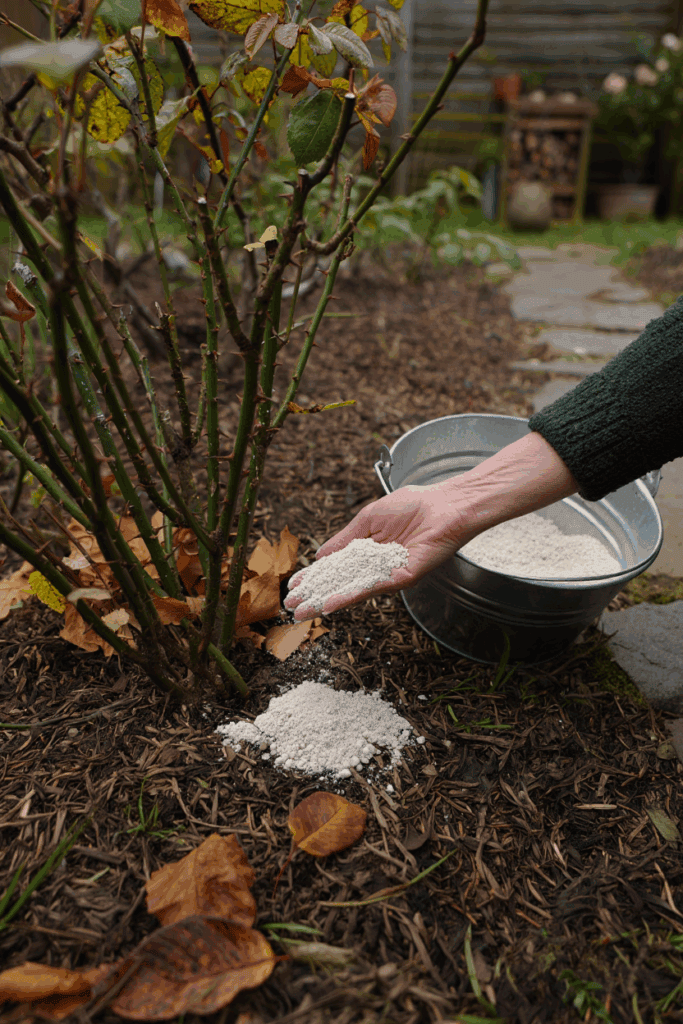
So, lay about 1 to 2 inches of coarse gardening sand (2.5 to 5.0 cm) at the base of your roses. Make sure you get as far as the plant reached at its peak in summer as width. How much depends on how well or poorly drained your soil is.
But there are exceptions; if your soil is sandy or sandy loam, you don’t need to improve drainage.
If your soil is heavy clay (not just clay based), sand will not work, you will have to use gypsum instead.
And now you need to move to the next step.
Stop Fertilizing Your Roses in Fall!
Are you about to fertilize your roses? Stop! If you do, you will promote new growth, and the young and tender stems will become sick and die during the winter season. This has two serious consequences: they will waste energy above ground (while they need to strengthen their roots), and the dying wood can spread diseases while they are dormant!
Stop fertilizing your roses 6 to 8 weeks before the first day of frost has come. In northern climates, this will be late August, in milder areas, it is about mid-September.
If your rose is tired and weak, a bit of compost within these dates is fine, but do not use fast-release liquid fertilizers!
Adjust Watering to Match Fall’s Cooler, Wetter Conditions
You have watered your roses regularly during summer, which is usually every 3 to 3 days, but fall is a wet season! So, you need to change the way you irrigate them.
- Don not water roses if it rains, or if you expect rain.
- Wait till at least 1 inch of soil is dry (2.5 cm), but I would suggest even 2 in this season (5.0 cm).
- Deep water! In fall, it is better to give them fewer but more abundant waterings. Why? It seeps deep into the soil, and it helps your roses grow their roots downwards, where it will be warmer in winter. And good drainage helps the water penetrate the soil to lower levels (all things come together!)
Give Your Shrub Roses a Light Pruning
For shrub roses, this is the time to give them a very light “trim”. Nothing big, the main pruning is early spring, but you don’t want them to have already sick stems or branches during the cold season. So…
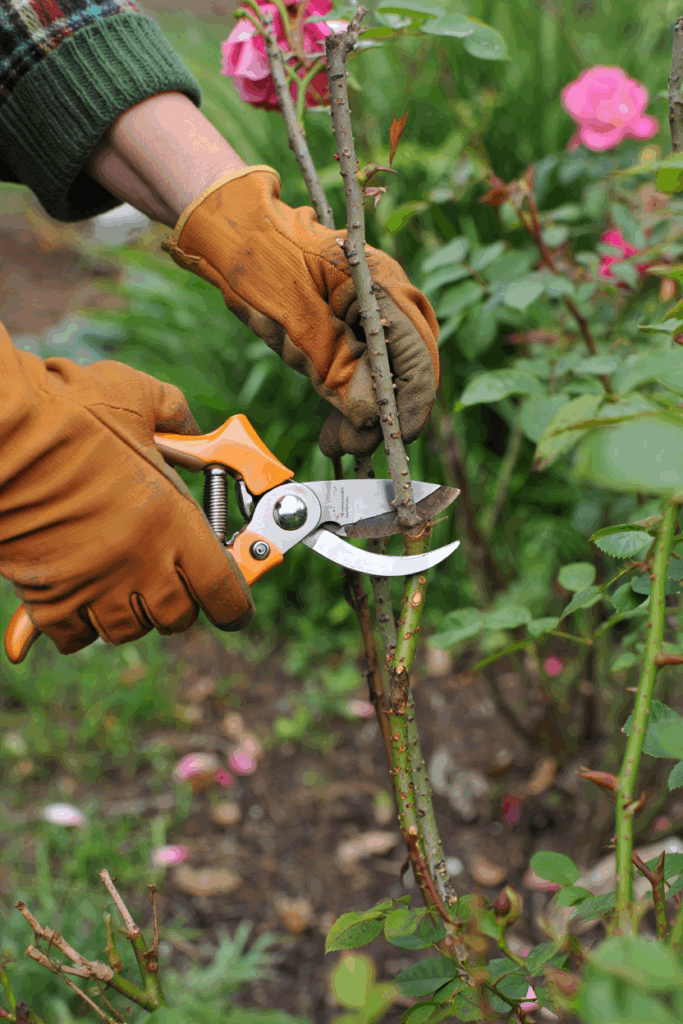
- Only cut dead, dry and heavily sick wood. It’s hard to find a fully healthy branch on a rose in many cases, but only cut those that are clearly past saving.
- You can cut very small and weak branches, especially if they cross with others.
- Disinfect the blades of your secateurs (hand pruners or pruning shears) before and after each shrub, or you will spread diseases from one to the next.
- You should prune your roses at least 4 weeks before you expect the first day of frost, because you need to give the wounds time to heal, but…
- If you are late, cover the wound with a pruning sealant (whichever).
- And if you are late in a very humid region, before sealing the wound, rub some sulfur on the big cuts.
That’s all for now, you will get back to your shrub roses in spring, when forsythia is in bloom.
Trim Climbing Roses to Keep Canes Healthy and Under Control

You should also prune your climbing roses, with the same precautions we saw for take for shrub varieties Fall is a good time to give your climbing roses a quick check-up. Start by cutting out any dead, diseased, or damaged canes—these can weaken the whole plant if left through winter. You should also trim back any long, unruly canes that could get whipped around in the wind. Strong gusts can snap or loosen branches if they’re left too long and unfastened.
Don’t worry about shaping the plant too much right now—major pruning should wait until late winter or early spring. In fall, you’re just removing what’s clearly a problem and keeping things neat so the plant doesn’t go into winter stressed.
Check Your Climbing Roses’ Support and Faten the Canes to Them
Climbing roses can shake a lot with strong winter winds, so, put simply:
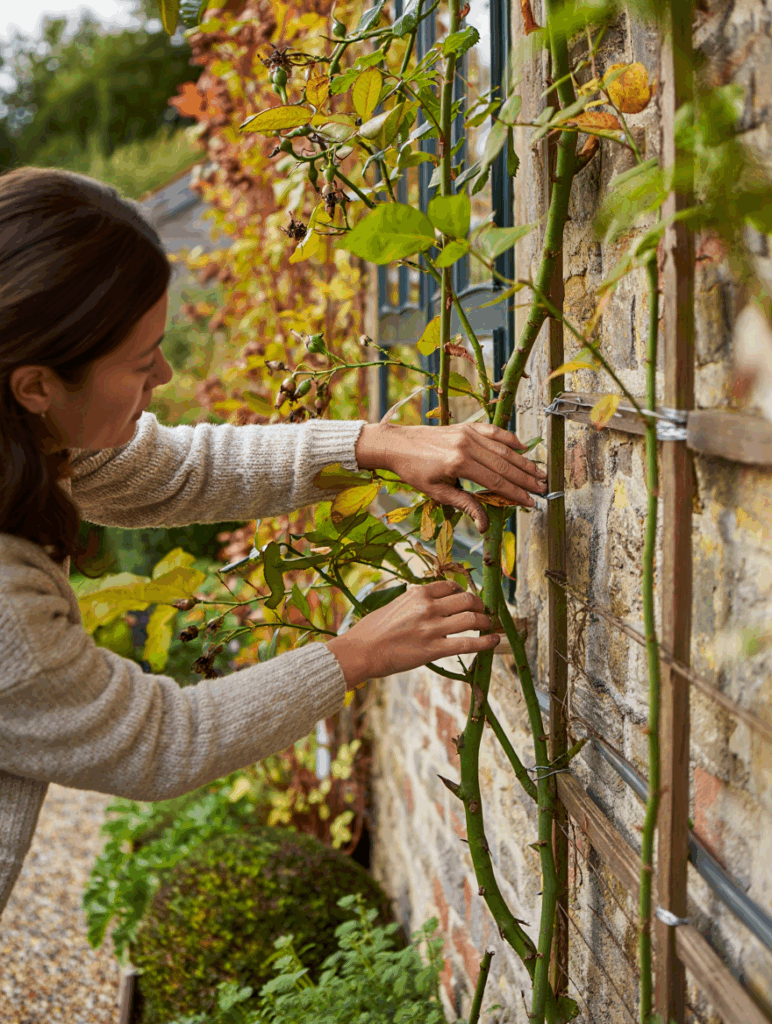
- Check that the support is strong, and repair it in case.
- Fasten all the canes to the support, but do not strangle them; keep it lose, they should be able to move a bit. Use anything you want, but my favorite are plastic zip ties, which are string, easy to use, and safe; use them every 3 feet or so (1.0 meters) along each cane.
Now, how about ramblers?
Tidy Up Rambling Roses Without Overdoing the Cuts
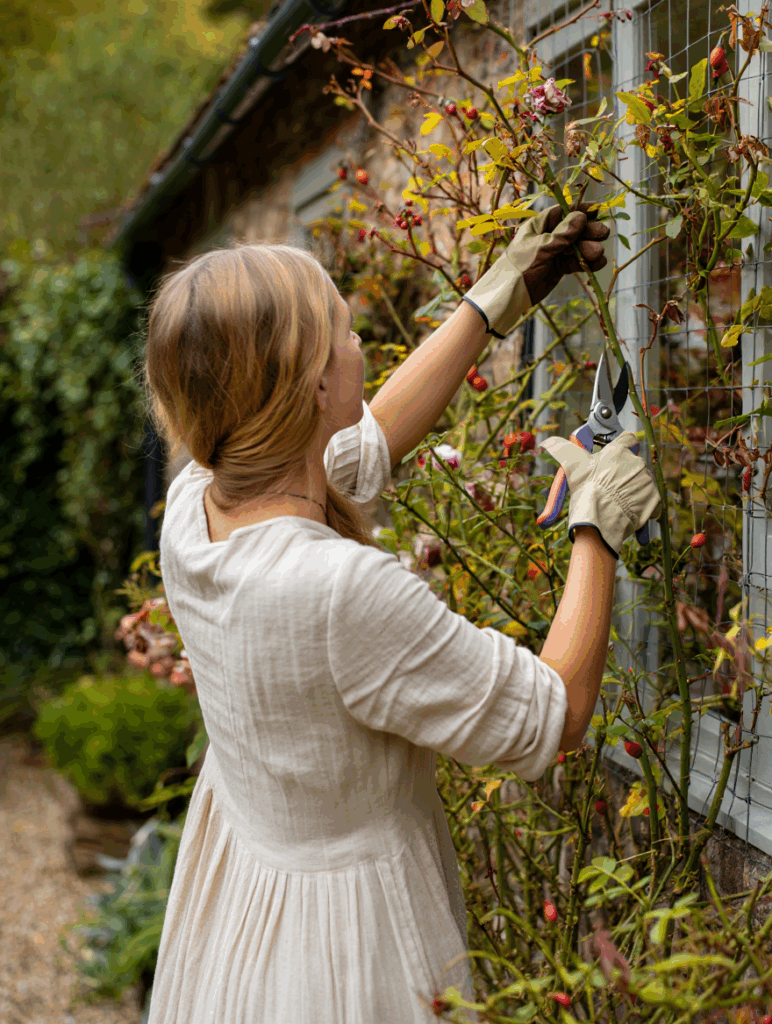
Rambling roses don’t need much pruning in fall, but a little cleanup goes a long way. Focus on removing anything dead, damaged, or clearly diseased—those canes won’t survive winter and could spread problems to the rest of the plant. If some stems are wildly overgrown or flopping into walkways, it’s fine to shorten them slightly, just enough to keep the rose looking tidy and manageable.
But don’t get carried away. Ramblers bloom on old wood, so cutting too much now means fewer flowers next year. Save the heavy pruning for late summer right after they bloom, or early spring if needed.
Mulch Abundantly!
After you have pruned and cleared off all the leaves and stems, it is time to mulch your roses!
- Lay about 2 inches (5.0 cm) of mulch at the base of your roses.
- Make sure you reach the width of the rose at its peak in summer; that will cover also all the roots underneath. You can go further if you wish.
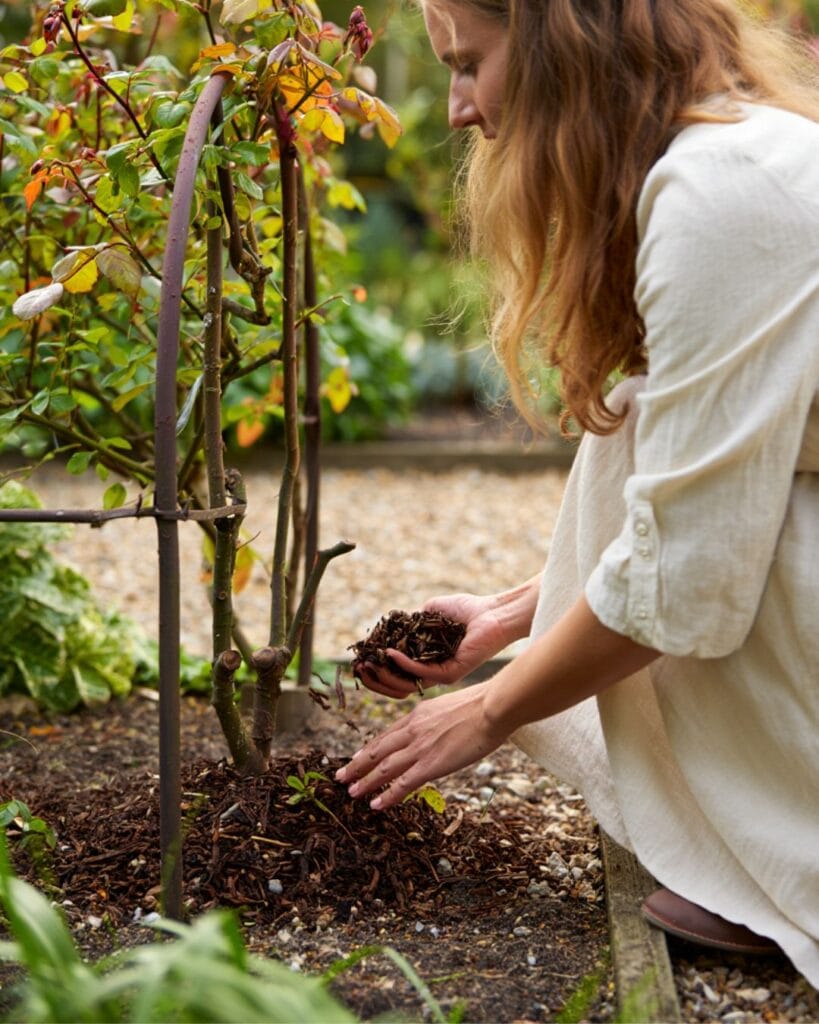
In case your roses are mulched already, just make sure it is all fine and add as necessary.
Which type of mulch? Any long-lasting type, but usually, for roses it is wood bark or wood chips, because they look beautiful.
And this will keep the soil (and roots) warm over winter, and protect the nutrients too. But how about above ground?
Protect Your Roses from Pests and Fungal Infections
Fall is a humid, but still warmish season, which is ideal for pests and fungal infections. Of course, you need to check for them, but I suggest that you prevent (or eliminate) them in the most simple possible way.
- Take a spray bottle.
- Fill it with water.
- Add one or two teaspoons of neem oil per liter of water.
- Add about a tablespoon of natural liquid soap.
- Shake well.
- Spray it thoroughly all over your roses, making sure you get under leaves, and inside the shrubs.
Repeat every two weeks throughout the season and after heavy rains. Finally, warmth!
Cover Your Shrub Roses for Winter
As fall comes to a close, it’s time to think about how you will keep them warm in winter. Should you cover your roses? It depends… Roses are usually cold hardy to USDA zone 5 (but some are a bit more tender, to USDA zone 6 or even 7) so:
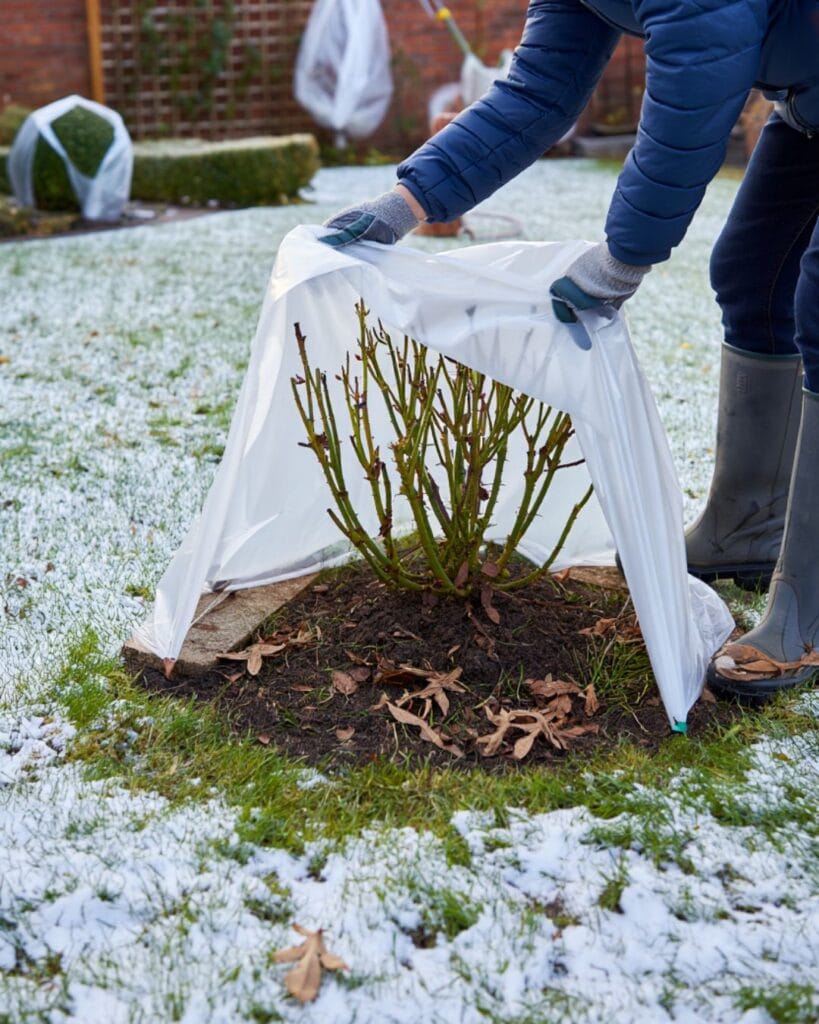
- With a USDA zone 5 hardy rose, cover your rose in USDA zones 6 and below. Adapt accordingly.
- With a USDA zone 5 hardy rose, add straw inside the rose cone or shelter in USDA zones 4 and below. Yes, you can grow roses in colder climates than their hardiness, as long as you protect them in winter.
What can you use? Ideally, a rose cone, which you need to fasten to the ground with stones or bricks. You need to choose a “comfortable size”, about 10 inches larger than the shrub (2.5 cm).
As rose cones are expensive, especially if you have many shrubs, so you can make your own. Build a comfortable frame (again, larger than the shrub) shapes as a dome, and use a polyethylene sheet to cover it. But remember to place many holes in it, every 2 to 3 inches, so your thorny beauties can breathe over winter. Then, use pricks or stones to fasten it to the ground.
Do check your roses regularly once you have covered them; if there are any signs of infections, use neem oil to heal them.
Tender Loving Care for Roses in Fall Means Massive Blooms Next Year!
That’s all folks! This is what you need to do in fall, so that your roses spend a safe and healthy winter, and they are ready to grow new shoots and leaves in spring, and then… their incredible flowers!

Written By
Amber Noyes
Amber Noyes was born and raised in a suburban California town, San Mateo. She holds a master’s degree in horticulture from the University of California as well as a BS in Biology from the University of San Francisco. With experience working on an organic farm, water conservation research, farmers’ markets, and plant nursery, she understands what makes plants thrive and how we can better understand the connection between microclimate and plant health. When she’s not on the land, Amber loves informing people of new ideas/things related to gardening, especially organic gardening, houseplants, and growing plants in a small space.
