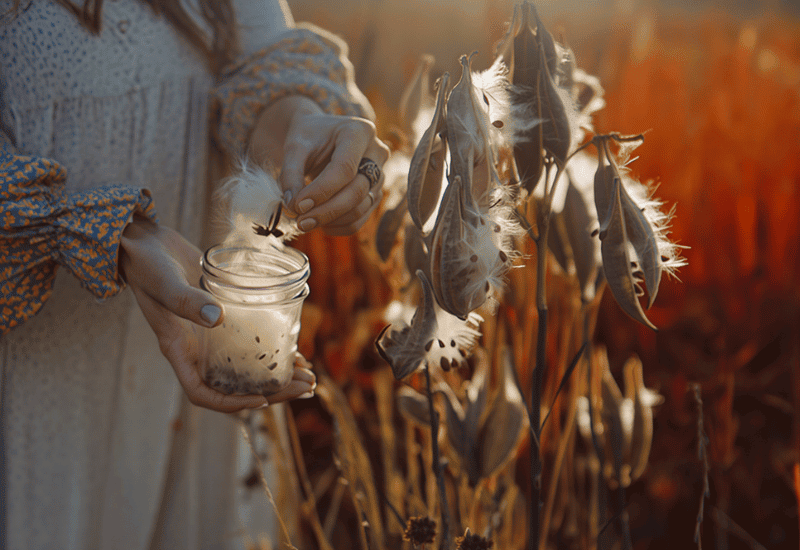
Have you ever picked up a milkweed pod and cracked it open just to see what was inside? I used to do it all the time as a kid. The silky strands would spill out in my hands, and I’d toss them into the breeze, watching them float away like tiny parachutes. Back then, it felt like pure magic. I had no idea I was letting future milkweed plants—and Monarch caterpillars’ only food—drift off into the wind.
Fast forward a few decades, and I look at those same pods very differently. I know now that milkweed is a lifeline for Monarchs, and that the silky fluff I used to throw into the air carries seeds that could help keep butterflies around for the next generation. The sad part is that milkweed has disappeared from so many of the places I once found it—roadside ditches, field edges, sunny trails. Herbicides, farming, and development have wiped a lot of it out.
But here’s the good news: we can bring it back. And it starts with something simple—learning how to harvest seeds cleanly. If you’ve ever tried to gather seeds from a pod that’s already burst, you know what a mess it can be. The fluff sticks to everything, and you end up losing more seeds than you save. With the right timing, though, you can collect clean, viable seeds in seconds and turn them into new plants for your garden—or share them with friends who want to help the Monarchs too.
Learning to Read the Landscape for Milkweed Pods
When I was a kid, I used to think milkweed pods looked like something out of a fairy tale—like little dragon horns poking out of the grass. I didn’t even know what they were until much later, when I started paying attention to the plants around me while hiking and biking.
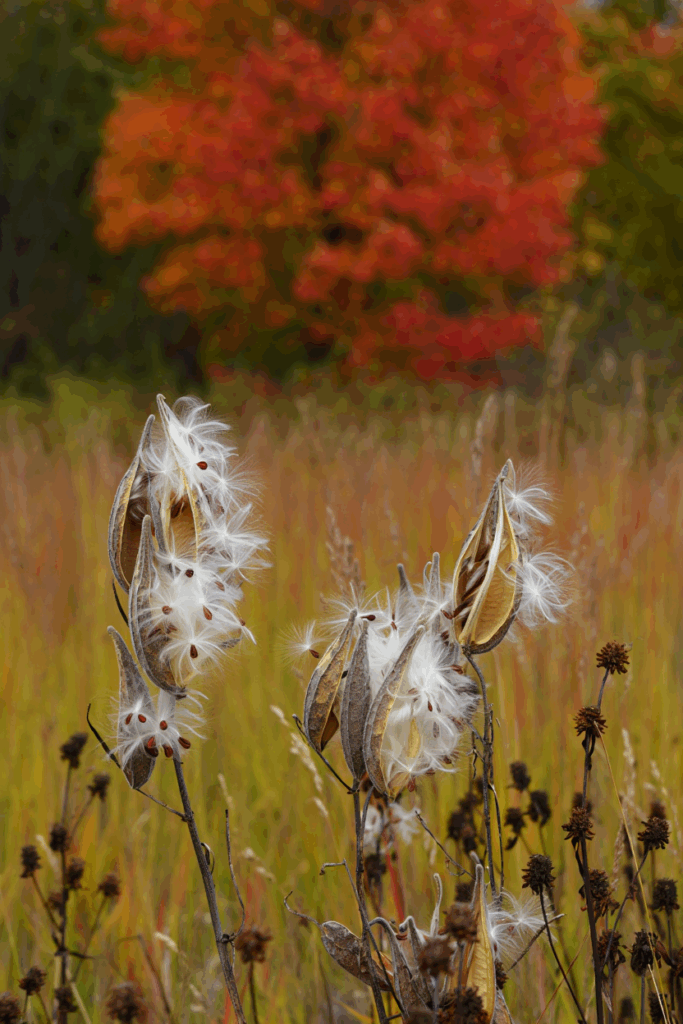
Now, spotting them has become second nature. Common milkweed (Asclepias syriaca) is the one I run into most often. It shows up in the least glamorous places—sunny ditches, rough edges of fields, or gravelly stretches along the trail. By fall, when everything else is withering back, those pods really pop. They’re thick, horn-shaped, usually pointing upward, and you can almost sense the seeds waiting inside, ready to catch the wind.
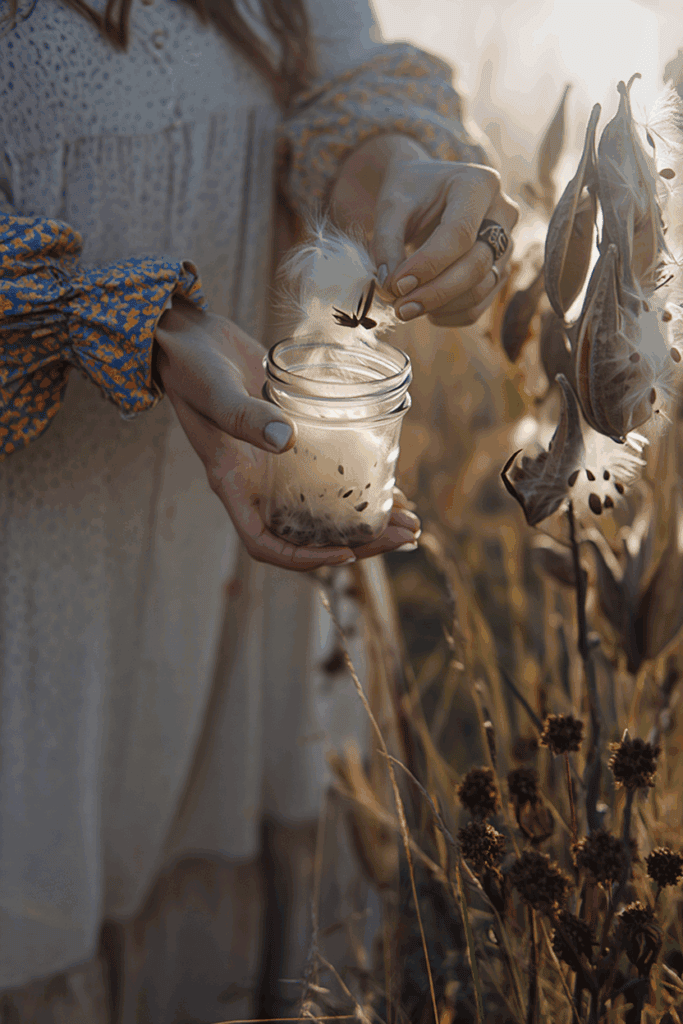
I’ve made the mistake before of collecting from the wrong spot. Once, I reached for a pod along a fence line, only to realize later the property belonged to a local farmer. Lesson learned: always be mindful of where you’re foraging. These days, if I gather pods, I leave plenty behind. The thrill of carrying home a few is nothing compared to the joy of seeing an entire patch spread naturally the next year.
Of course, milkweed isn’t just the “common” kind. Swamp milkweed (Asclepias incarnata) grows in wetter spots, and butterfly weed (Asclepias tuberosa)—with its blazing orange flowers—is the one that always stops me in my tracks. The year it was named “Perennial Plant of the Year,” I remember feeling oddly proud, like a friend had won an award.
The funny thing is, once you know what you’re looking at, you start noticing milkweed everywhere—tucked in the corners of trails, leaning along backroads, scattered through meadows. And every pod is a little reminder: nature has its own way of making sure the monarchs have food for the next generation.
Knowing When Milkweed Pods Are Ready
I’ve learned that patience really matters when it comes to harvesting milkweed pods. They don’t all ripen at once—you’ll see one pod cracking open in September, another hanging on until late October, and sometimes even into November. I always keep an eye on the same patches week after week, checking their progress.

The trick I use is simple: I press gently on the seam of the pod. If it pops open with almost no effort, I know it’s ready. If it stays clamped shut, I walk away and come back later. Some pods fool you by staying green on the outside, but when you open them, the seeds inside are perfectly mature.
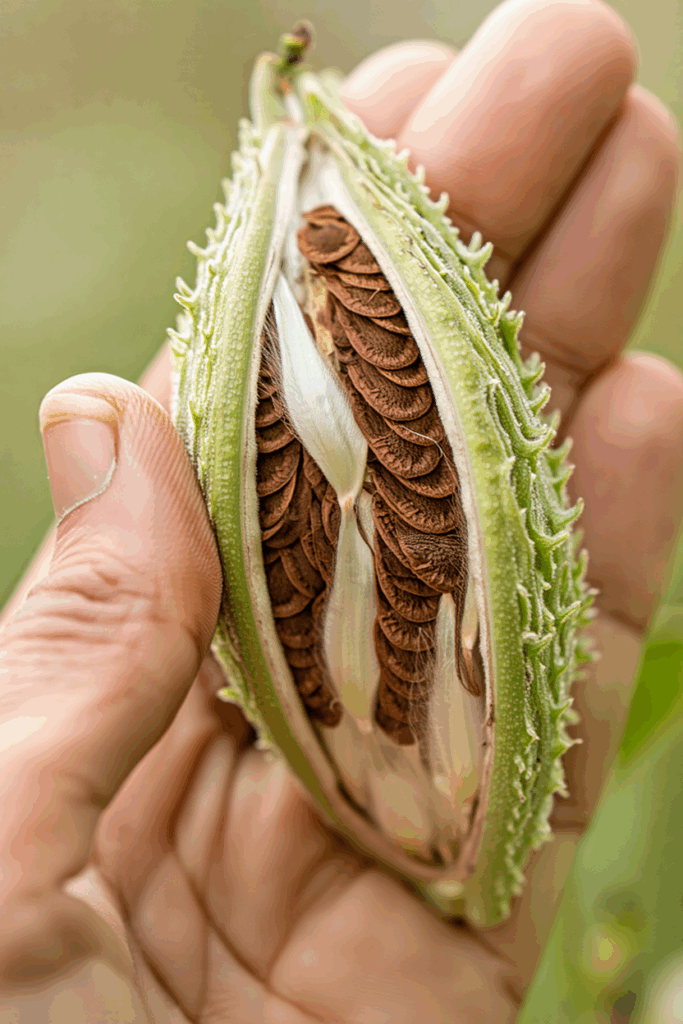
And that’s the other key—look at the seeds. They should be a deep, rich brown. If they’re still white or pale tan, they’re not ready yet. Early in my foraging days, I picked a few too soon and ended up with lifeless, cream-colored seeds that never sprouted. Now I’ve learned to wait.
The best harvests always come from pods that are just about to split on their own. Catch them at that stage and the fluff hasn’t carried everything off yet—you can easily separate the silky threads from the seeds and save them for next year’s monarchs.
How to Harvest Milkweed Seed Pods Cleanly
There’s something magical about milkweed pods in fall. By October, they’re swollen and ready to burst, releasing hundreds of silky parachutes into the air. Beautiful as it looks, that fluff can be messy if you want to save seeds—but with the right timing and a couple of simple tricks, you can collect plenty of clean seeds without chasing fluff across the yard.
Method 1: Harvest Before the Pods Split
The easiest stage to collect milkweed seeds is before the pods have burst open. Walk through a patch of milkweed in late September or October and give the pods a close look. They’ll often be plump and firm, with a faint line running along the seam.
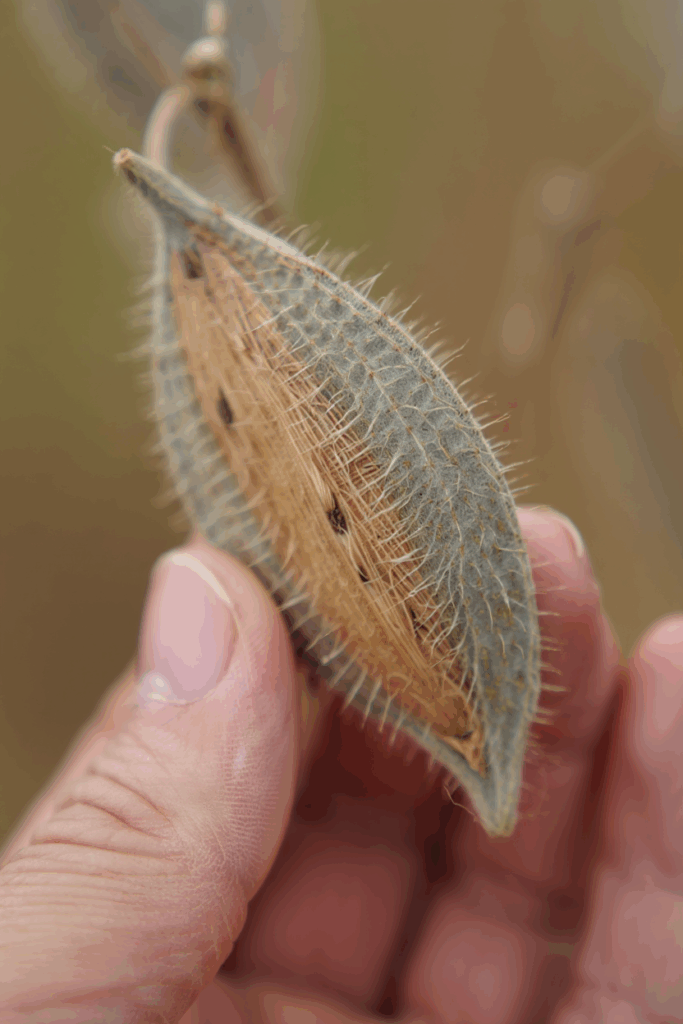
Press gently on that seam with your fingers. If the pod stays clamped shut, the seeds inside are not ready yet. If it pops open with almost no effort, you’ll know the seeds are mature.
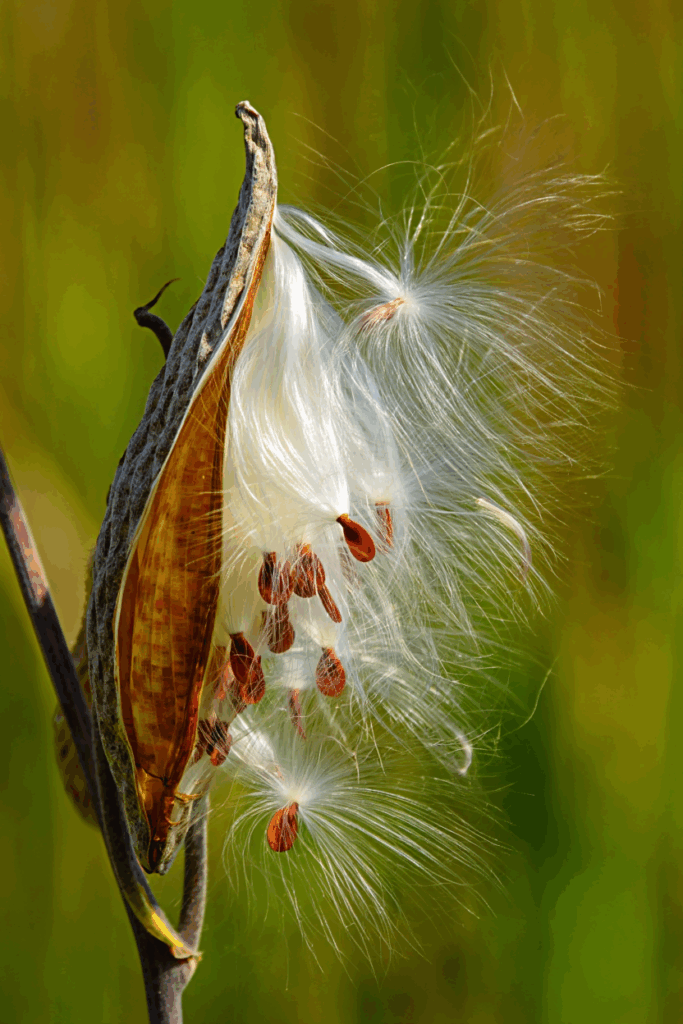
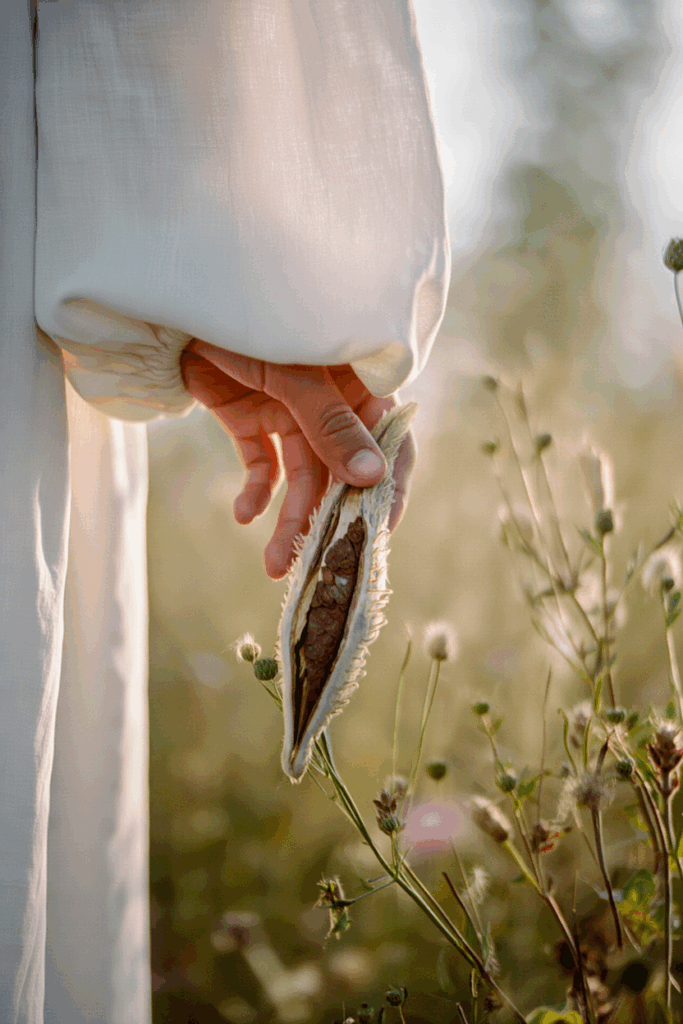
Inside you’ll find a tight column of seeds, stacked one against another like shingles on a roof. At first glance, it might look impossible to separate them from all that white floss.

The trick is to pinch the seed mass at the tip and pull the seeds away with your other hand. They slide off cleanly, a lot like stripping the leaves from a sprig of thyme or rosemary. What you’re left holding is a bare cob of floss, which you can discard, compost, or even set aside for crafts if you like.
Method 2: Separating Seeds After the Floss Escapes
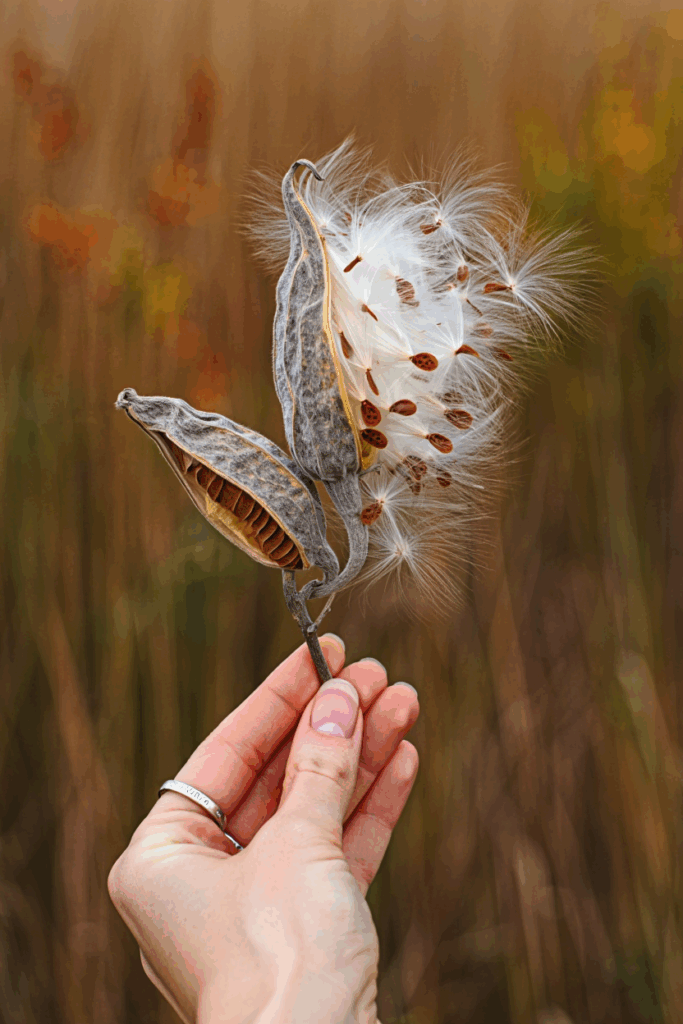
Of course, you don’t always catch pods in time. Sometimes you’ll come back to find the seams already split, with silk spilling out in every direction.
When that happens, the jar-and-coin trick is a lifesaver.

Drop the opened pod, seeds, and floss into a jar with a few coins, screw on the lid, and shake hard. The coins knock the seeds free, and they settle neatly at the bottom while the floss lifts to the top. Pull out the silk, pour out the seeds, and you’re done.
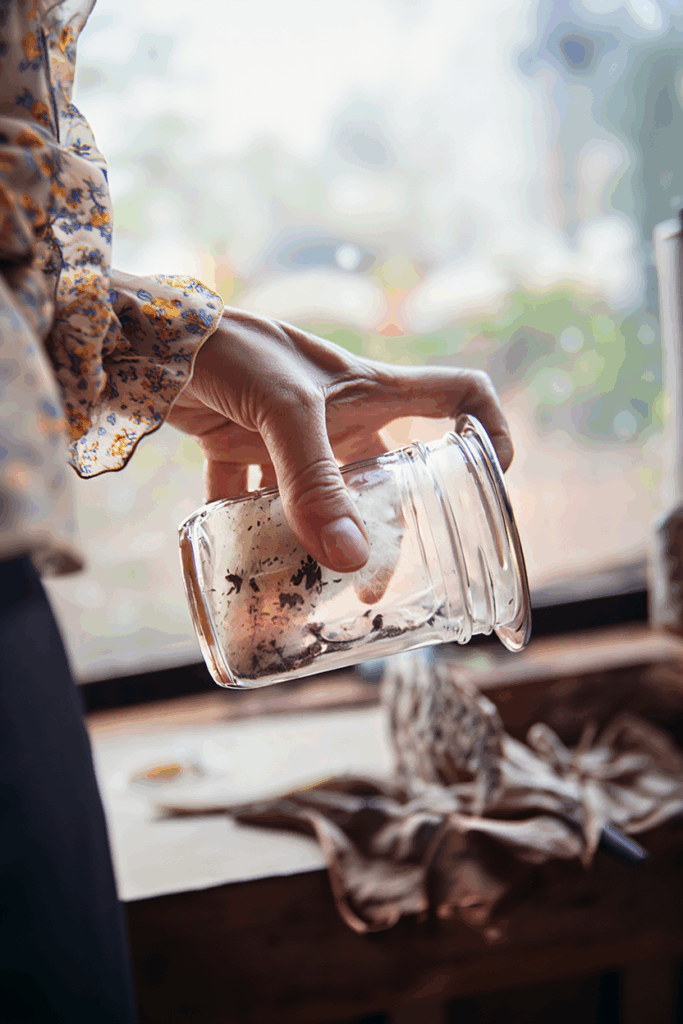
If you don’t have a jar handy, a paper bag works just as well. After shaking, cut a tiny corner off the bottom of the bag and pour the seeds into a container, leaving the floss behind.
Another quick trick is to grab the central stalk of the pod and slide your thumb down the length of it, stripping the seeds as you go. It’s a little messier, but it works in a pinch.
Milkweed Seeds Sense the Seasons Naturally
Milkweed is clever. Its seeds don’t just sprout whenever they hit the ground—they wait until they’ve felt the bite of winter. This built-in safeguard makes sure the seedlings don’t pop up too early, only to be killed by frost. Gardeners call this process vernalization: the plant’s way of “sensing” the seasons.
If milkweed seeds don’t go through cold, they’ll sit there stubbornly and refuse to germinate. That’s why bulbs planted in the ground in chilly New England bloom beautifully in spring, while gardeners in warmer West Coast climates often have to give their bulbs a vacation in the fridge. Milkweed works the same way. Since we usually collect the pods in fall—before winter does its job—we have to mimic that cold spell indoors.
Vernalization vs. Stratification
Here’s where it gets a little confusing. You might also hear the word stratification tossed around. Both terms are about plants experiencing winter, but they describe slightly different things.
- Stratification is the cold treatment seeds need before they’ll wake up and germinate. Without it, many seeds—including milkweed—will just sit dormant in the soil.
- Vernalization is the cold exposure flowering plants need later in order to form blossoms the following season. It’s like a reminder that winter has passed and it’s safe to bloom.
Because milkweed is a flowering plant, it relies on both processes. The seeds must be stratified in order to sprout, and the plant itself must be vernalized before it can produce flowers. In other words, milkweed doesn’t just need winter once—it needs to “remember” winter twice in its life cycle.
Planting Milkweed Seeds
If you’ve never grown milkweed before, don’t worry—it’s one of the easiest plants to start. You can sow the seeds right in your garden, either in fall or spring, depending on what works best for you.
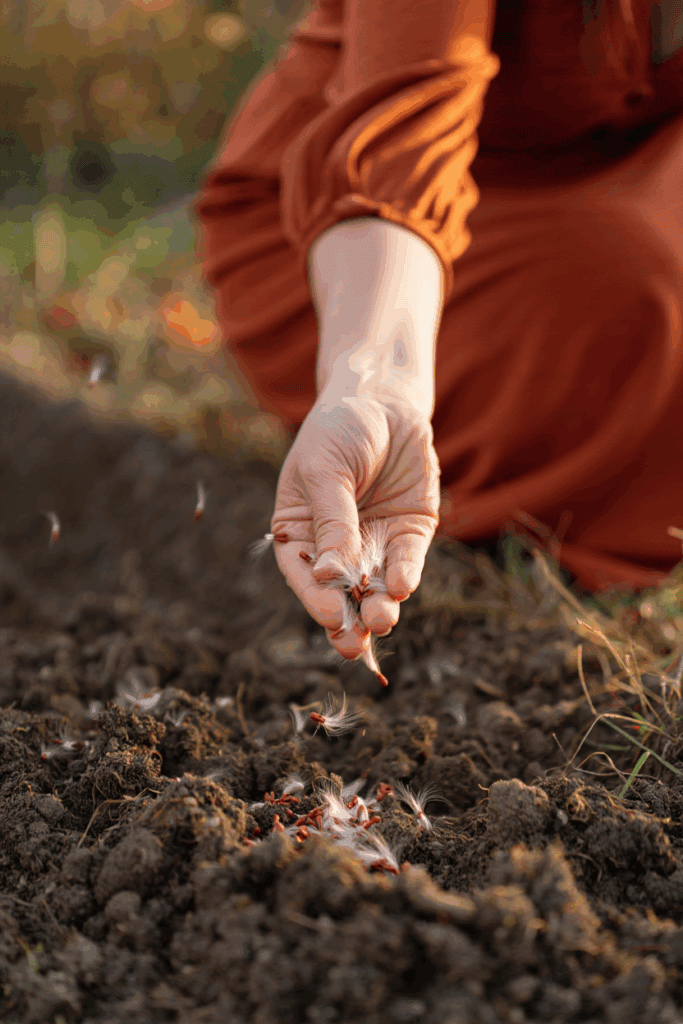
If you’re planting in fall, you can just sprinkle the seeds on the soil, cover them lightly, and walk away. Winter will do the rest. The freezing and thawing of the soil is exactly what those seeds are waiting for.
If you’re planting in spring, though, you’ll need to give them a little help first. Milkweed seeds won’t sprout unless they think they’ve been through winter. To trick them, place them in a damp paper towel inside a sealed bag and pop them in the fridge for about six to eight weeks. Once they’ve had that “winter nap,” they’ll be ready to grow.
When it’s time to plant, scatter the seeds about half an inch apart, cover them with just a light layer of soil, and keep the area moist. Once you see those first little green shoots, water them regularly so they can settle in and grow strong.
You can also start milkweed indoors if you’d like a head start. It transplants really well. Just remember to harden off the seedlings before moving them outside—let them spend a little time outdoors each day until they’re ready to stay out full time. That way, by summer you’ll have healthy plants waiting for monarch caterpillars to munch on.

Written By
Amber Noyes
Amber Noyes was born and raised in a suburban California town, San Mateo. She holds a master’s degree in horticulture from the University of California as well as a BS in Biology from the University of San Francisco. With experience working on an organic farm, water conservation research, farmers’ markets, and plant nursery, she understands what makes plants thrive and how we can better understand the connection between microclimate and plant health. When she’s not on the land, Amber loves informing people of new ideas/things related to gardening, especially organic gardening, houseplants, and growing plants in a small space.
