It happens every fall. The days shorten, the nights turn cold, and just like that, your begonias — once the stars of your patio — start to fade. Their stems turn soft, the leaves collapse, and before you know it, you’re dragging the pots to the compost pile. It feels inevitable, right? Another season over.
But what if those plants you just tossed could have been next year’s early bloomers?
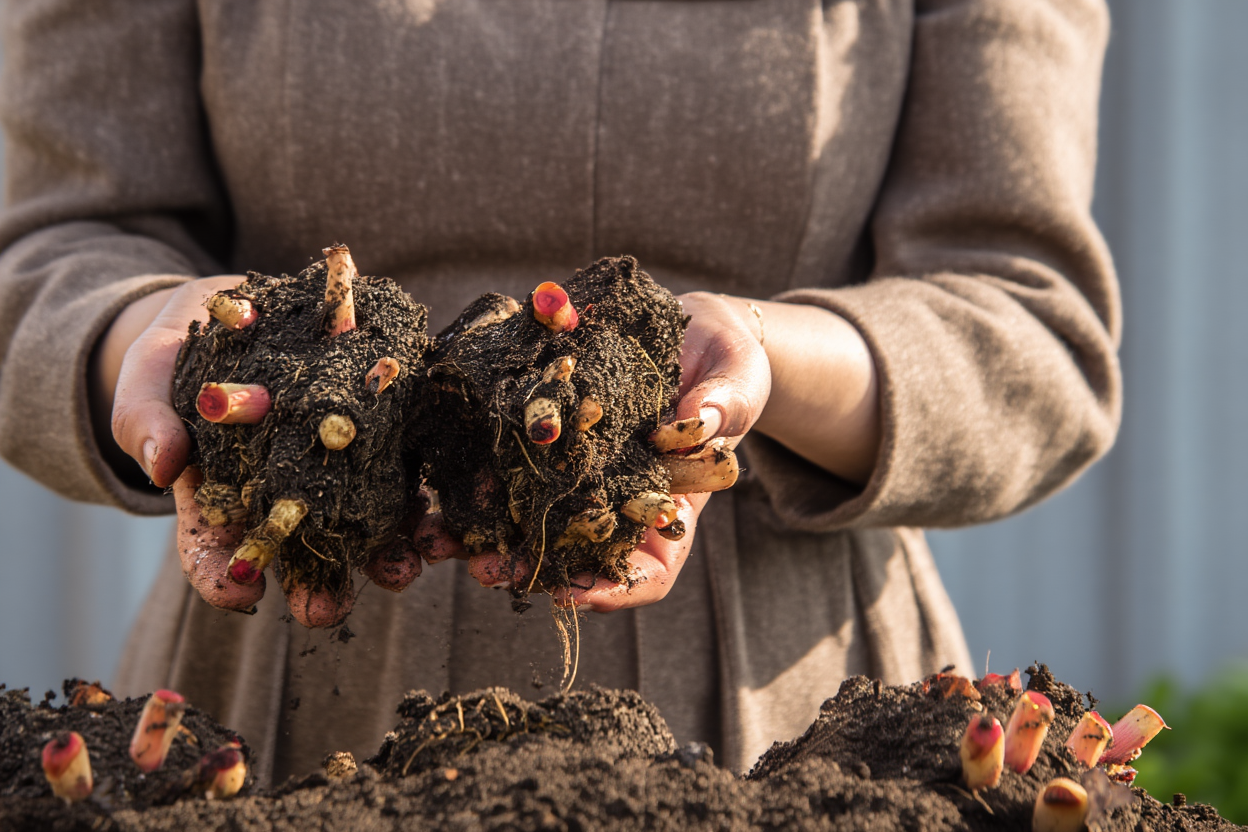
Tuberous begonias aren’t annuals, no matter how garden centers label them. They’re tender perennials that retreat into dormancy, storing their energy in thick, knobby tubers hidden below the soil. Inside each one is everything the plant needs to start over again next spring — if you give it the chance.
When you overwinter your begonias, you’re not only saving them — you’re setting yourself up for a stronger, earlier show next year. Tubers that have already matured wake up fast, sending out shoots weeks ahead of new store-bought plants. They’re fuller, hardier, and in bloom long before the shelves at the garden center even fill up.
Best part? It’s easy. One afternoon of digging and storing, and you’re done. That’s it.
Plus, some of the prettiest begonias — those amazing colors and ruffled varieties — disappear from catalogs after one season. But when you save your own, you get to keep the good stuff going.
If you’re tired of losing money on replacements or watching your garden lag behind in early summer, try the old-fashioned method that smart gardeners have relied on for generations. Here’s exactly how to lift, cure, and store tuberous begonias so next year’s show starts early — and lasts longer than ever.
Types of Begonias You Can Store Over Winter
Only certain begonias can be lifted and stored, and it comes down to their root structure. The large, double-flowered types sold as Begonia × tuberhybrida grow from a true tuber — a thickened stem that holds stored energy for regrowth. These are the ones you can dig, dry, and keep dormant until spring. Pendulous and multiflora forms fall into the same category; they produce smaller tubers but store just as well.
Rex and other rhizomatous begonias are different. They grow from creeping rhizomes that stay alive year-round and never go completely dormant. You can’t dry and store them, but you can overwinter them indoors in bright, indirect light with reduced watering.
Fibrous-rooted begonias — like wax, Dragon Wing, and Angel Wing types — don’t form any kind of storage organ. Once frost hits, they’re done outdoors. If you want to save them, take cuttings before cold weather and root them indoors.
In short: if it has a tuber, you can store it. If it has rhizomes or fibrous roots, you’ll need to keep it alive inside or start new plants next season.
Step-by-Step: The Old-Fashioned Way to Save Begonias for Next Year
Tuberous begonias can live for many years if the tubers are lifted, cured, and stored properly. The process is straightforward once you understand what the plant needs to transition into dormancy and stay healthy through winter.
1. Wait Until Frost Ends the Growing Season
Don’t rush to dig your begonias just because the nights turn cool. Let them grow right up until the first light frost. Those final weeks of growth matter — the leaves are still feeding the tuber, moving sugars and starches down to build reserves for winter.
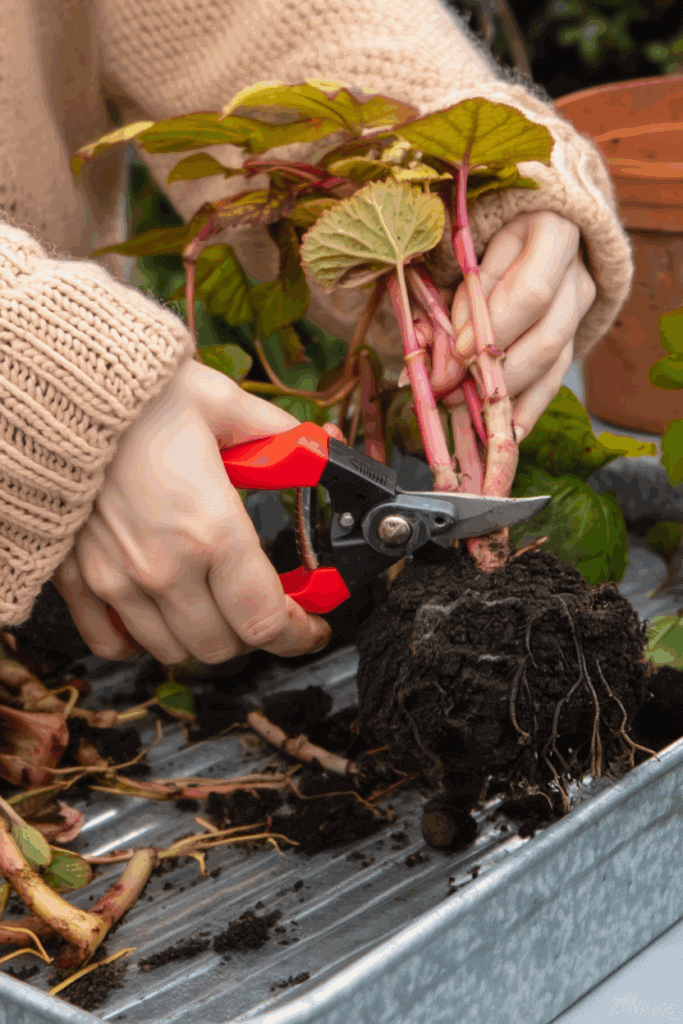
When that first frost finally blackens the foliage, it’s your cue. That natural cold signal tells the plant to stop growing and start resting. If you lift them earlier, before dormancy begins, the tubers may still be “green” inside — soft, high in moisture, and more likely to rot in storage.
In warmer areas where frost doesn’t come, you can imitate that signal by cutting back on watering and letting the tops dry and yellow naturally. Once the stems soften and collapse, the plant has done its job and the tubers are ready to lift.
2. Cut Back and Lift Carefully
When the foliage has been hit by frost and started to soften, cut the stems down to about two inches above the tuber. Loosen the soil with a hand fork or trowel and lift each plant slowly, working from several sides rather than prying from one angle. This helps prevent tearing or cracking the tuber.
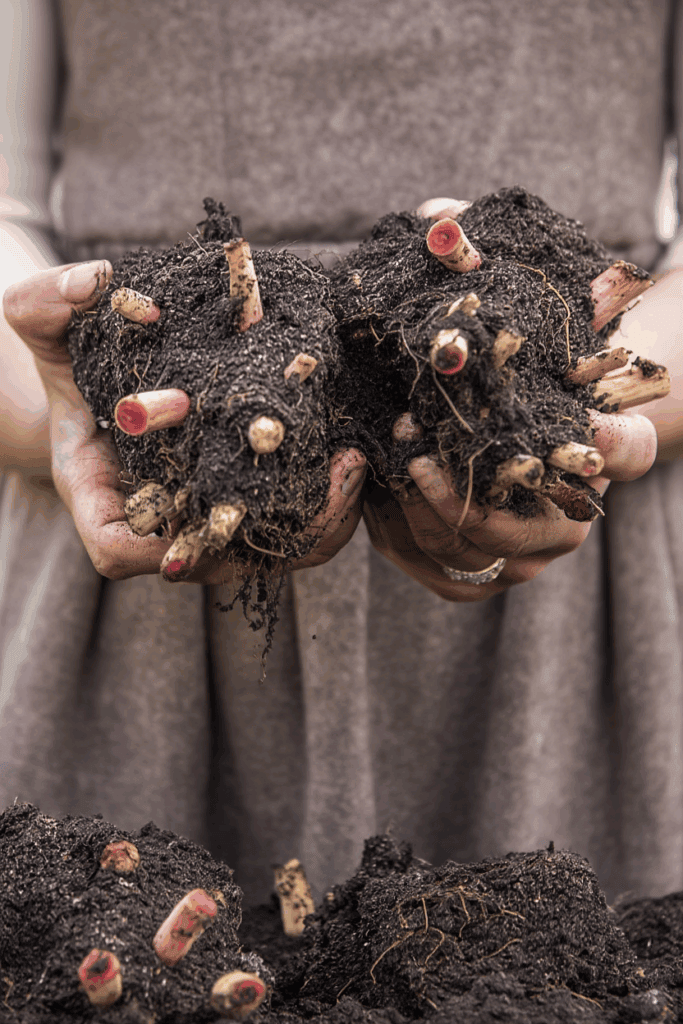
Keep as much of the tuber intact as possible. Any scrape or puncture is an open door for decay once the plant is in storage. If a wound does occur, let it dry and callus before you move on to curing.
Shake off the loose soil and roots, but do not wash them. Water at this stage only adds risk and removes the thin protective film that develops naturally as the tuber dries.
3. Initial Drying
Once the tubers are out of the ground, don’t rush them into storage. Spread them out on newspaper, cardboard, or a mesh rack somewhere dry and airy — a porch, shed, or garage works fine, as long as it’s out of direct sun and protected from rain. Aim for a steady temperature close to 60°F (15°C).
Give them five to seven days to dry. During that time, you’ll notice the outer skin starting to toughen and the fine roots turning crisp. That’s exactly what you want. Let the roots and any leftover leaf bases dry completely before you remove them. If they resist, leave them alone another day or two — forcing them off early can tear the surface of the tuber.
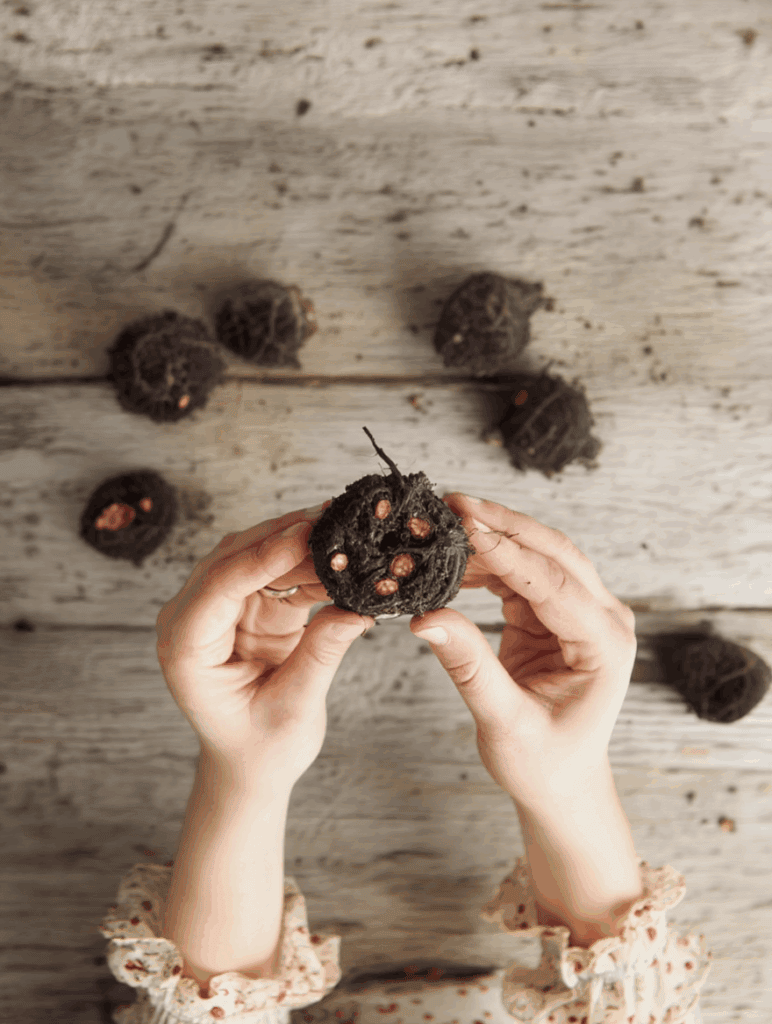
When they’re ready, the tubers should feel firm and slightly leathery. If they’re still damp or cool to the touch, give them more time. Getting this stage right makes a big difference later.
4. Cure for Two to Three Weeks
After the initial surface drying, move the tubers to a cooler, darker location with good air circulation—ideally around 50–55°F (10–13°C). Lay them in a single layer so air can move freely between them. Avoid stacking or crowding.
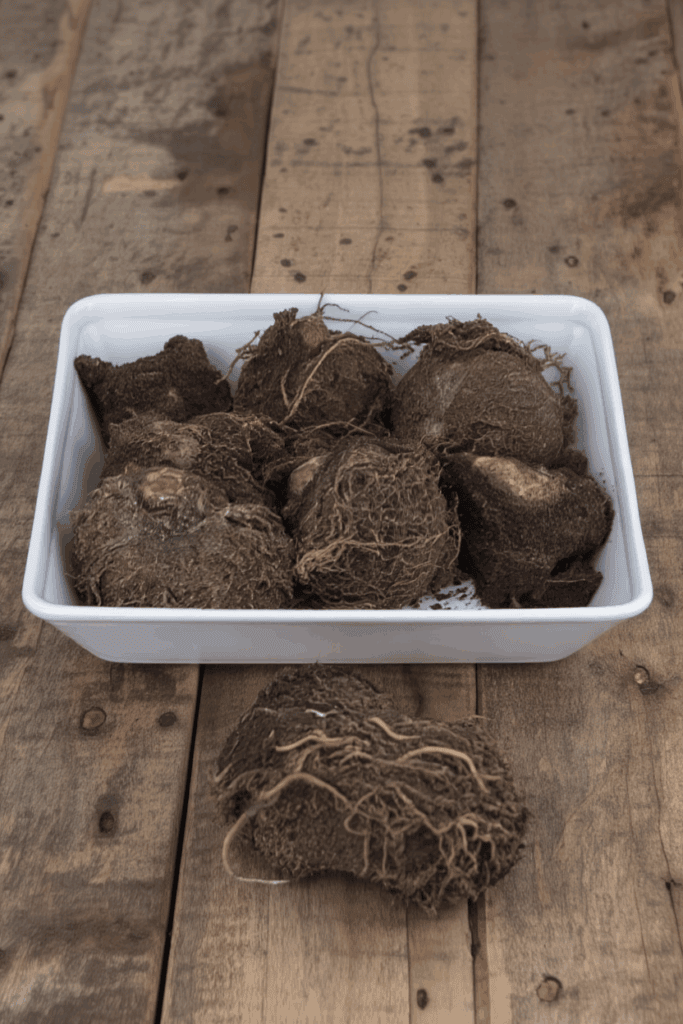
This curing stage allows the outer tissues to finish drying and any small wounds to heal naturally. It’s an essential buffer between lifting and long-term storage; skipping it is one of the most common reasons tubers rot in winter.
Check them occasionally during curing. If you notice condensation or soft spots, adjust airflow or temperature immediately.
5. Clean and Treat with Sulfur
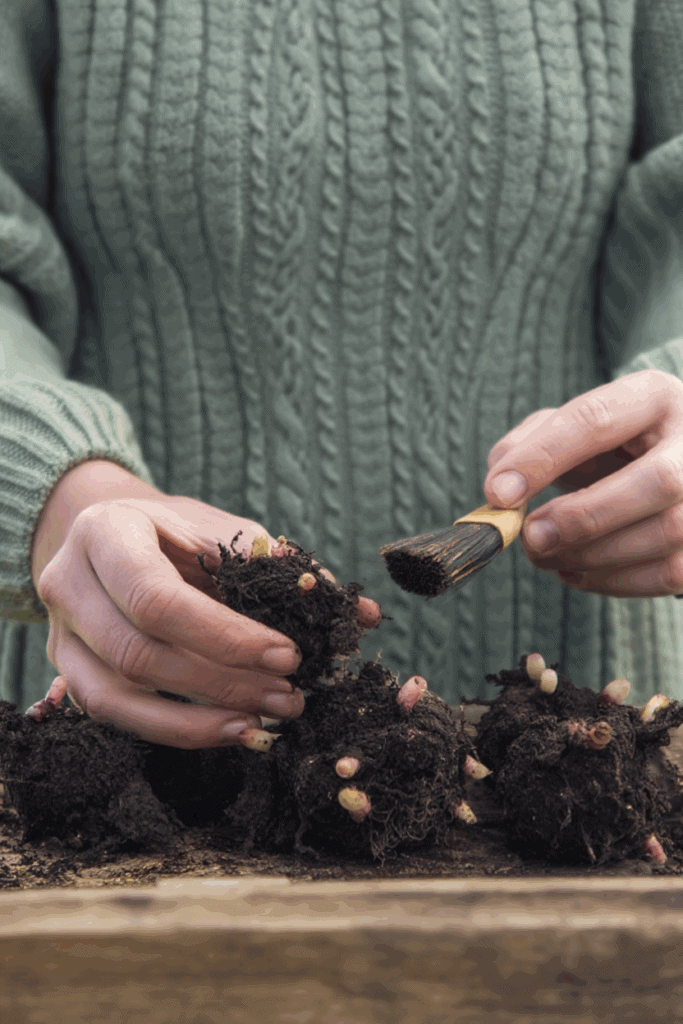
Once curing is complete, brush off any remaining soil and dried roots. Do not wash or peel the skin; the thin outer layer helps protect the tuber from dehydration.
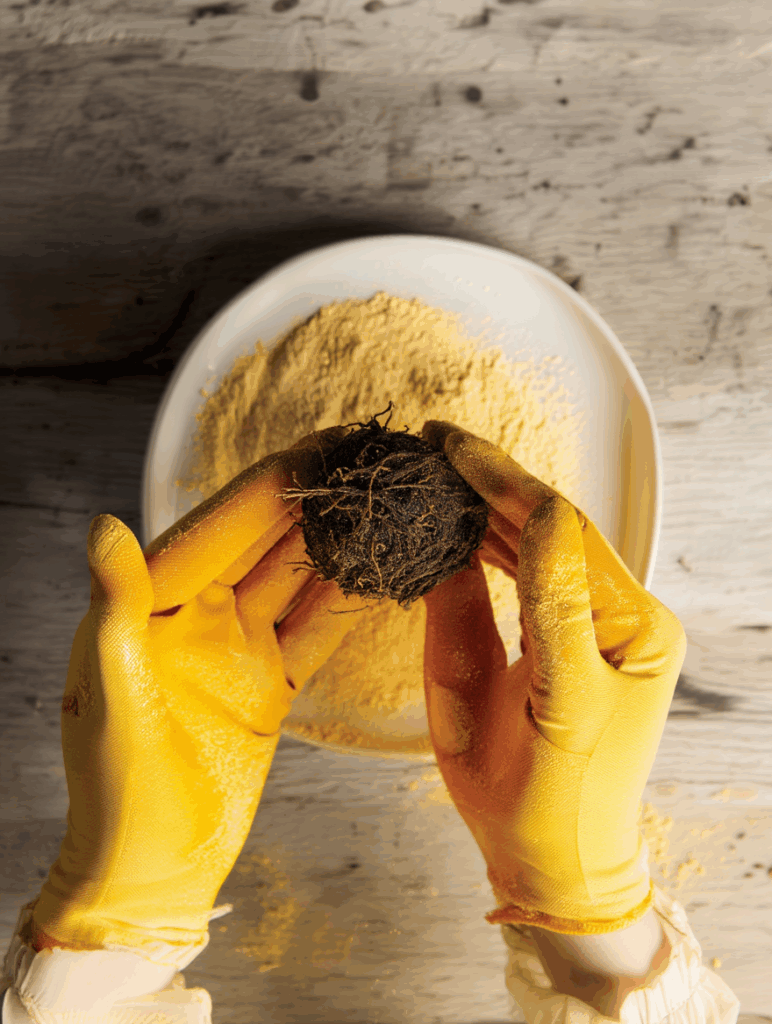
Before storing, dust each tuber lightly with powdered sulfur (or another dry bulb fungicide) to prevent fungal and bacterial rot. Make sure the surface is evenly coated but not caked. This small step makes a noticeable difference in survival rates, especially in humid climates or basements where airflow fluctuates.
Label each tuber at this stage if you’re keeping more than one variety—once dormant, they all look alike.
6. Pack and Store the Tubers
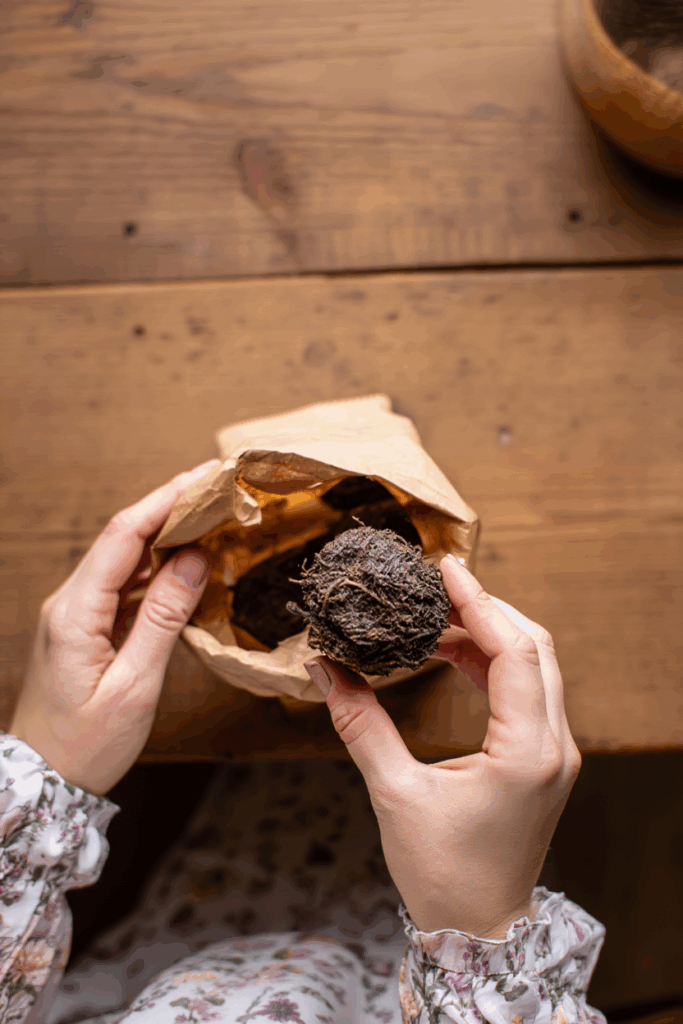
When it comes to storing begonia tubers, I’ve found simple methods work best. I usually use plain brown paper bags, but wrapping each tuber in newspaper works just as well if that’s what you have on hand. The goal is to give each one a dry, breathable environment — not sealed up, not bare.
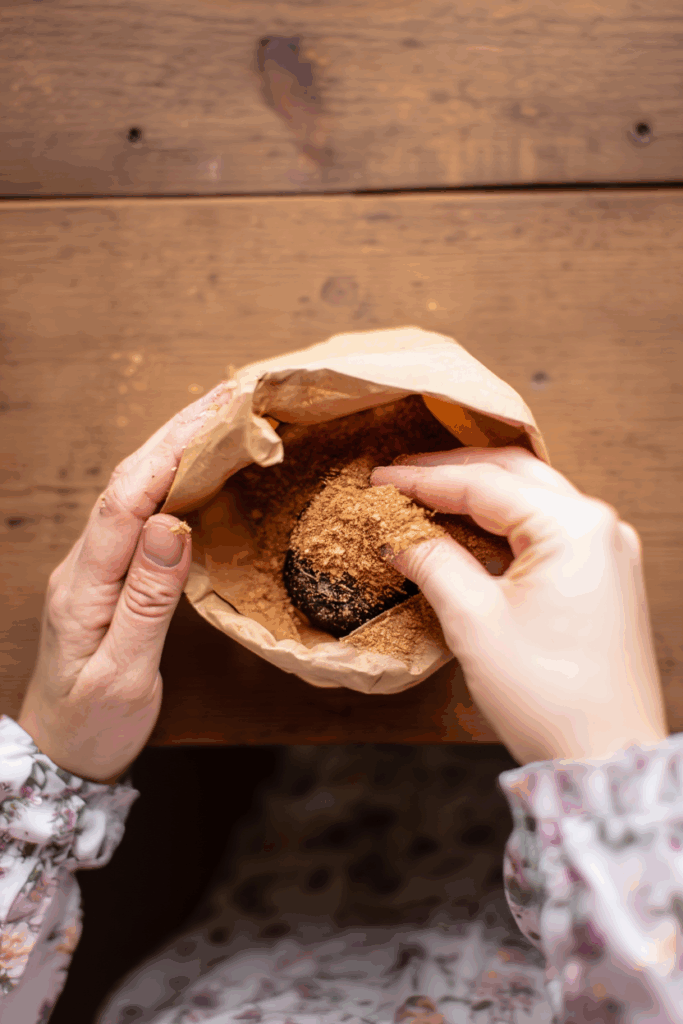
If you’re using paper bags, start by adding a layer of dry peat moss or vermiculite to the bottom. Set the tubers inside so they don’t touch, then cover them with another layer of the same material. It keeps them cushioned, dry, and evenly aerated through the winter.
If you prefer newspaper, wrap each tuber individually with a small handful of peat moss inside, then place them together in a cardboard box. Either way, avoid plastic — it traps moisture and almost always leads to mold or soft rot.
Fold the tops of the paper bags closed, label them clearly, and store everything in a cool, dark, dry spot that stays around 40–50°F (4–10°C). A basement, root cellar, or unheated storage room works perfectly.
7. Check the Tubers Through Winter
Don’t forget about your begonias once they’re packed away. Every few weeks, take a few minutes to inspect them. It’s a small habit that prevents most winter losses.
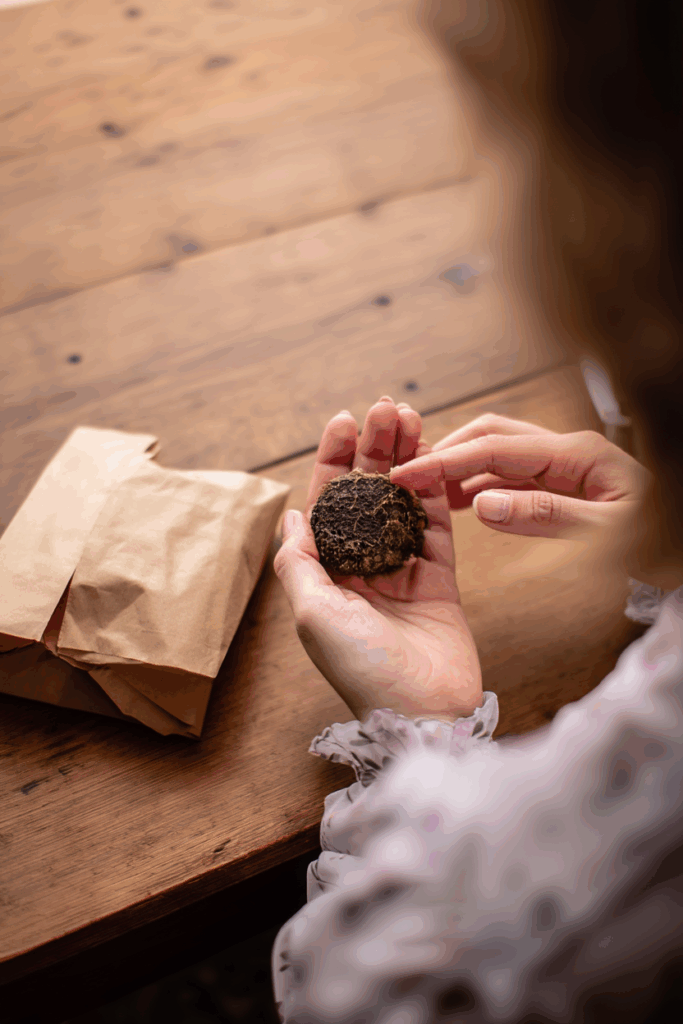
Open the box and look for trouble signs — soft spots, mold, or any tubers that have turned dark or started to collapse. Remove those right away before decay spreads to the healthy ones. If you find even a trace of mold, dust the surrounding area with a little sulfur powder and adjust air circulation or humidity.
If the storage medium looks bone dry or the tubers feel light and slightly shriveled, it’s fine to mist the peat moss or vermiculite very lightly. You’re not trying to rehydrate them, just prevent them from drying out completely.
Also keep an eye on temperature. A basement that feels comfortably cool to you — somewhere around 40 to 50°F — is perfect. If it’s warmer, the tubers can break dormancy early; if it’s colder, they can freeze.
8. Waking Them Up in Spring
By late February or early March, it’s time to bring your tuberous begonias out of dormancy. Take the stored tubers from their paper bags and check that they’re still firm and healthy. You’ll often see tiny pink or white buds starting to form on the upper, concave side — a sure sign they’re ready to grow again.
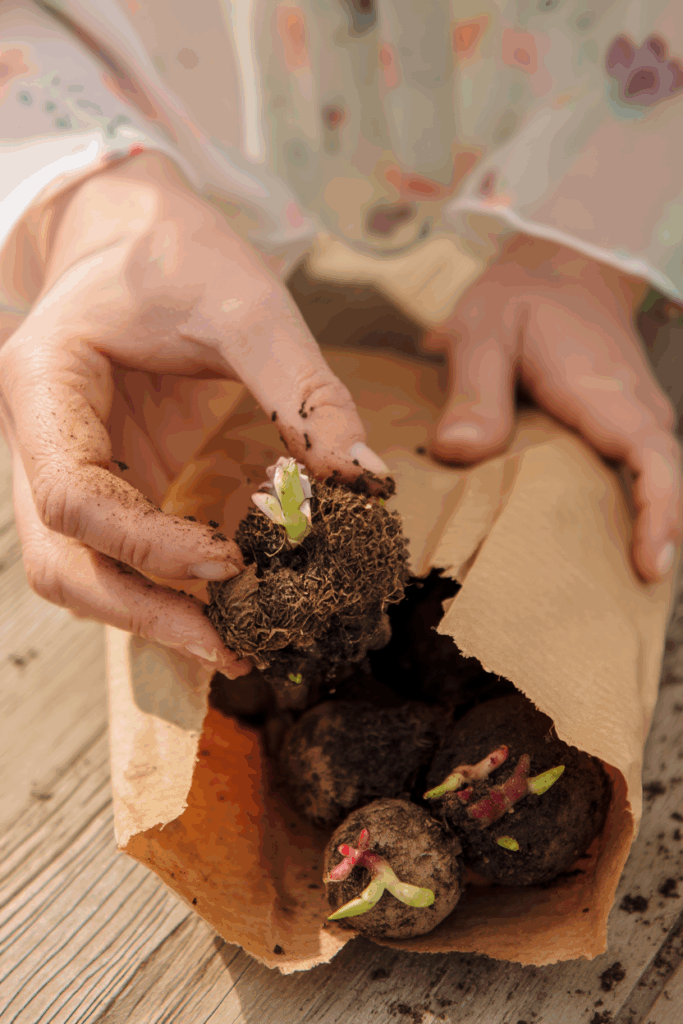
Set the tubers in shallow trays or pots of slightly moist potting mix, hollow side up, since that’s where the new shoots will emerge. Keep the mix just barely damp — too much water at this stage can cause rot — and maintain a steady temperature between 65 and 70°F (18–21°C). Place them in bright, indirect light.
After a couple of weeks, you’ll notice the buds lengthening into small shoots. When the growth reaches two to three inches and roots have begun to form, move each tuber into its own pot. Keep them indoors until the weather stabilizes and nights stay above 50°F (10°C).

Written By
Amber Noyes
Amber Noyes was born and raised in a suburban California town, San Mateo. She holds a master’s degree in horticulture from the University of California as well as a BS in Biology from the University of San Francisco. With experience working on an organic farm, water conservation research, farmers’ markets, and plant nursery, she understands what makes plants thrive and how we can better understand the connection between microclimate and plant health. When she’s not on the land, Amber loves informing people of new ideas/things related to gardening, especially organic gardening, houseplants, and growing plants in a small space.
