Amending your garden soil by burying and tilling in things like organic matter, calcium, and other key nutrients is absolutely essential for more than just growing healthy plants. Properly balanced soil is less likely to carry plant diseases, has a consistently balanced pH, and can even provide you with vegetables that are tastier and more nutritious.
Of course, this isn’t the sort of thing you should go at blindly. Guessing what and how much to bury in your garden soil can be just as dangerous as adding nothing.
The Importance of Soil Testing
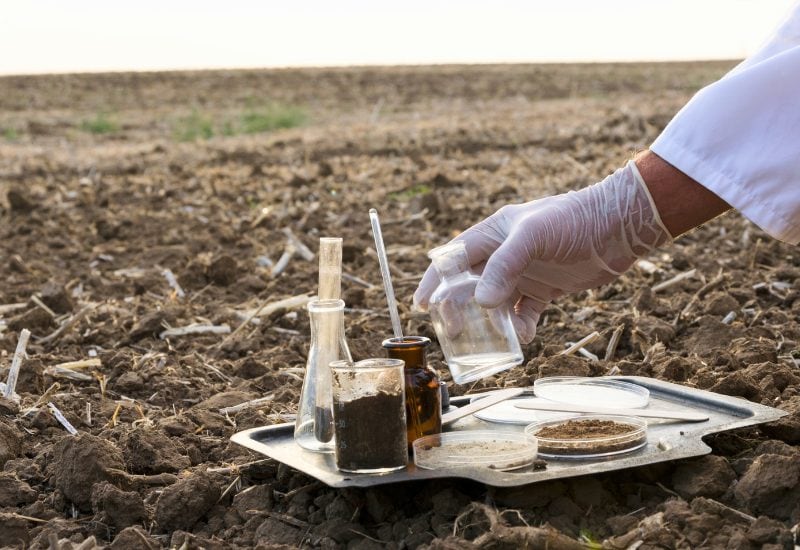
Soil testing gives you a precise understanding of your garden soil’s pH as well as the available macronutrients and key micronutrients. You can use this information to decide what soil amendments you can bury to improve the garden soil, and roughly how much.
If you don’t have the time and money to have the county agricultural extension office test your garden soil, you can use a DIY test kit. For $20, it will give you a basic understanding of your soil pH and basic nutrient profile in a matter of minutes.
Top 8 Things to Add to Your Garden Soil
With your soil chemistry test results in hand, you can strategically start altering your soil chemistry by tilling in one or more of the following. You can also use the soil chemistry information to know just how much of a particular amendment you should bury in your soil without imbalancing it.
Animals and Fish
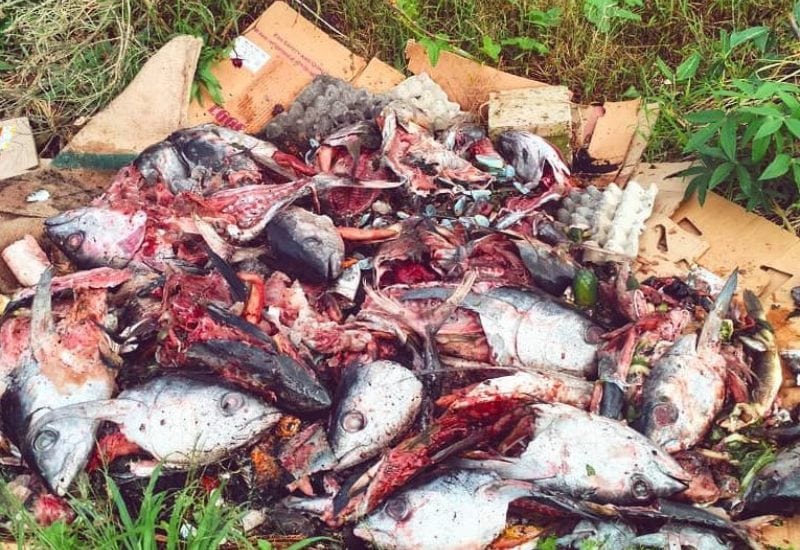
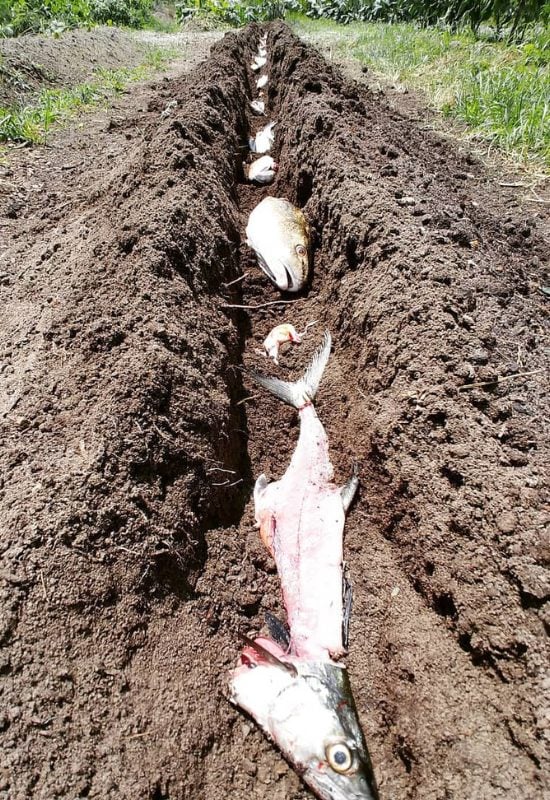
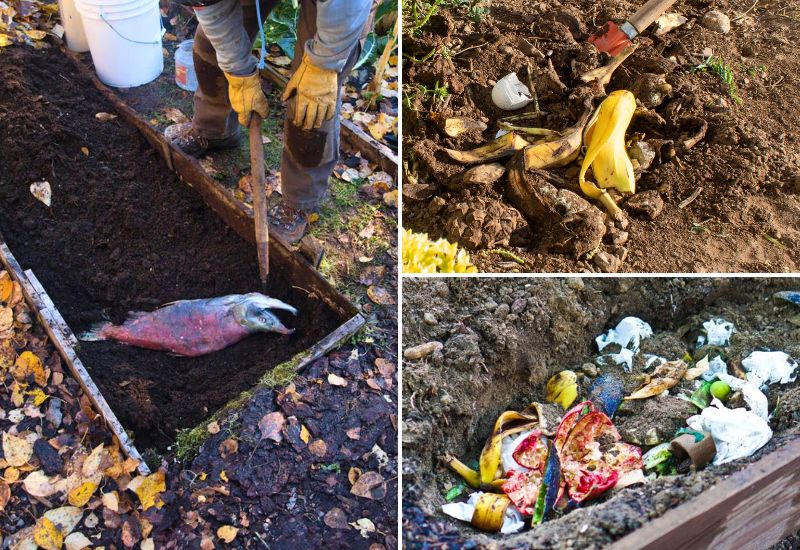
Burying animals, especially fish, can add a concentrated burst of nutrients to your garden soil. It tends to work best with fruit trees and perennials that will have years to access the animal’s nutrients as it decomposes. Bioavailability can permeate the soil for five or more years without having to add synthetic time-released fertilizers.
The biggest challenge with burying dead animals and fish remains is that the odor can attract raccoonsand other scavengers to your garden. So, you want to make sure you’re burying it at least two feet deep in the garden soil.
You might want to also consider covering it with burlap or coating the ground with a good 4 inches of organic mulch. This will create a biodegradable odor barrier making it hard for wild animals to pick up the smell of the carcass until it’s become one with the soil.
Crushed Eggshells
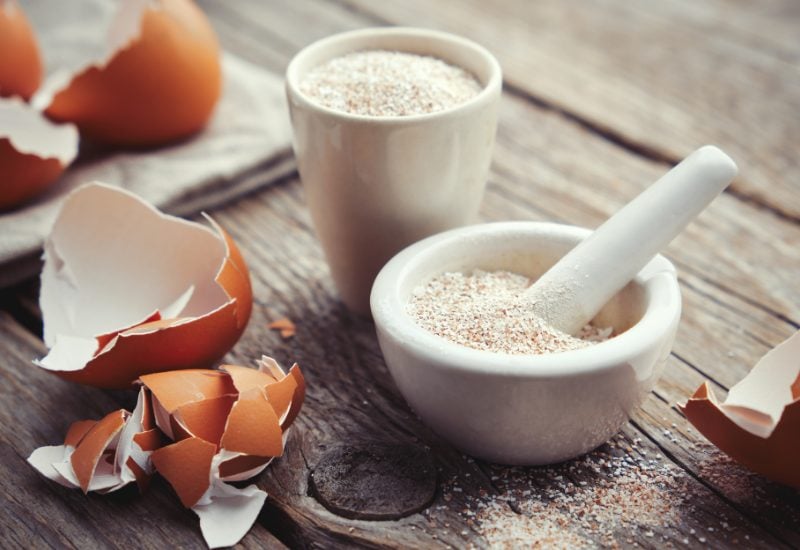
Burying eggshells in your garden soil can provide a boost of calcium and might also help increase the pH of acidic soil. This can really help prevent blossom end rot and similar problems caused by low soil calcium.
Garden soils are always being depleted of bioavailable calcium. Plants take it up, and when the fruits are harvested, it isn’t returned. This is why many commercial farms apply lime and/or other calcium amendments into their fields every few years.
Eggshells need to be ground up fine to be immediately bioavailable to your plants. Ideally, you want the grain size to be similar to table salt or smaller.
It’s best to add crushed eggshells to your soil in late fall or early spring to help it become more bioavailable to plants when they need it most in mid-to-late summer. Then lightly till it into your soil so that it’s present in the top 4 to 6 inches of topsoil.
Manure
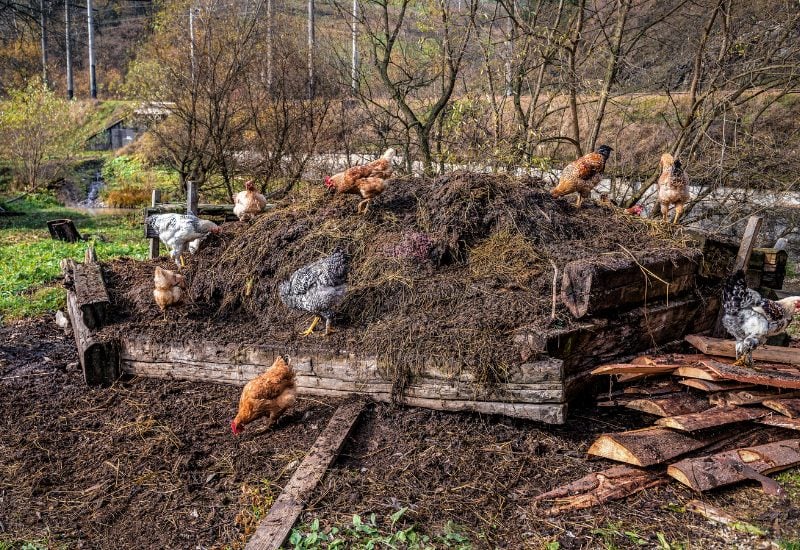
I insist that any animal manure is at least 6 months if not a year old before it comes anywhere near the garden. Not only does this ensure bioavailability but it also reduces the risk of introducing potentially dangerous soil pathogens. There are different types of manure to consider. Whatever you choose should only come from 100% herbivorous animals such as cows, chickens, or even rabbits.
Pro Tip
If you are sourcing manure from pasture-raised animals like horses, grass-fed cows, or sheep, you want to give the manure a full year to mature. With these types of manure, the biggest worry is introducing a massive number of dormant weed seeds to your garden. After a full year, the manure will mature to full bioavailability and the weed seeds will biodegrade to the point of being inert.
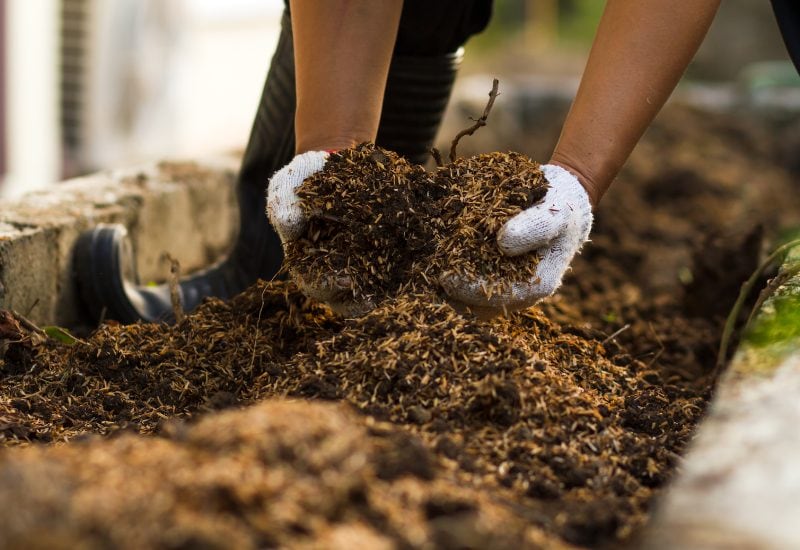
I believe that burying manure in your garden soil is preferable to top-spreading it. Otherwise, you can apply it as you would compost at a volume of 1 to 2 inches. Then till it into the soil at least 4 6 inches deep.
If you’re augmenting soil in a planting bed for vegetables that will be eaten raw, you should dig out the planting bed to 6 inches deep. Then apply 1 to 2 inches of manure and refill the planting bed with clean soil. This ensures no direct contact between any potential pathogens in the manure and the consumable portion of the vegetables.
Kitchen Scraps
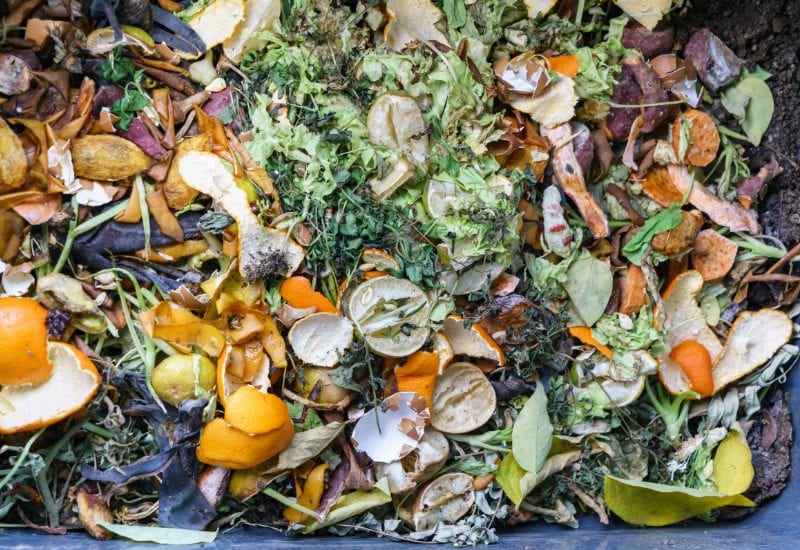
Kitchen scraps are often a key ingredient in so-called “Hot Compost.” They provide nitrogen and other key nutrients that degrade directly into the soil. The trick is to make sure you’re burying them deep enough that their decomposition process doesn’t affect vegetables that will be eaten raw like lettuce, broccoli, or root vegetables.
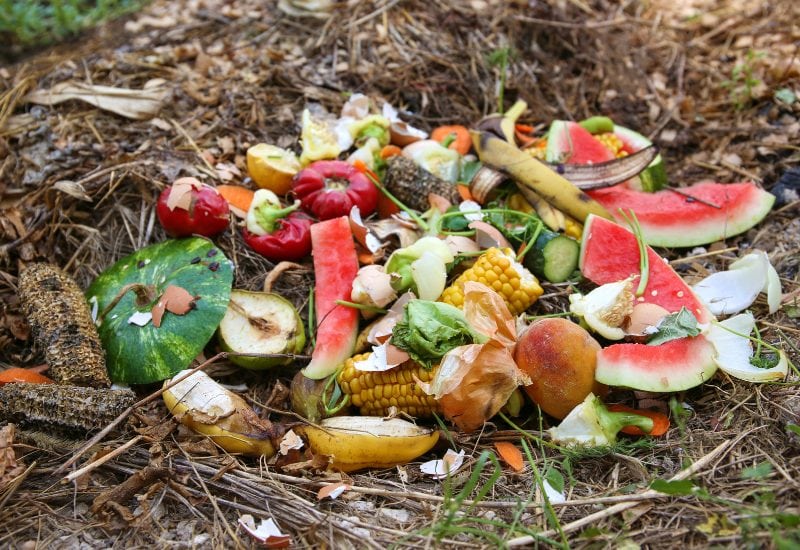
It’s best to bury kitchen scraps in your garden soil in late fall or early spring, to give it time to permeate bioavailable nutrients into the soil. This will also give it time to go through the early stages of the decomposition process which might attract animals to your garden.
If wild animals do end up digging into your soil to get the buried kitchen scraps, it won’t disturb the roots of any growing plants. It might even help aerate the soil a little.
The easiest way to integrate fresh kitchen scraps is to spread 1 to 2 inches across your planting beds. Then vigorously till it into the planting bed4 to 5 inches deep.
Coffee Grounds and Used Tea Bags
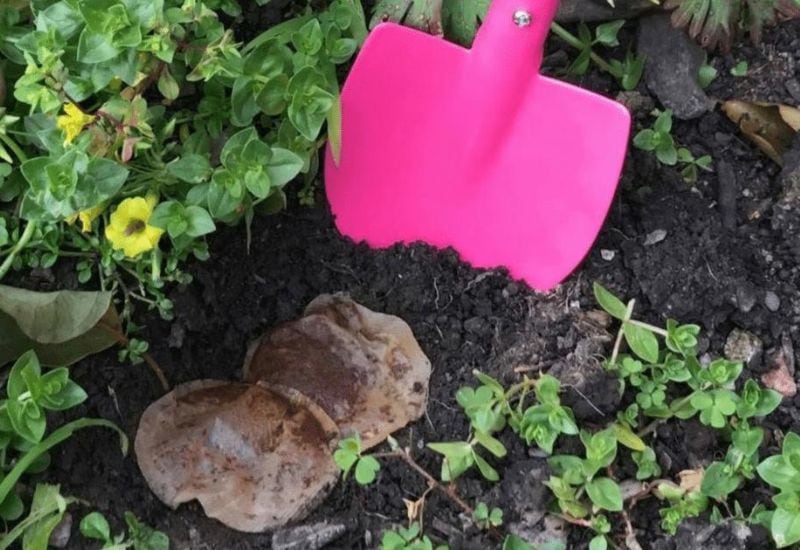
Burying coffee grounds and used tea bags can help with water retention if you have sandy soil, or you live in a region prone to seasonal summer droughts. Tea bags also provide a little extra nitrogen and phosphorus, which garden plants use to thrive.
The trick is to make sure that they’re used so that they aren’t altering the pH of your garden soil. Don’t go heavy on coffee grounds as they tend to be more acidic and take longer to break down to the point of being bioavailable.
If you have very sandy soil, you can bury coffee grounds and tea bags in a deep trench at the bottom of your planting beds in early spring. This lets them act as a moisture and nutrient trap throughout the summer, while also adding organic matter to the deepest garden soil.
Green Garden Waste
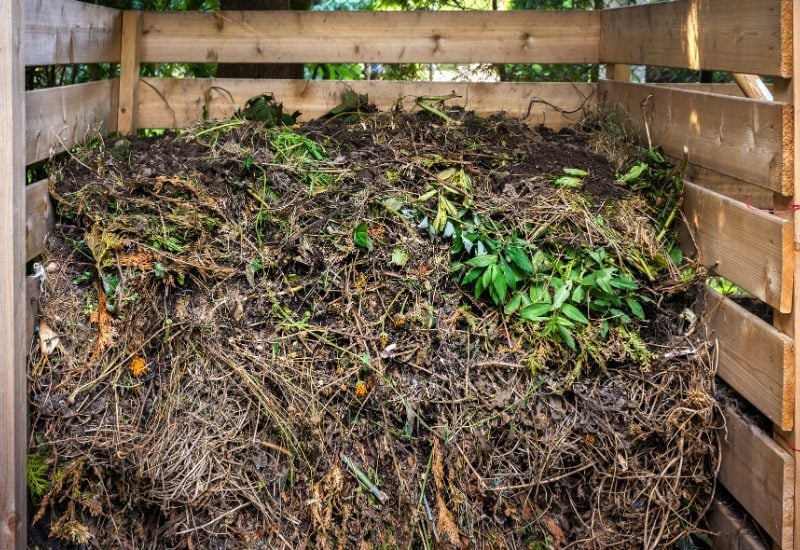
Burying green garden waste, dead stems and even weeds that haven’t gone to seed can add key macronutrients like nitrogen, phosphorus, and potassium back to the soil. It takes several weeks to months for these nutrients to become bioavailable, and lets you skip the composting process, which can be laborious in the fall. Especially if you live in a region with cold winters which arrest the composting process.
Ideally, you want to bury green garden waste in the soil 4 to 6 inches deep in late summer or early fall. This is usually the point where you’re cleaning up after the summer growing season. It gives the organic matter time to break down and become bioavailable to your plants when they start growing again in the spring.
Worms
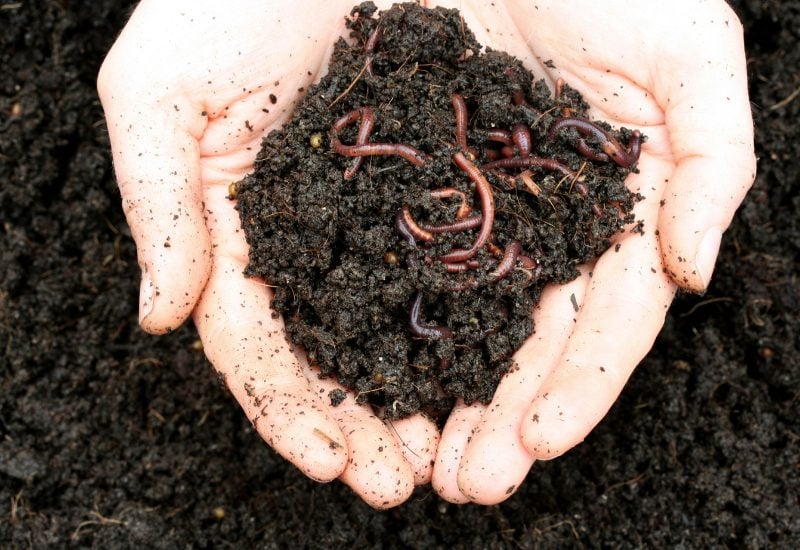
Worms are a great thing to bury in your garden as they help keep the soil loose and aerated. They also boost the natural nutrient levels and help accelerate the bioavailability of other things you bury in the garden soil. Especially things like kitchen scraps and green garden waste.
Depending on where you live, there might be a worm farm near you. Otherwise, you can buy live garden or composting worms online.
If you’re going to bury them in raised beds, you want to make sure they’re buried at least 6 inches deep. You want the soil to be reasonably moist, so they can spread their presence throughout all the garden soil layers.
Banana Peels
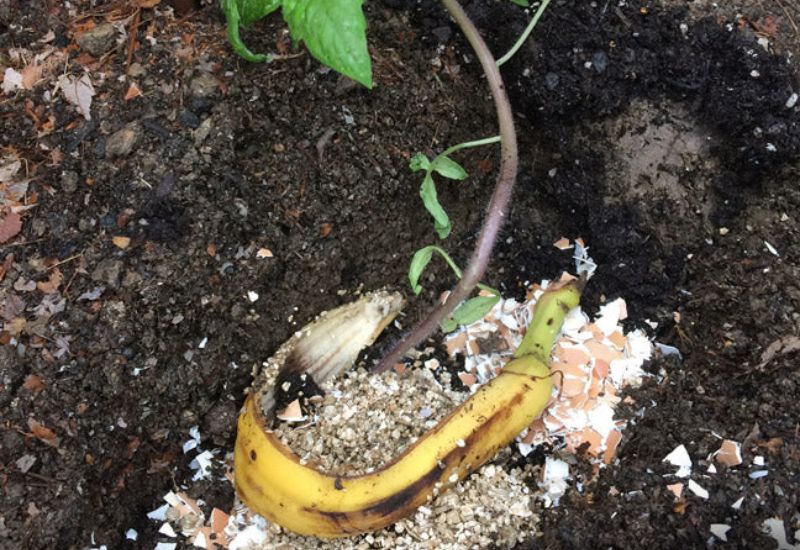
Ready to give your veggies a potassium-packed punch? Banana peels are the way to go! You might have munched on that banana for breakfast, but don’t toss the peel—your garden will thank you. Here’s why banana peels are fantastic for your veggies:
Nutrient Content
Banana peels are a boon for your soil, brimming with nutrients that plants crave:
- Potassium: Vital for plant growth
- Calcium: Helps build strong cell walls
- Phosphorus: Supports energy transfer
Pro tip: Chop the peels up to help them break down faster and avoid little critter visitations.
Steps for Use
- Slice the peels into smaller pieces.
- Dig a small trench around the base of your plant.
- Bury the peel slices.
- Watch your plants thrive.
Using banana peels can help in protecting your plants from pests, and you’ll notice your plants coping better with moisture stress, too.
Bonus Tip: If you’ve got time on your side, try making ‘banana tea’. Just steep a peel in water for a couple of days and then use this nutrient-rich concoction to water your plants. It’s like a wellness shot for your greens!
Remember, moderation is key. While peels are great, too many can tip the scales and bring unwanted guests to the party. So just like in your diet, balance is crucial for your garden’s diet, too.
Chopped or Shredded Leaves
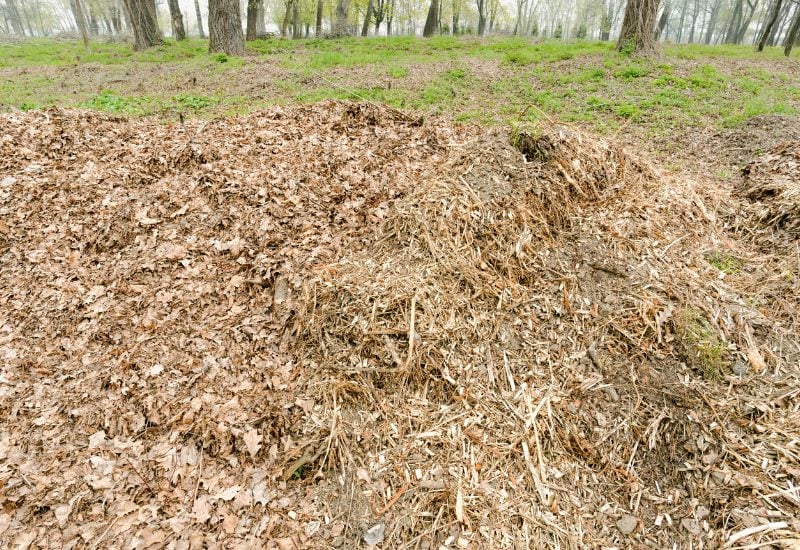
Adding chopped or shredded leaves from deciduous trees in late fall is a great way to boost the carbon levels of your garden soil. At my old hobby farm, I would mow the leaves from my oak trees into rows, breaking them down into quarter and dime-size pieces before adding them to the garden.
The leaves get the rest of fall, winter, and early spring to break down further. Thus, boosting the bioavailable carbon levels in the soil just when the garden plants need it most. As a bonus, it reduces the problems with snow mold developing in the lawn after a long winter!
How to Add Chopped Leaves to Your Garden Soil
I’ve learned that adding chopped leaves to your garden soil takes some strategic thinking. Especially if you live in a region where the ground freezes in late fall.
I like to till up some of my prime planting beds and dig a shallow trench in the middle early in the fall when the ground is still soft. Then I’ll run leaves over in my yard that fall with the lawnmower, pushing them closer and closer to the garden. Once they’re close and chopped to tiny bits, I use a scoop shovel to put down a 2-inch-thick layer of leaves into the trench. Assuming the ground is still reasonably soft I’ll bury them to let them sleep and break down over the winter and early spring.

Written By
Amber Noyes
Amber Noyes was born and raised in a suburban California town, San Mateo. She holds a master’s degree in horticulture from the University of California as well as a BS in Biology from the University of San Francisco. With experience working on an organic farm, water conservation research, farmers’ markets, and plant nursery, she understands what makes plants thrive and how we can better understand the connection between microclimate and plant health. When she’s not on the land, Amber loves informing people of new ideas/things related to gardening, especially organic gardening, houseplants, and growing plants in a small space.

