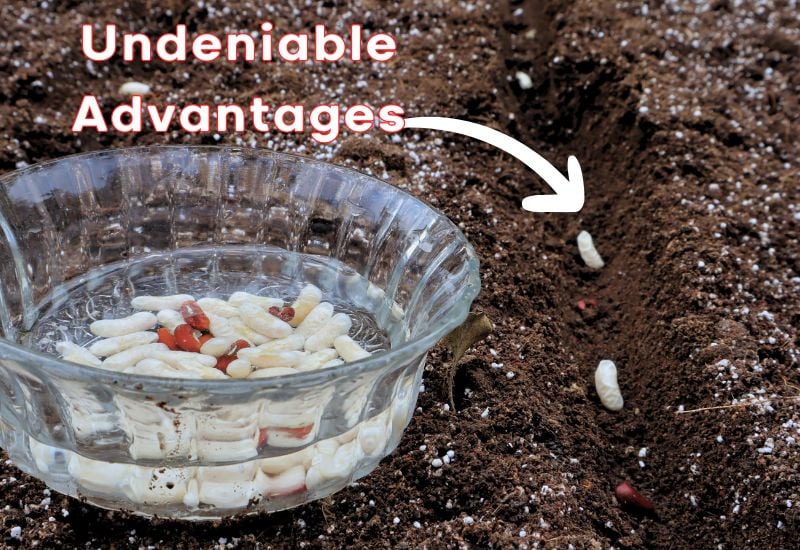
I love starting seeds indoors, but planting Veg (and Flower) seeds directly in the garden also has its perks, especially for certain plants that thrive better this way and might suffer from transplant shock. Of course, direct sowing brings its own set of challenges, like losing the predictability that indoor starts provide.
Uneven germination might discourage you from planting seeds directly in the soil, but don’t worry—there are straightforward strategies you can apply to improve germination rates and get consistently amazing results.
To make sure you get a good germination rate, and the seedlings grow into healthy plants, you need to hedge your bets with these five simple steps.
1: Loosen the Soil Before Planting
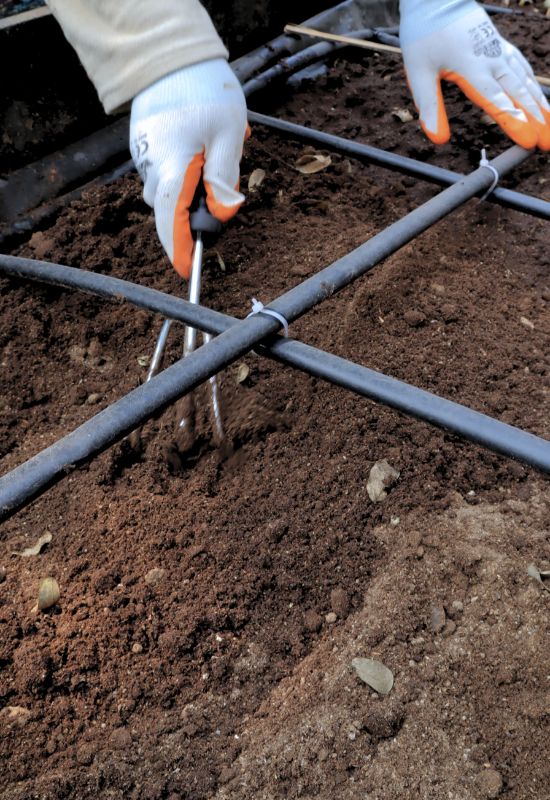
When direct-sown seeds first germinate, they usually send a strong singular tap root deep into the ground. This creates an anchor point for the plant, while also giving it access to moisture that can’t be easily burned away by the heat of the sun.
You don’t have to till the entire garden. A single hand trowel or a ho to loosen the soil 3 to 4 inches deep, and 3 to 4 inches wide, per row will suffice.
Pro Tip
If you see any large chunks of mulch, rocks, or hard clumps of soil, pull them out of the row. They’ll only get in the way of the roots or shoots when the direct-sown seeds germinate. In the case of mulch or a clump of compost, the excess nitrogen it carries could burn out tender young seedlings.
2: Use Seed Starter Potting Soil
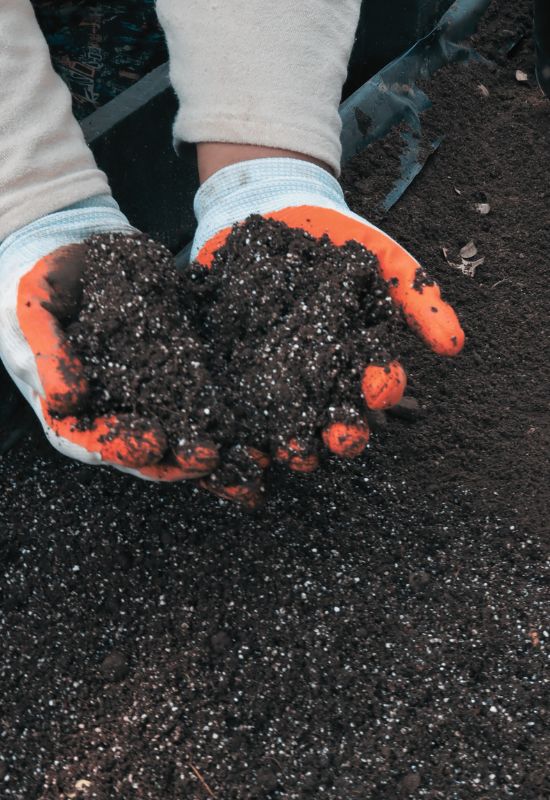
Laying down an inch or two of seed starter potting soil when direct sowing seeds maximizes your germination rate while giving your seedlings the balanced nutrients they need. It also has a fair amount of peat moss in it, which helps the soil retain the moisture direct-sown seeds need to germinate.
Established planting beds usually have nutrient profiles that are out of balance. There’s also the risk of lumps of old mulch, clay, and sand getting in the way of tiny seedlings cotyledon leaves as they try to push to the surface.
Sterile seed starter potting soil is also free of mold spores and other possible microbes hiding in natural soil that can kill tender, young seedlings.
Then directly sow the seeds onto the potting soil and cover them to the recommended depth indicated on the seed pack.
3: Add Mycorrhizal Fungi To Boost Your Seeds Germination
Adding mycorrhizae when sowing seeds directly has been a game-changer, especially with the hot weather I’m up against.
Now, you might be wondering, “What on earth is that?” Simply put, mycorrhizae is a type of fungus, but not just any fungus. It’s like a natural miracle worker that forms a symbiotic relationship with plant roots, encouraging them to grow stronger and deeper than ever before.
Why is this important, especially for those of us in hot climates? Well, as the mercury rises, the surface soil dries out quickly, making it tough for plants to stay hydrated. However, plants with deep, robust root systems can tap into moisture reserves deep in the soil, which is crucial for their survival and growth during those long, hot summer months.
Using mycorrhizae is straightforward. Before planting, simply sprinkle some of this magical fungus into the indentation where you’ll place your seeds. Then, plant as you normally would. This small step can make a world of difference.
Now, you might be thinking, “Is this really necessary?” The simple answer is NO, it’s not absolutely essential, but it’s incredibly beneficial. Think of it as giving your plants a head start in life, a way to ensure they’re strong, resilient, and capable of withstanding the heat.
4: Provide Consistent Irrigation
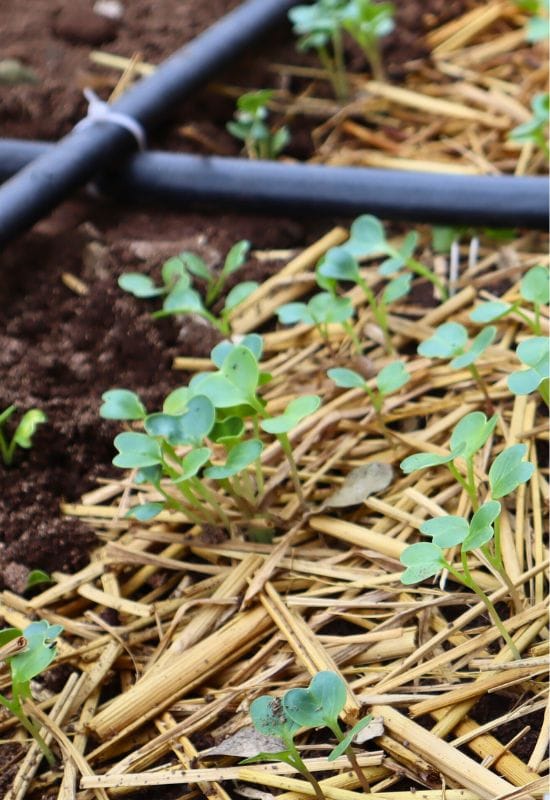
When direct-sowing seeds you need to provide them with consistent moisture. This starts with lightly misting the freshly planted bed until the potting soil is thoroughly saturated.
Then you need to come up with an irrigation plan that keeps them moist, but not overly wet. An adjustable drip irrigation system is ideal. You can dial it in for the type of soil in your planting beds and the moisture level the seedlings need.
If you’re using a timer system, you can set the drip irrigation to activate in the morning right around sunrise. Then again in the early to mid-afternoon to ensure the seedlings stay moist, while also reducing the risk of mold development.
5: Use a Row Cover
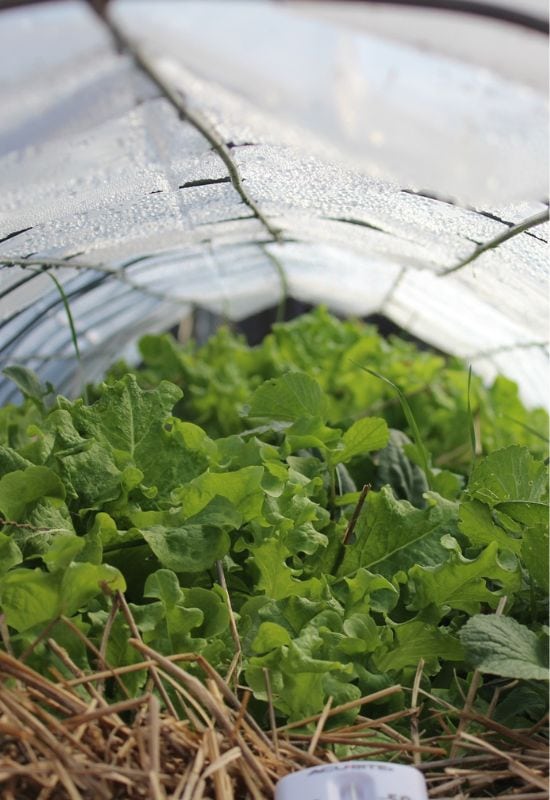
A fabric row cover protects planting beds from drying out in the sun, while also protecting them from washing away with the rain. Too much water on a freshly sown seed bed can wash seeds away or wash them into uneven clumps.
If a seed has just germinated, rain can wash the body of the seed away from the tender tap root. Essentially killing the seedling before the cotyledon leaves have a chance to emerge. This is a very serious risk with peas and beans.
While you can get away with plastic sheeting, there’s a real risk of heat build-up, which can be a major problem if your area gets a spring or fall warm spell. Ideally, you want to use a breathable fabric row cover to protect your seedlings.
You can pull it a week or two after the direct-sown seeds germinate. By that point, they’re strong enough and have roots deep enough to survive normal outdoor weather.
6: Thin Appropriately
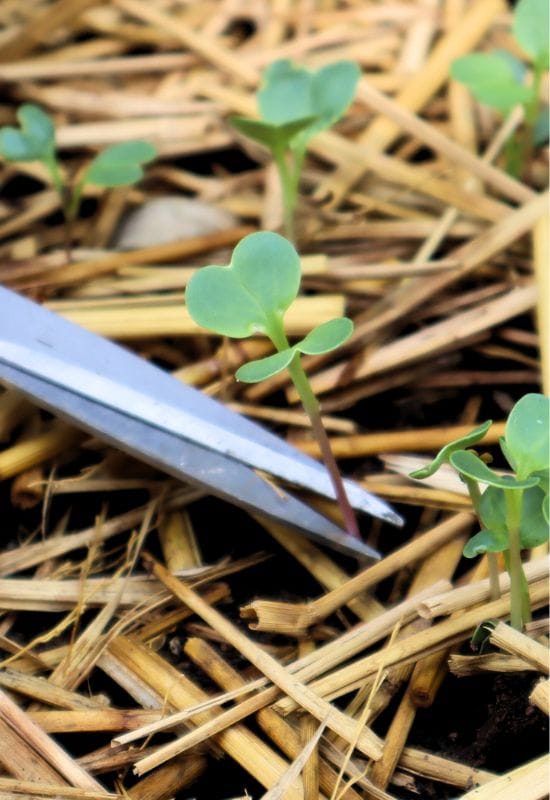
Once the direct-sown seedlings germinate, you’ll need to thin them to the appropriate spacing. This can vary by the type of plant, as well as how you intend to grow and harvest them.
For example, let’s say you’re growing French radishes, which will swell in size as they develop. They’ll need to be thinned to 1 to 1.5 inches apart within a few days of germinating.
If you’re growing loose-leaf lettuce to be harvested for micro-greens or adding greens to a smoothie, before they develop a head, you might not need to thin the seedlings at all.
Conclusion
Successfully direct sowing seeds starts with preparing your outdoor planting bed. You need to loosen the soil at least three to four inches deep to give the eventual roots a proper anchor.
Casting an inch or two of seed starter potting soil over the row gives direct-sown seeds a neutral base to germinate in. The additional peat moss also helps retain moisture, while providing seedlings with the balanced nutrients they need to go vigorously.
You can then place the direct-sown seeds over the prepared bed, and cover it with more potting soil to the depth recommended on the seed pack. A good misting of water will saturate the potting soil, and a drip irrigation system or consistent watering schedule ensures the planting beds remain sufficiently moist.
A cloth row cover will give your direct-sown seeds protection from the harsh sun while also preventing rain from washing them away while germinating. When they do emerge, you can thoughtfully thin the seedlings as needed.

Written By
Amber Noyes
Amber Noyes was born and raised in a suburban California town, San Mateo. She holds a master’s degree in horticulture from the University of California as well as a BS in Biology from the University of San Francisco. With experience working on an organic farm, water conservation research, farmers’ markets, and plant nursery, she understands what makes plants thrive and how we can better understand the connection between microclimate and plant health. When she’s not on the land, Amber loves informing people of new ideas/things related to gardening, especially organic gardening, houseplants, and growing plants in a small space.
