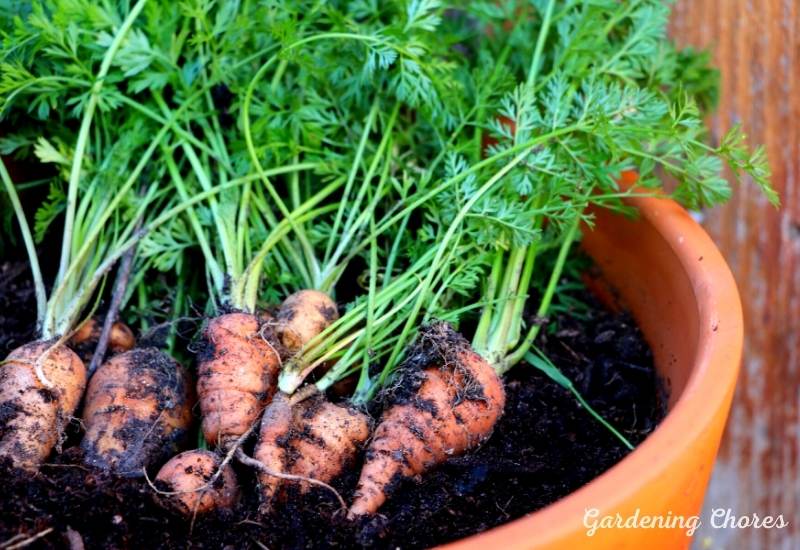
You may have heard that carrots can be finicky to grow, but growing them in pots gives you an added advantage by allowing you to create the perfect, micromanaged conditions for them to thrive.
As long as you have a deep enough container with lots of good soil and a sunny spot to put them in, your carrots will develop nicely and become a staple of your container garden.
This guide will walk you through every step of growing carrots in containers so there’s no doubt in your mind that you can do it!
How To Successfully Grow Carrots In Containers
1. Choose Smaller Carrot Varieties For Container Growing
Carrots grow best when the seeds are planted directly in the soil, as opposed to buying transplants from a nursery. This is true for most root veggies.
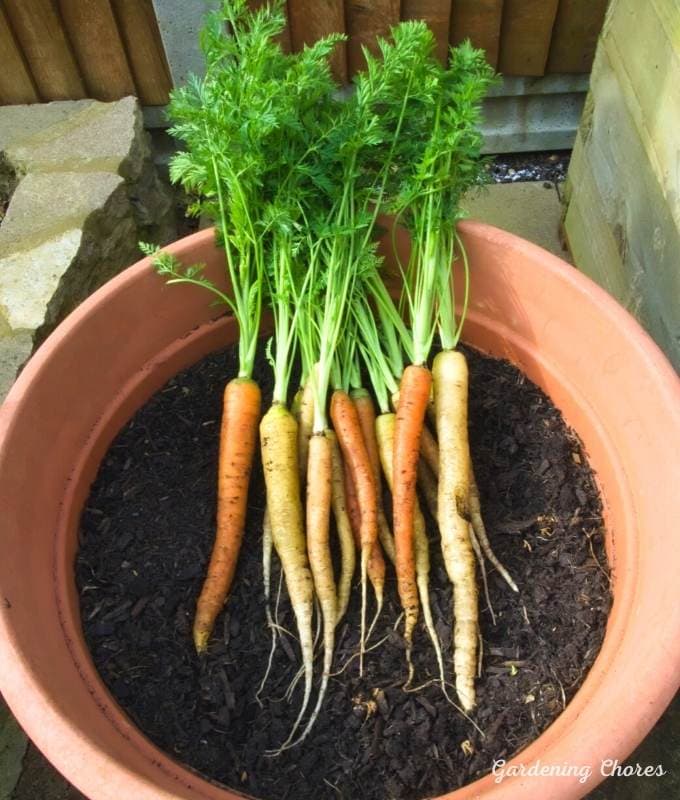
There are hundreds of carrot seed varieties, so do some research and think about what kind you would like to grow. The colors available go far beyond your typical supermarket orange, and vary quite a bit in the way they taste as well.
If your container is slightly on the shallow side, go for a shorter carrot like Parisian Heirloom or Little Fingers. If you have an extra deep, well draining container you can grow whichever varieties you like best (a personal favorite is the Kaleidoscope Mix which has all rainbow colors).
2. Choose a wide and deep container With Drainage Holes
3. Place Your container In Your Garden That Will Receive At Least Six Hours Of Full Sunlight
4. Fill The Containers With A Well-Draining “Soilless” Potting Mix
If purchasing the soil for your carrots, pick one designed for potted vegetables that has good drainage. It should be light and airy so that the carrots don’t have to struggle against heavy, thick soil while they are growing.
Make sure it has adequate potassium levels, and not-too-high levels of nitrogen. Nitrogen helps the carrot tops grow luscious but this takes energy from the root and is often the reason for undeveloped carrots.
If you want to learn more about what makes up a good soil, make your own soil based or soilless growing medium. All the component ingredients can be bought at any garden centre.
Peat moss is a light and aerated growing medium, and if being used can make up about half of your mixture.
Sand for soil mixes is sold at garden stores and greatly improves drainage. Compost usually contains all the base nutrients for good growth, and if you have your own it’s free!
Cococoir combined with equal parts sand, perlite, and peat moss will create a good soilless mix.
5. Evenly fill your container
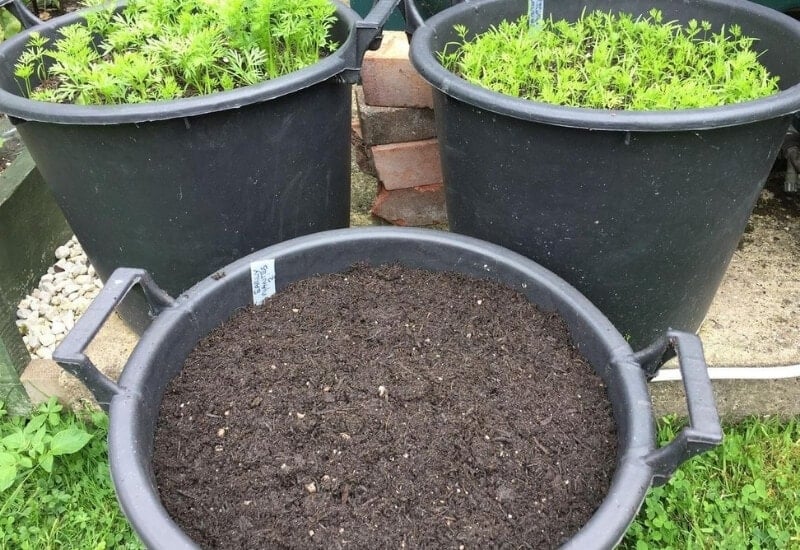
6. Plant Carrot Seeds after the last frost
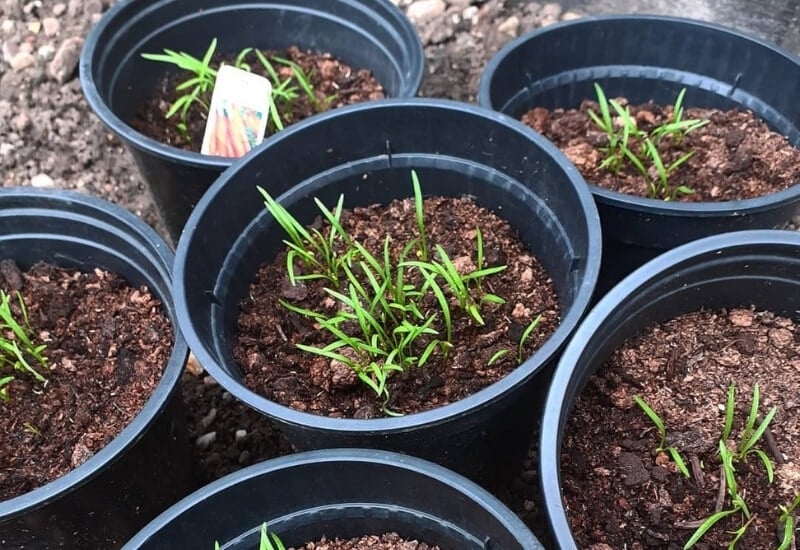
7. Water the soil Before Planting Seeds
8. Create trenches with your finger
As you will see, carrot seeds are teeny tiny, and as a result there are a number of different methods for planting them.
You can use a different technique if you prefer, but a really easy method is to just use your finger to create little shallow trenches in the soil.
9. Sprinkle Carrot Seeds Over The Moist Potting Mix
10. Cover up the seeds with Potting Mix
Holding your hand flat just above and parallel to the soil level, dust the soil from the sides of the trenches back over the top of the planted seeds.
Again, a very light touch is necessary here as you don’t want to accidentally disturb the seeds.
11. Keep soil moist during germination
Over the next few days while your carrot seeds are germinating, be careful with watering so that you don’t accidentally drown the seeds or push them too far down in the pot.
12. Thin out crowded seedlings
Once the little carrot seedlings have sprung up, wait for them to get to at least an inch tall (this will take a couple weeks) so that you can see them all properly before thinning.
Thinning is just removing the plants that are too close together so that the others aren’t competing for space.
You can pluck out the crowded seedlings or use clippers, some people say plucking damages the other plants but if you are careful it is generally a lot quicker than clipping every plant at the base since they are still very small at this stage.
Since different varieties are different widths at maturity, check your seed packet for spacing recommendations. Around 2 inches (5cm) is usually standard.
As the plants mature, you can do a second thinning if needed, and the carrots from the second thinning are usually big enough to eat. Homegrown baby carrots!
13. Fertilize as needed
14. Cover pots with thin fabric To Protect From Pests
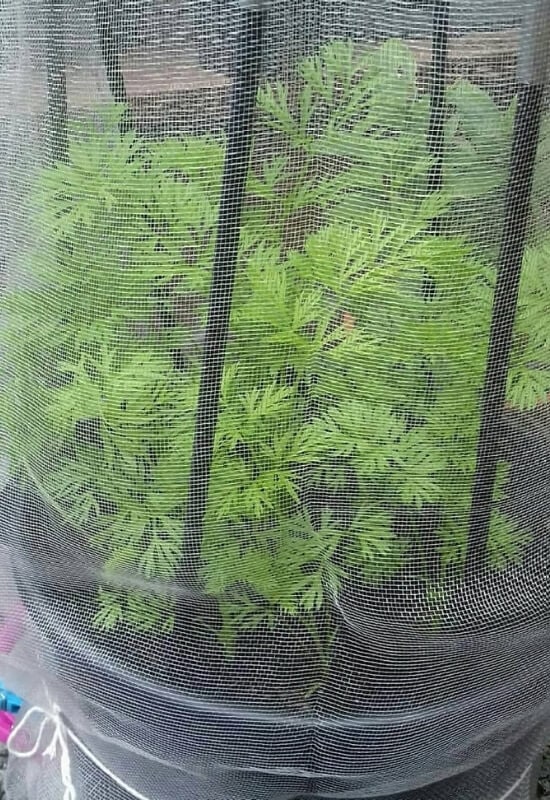
Depending on your region, there are quite a few pests that will go for carrots. Carrot rust fly is an insect that will lay eggs in the soil in the spring and late summer, and when they hatch the larvae will burrow into the carrots which produces a discoloration that looks like rust.
Time your plantings to be out of sync with the breeding period, or create modified floating row covers on your pots with thin fabric to protect your plants from this pest amongst others.
15. Cover the exposed tops
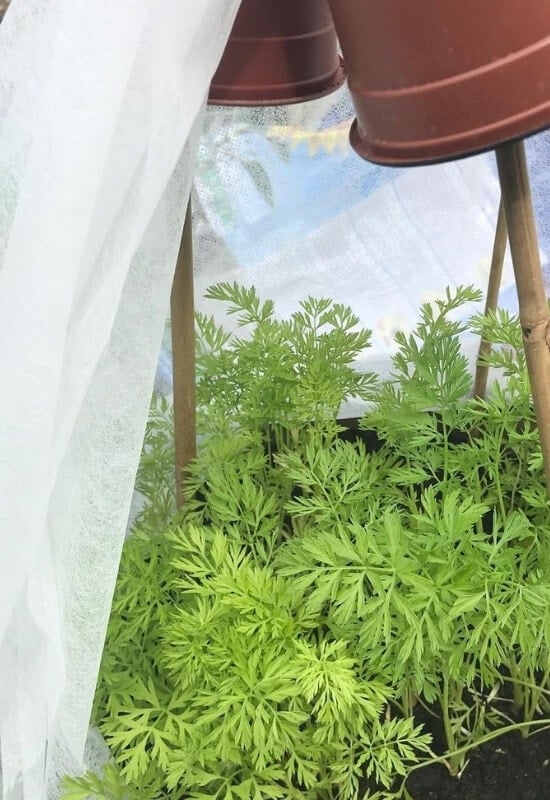
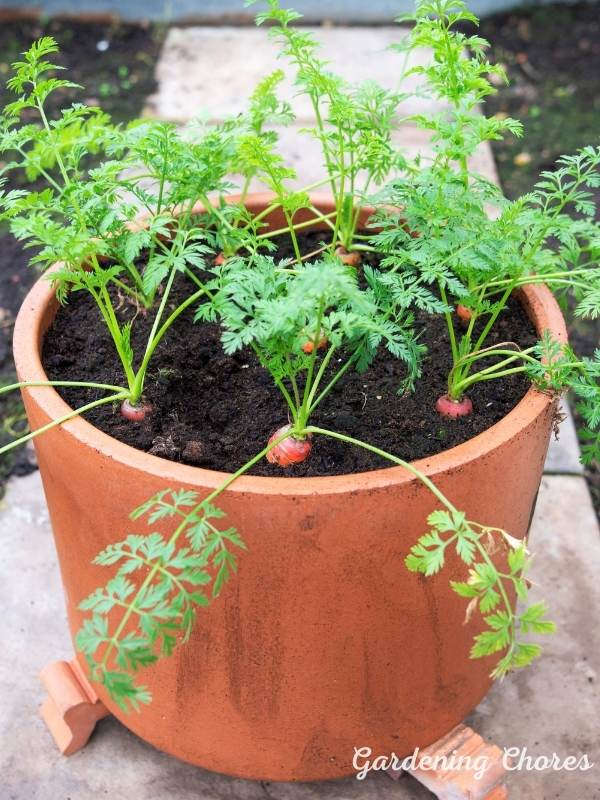
As the carrots mature, you might begin to see the tops pop out of the ground. As they do, you can cover them with more soil or mulch (mulch has the added benefit of keeping the soil cool and controlling weeds).
If you leave them exposed they will develop a green color and that part may taste slightly bitter. Maybe you’ve seen carrots with green tinged
16. Harvest carrots according to seed packet and size
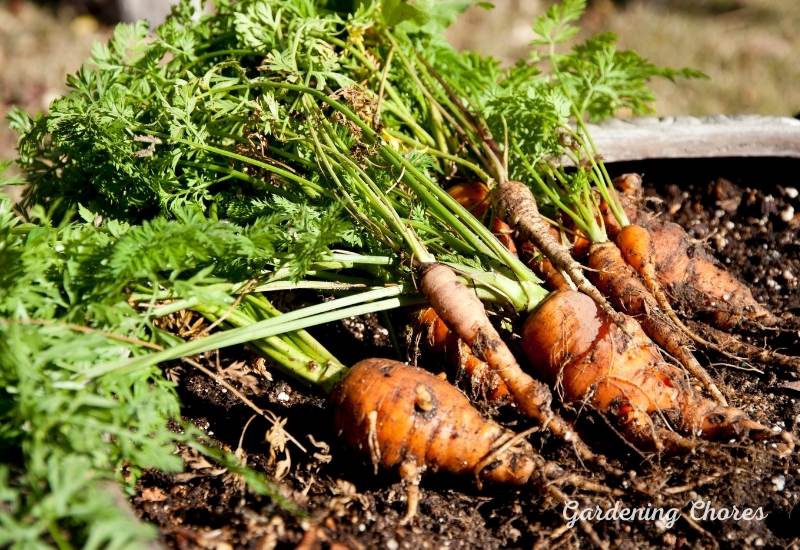
Again, this will depend on the variety of carrot you have chosen as the smaller carrot varieties typically take less time to mature and the larger ones longer.
Check your seed packet to see how many days your specific carrots are going to take before you can harvest them.
The best way to check if your container grown carrots are ready for harvest is to pull up one of the plants and see how big the carrot is (if you have carrots to spare).
They are usually sweeter when smaller and can lose some flavor if they get overgrown.
17. Harvest by hand with a firm grip
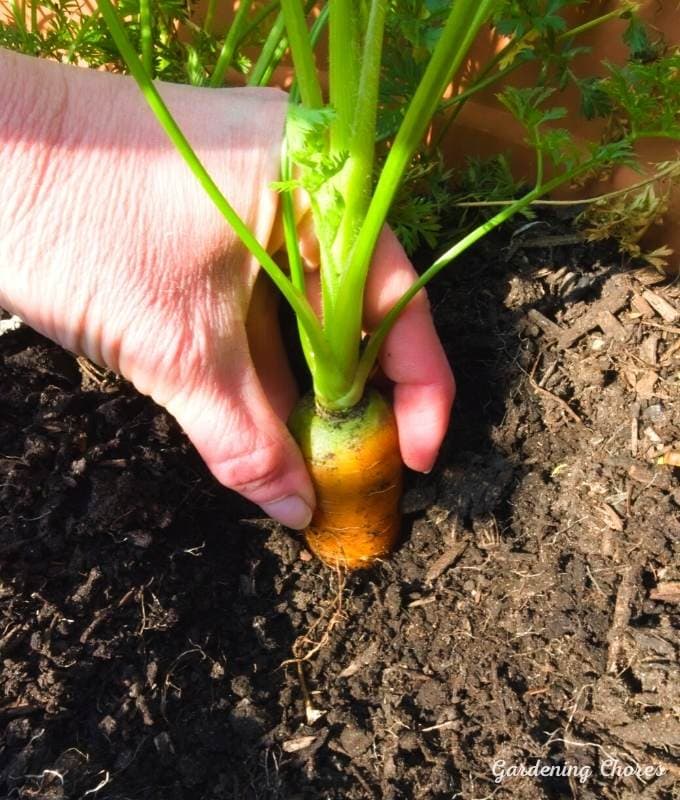
Harvesting carrots from a pot is easier than harvesting those grown in the ground. In the ground you sometimes need a pitch fork for leverage, but the soil in a pot is never going to become as compacted and hard, so you can generally just use your hands.
Frequently Asked Questions
Can I grow carrots in pots in the winter?
The answer is yes, but you need to protect the soil with a thick mulch and they might be trickier to get out of the soil in the early spring. Make sure your pots aren’t made of a clay that will crack if left outside in winter.
What crops are good to grow with carrots?
Radish, leafy greens, and other root veggies grow well with carrots. If your container is big enough you can alternate them to encourage diversity.
Why are my carrots weird shapes?
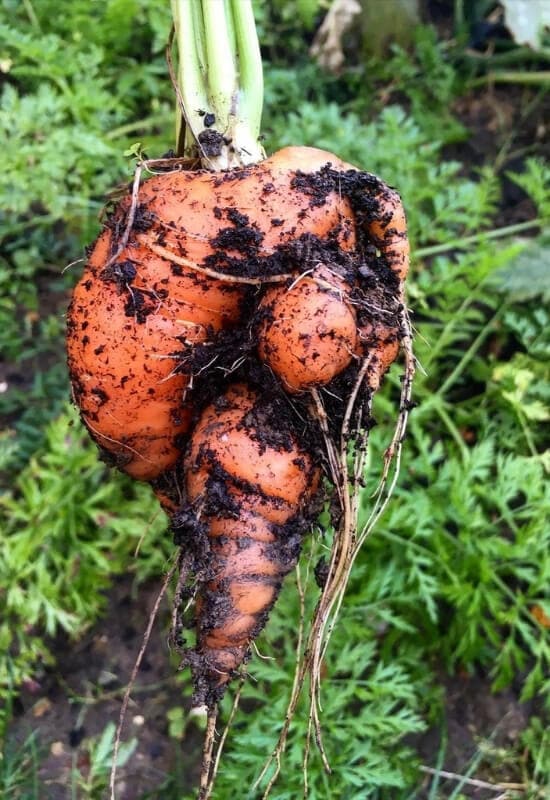
In the first few weeks after the carrot seed germinates, the plant will send out a long, thin taproot to sense its environment. This determines the length and shape of a carrot, and if it hits a rock or another obstacle it will become a bit deformed. The taste remains the same!
Can I save carrot seeds?
Absolutely. Let some of the plants bolt and produce flowers, and then collect the seeds accordingly. The seeds can usually keep for up to three years if stored correctly.
Enjoy Your Harvest!
Now that you have successfully grown your own carrots in a container, it’s time to reap the benefits. Different varieties are good for different recipes, but eat at least a few raw so that you can experience the refreshing crunch of a fresh carrot.
The tops of carrots are edible as well, and can be used as an ingredient in pesto, salads, or green smoothies.
To store your fresh carrots, wash them first and then keep them in your refrigerator. They can last up to a month when stored this way, although the greens will only keep for about a week.
It’s usually not recommended to plant carrots continuously in the same spot because of rust fly and other insects, but since you grew these in a pot just throw the soil on your compost pile and give the pot a wash before new plantings.

Written By
Maya
Maya is a freelance content writer and avid gardener currently based in Sweden. She gained her BA in Environment and Geography in Canada, which is also where she first learnt about the detriments of the industrialized agricultural system. During the summer she began farming through the WWOOF program, and over the next six years has continued to grow and learn at a number of organic farms and gardens across the US and Canada. She is passionate about the role of regenerative agriculture in wildlife conservation and climate change mitigation, and thinks growing your own food is a key part of revolutionizing the system. In her free time she likes to read, garden, and pet nice dogs.
