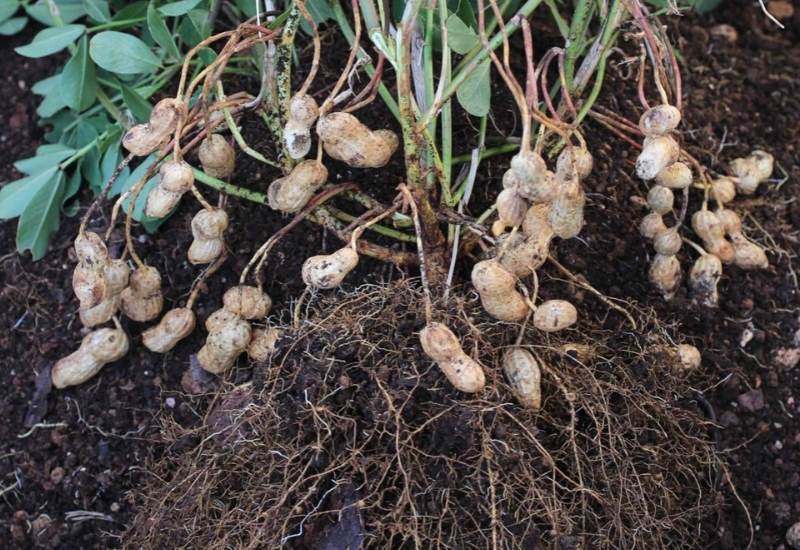
Peanuts might not be the first thing you consider growing in your garden, but growing peanuts in containers can be a fun experiment to try with your kids.
Compared to other crops, it is a little harder to grow peanuts in pots because pots restrict the underground space available for the plant to grow. That doesn’t mean it’s impossible!
Not everyone can grow peanuts; they require a long, warm growing season. Those who live in colder climates either cannot grow them or need to use season extenders.
You’ll need to start the seeds inside if you don’t have 100 frost-free days, but after that, anyone can grow peanuts!
Because peanut plants are root crops, the biggest concern you’ll have, aside from ensuring the plant is warm enough, is providing enough space for the plant’s roots to grow.
In this case, the bigger the container, the better and more abundant harvest you’ll have.
Ready to give it a try? This guide shows you everything you need to know from picking the right pot to planting the seeds and how to harvest the crop when its time. You’ll have plenty of homegrown peanuts at the end of the year.
Start Growing Peanuts in Containers
Peanuts belong to the Fabaceae family, a type of legume. They’re also called groundnuts, containing a variety of nutrients.
Here is what you need to know to get started if you want to grow peanuts in containers.
1. Choose A Container For Growing Peanuts
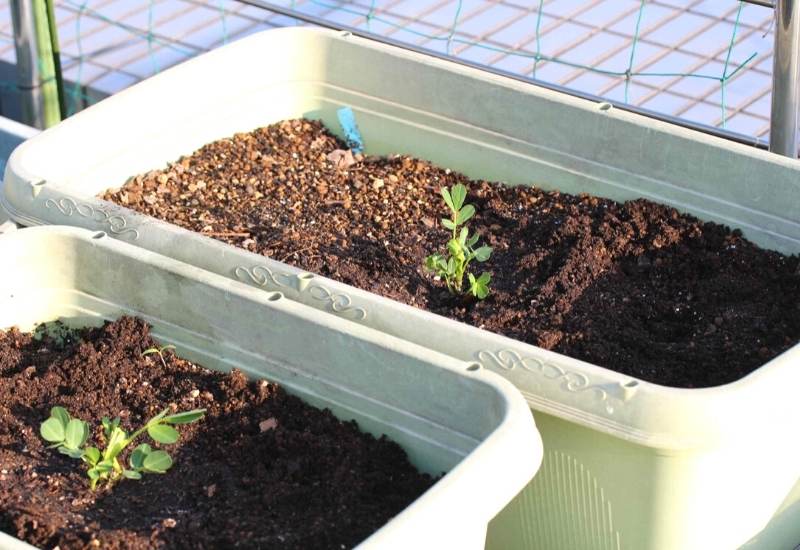
The very first step that you need to take is to pick a pot. Peanut plants develop pods 2-4 inches under the soil. So, it’s best to select a container that is 12 inches deep and 12-24 inches deep.
2. Pick The Proper Location For The Pot
You might not have realized peanuts are a tropical plant that enjoys slightly humid and warm conditions.
3. Fill The Pot With The Best Soil For Peanuts
Once you have the right location, you need to create the right soil. Start with a good quality potting mix, or you can make your own if you prefer.
4. Start Peanuts Inside – For Cool Climates
If you’re trying to grow peanuts in a colder region that doesn’t have, at least, 100 frost-free days, you will need to start the seeds indoors.
In these cases, plan to start the seeds indoors 30 days before the final frost date in the spring.
Fill your starter tray or pots with soil. Bury your peanut seeds in the soil, covering it thinly. Water the seeds and keep them in a warm area. It can take up 7-14 days for the seeds to germinate, so be patient.
5. When To Plant Peanuts Outside
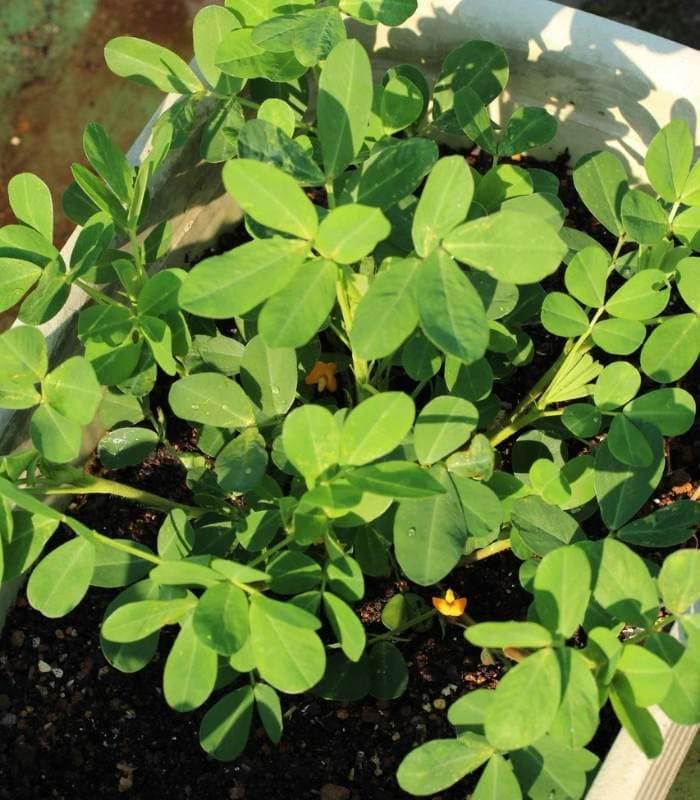
Peanuts are warm-season crops that cannot handle a frost. You need to be sure that the temperatures are, at least, 70℉, but it’s even better if the temperature is closer to 80℉ for optimal germination.
6. Planting Peanuts In Containers
Peanut seeds need to stay in their shell until just before planting. When it’s time to plant, you can open the peanut shell.
Once your pot is filled with potting soil or whatever mix you created, shell four peanuts and put them on top of the soil.
Sow your seeds one inch deep, covering them with a thin layer of soil. Make sure you water deeply to help the seeds establish and start to germinate.
If you’re transplanting seedlings outside, do so once the danger of frost has passed. Make sure you keep the transplants and seeds eight inches apart.
Caring for Peanuts That Are Growing in Containers
Now that your peanut seeds are in the ground, you have to learn how to care for the peanuts. Luckily, peanuts aren’t too hard to care for, so you only need to learn a few vital tips.
1. Watering Peanut Plants
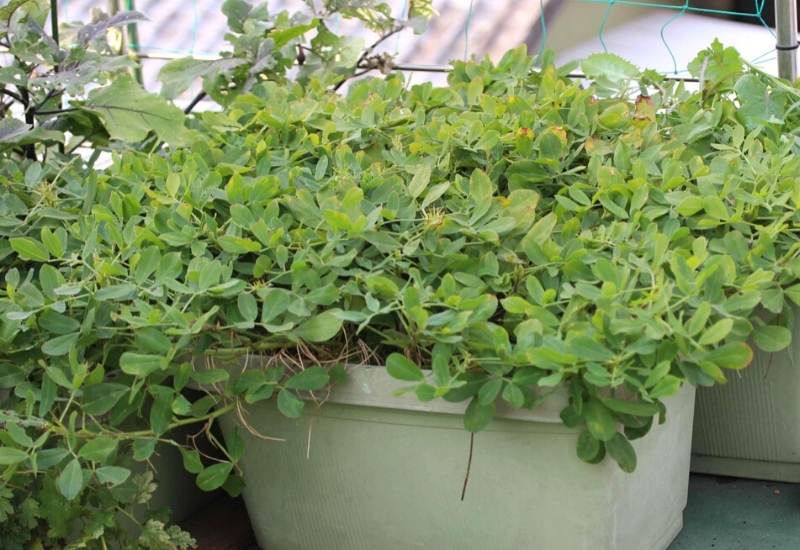
When you’re growing peanuts in containers, the soil needs to stay slightly moist. Containers need to be watered more frequently than in-ground gardens.
2. Keep Earthing Up The Plant
This part of growing peanuts is a bit different than other plants. You need to keep the base of the peanut plant covered with soil to increase production.
When the plant is 10 inches tall, add more soil around the bottom of the plant; this is called earthing (or earthen) up. You do this same thing for potatoes!
3. Add Fertilizer To Your Containers
At first, you don’t need to add any fertilizer to your plants. Fertilization needs to happen when you first see the yellow flowers forming on the plants.
Common Pests & Diseases that Bug Peanut Plants
Peanuts are most vulnerable to molds and fungi, but container-grown peanuts are less susceptible than in-ground gardening.
Leaf Spot
Here is a fungal infection that is common in warm areas with humidity or a lot of moisture. You’ll find small spots with light centers on the leaves, causing the leaves to turn yellow, eventually dropping off of the plant.
It can be hard to control leaf spot. You must rotate crops because leaf spot lives in the soil. You should plant certified disease-free seeds and remove and burn any of the damaged leaves.
Aphids
If you find aphids on your peanut plants, they can weaken your crop and spread disease. Aphids are tiny bugs that can vary in color from black to red and even green, multiplying rapidly.
You can find aphids stuck to the underside of the leaves, sucking the sap from plants. They can suck the life out of your plant, so you do need to check regularly.
If you find aphids, you can knock them off with a blast from the hose or use insecticidal soap sprays to remove them.
Rootworms
Rootworms can bury into young plants, feeding on the peanut pegs and pods in the soil. If you have a rootworm infestation, the insects can either slow the growth or kill the entire plant.
Rootworms are ½ inch long, slender, yellowish-white with a brown head, and they’re the larval stage of the spotted cucumber beetle. The easiest way to treat corn rootworms is to use beneficial nematodes.
Potato Leafhoppers
Potato leafhoppers attach to the underside of the leaves, sucking out the sap and spreading diseases.
It can cause the tips of the leaves to turn yellow. These pests have a wedge-like shape, so they’re often called sharpshooters.
You can try to prevent potato leafhopper damage, be sure to control the weeds as much as you can and try covering the plants with floating row covers. If you do have an infestation, spray the plants with pyrethrum.
Harvesting Container Grown Peanuts
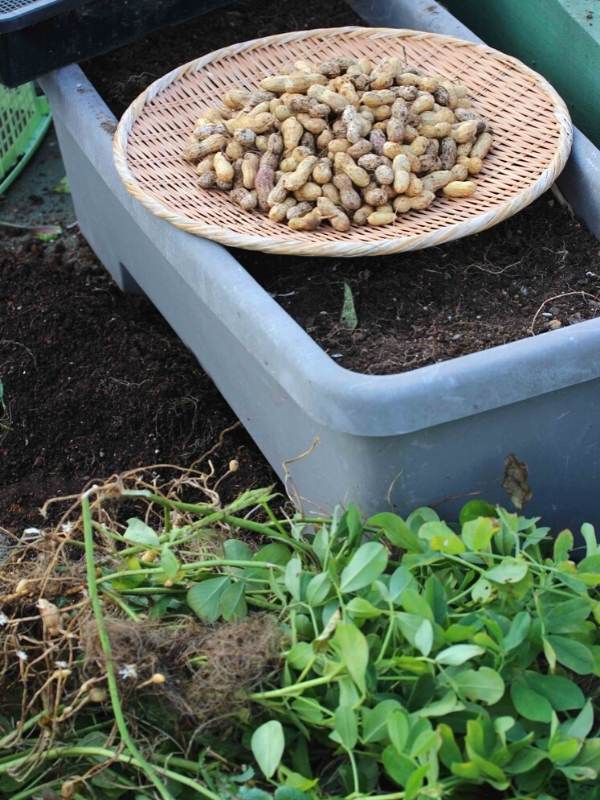
Remember that peanuts take quite a bit of time harvest; the growing season takes 100+ days.
From seed sowing to harvest, it can take anywhere from 90-150 days. As this date approaches, you’ll need to start watching for harvesting time.
The Types of Peanuts You Can Grow In Containers
Four types of peanuts are available for seed. You’ll have to decide how you want to use your peanuts to pick the right kind.
It’s important to note that when you purchase peanut seeds, you’re buying real, raw peanuts that are still in the shell. You need to keep your peanuts in the shell until it’s time to plant them.
Virginia Peanuts
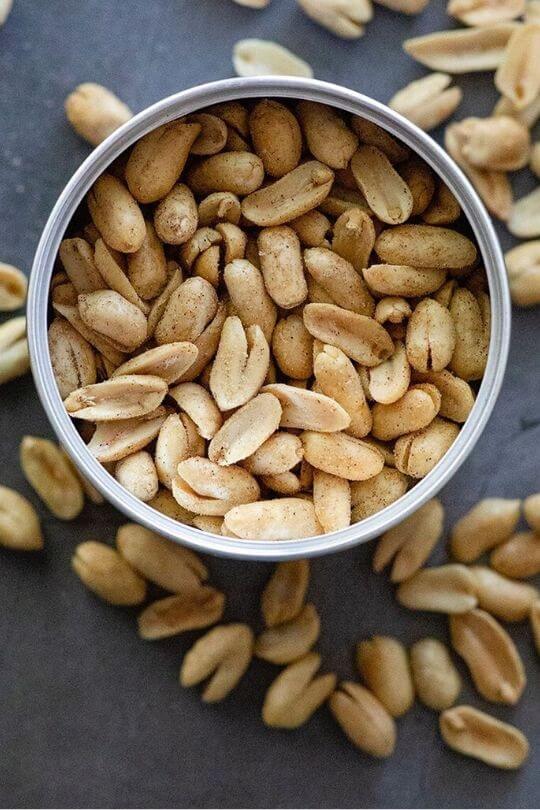
This type grows the largest nuts, which are ideal for roasting. The pods hold 2-3 seeds, and the plants can stand 24 inches tall and 30 inches wide. Due to their size, it can take 130-150 days to reach harvesting time.
Spanish Peanuts
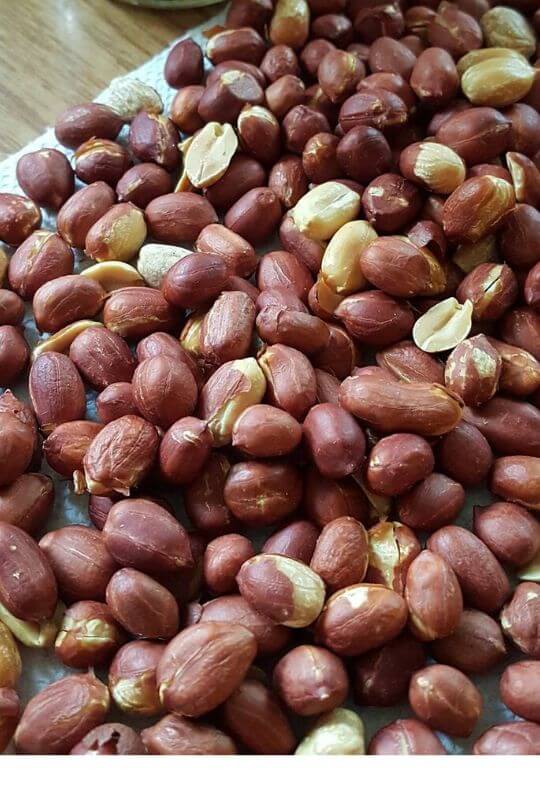
This type of nuts are the smallest, so they’re great for making nut mixes or adding to recipes. They’re small and round, covered in a reddish-brown skin with a bush-like growth pattern. It takes 120 days to reach full maturity for harvesting.
Spanish peanuts have a higher oil content so that they can be used for oil, peanut butter, and snacks.
Runner Peanuts
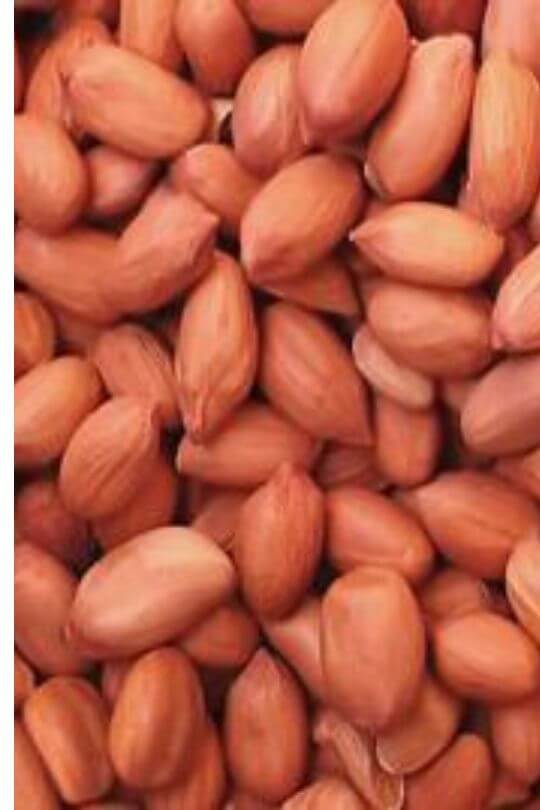
If you decide to grow runner peanuts, you can expect medium-sized nuts. Each pod typically grows two seeds, and they grow in a low bush. You can expect a harvest in 130-150 days.
This is the type that is most commonly used for peanut butter. Homemade peanut butter is exceptional! Their uniform size also makes these a good choice for roasting, such as for beer nuts.
Valencia Peanuts
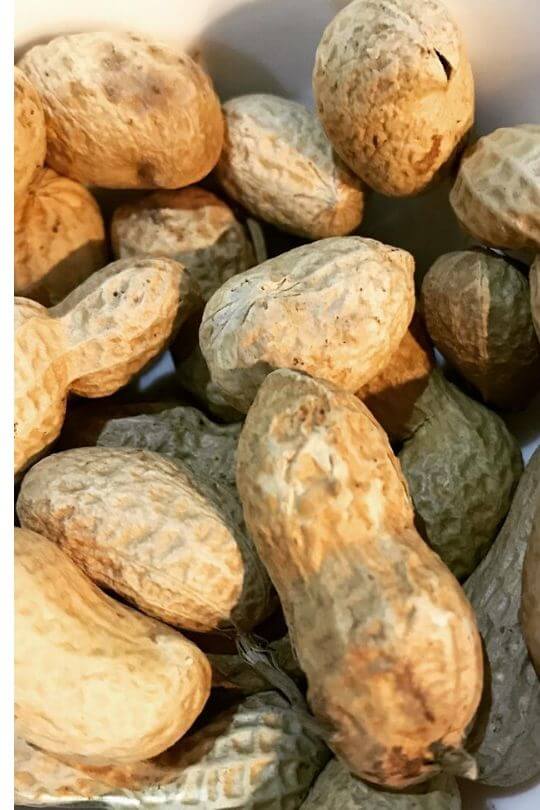
This type of peanut has 3-6 small, oval seeds in each pod, and the seeds are covered with a bright-red skin. The plant stands around 50 inches tall at full maturity and spread 30 inches wide.
The pods cluster around the base of the plant and should be ready to harvest 95-100 days after planting.
If you’re looking for sweet-tasting peanuts, Valencia peanuts taste delicious, often roasted in the shell, or boiled fresh. They can be used in desserts and recipes.
Final Thoughts
Most people never think about growing peanuts in containers, but if you have a sunny area and a long enough growing season, you can do it!
So long as you pick a pot that is big enough to create an ample harvest, homegrown peanuts can be in any garden.

Written By
Amber Noyes
Amber Noyes was born and raised in a suburban California town, San Mateo. She holds a master’s degree in horticulture from the University of California as well as a BS in Biology from the University of San Francisco. With experience working on an organic farm, water conservation research, farmers’ markets, and plant nursery, she understands what makes plants thrive and how we can better understand the connection between microclimate and plant health. When she’s not on the land, Amber loves informing people of new ideas/things related to gardening, especially organic gardening, houseplants, and growing plants in a small space.

Yes thisxwasxa good information as I make jamaican peanut butter,we use Valencia
Most informative article I have read. Thank You
I’m glad you liked it
Thanks I m in tembisa township near Johannesburg South Africa and this is another poor part of Africa if you could send any used containers to plant it could be much appreciated