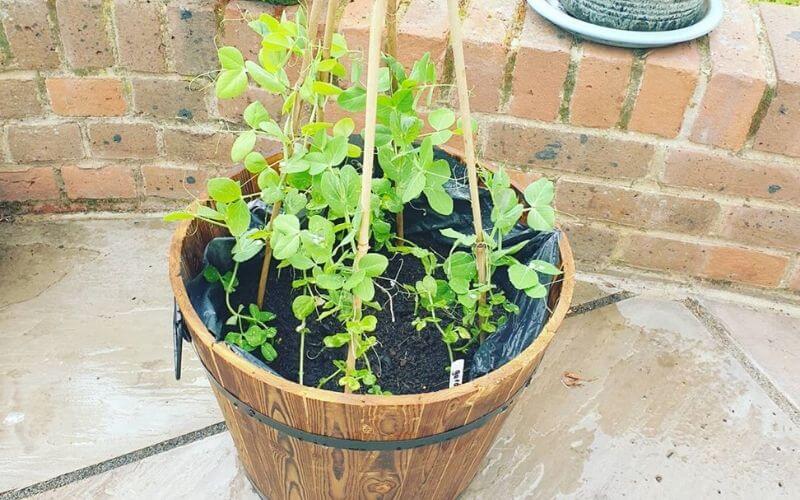
Fresh, homegrown peas are sweet, plump, and taste like heaven, but don’t despair if you don’t have space for a garden.
Growing peas in containers on your balcony or patio is so easy; even an inexperienced vegetable gardener can do it.
Anyone who has grown peas can tell you that they taste nothing like the canned version you buy in the stores.
Fresh peas are so sweet, perfect for picking right off of the vine and eat handfuls as you garden.
Best of all, peas grow so well in containers!
Growing Peas In Containers Is So Simple- Take A Look!
Not all plants grow well in containers, and peas are a crop that handles it well. Peas have delicate yet shallow roots that don’t require deep containers, and so long as you provide some type of support structure, the peas will happily grow.
For new gardeners, peas are a great choice; they don’t require too much care, and they aren’t picky.
We put together everything you need to know about growing peas in containers from how to pick a container to planting the seeds. Let’s take a look.
How to Start Growing Peas in Containers
Peas are a simple vegetable to grow. From planting to harvest, it can take as little as 60 days. That means in two months, you could be munching on fresh peas. Don’t waste any time; let’s get started!
1. Pick The Type Of Peas You Want To Grow
Believe it or not, there are three types of peas – who knew? Picking the kind of peas is an essential first step because it will help you find the right container.
Let’s look at the three types of peas you can grow in containers.
Garden Peas
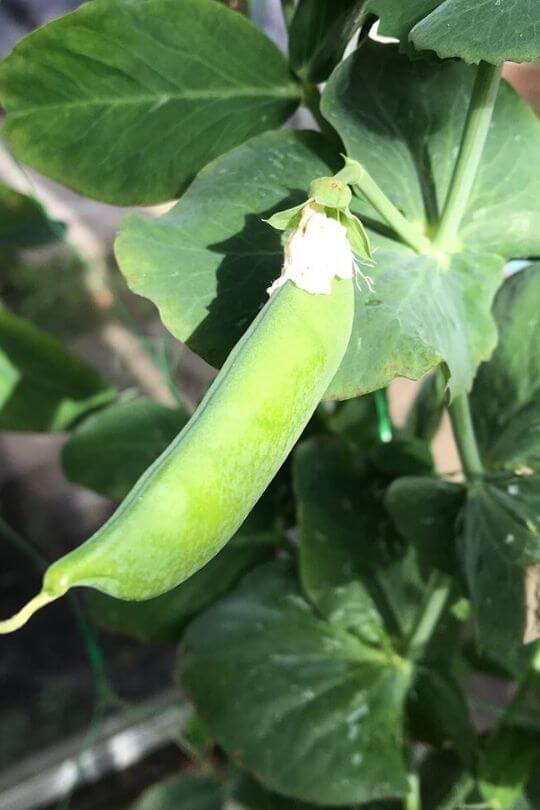
Sometimes called shelling peas or English peas, these are grown for the peas inside of the pods. The pods are inedible, so you can toss those in your compost pile.
Instead, you have to shell the peas to eat them, and they’re plump with a sweet, delicious taste.
Snap Peas
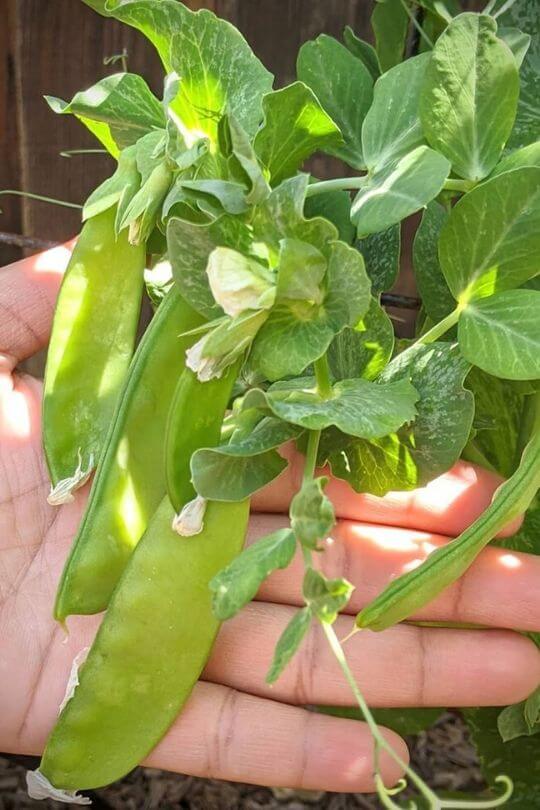
This type of peas is a cross between garden peas and snow peas. The seeds are noticeable inside of the pods, so you can shell them out.
At the same time, snap peas have edible pods, so you don’t have to shell them unless you want to do so.
Snow Peas
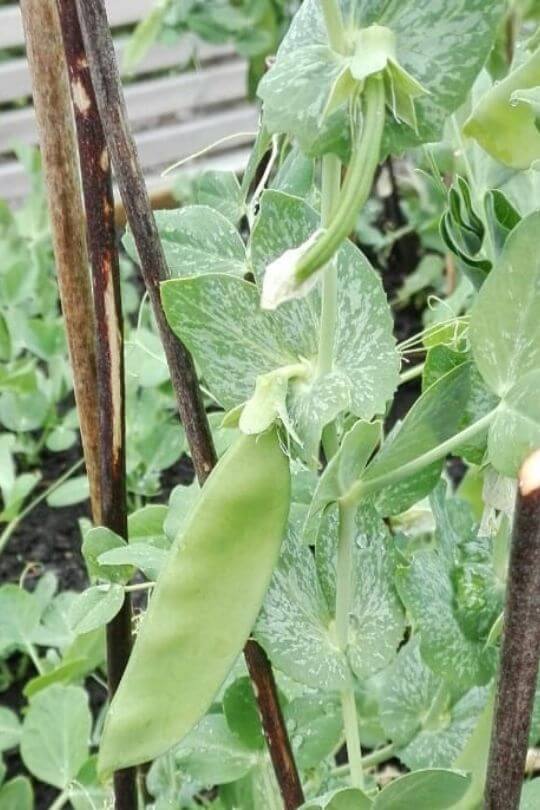
Snow peas are typically eaten raw with small peas inside. The entire pod is edible, and you usually add them in stir-fries, soups, and salads.
2. Know When To Plant Peas In Pots
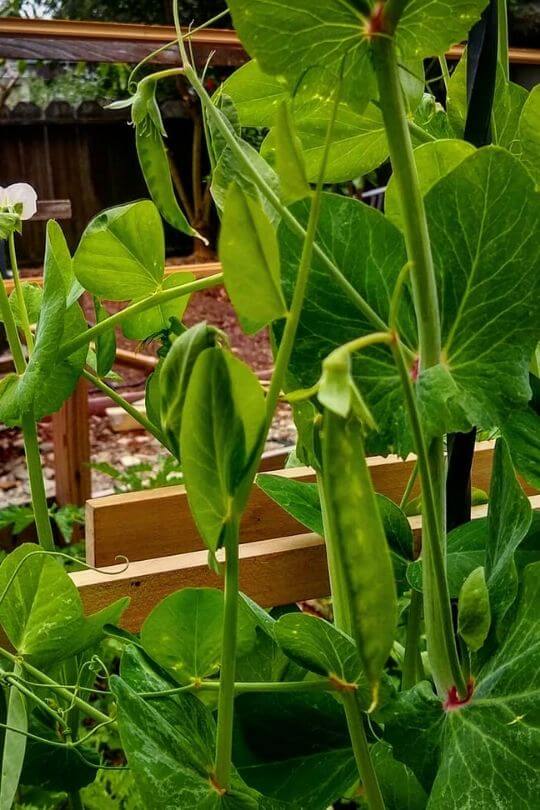
Peas are a cool-weather crop. While they can and do grow in hot summer, it’s best to plant them in the colder weather.
The best time to plant peas is two to three weeks before the final frost date in your region. You can use succession planting techniques with peas as well.
Make sure the soil temperature is at least 40℉; the seeds won’t germinate in soil temperatures below this.
If you live in a region with cooler summers, you can grow peas then as well. Most gardeners can grow peas in the fall, and if you have mild winters, you might be able to grow another harvest then as well. e
3. Pick A Place For Your Container
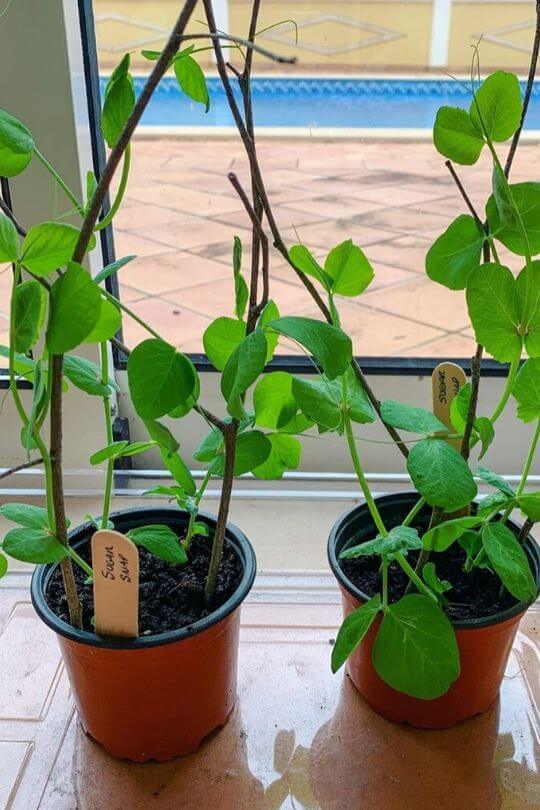
Peas need full sunlight or partial shade to germinate and grow. A sunny location with good air circulation is ideal for peas.
If you are growing peas in the summer or somewhere with a hot climate, pick a spot that has some shelter from the intense afternoon sunlight.
4. Select The Right Sized Container
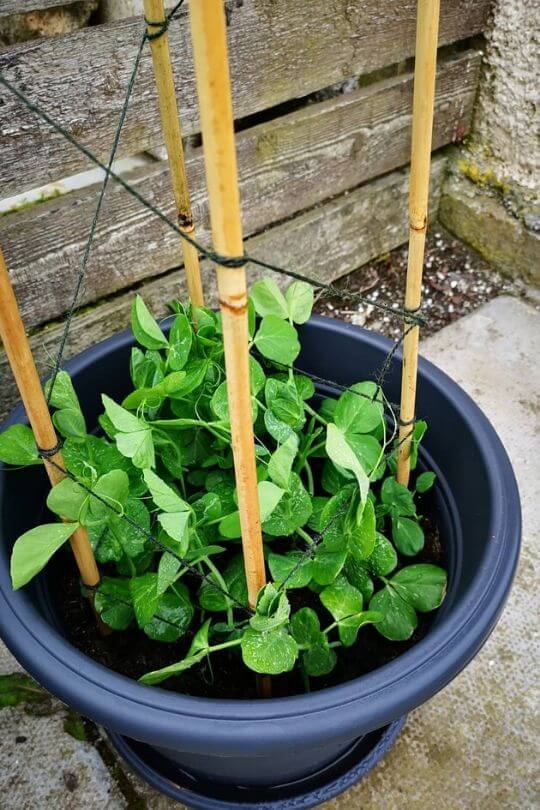
Peas have shallow roots, so you don’t need a very deep pot. Instead, look for wide planters such as a trough or a window box.
A wide planter will make it even easier for you to install a support system for peas to grow upward.
The size container that you buy does depend on the type of peas you pick and the varieties you want to grow.
If you want tall, bushier pea varieties, pick pots that are 8-12 inches deep with the same width. For dwarf pea varieties, get a container that is six inches deep.
Aside from depth, you need to make sure the container has proper drainage, which is ideal for airflow. It’s best to use clay or wood containers rather than plastic ones.
Even though plastic containers are cheaper, plastic heats the soil quicker and holds more moisture. That could reduce the yields of the plants.
5. Prepare Soil For Planting
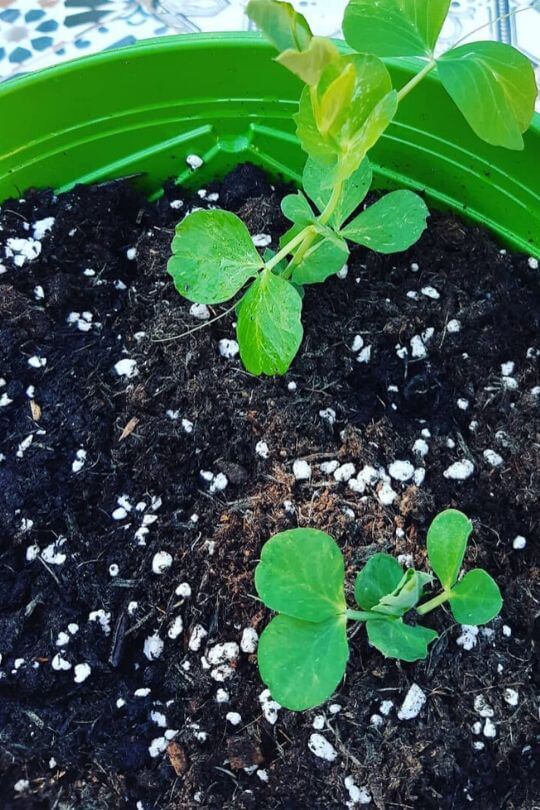
The next thing that you have to do before planting your peas in containers is to prepare the ideal soil for growing peas.
Peas prefer a loamy, well-draining potting mix. You can either buy a mix or create your own.
Whatever you decide to do, there is one thing that you should never do. Never take regular garden soil that is in your backyard and stick it in your containers. That increases the risk of introducing bacteria to your plants.
One of the great things about peas is that they aren’t a finicky or picking plant about the type of soil.
They don’t care about soil pH ranges, so you can grow them in slightly acidic or slightly neutral soils.
6. Add Support For The Climbing Vines
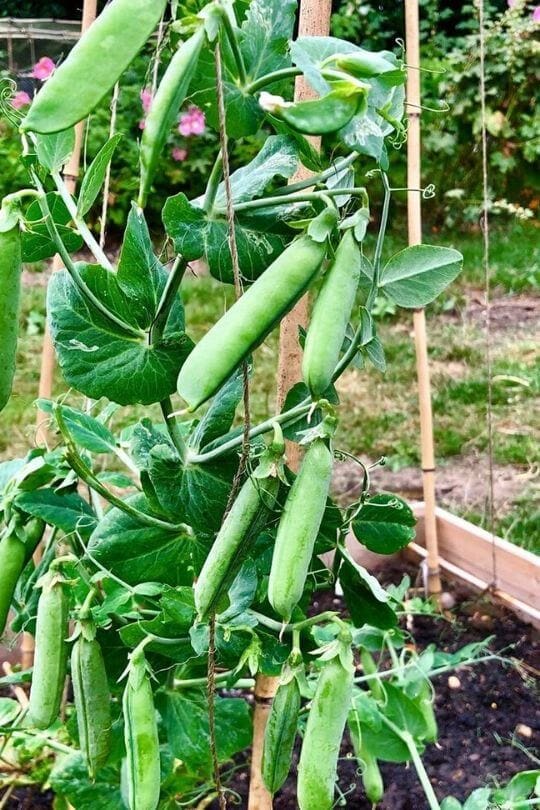
Pea plants are natural climbers, so they do require support for proper growth. Otherwise, your vines will grow along the ground, collecting bacteria.
Dwarf or bushy varieties don’t always need support, but they don’t have the same yield as the vining types. Vining peas need support because the vines can grow up to eight feet tall!
It’s best to add the support system before you plant your plants because you could accidentally disturb the delicate roots. A trellis, an arch, or even a simple stake can provide the necessary support.
7. Planting Peas In The Pot
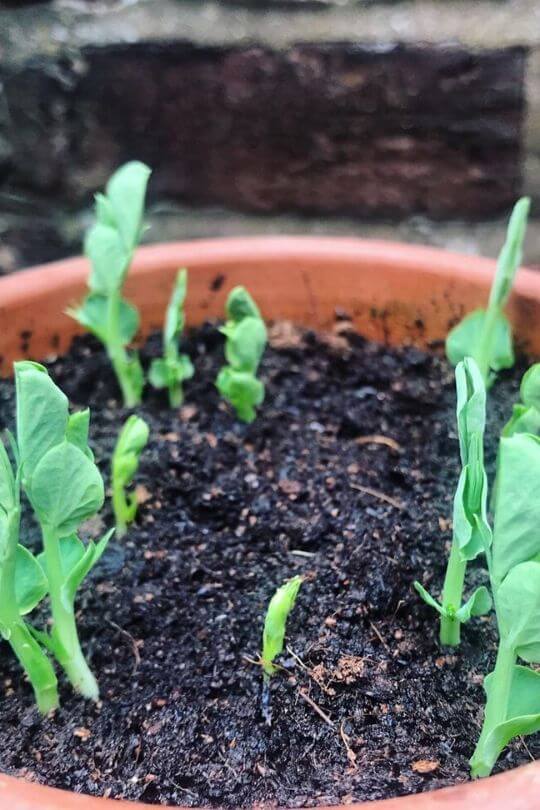
When you’re growing peas, you sow the seeds directly into the dirt. You can start them inside, but it’s just as easy for you to put the seeds outside.
If you do want to start the seeds inside, plant them in seed starting mix in small containers. Once germinated, wait until they’re four to five inches tall before you transplant them outside.
Sow the seeds outside in the dirt one to two inches apart and one or two inches deep. Keep at least 3-4 inches between each row.
Once the seeds are buried, water the soil well. It needs to stay moist but not soggy wet while the seeds germinate.
It typically takes 7-14 days for peas to germinate, depending on the soil temperature. If the soil temperatures are at 60℉ or above, germination should be quicker.
If you want to speed up the process of germination, try soaking the seeds in water up to 24 hours before sowing.
Soaking is a great way to get your seeds to sprout faster because it softens that hard exterior shell of the seed.
Can I Grow Peas Indoors?
Not all crops grow indoors well, but peas are one of the veggies that you could grow indoors in containers if you have a south or west-facing window that gets six or more hours of direct sunlight each day.
You can use a six-inch deep window box to grow a dwarf variety of peas. It would be best to grow a dwarf variety if you decide to grow peas indoors.
By growing peas indoors, you could grow them year-round, even in the winters!
How to Care for Peas Growing in Pots
Peas are great for new gardeners because they’re so easy to grow and require little care. Here are some helpful tips for caring for peas that are growing in your garden.
1. Water Regularly
Since peas are a cool-weather crop, they do prefer cold, moist soil, but gardeners do need to be careful not to overwater the plants.
A constantly soggy soil situation would kill your plants. Too much water will cause your plants to either rot or produce a smaller yield.
On the other hand, you need to pay close attention to ensure the soil never dries out completely. Pea seeds won’t germinate in dry soil, and established plants need moist soil to produce pods.
Plants grown in containers need more moisture than plants grown in the ground. This is especially true for plants that produce pods. Check the topsoil each day, and if it’s dry, then it’s time to water again.
2. Mulch Around The Plants
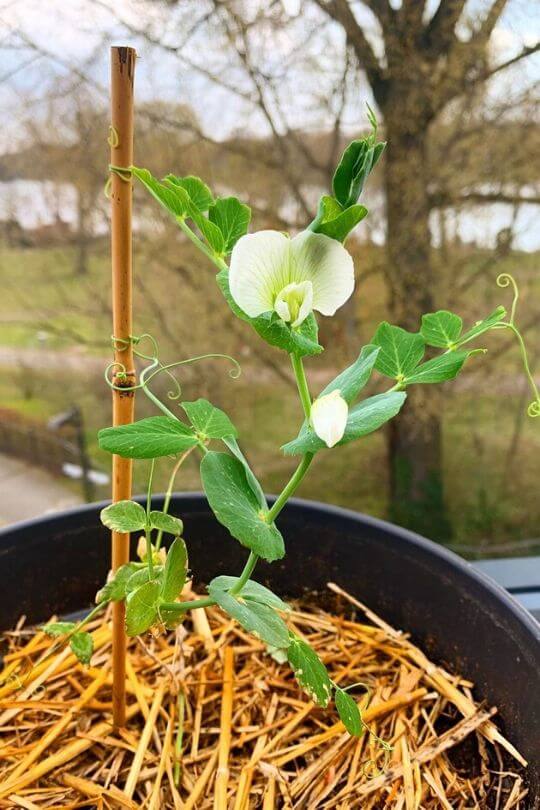
Even though you’re planting in pots, it’s a great idea to mulch around your plants regardless. Mulching helps to suppress weeds and retain moisture in the soil, both of which are important for the growth and health of your plants.
You don’t need a thick layer of mulch for container-grown peas. Try a thin layer over the topsoil with wood chips, grass clippings, straw, twigs, or even shredded leaves.
3. Don’t Forget To Fertilize
Typically peas don’t require fertilization or any heavy feedings because they produce nitrogen and seep it into the ground. Container-grown peas are different, and you should consider using fertilizer.
Fertilize your plants with a 5-10-10 fertilizer or a 20-20-20 general fertilizer. If you do use a general fertilizer, it’s best to use ½ of the strength. Apply a fertilizer every two or three weeks as your plants establish themselves.
If you don’t like to use fertilizers, you can try side dressing your plants with compost or well-rotted manure. Do this twice during the growing period.
You can add things such as banana peels to your garden soil as well because they are full of phosphorus or potassium.
Common Pests & Diseases
Typically, climbing varieties are more resistant to diseases because they grow away from the soil, which is where most bacteria, pathogens, and pests live.
This is one of the reasons why giving your plants a support system is so important!
It’s also important to practice crop rotation to prevent seasonal diseases. You shouldn’t grow peas in the same container for more than five years in a row.
Aside from using better practices when growing peas, you should know the problems and pests that peas typically face so that you know how to handle them if the issues arise.
Aphids
Aphids are small, soft-bodied insects that like to stick to the underside of the leaves on your plants. If you have a large infestation of aphids, they can cause your leaves to turn yellow with necrotic spots. You might find a sticky substance on the leaves that could lead to mold.
There are many management techniques to try. You can use reflective mulches like silver plastic to deter aphids or spray your sturdy plants with jets of water to knock off the aphids.
Insecticides can be used to treat aphid infestations, but it’s typically only required for severe problems. Insecticidal soaps and oils, such as neem oil, can be used as an effective control method
Brown Spot
You might notice water-soaked spots on the leaves, stems, and pods that look like bacterial blight. Later, those spots turn into tan lesions that look like a burn mark.
It can be hard to get rid of brown spot, and the best thing to do is to prevent it from happening at all.
Use disease-free seeds, rotate crops, and try to plant seeds in the fall before inclement weather might injure them.
Spider Mites
A spider mite infestation can cause leaves stippled with yellow, and the leaves might appear to be bronzed.
There could be webbing that covers the leaves, and the mites might look like tiny dots moving on webs or the underside of the leaves.
You can use jets of water to knock down the build-up of spider mites. Another choice is to use insecticidal soaps to treat the plants.
Some insecticides might increase the spider mite population, so it’s best to avoid those.
Septoria Blotch
Here is a fungus that causes yellow lesions to develop on the leaves and pods, eventually leading to large yellow patches. This fungus tends to emerge during high humidity and moderate temperatures.
Since you cannot treat this, you have to prevent it by rotating crops to avoid disease build-up in the soil
Powdery Mildew
With this fungus, you’ll find yellow spots that develop on the upper surfaces of leaves. There will be powdery grey-white areas that cover the entire plant. This fungus can overwinter on plant debris and emerge during warm weather.
Plant resistant varieties and try to plant your crops as early as possible. Applications of sulfur can help control heavy infestations of powdery mildew.
Harvesting Fresh Peas
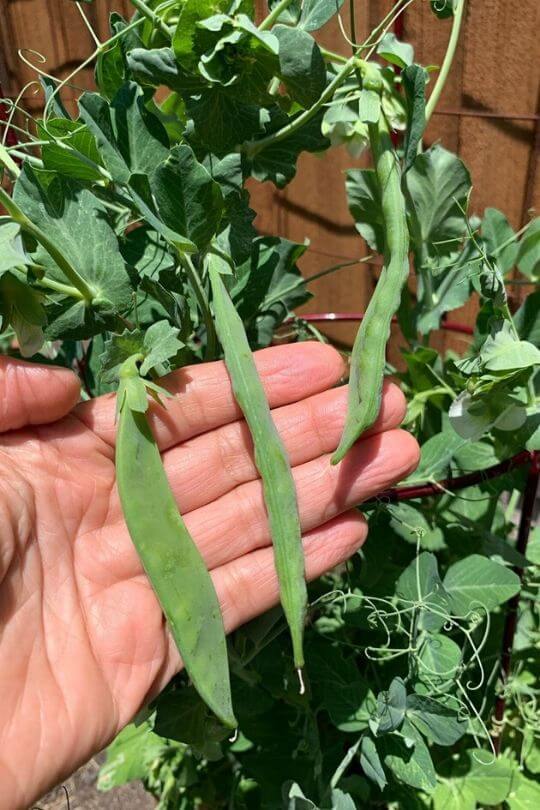
Pea plants continue to produce a harvest while they’re growing. You can harvest the pods when they’re round, bright green, and the peas feel full, depending on the variety.
Remember that snow peas don’t get large peas inside of the pods. They have flat, edible pods, and the plants produce a quicker yield than other varieties. Be sure to pick snow peas earlier, soon after flowering.
Snap peas can either be harvested with small pods to be added to stir-fries or with large pods for shelling.
So, that means you can collect them earlier as you do with snow peas or wait until the peas bulge in the pods like garden peas. It takes two to three weeks after flowering to have round, bulging peas.
Be sure to hold the plant gently when you remove the peas from the stem. You could accidentally break a vine by pulling too rough, which is one reason that you shouldn’t let kids harvest peas without supervision.
Harvest from the bottom to the top. The ones on the bottom are older. The more peas that you pick, the more peas that you’ll get as the plant devotes more energy into pod development.
Varieties of Peas to Grow in Containers
As mentioned before, there are three types of peas, so let’s take a look at varieties in each category to help you decide which peas you want to grow!
Garden Peas
1. Tom Thumb Garden Peas
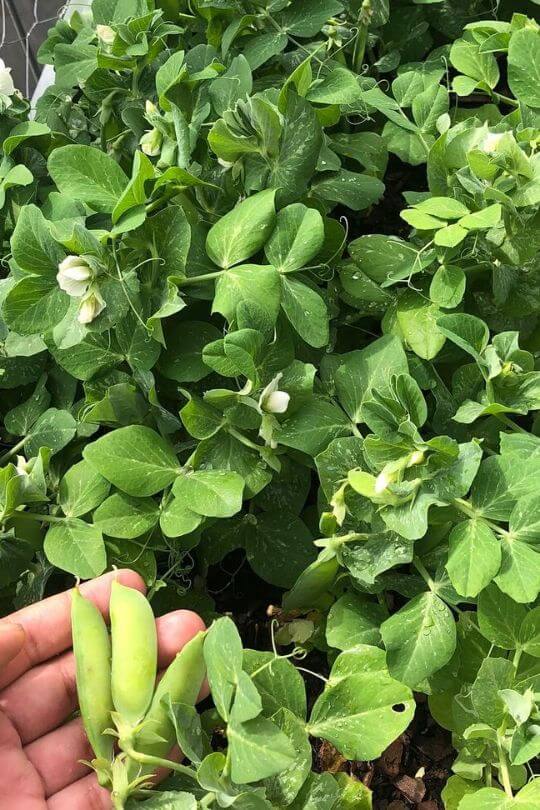
These are THE best pea variety of container planting, hands down! The plants only reach 8-9 inches in height.
The peas are sweet and delicious. You can tuck this plant into containers all around your garden, and they do well in cold-free production early or late in the season.
2. Alaska Garden Peas
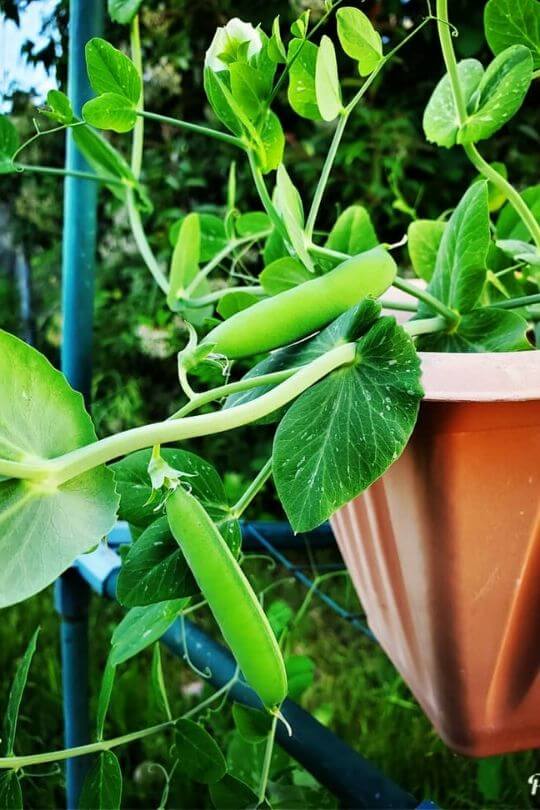
This is one of the earliest peas, maturing in 50 to 60 days. They’re ideal for short-season areas and produce a heavy yield.
3. Kelvedon Wonder Garden Peas
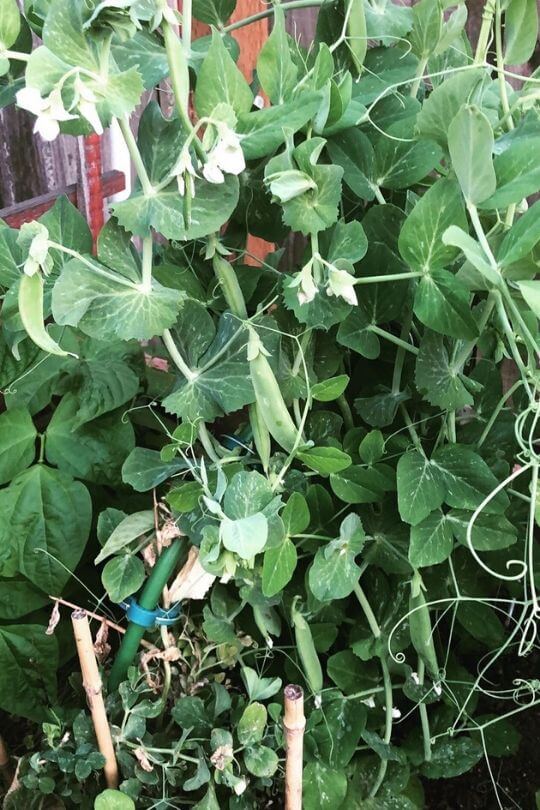
Known as First Early, this variety is an early, dwarf variety of garden peas that only reaches 18 inches tall. You don’t need to provide any staking for these, and they’re an excellent choice for succession sowing.
4. Lincoln Garden Pea
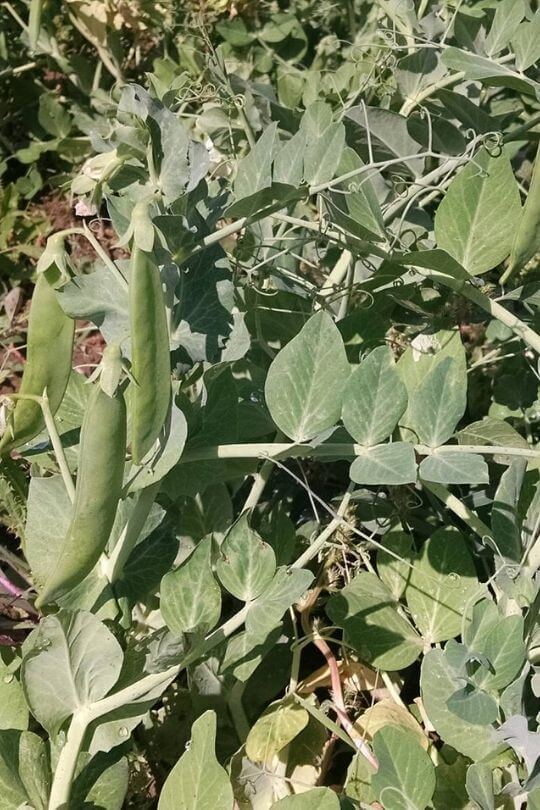
Here is an heirloom seed dating back to the 1900s. It’s a high-yielding plant with compact vines, ideal for containers or small gardeners. This does do better in warmer weather.
Snow Peas
1. De Grace Snow Pea
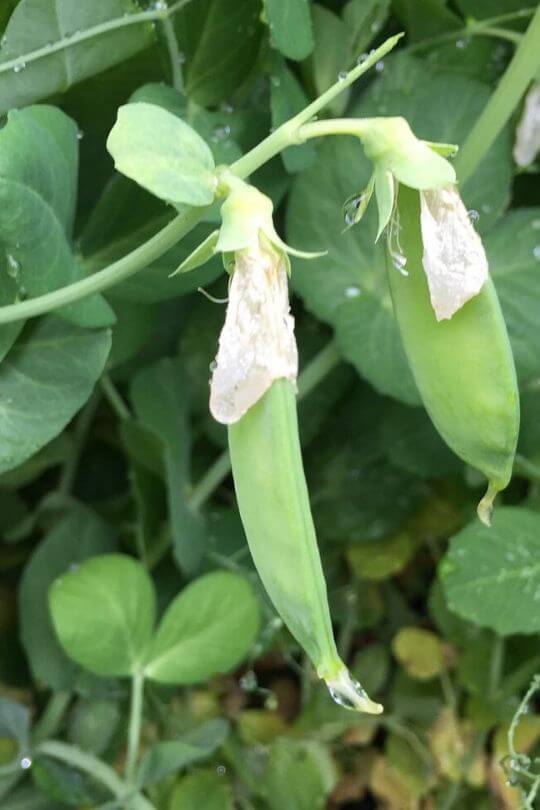
This is a dwarf variety of peas that dates back to the 1830s! The pods are medium-sized, sweet, tender, and crisp. These vines are more frost hardy than other varieties.
2. Green Beauty Snow Pea
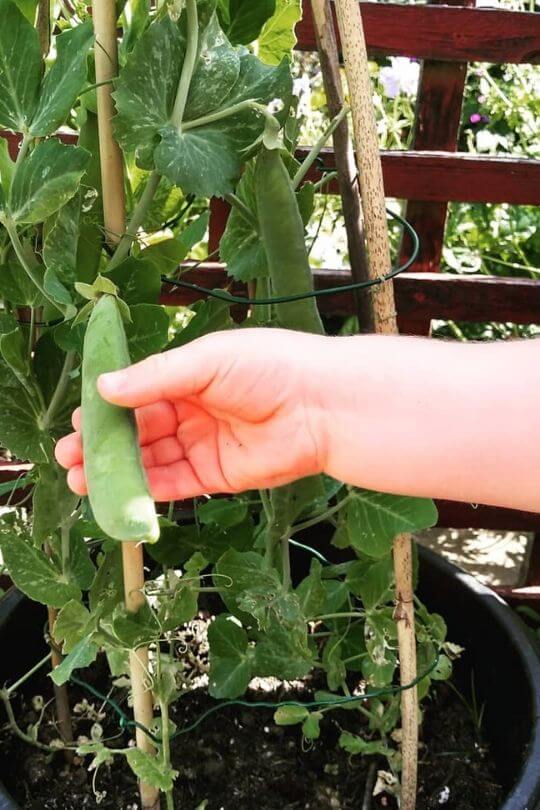
If you can provide a tall support system, Green Beauty produces pods in 60 days with 6-8 feet tall vines. The pods are sweet and abundant, measuring up to 8 inches long.
3. Oregon Sugar Pod Snow Pea
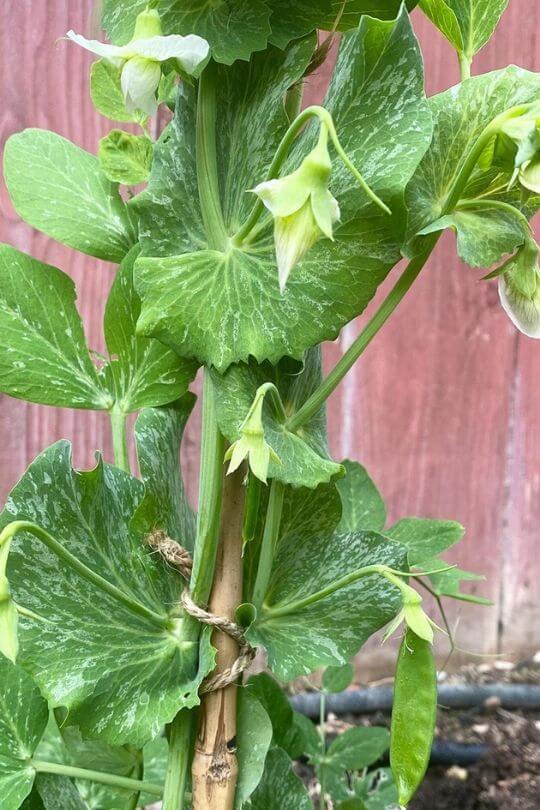
These large, thick pods are delicious, growing on a bushy plant that stays compact. It’s known for being high-yielding.
Snap Peas
1. Mammoth Melting Sugar Snow Pea
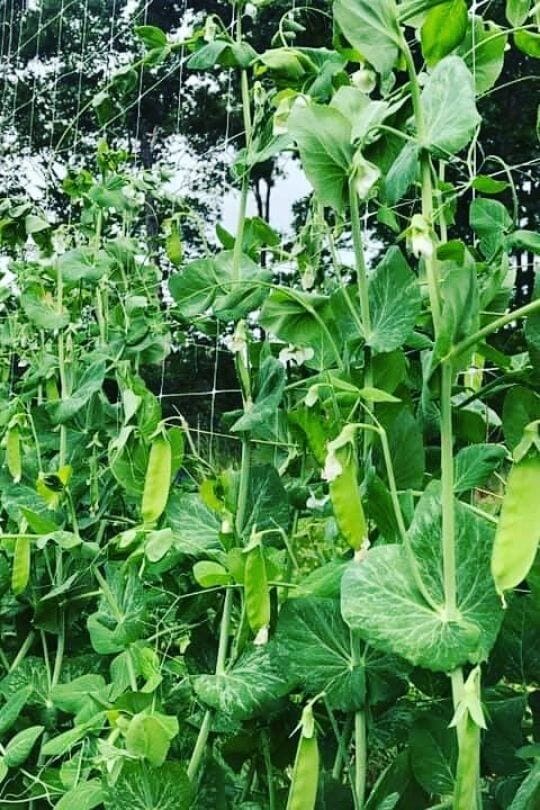
In 70 days, you can have large, sweet-flavored pods on a plant that measures 4 feet tall. This variety prefers cool weather for the best yields, and it’s best to pick the pods before they’re too large.
2. Sugar Ann Snap Pea
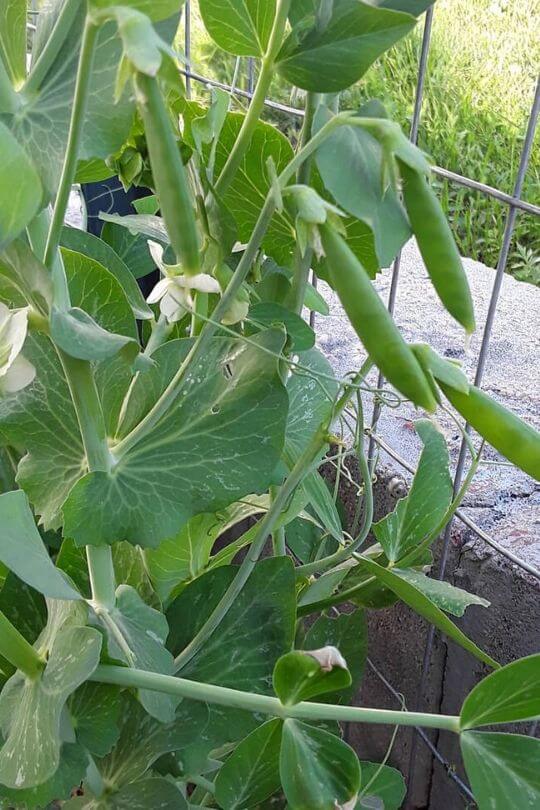
Here is an early variety ideal for small gardens because they grow on short, bushy vines that don’t need any support. They produce a yield ten days earlier than other varieties.
Final Thoughts
Growing peas in containers is an excellent starter plant for new gardeners or even kids who are interested in gardening.
Peas are simple, high-yielding plants to grow, and they excel in containers. Try adding peas to your container garden this year.

Written By
Bethany Hayes
Bethany is a suburban homesteader, growing over half of the vegetables, fruit, and herbs that her family of six needs each year. She raises chickens and homeschools her children. When she isn’t spending time tending to her garden, you can find her reading, crocheting, and canning.

Hi .do I need to pinch out top of a young pee plant to encourage more side shoots. Like wot is common practice for sweatpee plants.?.
Hello! Yes, pinching out the top of a young pea plant can indeed encourage more side shoots and bushier growth. This practice is commonly used for sweet pea plants as well. When you pinch out the top or the growing tip of the plant, it promotes branching and stimulates the development of lateral shoots. This results in a more compact and fuller plant with increased flower production.
To pinch out the top, simply use your fingers or clean pruning shears to remove the top portion of the main stem above a set of leaves or leaf nodes. This action redirects the plant’s energy from vertical growth to lateral growth, leading to more side shoots and a denser plant structure.
It’s generally recommended to pinch out the top of young pea plants when they have reached a height of about 6-8 inches (15-20 cm). However, make sure the plant is well-established and has a few sets of true leaves before doing so.
Remember to provide proper support for your sweet pea plants, such as trellises or stakes, as they continue to grow and produce more side shoots. This will help them climb and prevent the plants from toppling over under their own weight.
Happy gardening and may your sweet pea plants thrive with abundant blooms!