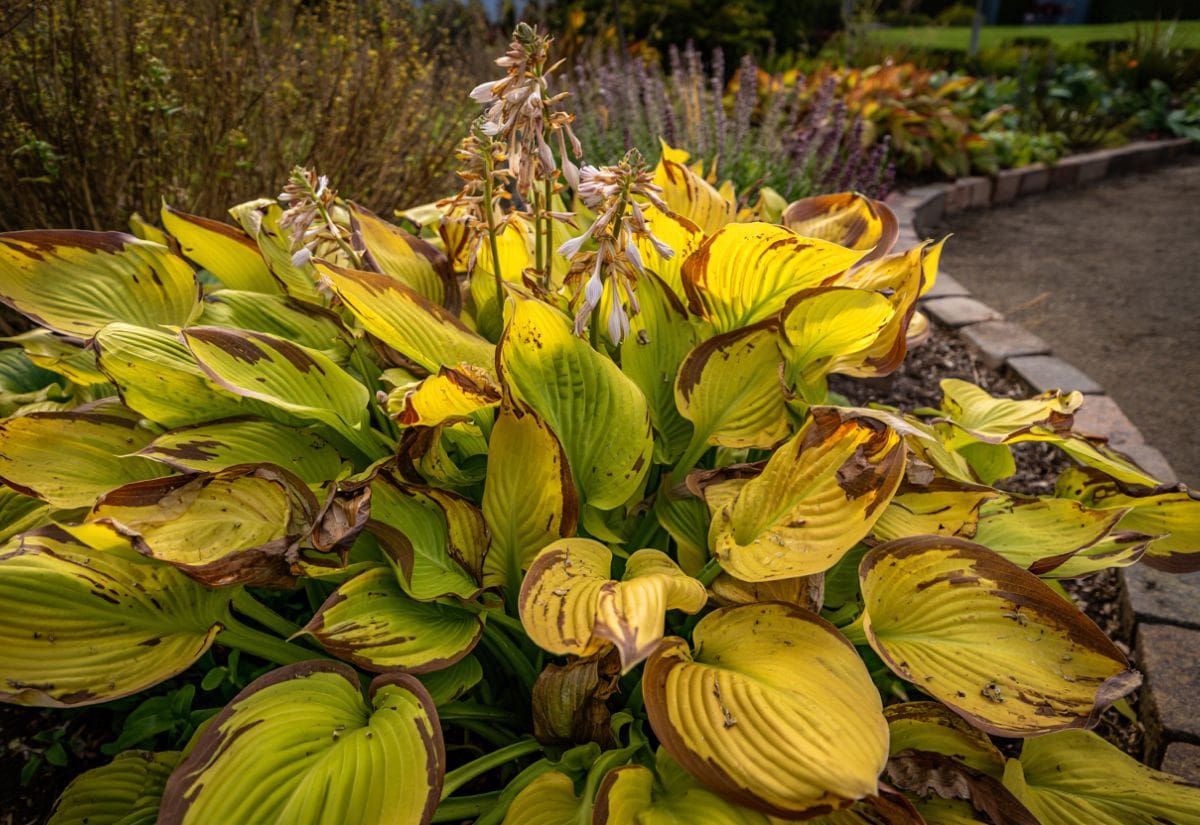
If you grow hostas, you know the heartbreak of watching those lush, picture-perfect mounds fade when fall arrives. One week they’re full and flawless, and the next they’re slumped over, yellowing, and ragged from frost and hungry slugs. It’s the moment when every gardener starts wondering: Should I do something now, or just let them die back on their own?
The truth is, fall is one of the most important — and most overlooked — times to care for hostas. What you do in these last few weeks before the ground freezes can make all the difference between a patch that struggles to return next spring and one that comes back bigger, fuller, and more vibrant than ever.
Hostas may be hardy, but they’re not maintenance-free. Once the cool nights arrive, they begin shifting all their energy below ground, preparing their crowns and roots for dormancy. That’s your cue to step in and give them a little help — clearing away dying foliage, dividing any overcrowded clumps, protecting the crowns from freeze-thaw damage, and making sure container hostas get the right kind of shelter.
These small end-of-season habits not only keep your plants healthy through winter, they also prevent pest problems, improve airflow, and rejuvenate growth for the year ahead. The result? Hostas that look cleaner in fall, rest easier through winter, and put on an even better show every single spring.
Here are five simple things you can do right now to keep your hostas healthy through winter and thriving year after year.
1. Cut Down Foliage to Keep Plants Healthy Through Winter
If you only do one thing for your hostas this fall, make it cutting them back. I know it’s tempting to let those big leaves stay put once they flop over, especially if they still look halfway decent. But trust me — this simple cleanup step makes a huge difference for how healthy and vigorous your plants will be next spring.
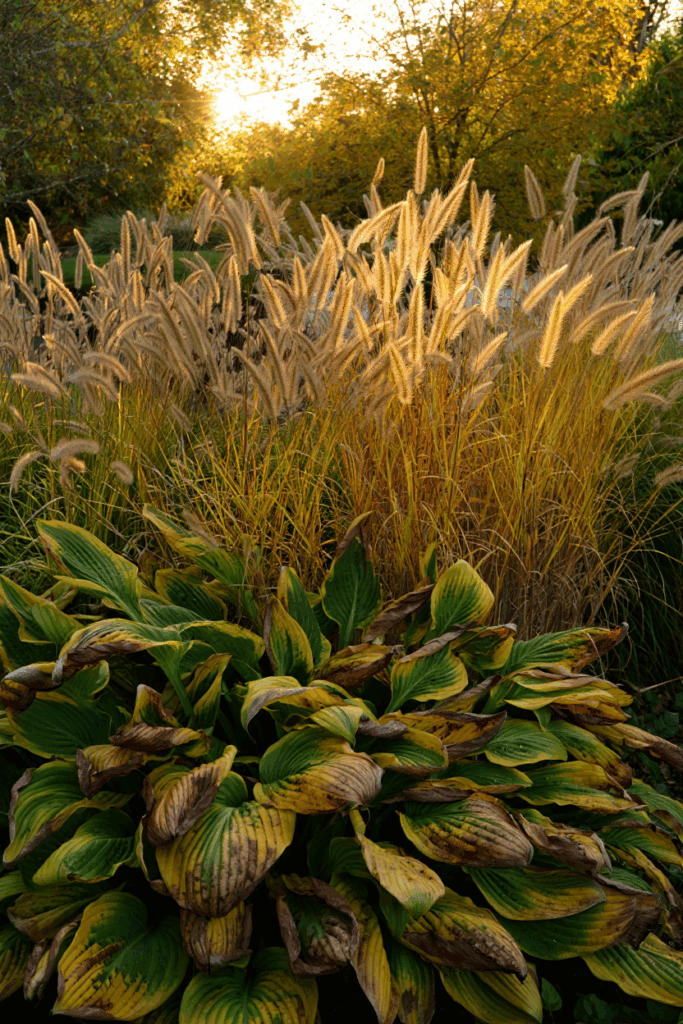
Once we get that first hard frost, you’ll notice the foliage starts to lose its color and structure. The leaves turn soft, yellow, or brown, and before long, they’re just lying in a soggy heap. At that point, the plant has already finished drawing all the nutrients it needs from its leaves. Leaving that decaying foliage in place only invites problems — it creates a damp mat around the crown where slugs, snails, and even fungal diseases can overwinter. And come spring, those same pests will be waiting to chew on your brand-new shoots.

By cutting your hostas back, you’re not just tidying up; you’re protecting them. Once the dying foliage is gone, the plant stops wasting energy trying to repair damaged tissue and instead focuses on storing all that strength down in its roots. That’s what gives you bigger, thicker, more vigorous leaves next year.
And here’s a small but important bonus: removing those old flower stalks right after they finish blooming during summer helps the plant stay stronger all the way through fall. Every bit of saved energy now means healthier growth later — and that’s what makes cutting back such an essential part of fall maintenance.
How to Cut Hostas Back
The right time to cut back is when the leaves have truly given up — usually after the first real frost of the season. Don’t rush it. You want to wait until the plant has naturally gone dormant and isn’t still pulling energy from its leaves.
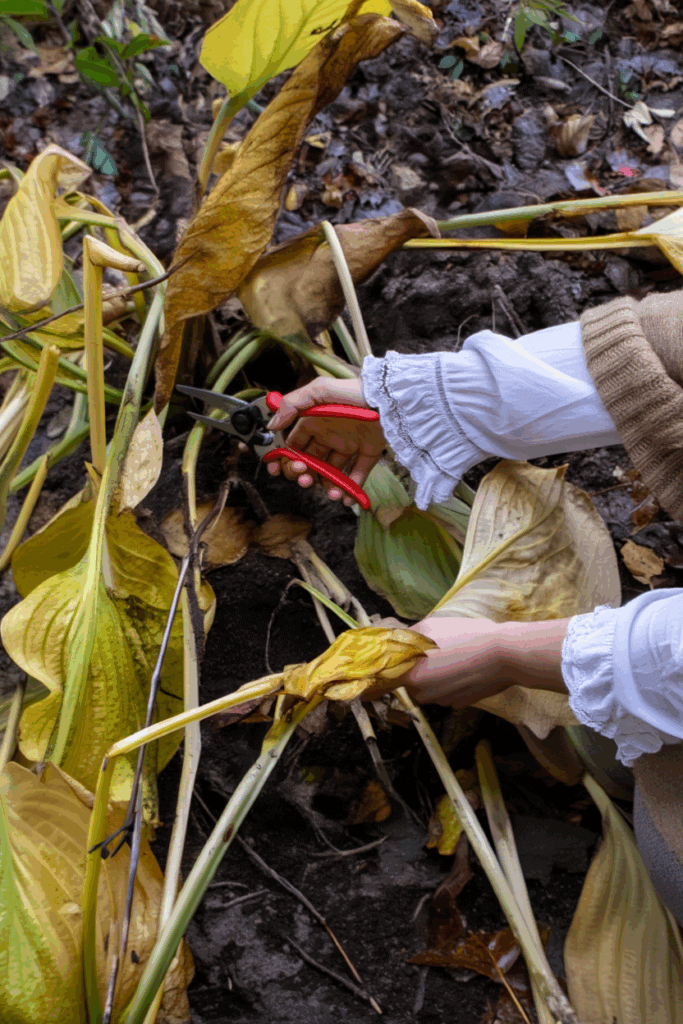
Grab a clean, sharp pair of pruners — dull or dirty blades can tear the stems and open the crown to disease. I like to gather the whole clump of limp leaves in one hand and cut them down with the other, leaving about an inch or two of stem above the soil line. For smaller plants, sometimes the stems are soft enough that they’ll just pull away by hand. Either way, be gentle around the base; that’s where next year’s buds are forming.
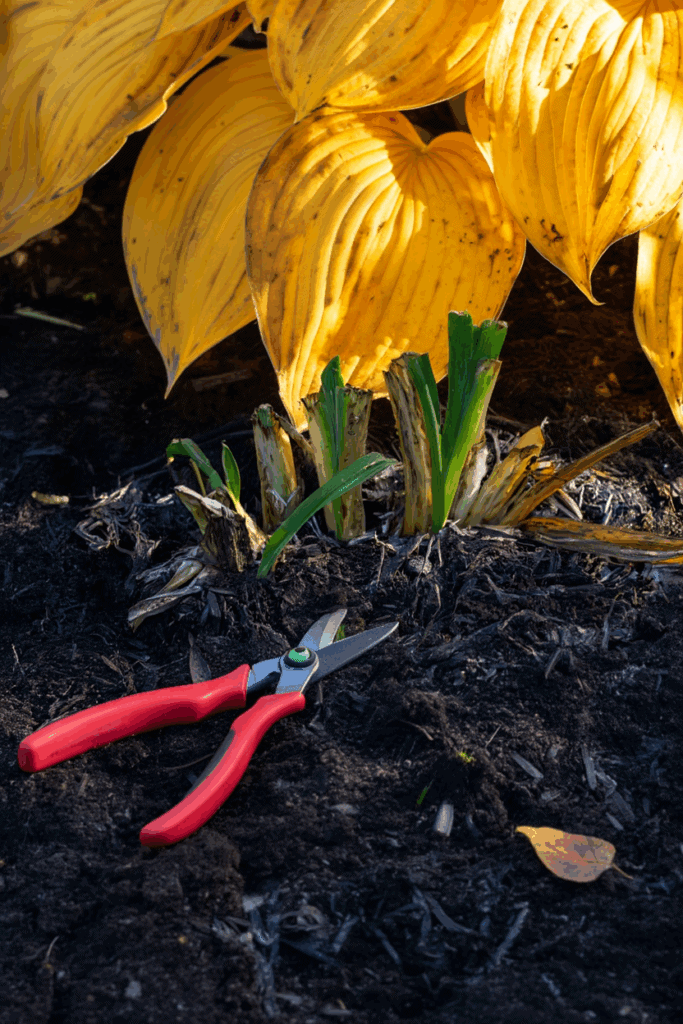
When you’re done, make sure to clean up every bit of the cut foliage. Don’t leave it lying in the bed, and definitely don’t toss it into a cold compost pile — it’s full of slug eggs and fungal spores that can survive the winter. Bag it up, burn it, or compost it only if you know your pile runs hot enough to sterilize it.
If you still see a few fresh green leaves hanging on, it’s fine to let them stay for a week or two longer. The plant’s still photosynthesizing a little energy at that stage. But as soon as they start to yellow, it’s time for them to go too.
2. Divide Mature Hosta Clumps to Rejuvenate Growth and Create New Plants
Autumn isn’t just the time to tidy up your garden — it’s hands down the best season to dig up and divide overgrown hostas. While these hardy perennials can technically be split at almost any time during the growing season, fall division offers clear advantages that set your plants up for long-term success.
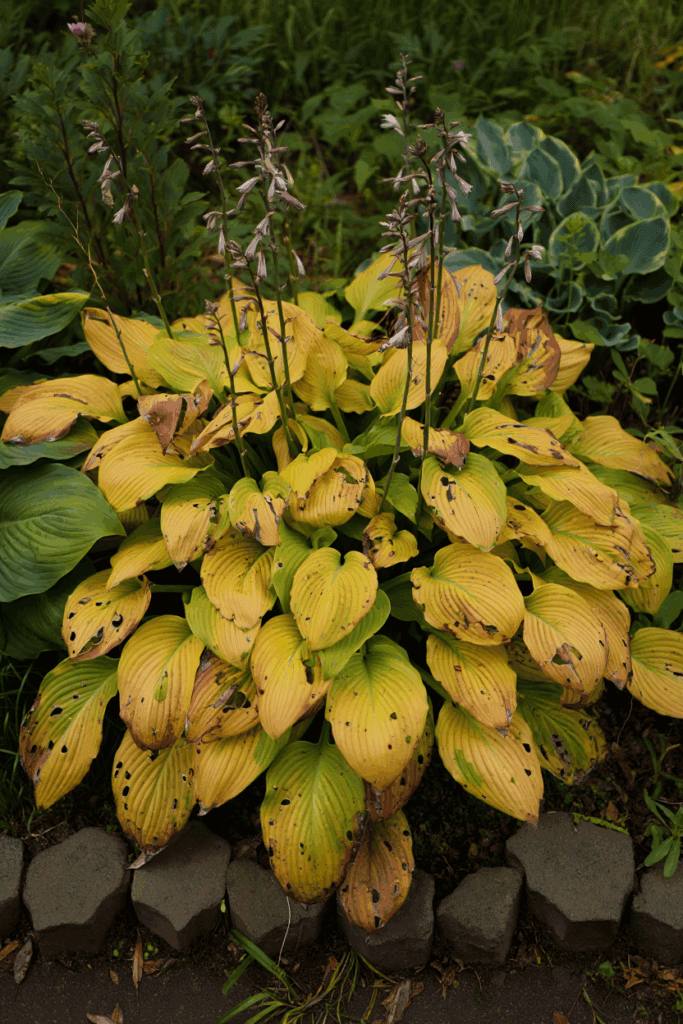
By late fall, it’s easy to see which clumps have outgrown their space and where you have open gaps to fill. Dividing now allows you to reorganize your beds and keep every plant at its healthiest size. More importantly, fall-divided hostas get a head start underground: their roots settle into the soil before winter, then surge into growth as soon as the ground warms in spring.
Wait until spring or summer, and those same divisions spend their energy re-establishing instead of growing. They often stay smaller and may even skip flowering their first year. Divide in fall, and they’re ready to hit the ground running.
How to Divide & Transplant Hostas
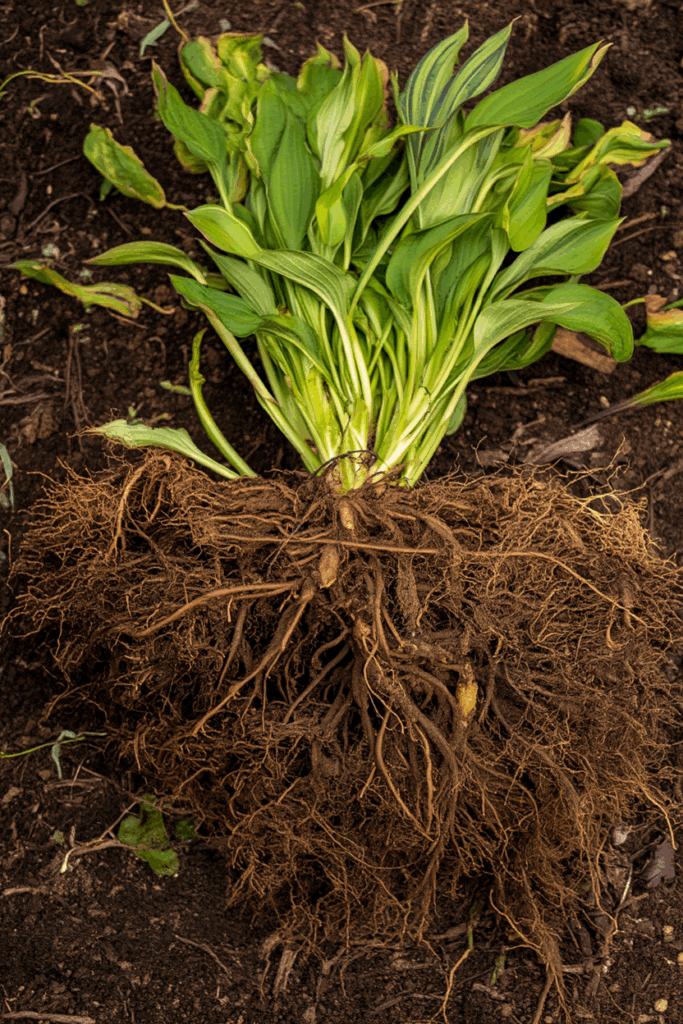
Dividing hostas is one of the easiest garden chores you’ll ever do. Start by watering the clump a day ahead to soften the soil. Then use a sharp spade or garden fork to lift the entire root ball. Once it’s out, slice or pull the clump into smaller sections — each with at least two or three healthy shoots and a solid root mass.
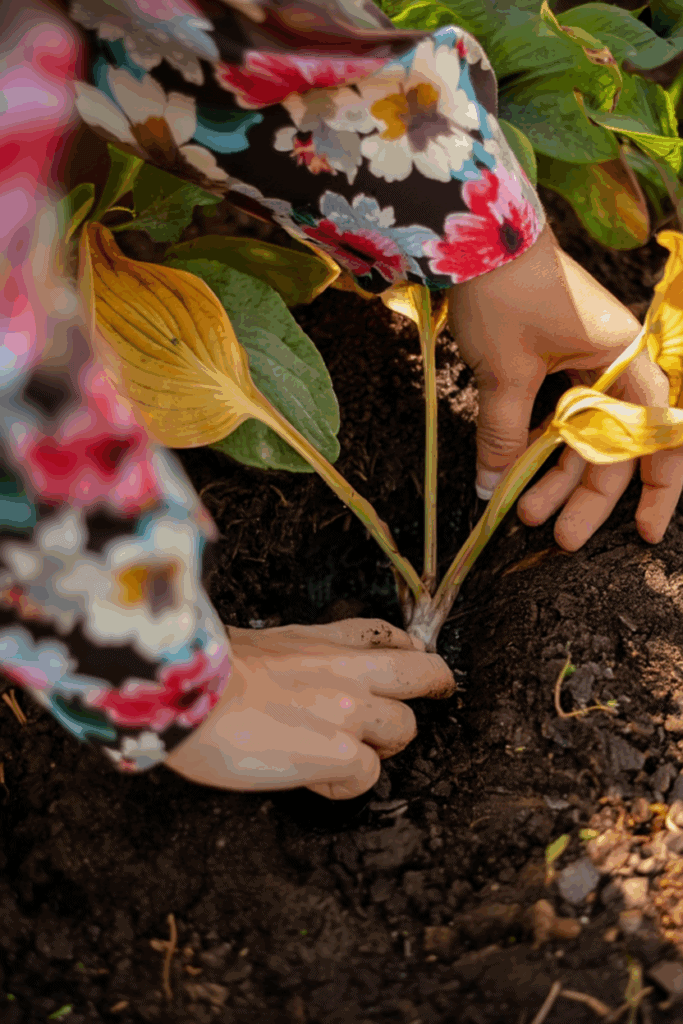
Replant the divisions right away at the same depth they were growing before, in rich, well-drained soil with partial shade. Firm the soil gently around the roots, water thoroughly, and finish with a light layer of mulch to insulate the crown over winter.
Come spring, those divisions will wake up strong, vigorous, and ready to fill their new space — proof that fall really is the perfect season to give your hostas a fresh start.
3. Mulch Hosta Crowns to Protect Roots from Freeze
After cutting back and dividing your hostas, give them what I like to call their “winter blanket.” A proper mulch layer doesn’t just make the bed look finished — it’s what keeps those shallow crowns stable when the weather can’t make up its mind.
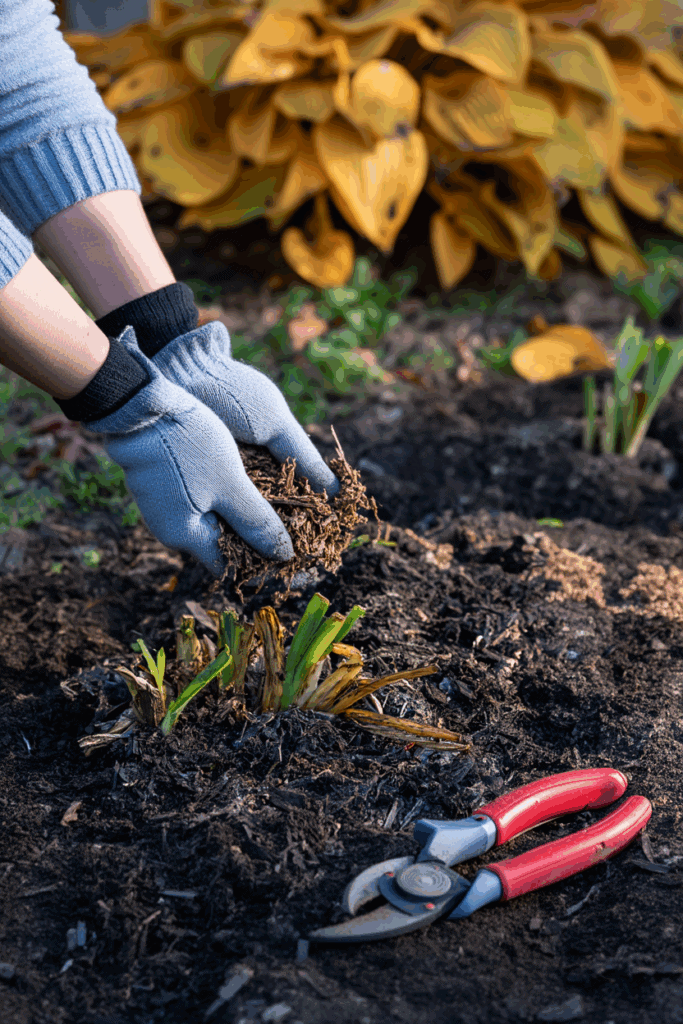
Hostas are hardy perennials, but their crowns sit close to the surface, where they’re vulnerable to the constant freeze-thaw cycles that happen through winter. Those temperature swings can push roots upward, dry them out, or even crack the crown. A layer of mulch works like an insulating blanket, keeping the soil temperature more even and protecting the roots from damage.
The goal isn’t to smother the plant — it’s to buffer it. Spread two to three inches of organic mulch, such as shredded leaves, pine needles, straw, or compost, over the soil once the ground begins to cool but before it freezes solid. This timing is key. Mulching too early can trap warmth and moisture, encouraging rot; mulching too late doesn’t give the soil time to adjust beneath the protective layer.
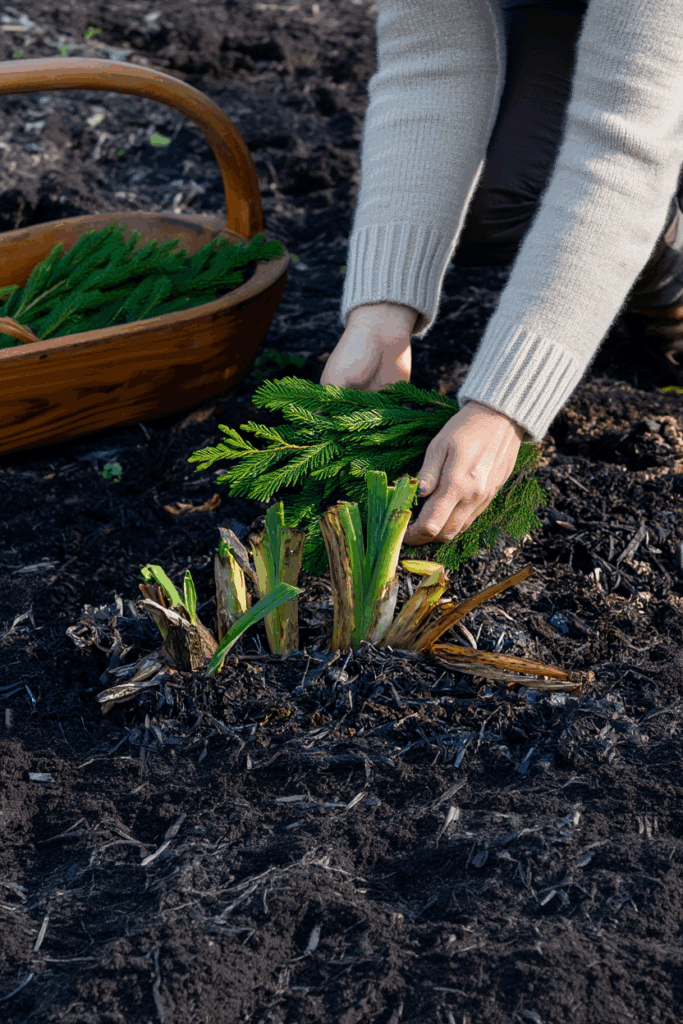
When applying mulch, keep it pulled back slightly from the crown so air can circulate and moisture doesn’t collect directly on the stems. Overwintering pests also prefer thick, compacted mulch, so a loose, airy layer is best.
If your winters are particularly harsh, you can add a few evergreen boughs or coarse straw over the top for extra insulation once the soil has frozen. These materials trap snow and help hold the mulch in place during wind or heavy rain.
Come early spring, as the ground begins to thaw, gradually pull the mulch away from the crown to let the new shoots emerge freely. You’ll find the soil underneath evenly moist, the crowns healthy, and your hostas ready to grow.
4. Keep Watering Until the Frosts, but Hold Off on Fertilizer
If you’ve recently divided your hostas, don’t forget to give them a little extra attention before winter sets in. Even though the plants are heading into dormancy, newly divided crowns still need moisture to re-establish roots and settle into the soil.
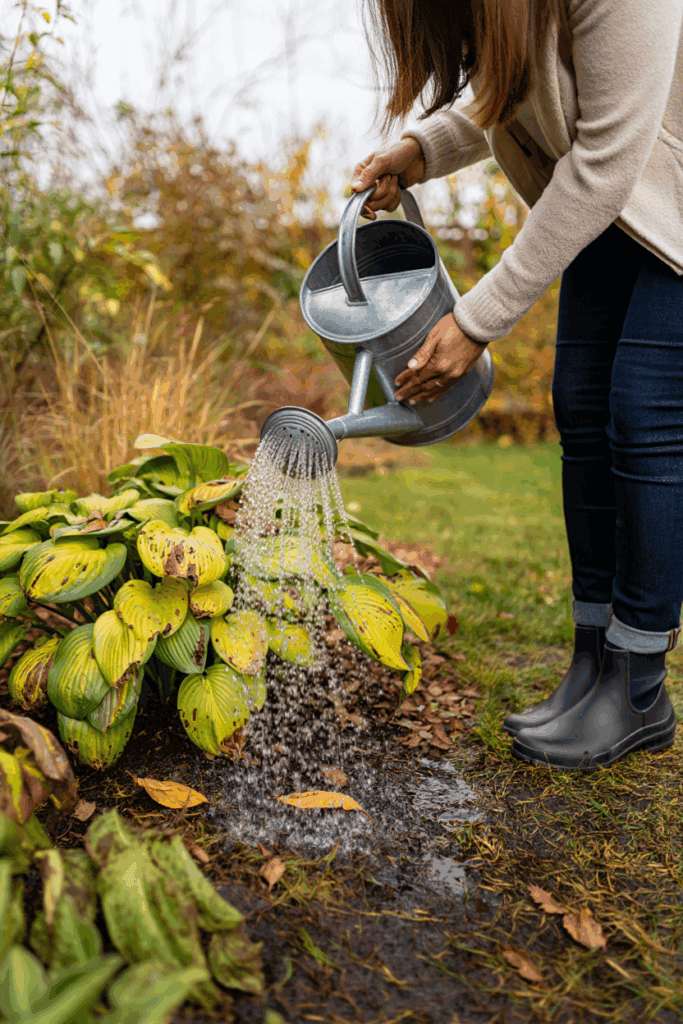
If late fall brings a dry spell, water the transplants deeply once every week or two until the ground begins to freeze. This helps prevent the crowns from drying out during those fluctuating freeze-thaw cycles that can lift and damage roots. In areas with mild, rainy winters, natural precipitation is often enough, but in colder or drier regions, that supplemental moisture can make all the difference. Always water early in the day and at ground level to avoid excess moisture sitting on the crown overnight.
Fertilizing, however, should wait until spring. Adding nutrients now can encourage fragile, late-season growth that’s easily damaged by frost — both above and below ground. A light layer of compost or organic mulch is all your hostas need for winter protection. Once new shoots appear in early spring, you can feed them again to support their strong flush of growth.
A steady moisture balance and restraint with fertilizer in fall will help your hostas head into winter with stable roots and wake up vigorous when the soil warms again.
5. Move Containers Hostas to Shelter and Protect Roots from Deep Freezes
Potted hostas need extra protection once cold weather sets in. Unlike in-ground plants, their roots sit above the natural insulation of the soil, where they can freeze solid during deep cold snaps. How you overwinter them depends largely on your zone and winter conditions.
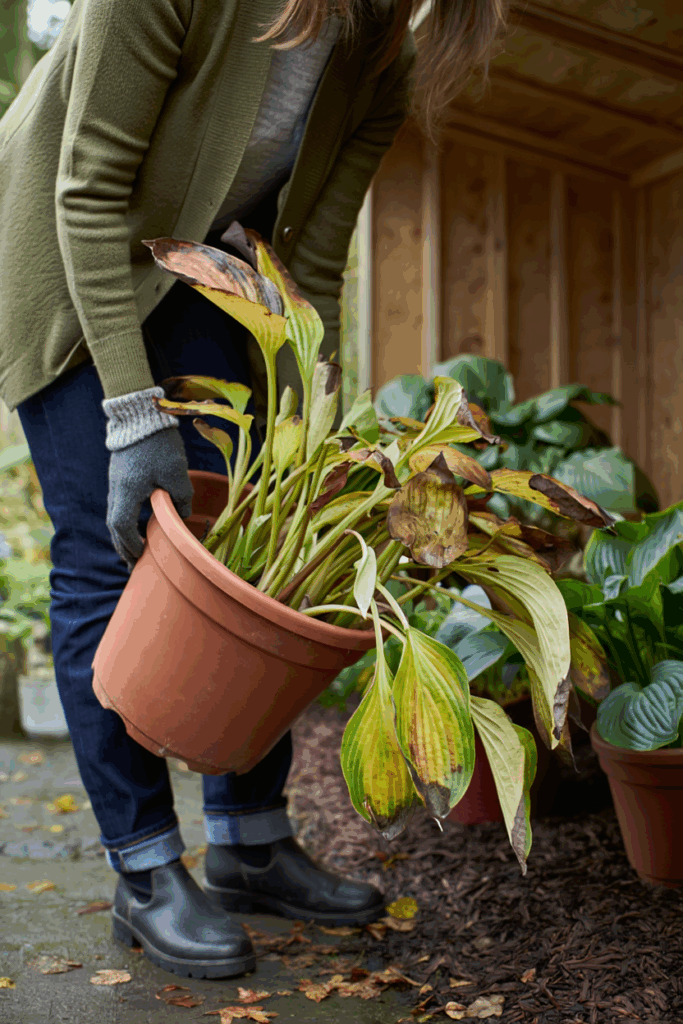
In mild regions (Zones 7–9), most potted hostas can stay outdoors. Move containers to a sheltered spot out of prevailing wind and winter sun — a north or east-facing wall is ideal. Grouping pots together helps insulate them, and wrapping them with burlap, bubble wrap, or even a thick layer of fallen leaves adds extra protection. Keep the soil just slightly damp through winter, watering only when it’s dry to the touch.
In colder climates (Zones 3–6), container hostas need deeper protection. Once the foliage has died back, trim it to an inch above the crown, then move pots into an unheated garage, shed, or cold frame where temperatures stay just above freezing. The goal is to keep the plants dormant but not frozen. If storage space is limited, you can also sink pots into the ground and cover them with mulch until spring.
Check occasionally to be sure the soil hasn’t gone bone-dry — a light watering every few weeks is enough to keep the crowns hydrated. When consistent thawing begins and nighttime temperatures rise above freezing, bring the pots back outdoors and gradually reintroduce them to light.

Written By
Amber Noyes
Amber Noyes was born and raised in a suburban California town, San Mateo. She holds a master’s degree in horticulture from the University of California as well as a BS in Biology from the University of San Francisco. With experience working on an organic farm, water conservation research, farmers’ markets, and plant nursery, she understands what makes plants thrive and how we can better understand the connection between microclimate and plant health. When she’s not on the land, Amber loves informing people of new ideas/things related to gardening, especially organic gardening, houseplants, and growing plants in a small space.
