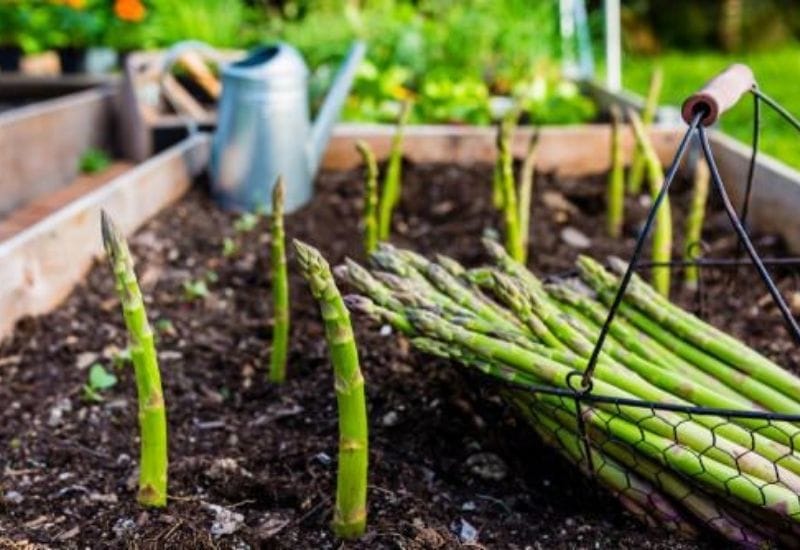
Asparagus is a hardy, perennial vegetable that deserves a place in all gardens. Once established, asparagus can deliver a harvest for years to come, but if you don’t have the garden space for one, you might wonder if growing asparagus in containers is a possibility.
It is possible to grow asparagus in containers, but there are some considerations.
You might not be able to have the plant live as long as you hoped, and let’s not forget that these plants don’t produce a harvest the year that you plant them. Patience is a requirement to grow perennial vegetables.
In fact, if you plant seeds, it takes four years to have your first real harvest. If you use crowns, it can take three years to have a harvest.
That doesn’t bother you? Then, it’s time to get started.
One of the reasons why you might decide to grow asparagus in containers rather than in the ground is if you aren’t sure if you’ll be at your location in three to four years.
Think about it! Why would you put all of that time and effort into planting and caring for asparagus only to move homes?
If you aren’t in your forever home, you can plant asparagus in containers and let it grow until you find where you will be permanently.
Ready to get started? This guide will show you what you need to know about growing asparagus in containers from how to plant the seeds and crowns to how often you need to fertilize.
The Main Problem Growing Asparagus in Containers
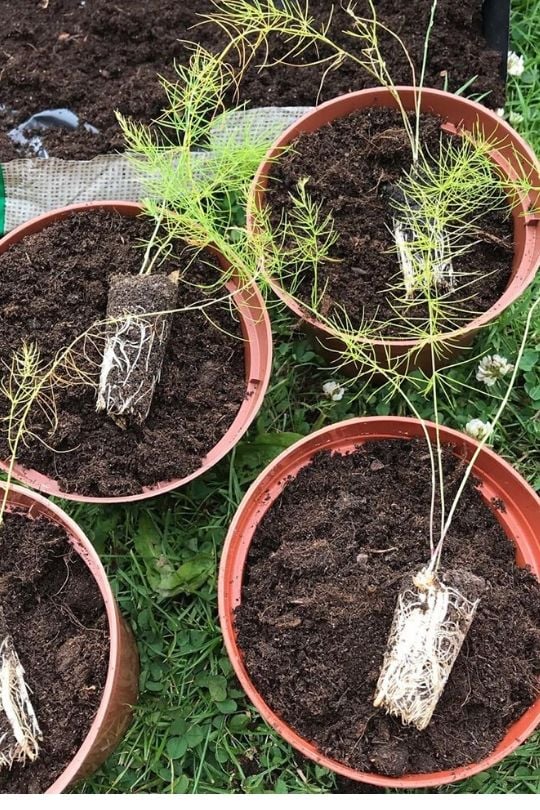
So before we look at how to grow these veggies in pots, it’s essential to know the one big drawback of doing this.
Growing asparagus in containers might save you space, but it does negatively impact the lifespan of these plants.
After the establishment period is finished, you can expect only 2-4 seasons of actual harvests. Containers limit how large the root systems can become.
Since it can take 2-3 years for the plants to establish, you have to decide if the time waiting is worth the 2-4 years of harvesting.
How to Grow Asparagus in Containers
Are you ready to plant your asparagus in containers? Let’s get started!
1: Decide How You Want To Grow Asparagus
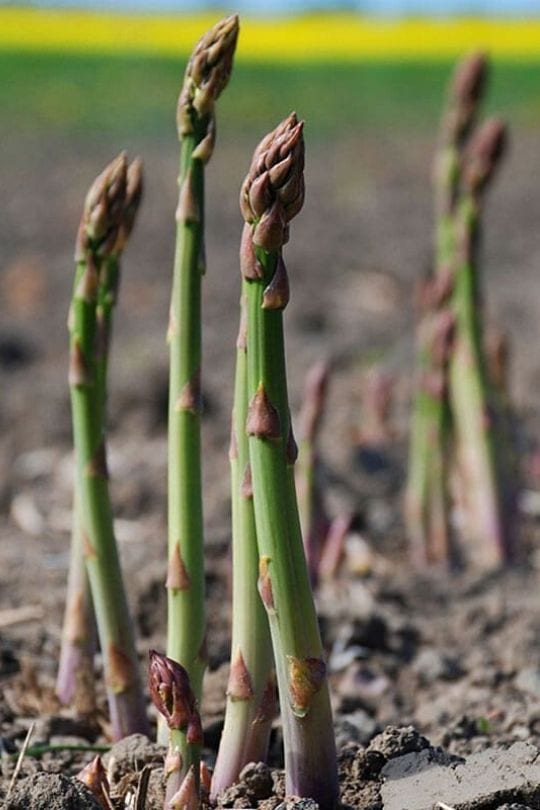
You have a lot of possibilities ahead of you, and you need to make those decisions first before diving into growing asparagus in containers.
First, you have to decide if you want to grow them inside or outside. If you choose to go with growing them indoors, understand that they need a lot of sunlight, including the winter. Replicating that in your home might be a challenge.
You have to decide if you want to grow your plants from seeds or crowns. Growing asparagus from seeds takes a lot more time than it does to grow from crowns.
Ask your local nursery if they have two to three-year-old crowns instead of one-year-old crowns. That lets you harvest them much sooner.
Another consideration is making sure you pick the right time to plant your seeds or the crowns. The best time tends to be between March to April when the temperature isn’t higher than 64℉.
2: Pick The Right Spot
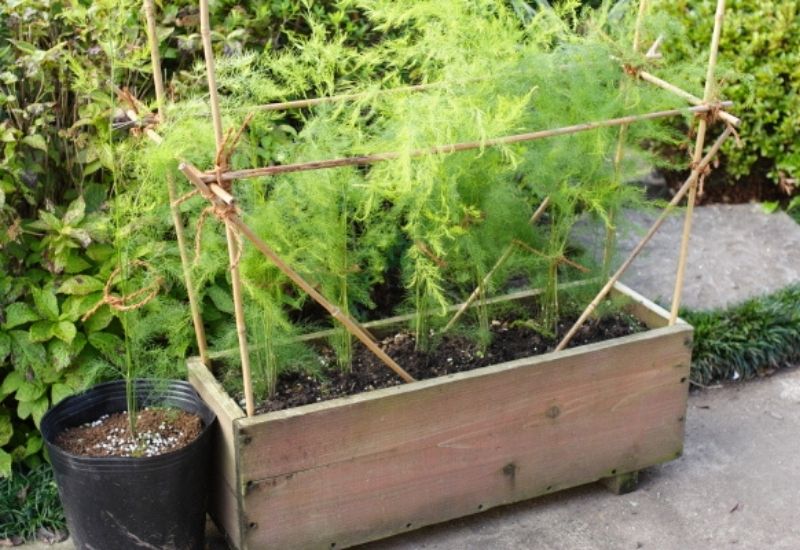
Take the time to watch the sunlight available outside. Asparagus need at least eight hours of full sunlight each day, including the winter.
The benefit of growing in containers is that you can move the pot if you find out you don’t get enough sunlight where you originally picked.
However, choosing the right spot the first time makes it easier.
3: Select A Properly Sized Container For Asparagus
Using the proper sized container for growing asparagus is one of the most critical decisions. If your pot is the wrong size, the whole operation can flop.
Since they are perennials, asparagus needs a lot of space for their roots to spread out, and containers can be quite limiting.
That means you can only grow one plant per container! If you try to put more than one plant per container, your plant will suffer from poor health and potentially a root disease that kills both of the plants. Don’t do it.
So, what you need is a pot that is at least 20-24 inches deep and 20-24 inches in diameter for growing potted asparagus plants.
Plastic or terra cotta works for these plants, but most do pick plastic because they are cheaper and don’t break as easily.
Something else that is vital is to make sure there are several drainage holes available on the underside of the container.
You never want standing water in your pots; that can kill plants faster than most diseases or pests.
4: Add Gravel To Your Pot
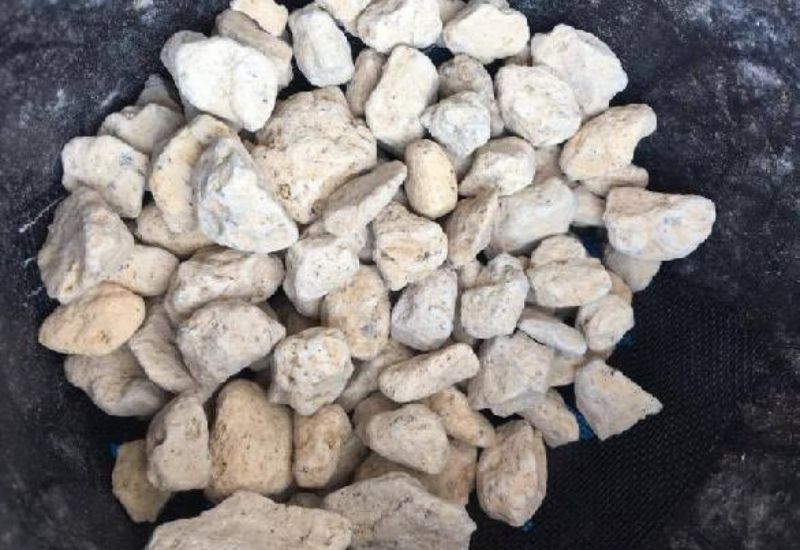
Here is another way to decrease your plants having wet feet, which they highly dislike. You need drainage holes, but you also can add a layer of gravel at the bottom of the pot.
Try putting two inches of gravel in each container that you grow asparagus.
Not only does this decrease your plants from having wet roots and increase drainage, but it also reduces the risk of your plants, developing fungi that could damage or kill the plant.
5: Create The Right Soil For The Plants
No, you cannot dig the soil out of your ground and put it into a pot. That soil contains weed seeds as well as potential bacteria that could harm your plants.
Instead, get a potting soil mix from your garden store.
These mixes are sterile soil using a blend of compost, perlite, vermiculite, or peat moss. It’s designed to hold in moisture, which is necessary for container gardening.
Asparagus prefers soil that has a pH range from 6.5 to 7.5. You can use lime to increase the pH level or sulfur to lower the level. All of these can be found at your local garden center.
You should also add compost to your soil. It helps to add nutrients that your plants need for growth as well as increasing drainage.
6: Starting Asparagus Seeds, If You Want
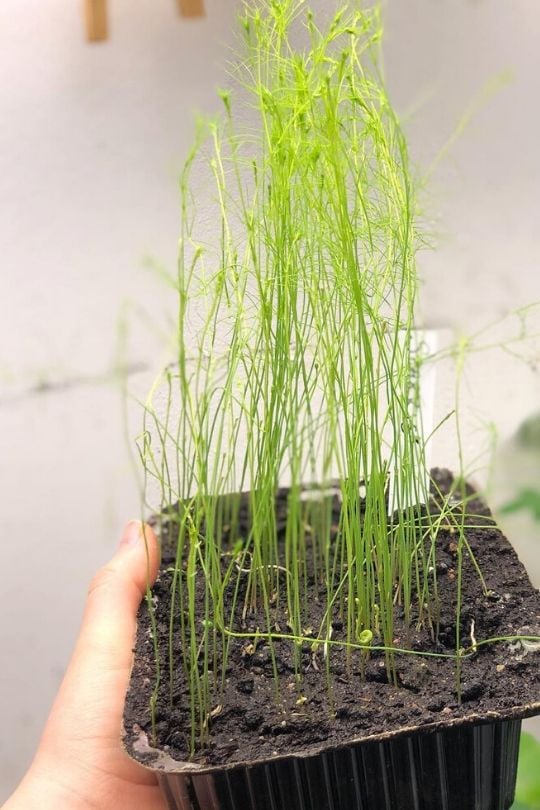
If you want to have an exercise in patience, try starting asparagus seeds. It can take a year for these seeds to grow into established plants, so nothing is going to go fast for your plants.
The seeds need to be planted in the middle of April, which is a good time because the temperature is high enough for the soil to be warm enough for germination.
Another option is to start the seeds inside in February. Put one to two seeds into each pot, planting them ½ inch deep in a pot.
Then water well. It takes time for these seeds to germinate. It typically takes 10-14 days to germinate.
Also, make sure you’re sprouting in an area that is warm with a temperature close to 77℉.
7: Plant Your Crowns Outside In The Container
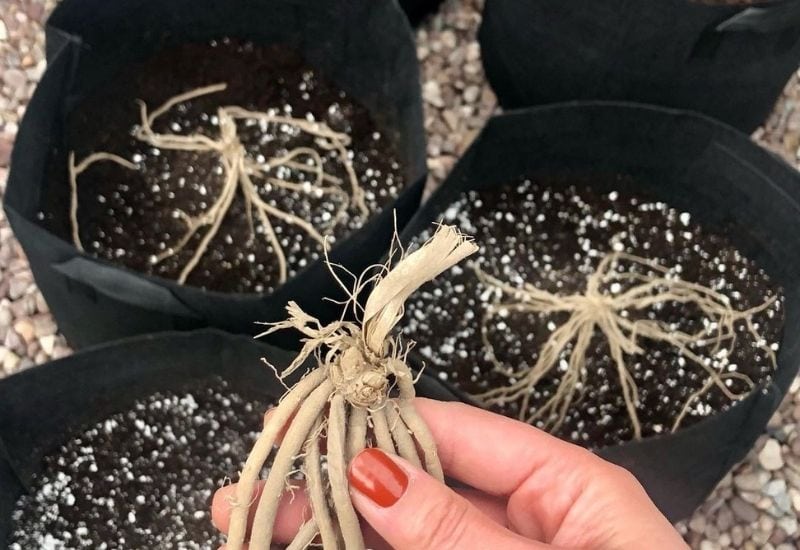
If you want to have a harvest sooner, then starting from crowns will take a year off of the growing process and bring you a year closer to harvesting asparagus.
Here’s how you plant asparagus crowns outside.
How to Take Care of Asparagus in Containers
Now that your asparagus plants are growing in containers, you have to learn how to take care of them.
Since these are perennial plants, they do tend to be a bit easier to take care of throughout the years.
However, the first two years are most critical as far as care to ensure they are well established and healthy.
8: Water Your Asparagus Often
For your plants to stay healthy, the ground needs to be moist but not soggy wet. If you overwater asparagus growing in containers, it will lead to root rot, which can kill your plant.
That’s one of the main reasons why you need to pick a container with plenty of drainage holes!
9: Add Fertilizer Or Compost Regularly
Once a month, it’s a great idea to add a handful of compost or composted manure around your plants.
Doing so is called side-dressing your plant. You can even water the plant with compost tea. It gives the plants an extra boost of nutrients throughout the growing season.
Another alternative is that you can add fertilizer to your plant.
You can put a balanced fertilizer that is either 10-10-10 or 15-15-15 around the plant in the spring after planting. The fertilizer will feed the plant for months.
10: Harvesting Asparagus
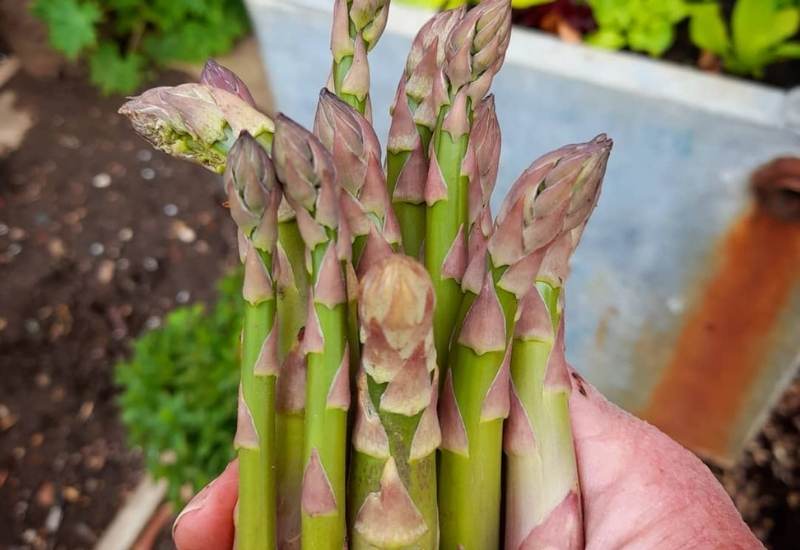
Here is the saddest thing about harvesting asparagus – it can take up to three years or longer to get a harvest.
If you try to harvest too early, it can deteriorate your future yields and damage the overall health of the plant.
So, in the first year, you’ll see that the plant produces spears. Let those develop into bushy stems.
You might notice berries. Just pick them off and let the stems die back.
In the fall, cut the asparagus down to ground level, typically around October. Then, continue care in the next year.
This process repeats each year.
In your third year of growing asparagus in containers, you can harvest spears, but you do need to leave most behind to produce ferns.
99Leaving some behind helps to harden off your plant by letting it build up strength to make even more spears the next year!
How To Harvest Asparagus Spears
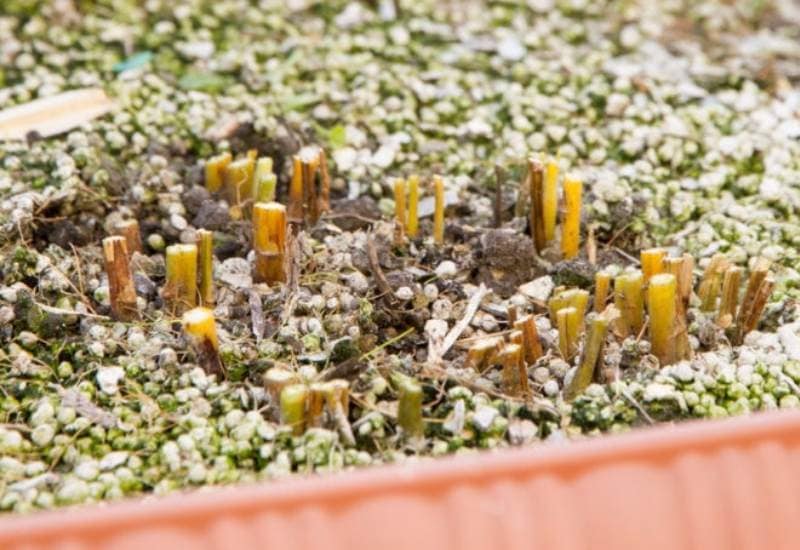
Here is something quite essential to know – there is a right and wrong way to harvest asparagus.
When the spears are around 5 inches tall, it’s time to harvest. Use a sharp knife to cut the stem, leaving about three inches under the soil level.
After you harvest, let your plant rest and grow new spears. They will continue to grow more spears each time that you collect them throughout the year.
Pick an Asparagus Variety for Containers
Asparagus isn’t a very diverse plant, and there are NOT tons of varieties to pick from for containers.
They all have similar nutrients, take the same amount of time to establish, and produce the same sized harvest.
Here are a few popular varieties of asparagus.
Jersey Knight
This variety is known for being a vigorous grower with high yields that handles warmer climates well. The mature size is 2-4 feet tall.
Mary Washington
Here is an open-pollinated variety that has a purplish tinge to the spears. They grow well in the midwest.
Jersey Supreme
This type grows well in hardiness zones 3-8 and can handle partial shade.
Common Pests and Diseases that Bother Asparagus
Perennials tend to struggle less with pests and diseases than other crops, but that doesn’t mean it doesn’t happen.
Here are some of the most common pests and diseases.
Purple Spot
You know that your plants have purple spots when they have sunken, purple, oval-shaped lesions on the spears.
Purple Spot is a fungi infection that is typically caused by rain splash and debris around the plants.
Be sure to provide ample air circulation around the plants, and feel free to use a fungi spray to kick the problem to the curb.
Rust
Many plants suffer from rust, which is a foliar disease that causes different lesions to develop on your crop.
To help reduce the risk, plant each asparagus with ample spacing and in the direction of the wind to increase air movement.
Try to plant cultivars that are moderately disease resistant. You also can apply fungicides in the early stages, but late stages will need the plants to be removed and burnt.
Fusarium Crown And Root Rot
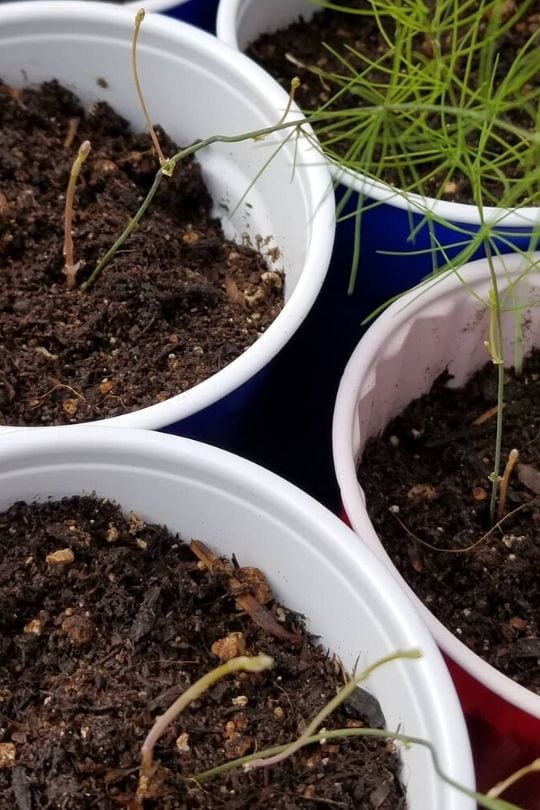
These infections are common when your plants are stressed by drought, leading to russet-colored lesions on the roots, lower stems, or crowns. The ferns might turn yellow.
Unfortunately, this is a long-living, soilborne fungus that can be hard to get rid of in the garden.
The best defense is to prevent a developing infection. Pick cultivars that are resistant to diseases and be sure to control any debris or weeds that develop around the plants.
Asparagus Miners
These little plants can be hard to spot because they’re small black flies that are only 0.2 inches long! You’ll notice mining damage along the stem base.
Always remove debris to stop the buildup and hatching of pests. Remove any volunteer plants in your containers.
You can try spraying neem oil as an organic treatment for asparagus miners.
Asparagus Beetles
There are several types of asparagus beetles, such as the common beetle or the spotted asparagus beetle.
The adults can measure 0.25 inches long that love to chew on the ferns.
Pay close attention and check your plants for damage often. The best time to check is in the afternoon because it’s during this time that their activity level is the highest.
You can apply an insecticide or an organic oil like neem oil to get rid of asparagus beetles.
Final Thoughts
You might be surprised to see that growing asparagus in containers isn’t as hard as you thought.
While container asparagus might not live as long as the ones in the ground, you’ll still have a great harvest and be able to enjoy perennial vegetable gardening without the ground space.

Written By
Bethany Hayes
Bethany is a suburban homesteader, growing over half of the vegetables, fruit, and herbs that her family of six needs each year. She raises chickens and homeschools her children. When she isn’t spending time tending to her garden, you can find her reading, crocheting, and canning.

I’ve read plenty about the need to winterize with mulch in the fall, but nothing about moving containers. We planted (from seed) in an approx 42″x20″ (26″ deep level of soil) horse trough. Can we leave it outdoors as is, or if it were insulated in some way (piled leaves, burlap wrap, etc)? Thank you for any advice.
Yes you can but make sure you will add 6-inches of straw, pine needles, or well-rotted or chopped leaves to the top of fallen stalks to give crowns extra protection from freezing temperatures.
I live in the Florida Panhandle, and we rarely have a freeze in the winter. I planted crows last year and they are doing ferns this year. What Next?
I have ferns also. What next?
Hello
I have been given 3 Asparagus plant and I would like to plant them in the container, can you please guide me, thanks in advance for you reading and hoping to hear from you.
GOD BLESS
Mel
in october, I cut it down and can i store the whole container in the garage? no watering. and bring it back out in april?
Where can I find a large container to grow my 1 year old plant?