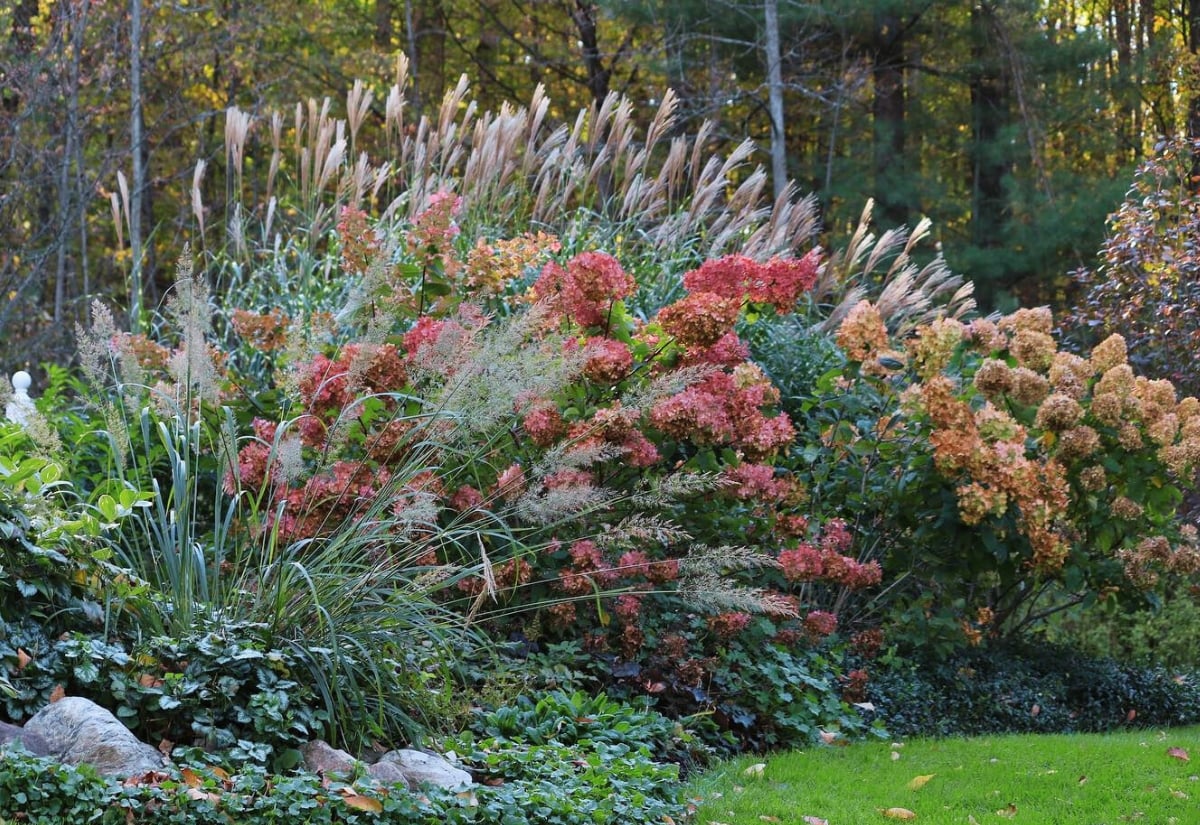
Fall care for hydrangeas isn’t just important—it’s a garden must-do! As autumn rolls in they are are “going to bed”, into dormancy, this is the perfect time to give them a boost and prepare your hydrangeas for the winter chill ahead.
Think of it like this: after a season of showcasing beautiful blooms and lush foliage, your hard-working hydrangeas are tired, having expended a lot of energy and nutrients. They’re now in need of some tender loving care. It’s your turn to show them some love and help them recharge for an even more dazzling show next spring and summer.
From pruning to fertilization, what you do with your hydrangeas in the in the later part of the season can make a huge difference in how they bloom next year. But be careful, even with the best intentions, it’s easy to make mistakes. The key is to provide the right amount of care—not too little, but not too much either.
To ensure your hydrangeas bloom their best when summer is in full swing, I’ll share ten of my can’t-miss late-season hydrangea care tips. Follow these in the late fall/early winter, and next year, your hydrangeas will thank you with a spectacular display of flowers!
1. First of All, Improve Soil Drainage for Your Hydrangea’s Roots
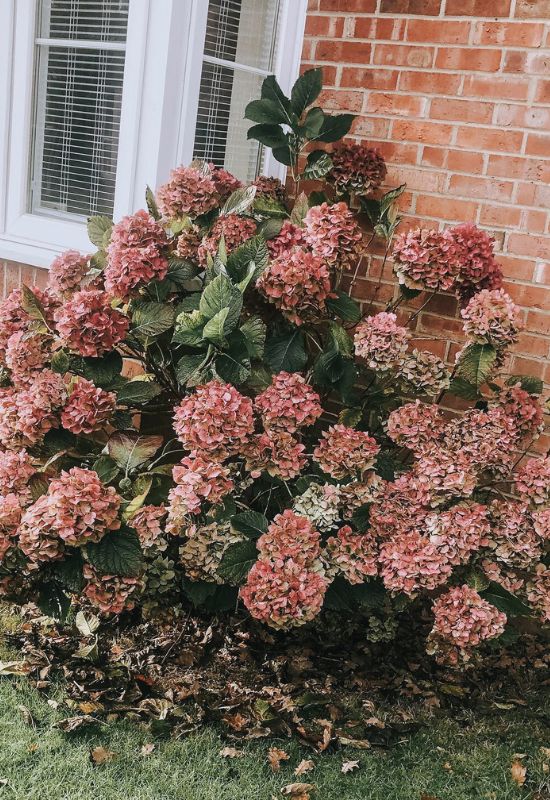
I say “first of all” for two reasons: you need to start early to improve the soil for your hydrangeas, and we always need to start from the bottom… Unless you land or garden has excellent drainage, it most likely has worsened during the season…
Dropping leaves, normal soil consumption and even rains can worsen your soil’s ability to drain. And wet roots in winter also mean weak hydrangeas in spring. If you add coarse sand (or gypsum if you have heavy clay), your flowering shrubs won’t risk any underground rotting.
Keep in mind that hydrangeas use less water during dormancy, and they cannot transpire as much humidity through their leaves. And it so happens that winters are often the wet season.
Even if you improve your soil’s drainage in late fall, the sand or gypsum will seep underground in time to keep your hydrangea’s roots dry. But the sooner you start, the better.
2. Get the Soil’s pH Right in Fall, and You Will Have Your Hydrangeas in the Color You Want Next Year.
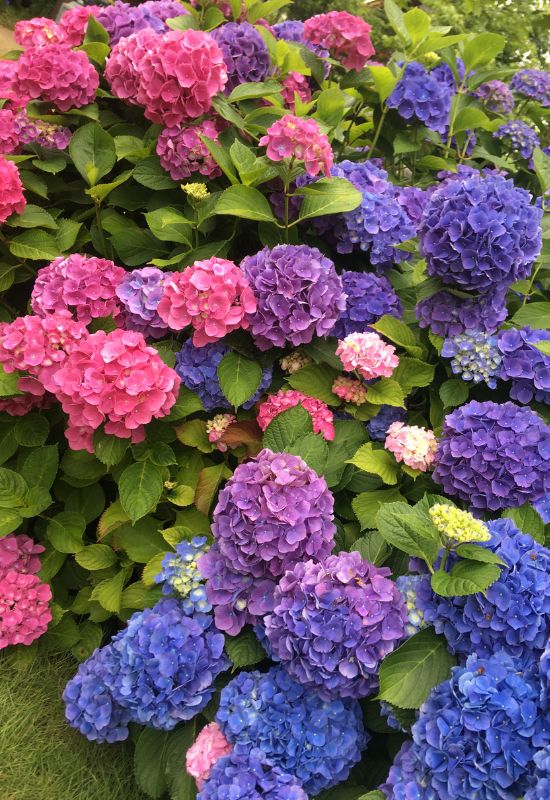
As you know, hydrangeas that blossom in the blue to pink (via purple) range, change color according to the soil pH, and fall is is the best time to do this. So, get a pH get a soil pH meter ($5.0 to 15 maximum) and check…
If you’re dreaming of blue hydrangea blooms, aim for a pH below 5.5. For those lovely purplish shades, keep the pH between 5.5 and 6.0, and if pink blooms are what you’re after, you’ll want a pH above 6.5.
To lower your soil’s pH, sulfur powder is your go-to. The amount you’ll need depends on how much you want to adjust the pH, the quantity of soil under your hydrangeas, and the type of soil you have – whether it’s sandy, loamy, clayey, or chalky.
A little piece of advice: start with a smaller amount of sulfur and give it some time. After a few weeks, check the pH again and adjust as necessary. This way, you can fine-tune the soil conditions for those perfect hydrangea colors!
3. If You Fertilize Your Hydrangeas in Fall, Be Careful!
I know, you will hear that you must fertilize your hydrangeas in fall, so you get them strong and blooming in spring. But this is not always the case!
If you do choose to fertilize, opt for a gentle, slow-release type. Using a heavy fertilizer, especially one high in nitrogen (with a high NPK ratio), can actually do more harm than good. It could cause your hydrangeas to bud too early, which isn’t ideal.
If your hydrangeas seem healthy and vibrant, there’s no need to fuss over them too much. A gentle sprinkle of compost now, in the fall, is usually enough. This bit of compost will provide all the nutrients they need to thrive come spring. Remember, they’re going into dormancy now. But do keep an eye on any shrub that seems lacks energy; you’ll need to give it extra care and feeding when spring arrives.
4. Mulch Your Hydrangeas in Fall to Protect them from Cold Winters
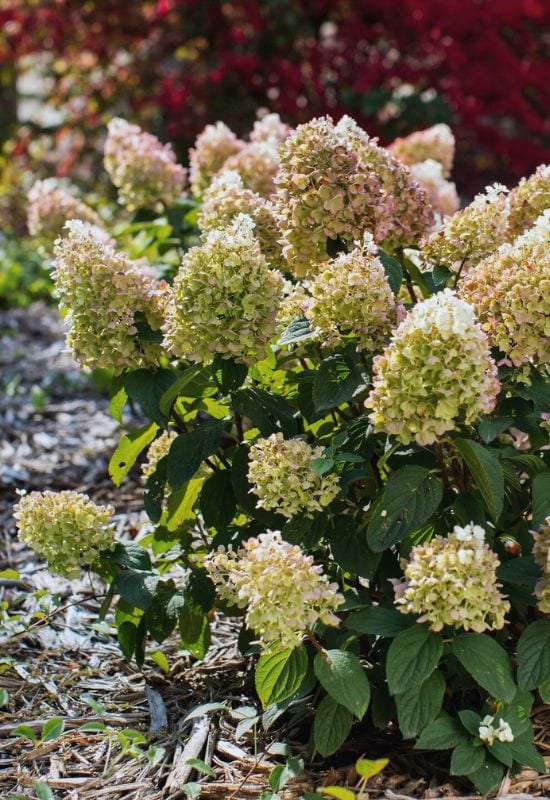
Still staying at the “feet of your hydrangeas”, fall is the perfect time to mulch to keep them cozy during winter. Spread about 2 inches (5 cm) of mulch around the base of each hydrangea, extending it out to cover the ground area as wide as the shrub itself.
They will thank you will a vigorous start in spring. With their “feet” now warm and dry, we can focus on other aspects of their care…
5. Careful with Pruning Your Hydrangeas in Fall, Or You May Even Get No Flowers Next Year (Or Very Few)!
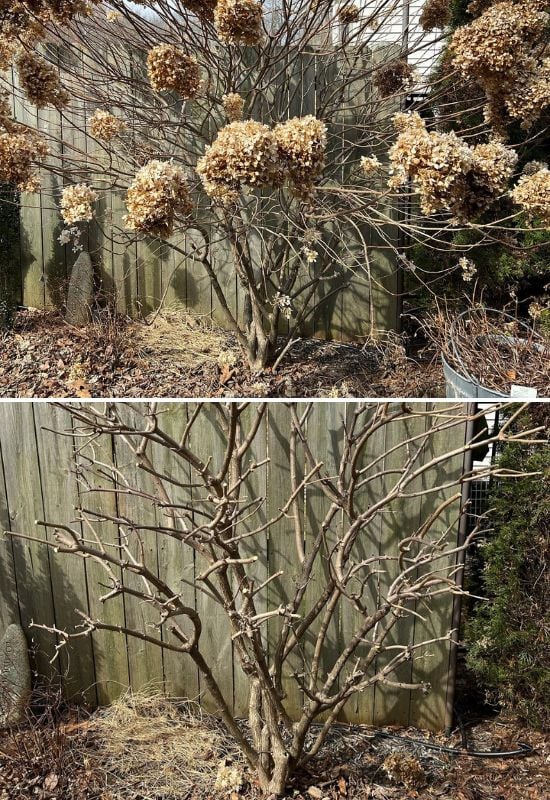
I get a lot of questions about pruning hydrangeas in fall or winter, and I totally get the confusion. It’s tricky, right? You see hydrangeas looking dead in winter, or they’re not blooming in summer, and it’s easy to think they need a good trim. Plus, you might have spotted your neighbor chopping their hydrangeas in half come October. The trick to figuring out To Prune or NOT to Prune hydrangeas in fall lies in knowing what type of hydrangeas you have.
If you have old wood hydrangeas, avoid pruning them in the fall. They prefer a trim in summer, just after they bloom. But if your hydrangeas bloom on new wood, it’s best to prune them in early spring or late fall.
For specific varieties like bigleaf and oakleaf hydrangeas, the ideal time to prune is when their blooms begin to fade in late summer. This helps encourage more and larger blooms for the next season. But if you prune old wood blooming varieties, you are actually cutting off the branches that will bear the flower buds next year!
For panicle and smooth hydrangeas prune them in late winter before new growth starts. These types can be cut back to the ground in late winter for larger blooms, or you can leave some old growth to support the new stems and prevent flopping.
In case you decide on a fall trim for your panicle and smooth hydrangeas, focus on removing broken, dead, or weak branches. Also, trim any branches touching the ground to improve air circulation and prevent fungal diseases. For a stylized look, shape these hydrangeas into rounded forms or trim up to a third of their branches. Personally, I prefer to prune them in late winter, just before new growth kicks in. I also make sure to leave some old growth; it helps support the new stems and stops them from flopping over.
6. Shelter Small and Young Hydrangeas for Winter
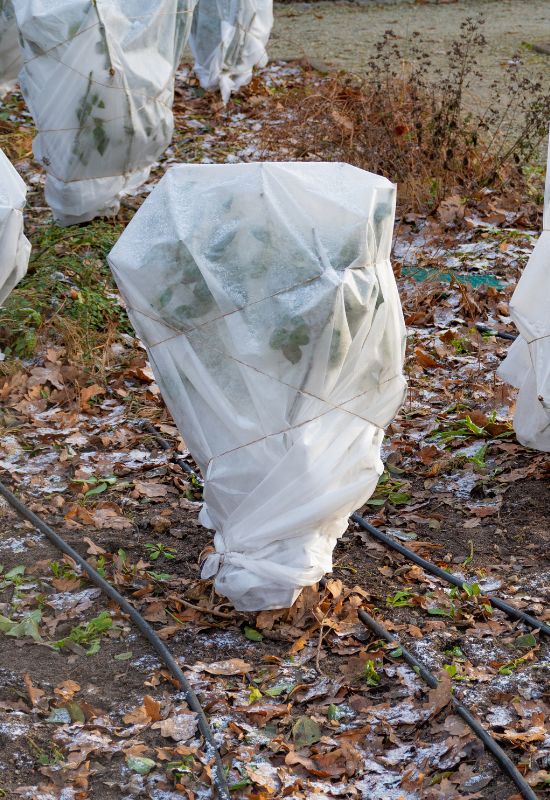
Hydrangeas are very cold hardy indeed, usually to USDA zone 3, but younger shrubs can be a bit more delicate in cold climates. If you don’t want to risk, and the weather gets really cold in winter, it’s a good idea to cover them.
For smaller hydrangeas, a ready-made plant cover is a convenient option, but for larger varieties, this can get pricey. Alternatively, you can create your own cover using a transparent cellophane sheet. Form a dome with sticks or any suitable support, ensuring to place holes in the sheet for ventilation.
Do make sure you keep the sheet away from your hydrangea shrub though, at least 6 inches (15 cm) from all the branches, and check it regularly over winter for molds and infections…
7. With Naked Branches, It Is Easier to Check Your Hydrangeas for Diseases
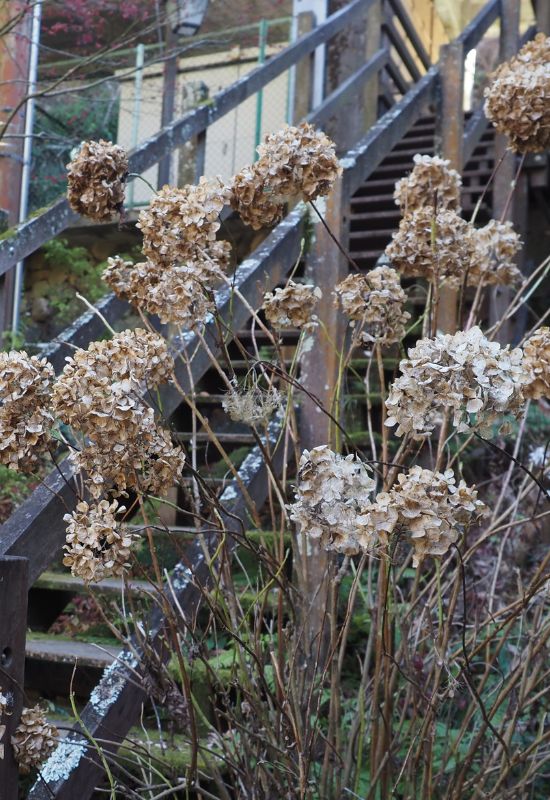
Yes, now in fall or winter that the lush foliage of your hydrangea has fallen, you can actually see its branches. And sometimes, hidden under the green leaves, pests, molds, fungi and other infections have found fertile breeding ground. Especially if it has been a hot and humid season.
So, this is the best time to look at the branches of your hydrangeas, and get rid of all these diseases. It is also good to leave these flowering shrubs very healthy before winter comes, because they could spread with the bad weather.
8. Remove the Fallen Leaves of Your Hydrangea: They Will Do Much Better on Your Compost Heap
Hydrangeas are deciduous trees, and they drop their foliage during fall. You may be tempted to leave them there, as mulch, but I suggest you remove them and put them on your compost heap…
True, they do have mulching properties, but there are two problems:
9. Over-Winter Your Potted Hydrangeas
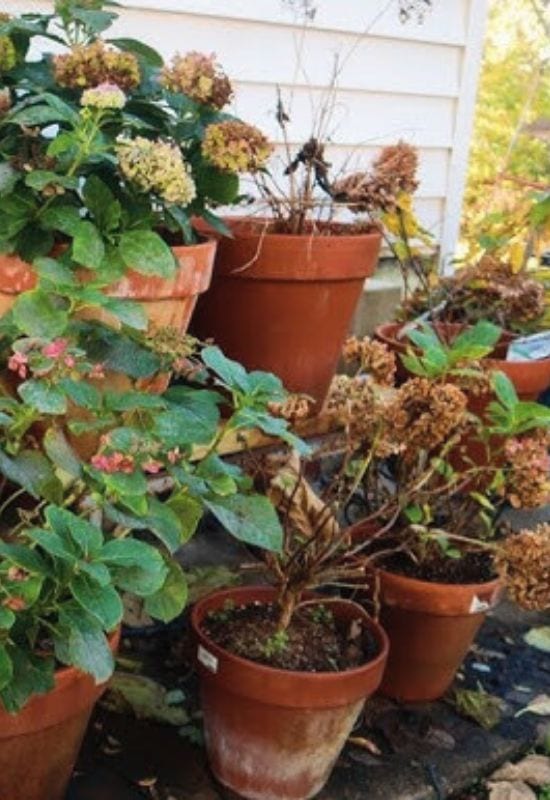
If you live in a cold climate (like USDA zone 5 or 4 and under), your potted hydrangeas are at risk! Yes, because the cold can penetrate through the container, much more and faster than it would do in the floor.
And these are the hydrangeas that need most attention, those you have in pots! You should definitely wrap up the container, with an insulating but also waterproof “blanket”… Fiberglass is ideal, but foam rubber and similar will work well too.
And you can use coco coir or wood shavings, as long as you don’t expect heavy rains, or you insulate them from them (with a plastic sheet, for example).
Give your potted hydrangea a generous layer, about 4 inches (10 cm) to keep their roots warm.
In very cold climates, also use a plant cover, or make one yourself, because you will have to protect their branches as well. And we have already seen how you can make one.
Then again, if you have enough space and a cool, but not cold nor warm place, like a garage, take them indoors. But don’t take them into a heated room; hydrangeas don’t like hot temperatures, and they could be tricked into thinking spring has come already.
10. Dry Hydrangea Blooms in Fall (If You Are Lucky…)
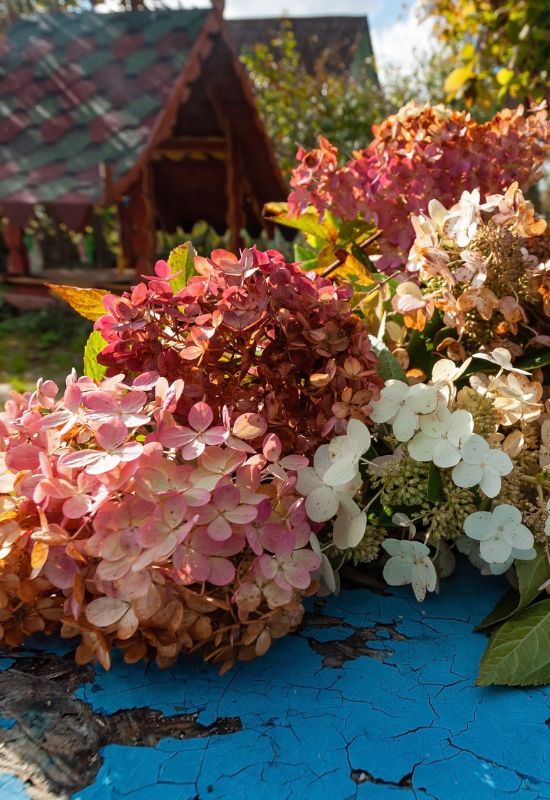
Hydrangeas usually stop flowering in early fall, but if the weather is nice, the few odd blossom can still be on the branches as temperatures drop…
In this case, don’t wait for them to become brown and ugly on the shrub… Cut them and dry them, they will keep for much longer and decorate your indoor spaces for months!
This way, you can have them with you even during the winter season, and they look great on Christmas trees!

Written By
Amber Noyes
Amber Noyes was born and raised in a suburban California town, San Mateo. She holds a master’s degree in horticulture from the University of California as well as a BS in Biology from the University of San Francisco. With experience working on an organic farm, water conservation research, farmers’ markets, and plant nursery, she understands what makes plants thrive and how we can better understand the connection between microclimate and plant health. When she’s not on the land, Amber loves informing people of new ideas/things related to gardening, especially organic gardening, houseplants, and growing plants in a small space.
