
Do you want to grow healthy and juicy tomatoes hydroponically? Are you sick of buying overpriced tomatoes with no flavor but you have no soil?
Then, the good news is that growing veggies hydroponically is fairly easy and inexpensive, including the most popular of all: the tomato.
You can grow tomatoes indoors and outdoors using a simple hydroponic system. Taking care of them from when you plant them to when you harvest them is easy too, and tomatoes grow very well hydroponically.
There are many ways of growing tomatoes hydroponically and in this article we will look at a very simple system in 21 easy steps. This will be an easy, step by step but also complete guide to grow tomatoes using hydroponics.
So, even if you don’t have a green thumb and you know nothing about hydroponics, you will soon have juicy red tomatoes ready for the picking.
21 Steps to Grow Your Hydroponic Tomatoes
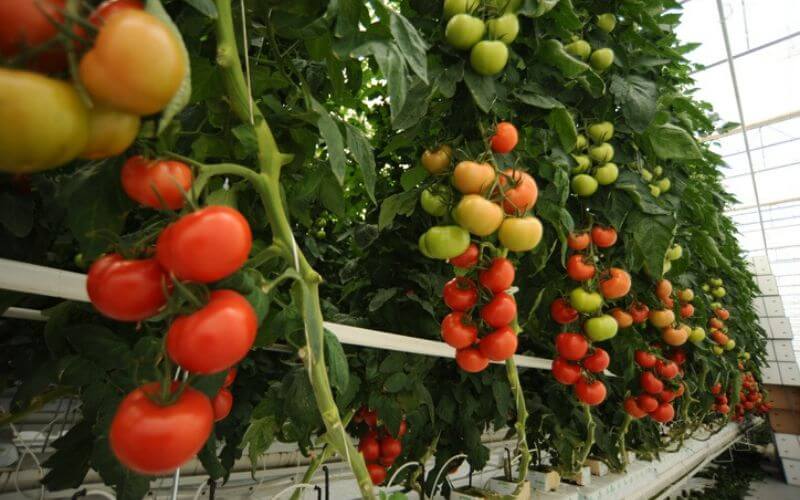
So, here are all the steps you will need to grow tomatoes hydroponically with success:
Each step is easy and straightforward, so, if you want to pick red and delicious tomatoes sooner than you imagine, just read on…
Step 1: Choose A Hydroponic System To Grow Tomatoes
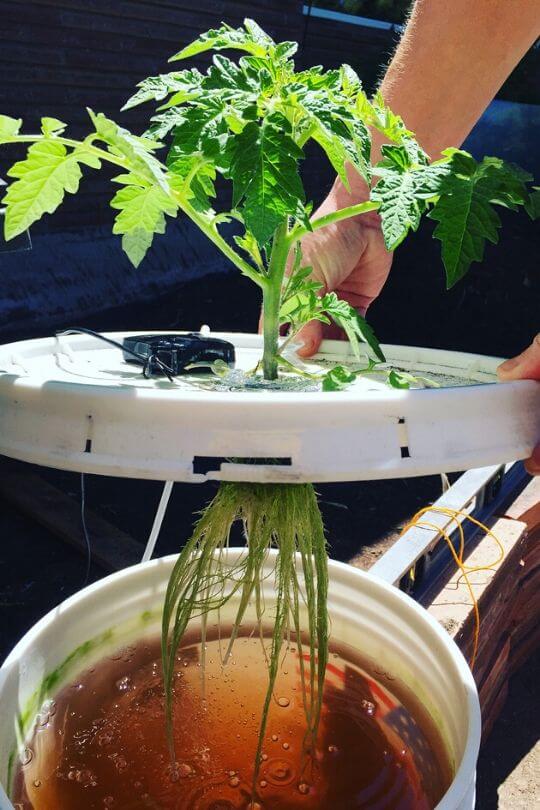
First of all, choose which hydroponic system you want to use. There are very cheap kits available that are suitable for large and even very small spaces.
On the whole, a good drop system or aeroponics system would be perfect, but even a deep water culture system will do.
In fact, there are, on the market, many deep water culture kits designed for tomatoes and similar vegetables.
When choosing, think about the:
If you have a fairly large space, I would suggest considering a Dutch bucket system, a development of thedrip system where you will grow each plant individually in each container.
Of course, if you have a penchant for DIY, you can even make your own.
Step 2: Choose A Good Growing Medium
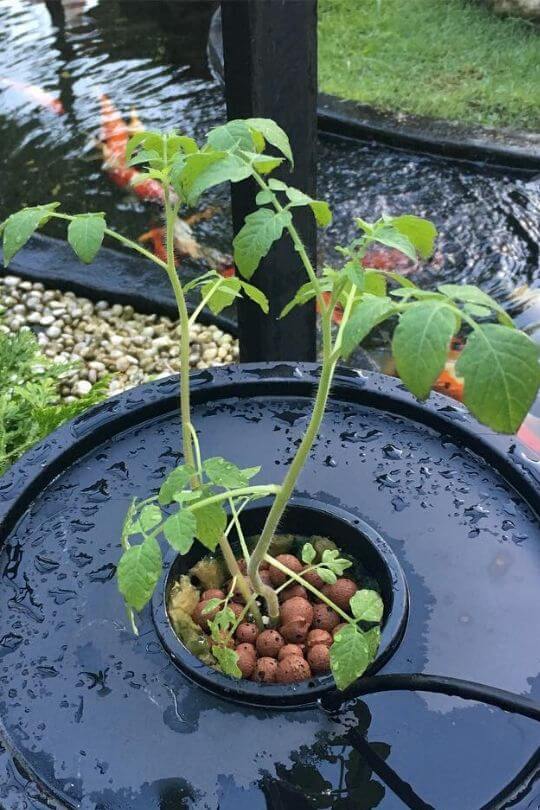
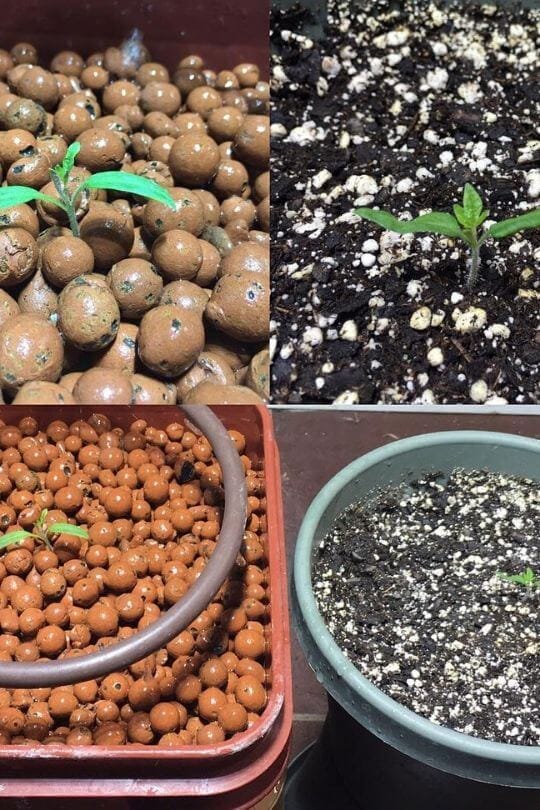
Hydroponics works better if the roots of your plants are in a growing medium. This can’t be used with aeroponics, but with other system, you will basically need an inert material that can hold on to the water, nutrients and air.
Expanded clay pellets are the most common growing medium: they are cheap, they work well and you can find them in any garden center.
You can alternatively use coconut coir, which has a perfect fibrous system for hydroponics, or add vermiculite and /or perlite to increase the absorption of liquids and air respectively.
Step 3: Choose Your Nutrient Mix (Fertilizer)
Hydroponics does not mean “growing plants in water”; it means “growing plants in a nutrient solution of water and nutrients”.
Plants cannot grow in pure water, even if some people grow them in tap or rain water; that’s because there are nutrients in it.
But if you want your tomato plants to grow well, strong, healthy and make many fruits, you will need to use a good fertilizer, or nutrient mix. Tomatoes in particular are plants that like to eat and drink a lot.
A good hydroponic mix for tomatoes will:
Step 4: Choose Your Grow Lights
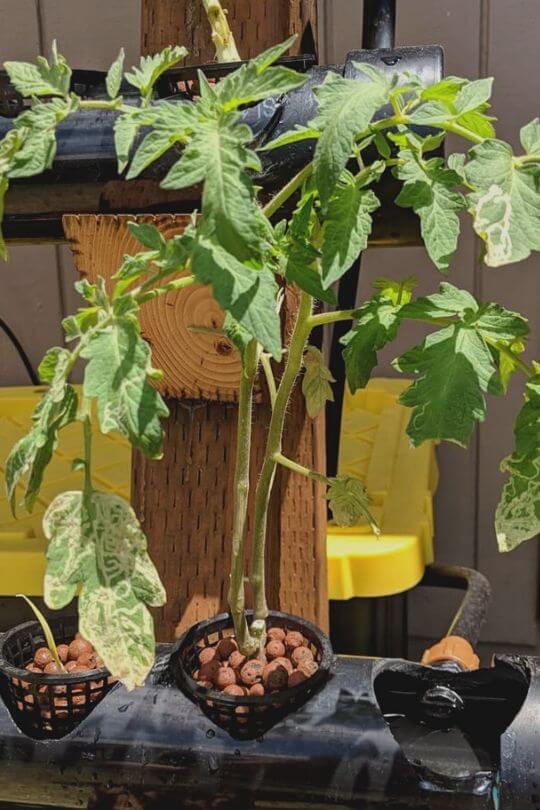
If you have plenty of sunlight, don’t worry about using grow lights. This is a step you will need if you want to grow your tomatoes indoors, especially in a dimly lit place.
For example, if you have an empty garage and you want to turn it into a vegetable garden, then you will need to use some artificial lighting.
Normal lights are not good for tomatoes or other plants. You will need lights that cover the blue and red spectrum plants need to grow. The best lights are LED grow lights, in fact:
Most even have a timer attached, so you can just set it and forget about them.
Your tomatoes will need:
Don’t worry; LED grow lights are easily adjustable on blue or red. If you are not familiar with them, they have separate blue and red lights, and you can switch them on and off or turn them up and down.
Step 5: The Trellis
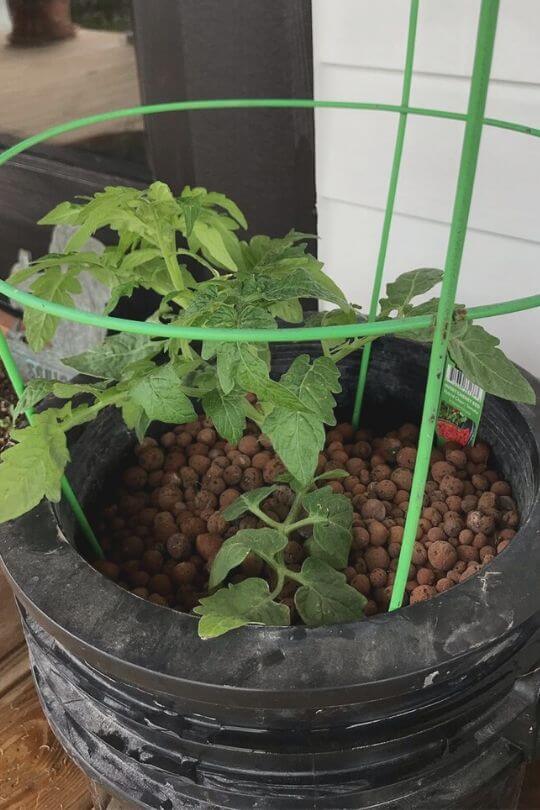
Tomato plants need support to grow in most cases, and this is why you may need a trellis. Many hydroponic tomato growing kits will already have an incorporated trellis or frame you can tie the tomato plants to.
In case you don’t have it, you have an option:
We will come to this lasted, after we plant the seedlings.
Step 6: Buy The Seedlings
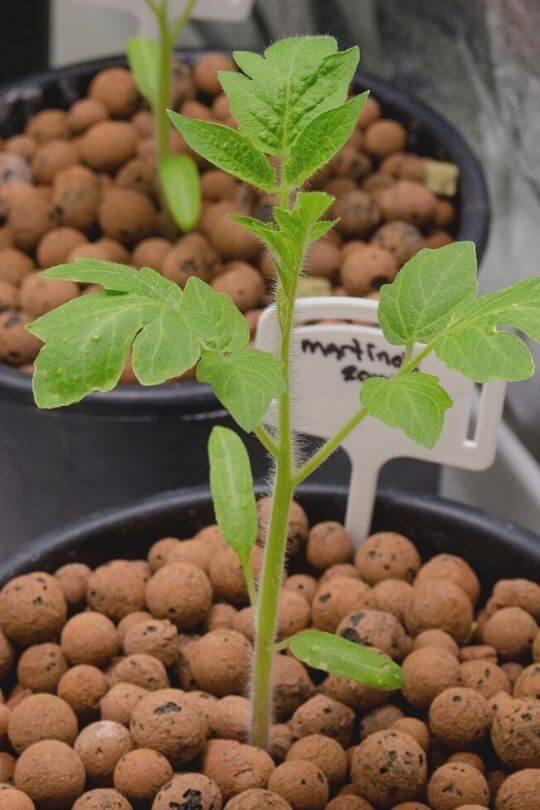
Choosing your seedlings can be a beautiful experience, but there are a few things you will need to keep in mind:
The variety of tomato plant; there is a wide range of tomatoes, from sweet and small cherry tomatoes to large beef tomatoes. Of course, this is a matter of taste.
The height of your tomato plants; this will be an important consideration, especially if you have a small space.
The health of the tomato seedlings; you are looking for young adults, not newly born tomatoes. Check that they look like small adult plants, and that they have at least 5 leaves or more.
They should be at least 5” tall (12 cm) and possibly more. Check that they are green, healthy and have a strong stem.
Choose organic seedling; if you want your plants to be fully organic, they should be so from birth.
Step 7: Prepare The Nutrient Solution
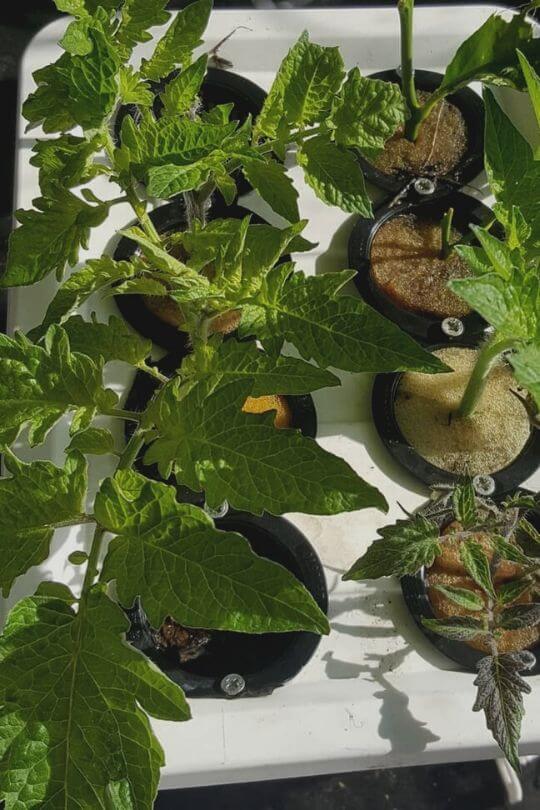
Now, it is time to fill the reservoir of your kit with water and add the nutrient mix, or fertilizer. This is easy, and you will only need a very small dose, we are talking in terms of centiliters per gallon…
Just read on the bottle or box and then add it, then, you will need to mix it well.
Wait for the temperature of the solution to be either room temperature or about 65oC, or 18oC before using it to feed your plants.
Step 8: Check The PH And EC Level
The acidity of the solution and the electrical conductivity of the solution are the two key parameters in hydroponics.
The first tells you how alkaline or acidic the solution is and the second will tell you that the solution has enough and not too many nutrients in it.
Most kits have an EC meter and pH meter incorporated in them.
Step 9: Connect Your Kit
It’s time to set up your hydroponic garden! If it is an all inclusive kit, all you will need to do is just connect it to the mains.
If it is made up of discrete elements, then make sure that:
Step 10: Wash The Growing Medium
You will need to wash and disinfect the growing medium before using it, and you will have to do this again every time you change crops. Water and alcohol will do.
Step 11: Put The Growing Medium Into The Mesh Pots
Once you have sterilized it, and you have allowed eventual alcohol to evaporate (it takes a few minutes), you can finally put it in the mesh pots, where you then will…
Step 12: Plant The Tomato Seedlings
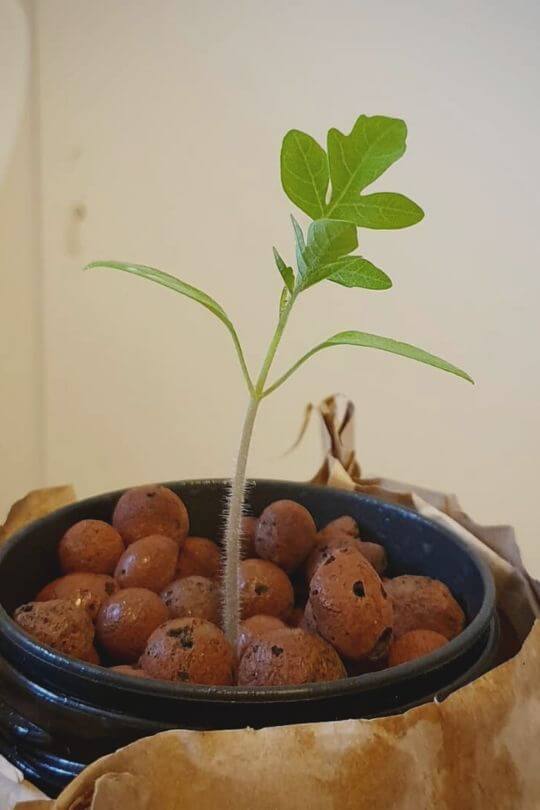
Planting the tomato seedlings into the growing medium is not that dissimilar from planting them in full soil. You can actually do this at the same time as you put the growing medium in.
Just allow for space for your tomato plants’ roots and then cover all around to the base of the stem with the growing medium.
Step 13: Set The Timer
If you use deep water culture, you will not need to set the timer for the irrigation times. With other systems, however this is important.
Many kits will come with the timer settings in the instructions, but, remember a few points:
These irrigation cycles change also according to the hydroponic system you choose, on average however:
For an ebb and flow system, you will irrigate for 10 to 15 minutes every hour or 1.5 hours during the day. If it is hot and dry, you may need one or two 10-15 minute cycles at night too.
With a drip system, the irrigation cycles vary a lot and are very flexible. Start with 10 minutes, then check how much nutrient solution is still in the growing medium after 50 minutes and adjust from there. At night, suspend unless it is too hot, and in this case, again, limit irrigation to one or two cycles.
With aeroponics, the cycles are about 3-5 seconds every 5 minutes. They are frequent and short. Be flexible with aeroponics as well, and apply the same discretion for hot nights as you did with other systems.
Step 14: Switch The System On
Now you can switch the whole system on, switching on the air pump and the water pump. In many kits, this is done with just by pressing a simple button.
Don’t forget the lights if you use them!
Step 15: Take A Well Deserved Break!
Now your hydroponic garden is up and running, you can take a break.
From now on, all you will need is maintenance and plant care.
Step 16: Hydroponic System Maintenance
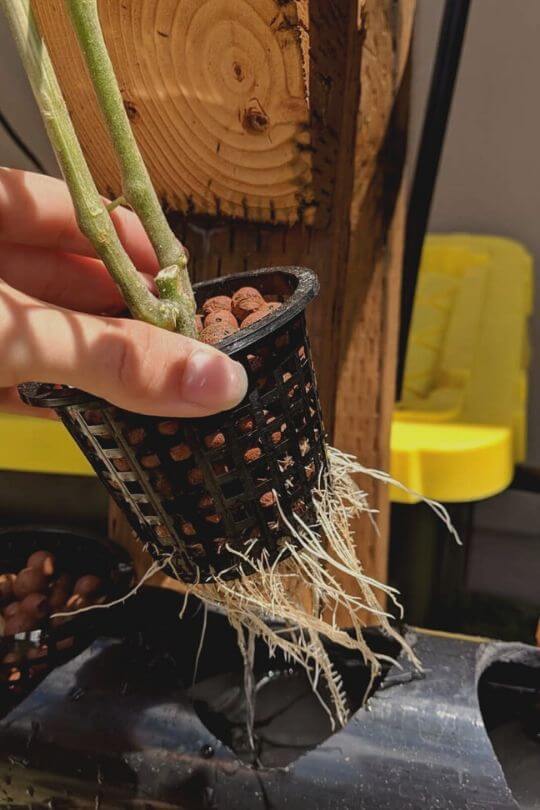
You will need to check your hydroponic garden regularly, but this is a matter of minutes and it’s just a matter of simple routine maintenance.
Step 17: Keep Your Tomato Plants Short (If Necessary)
If you have no head room for your tomato plants, but you have chosen a variety that grows tall, then do this:
This will keep your plant low and encourage it to grow sideways instead of up. Remember that hydroponic tomato plants are taller than soil plants.
Step 18: Nip Off The Suckers
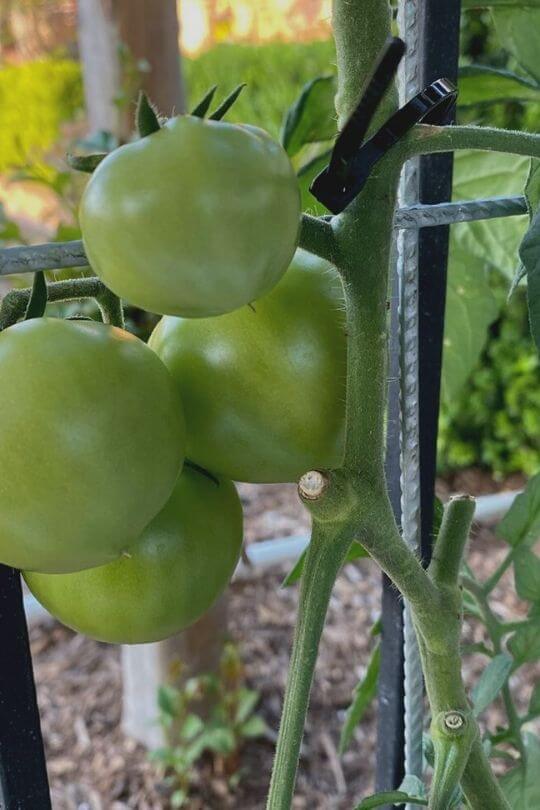
Your tomato plant will grow suckers, which are branches that come off from the main stem and the branches. You can recognize them because they look like small plants on their own, and because they grow as an “extra branch” between the plant and its branches.
Most gardeners usually snip them off when the plant is young, then, they let them grow.
The reason is that they suck energy from the higher branches, which are the ones that will bear the majority of the fruits.
Snipping them off also allows the plant to grow tall and have a long main stem without lower branches, which are a bit “messy” and not ideal for your plants and yield.
Just use your fingers, take the sucker at the base and snip it off with a neat and fast movement.
Step 19: Tie Your Tomato Plants To The Trellis
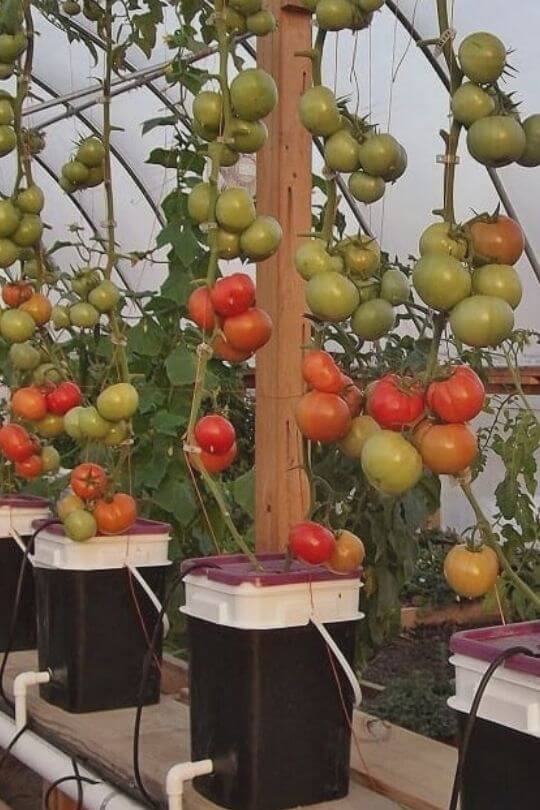
Tomato plants do not grow straight up on their own, and this is why you need to tie them to a supporting frame, trellis, stick or pole.
If you don’t, they will tend to bend down and grow low, near or onto the soil… Ok, you have no soil with hydroponics but the concept is the same.
This becomes worse when the plants fruit, because the weight itself of the tomatoes will make it bend even more. In soil gardening, this causes the tomatoes to touch the ground and rot.
In hydroponics this is not as big an issue, but you would still have plants that drop down, and this makes them easy to break and it is not good in terms of space.
So, you can use a wire, a rope, even a plastic band, to tie the plant to the support.
This way, you will have healthy looking and tall plants with lots of tomatoes that can also enjoy the best of the sunshine and ripen well and fast (or of your grow lights).
Step 20: Check For Disease Or Pests
Hydroponic plants are healthier than soil ones, and they rarely catch disease or are infested by pests. Yes, this is a scientific fact and it will come as good news to you.
Still, check that your plants are healthy,that they have the dark and deep color that tomato leaves and stems are famous for, that there are no serious lacerations (unhealthy lasts often have brown lesions in the stem and on the leaves) and that there are no pests.
What should you do if there are any problems?
Don’t worry, there is literally no disease or infestation you cannot cure organically, with neem oil, garlic, or even essential oils. Most health problems with hydroponic plants are, in fact, quite light and not grave.
Don’t spray chemicals on your hydroponic tomatoes or they will end up straight into the nutrient solution… And remember that the nutrient solution will feed you, not just the tomatoes.
Step 21: Harvest Your Tomatoes
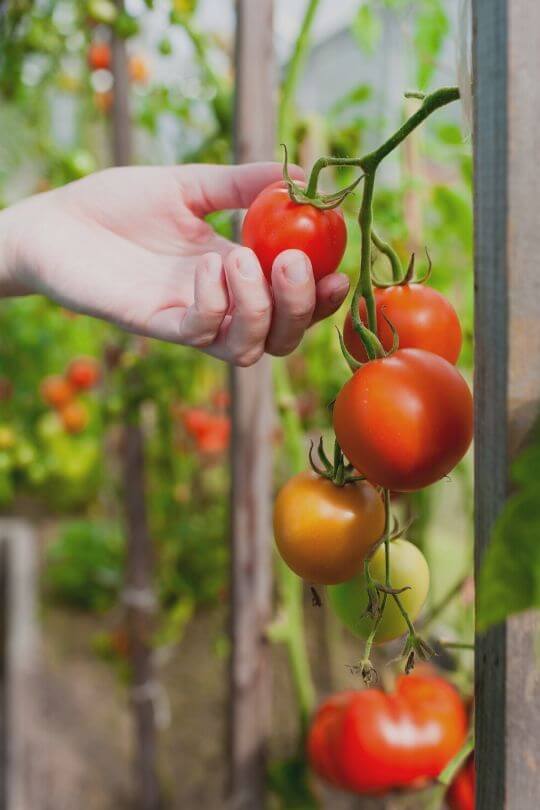
Within one month from planting the seedlings, you should already have the first tomatoes. A lot depends on the climate, variety and light you give them, but be sure that within two months you will be harvesting!
What can we say about it? Well, most tomatoes on the market are picked when they are green, and this is why, for someone like me, who grew up eating my father’s tomatoes, the ones you buy have no flavor at all…
Pick them ripe, as soon as they are red and start to soften to the touch, and you will never forget the flavor of a real tomato for the rest of your life!
Bon Appetite with Your Own Hydroponic Tomatoes
There’s nothing for me left to say but to wish you bon appetite! Growing tomatoes hydroponically is, as you can see, simple, and risk free.
It is also fairly cheap, and tomatoes were actually the first plants ever to be grown hydroponically in the modern era.
So, follow these twenty easy steps and you will be able to put red, juicy, sweet, healthy and fresh tomatoes in your salads just picked from the plants you grew yourself in no time at all.

Written By
Adriano Bulla
After many years as an academic in London, Adriano Bulla became a writer, publishing books like A History of Gardening, Organic Gardening and Elements of Garden Design; he then decided to become a gardener, following his childhood dream, and has been following his dream writing and gardening professionally in Southern Europe, where he has specialized in new and innovative organic gardening fields and techniques, like permaculture, regenerative agriculture, food forests and hydroponics.

Thanks for this helpfull information.
I have a nice 5′ 1st hydroponic tomato that has flowered but they are now falling off. From what I have learned, that can occur from too much nitrogen (1 possible cause). I am using master blend 4-18-38, calcium nitrate and Epsom salt at a rate of 2.4 oz of master blend and calcium nitrate and 1.2 oz of Epsom salt let gallon. Is that too much nitrogen? What would be recommended if that is not a good ragio?
Thank you for the information. What about pollinating? Do I have to do that manually ?
Yes, you can simply shake the flowers by tapping behind the flower with your finger or with a pencil to stimulate the plant to release pollen.
Excellent, excellent excellent article. Thank you for creating. I am trying to find seeds for medium size indeterminate red tomato to grow hydroponically indoors. Hoping to yield a tomato approximately 1.5 to 5 oz or 1.5″ to 3″ in diameter (60 – 150 gm or 4 to 8 cm in diameter). Do you have any recommendations? Many thanks for your time. Dan
How important is it to maintain warmth and humidity in an indoor system, and what are the recommended temperature and humidity levels for tomato plants typically?
Maintaining warmth and humidity in an indoor hydroponics system is very important, as it can directly impact the growth and health of your plants. For tomato plants grown hydroponically, the ideal temperature range is between 70-80°F (21-27°C), and the ideal relative humidity is between 60-70%.
Consistent temperatures and humidity levels are important for plant growth and development. If the temperature is too low, it can slow down plant growth and reduce yields. If the temperature is too high, it can cause the plants to become stressed and reduce yields as well. Similarly, if the humidity levels are too low, it can cause the plants to become dehydrated and reduce yields, while high humidity levels can lead to the development of fungal and bacterial diseases.
To maintain optimal temperature and humidity levels in your indoor hydroponics system, you can use environmental controls such as heaters, fans, and humidifiers. Additionally, monitoring the temperature and humidity levels regularly and making adjustments as needed can help ensure that your tomato plants are growing in the best possible conditions.