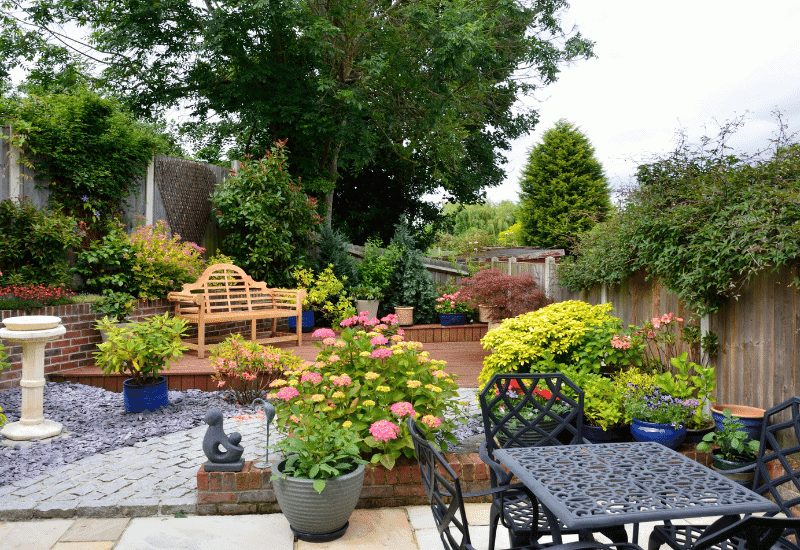
The biggest problem for most gardens? They are small in size – but you can make your tiny backyard look much bigger with a few tricks!
In fact, most urban and suburban plots are a few yards long and wide; then you want to squeeze in a flower bed, a lawn, or maybe even a patio to entertain friends.
The end result is often a crammed mess that makes your small garden look even smaller.
Then again, you can walk into a garden half the size of yours and get the impression that it’s far bigger… That’s because the design uses smart perspectives, planting is wise, it incorporates the landscape, it plays with colors etc.
Get ready make your small garden look spacious with 22 professional ideas, from design tips to painting our fence and using mirrors.
1: Find the Longest View Line in Your Garden
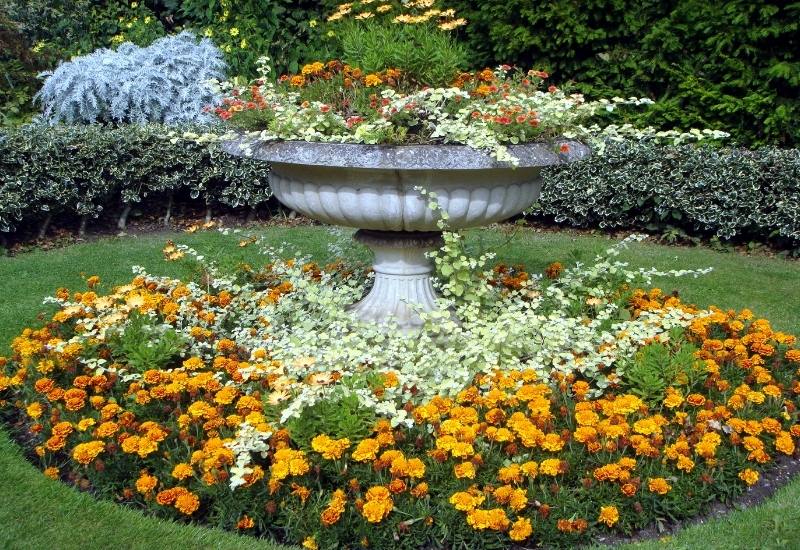
The very first thing you need to do to make a small garden look bigger is at the design stage. Most gardens are rectangles; those that are short and wide look even smaller. But… This is because we “look straight to the back of the yard”.
Now, turn sideways and look into the corner of the plot you have… You see that it already looks bigger. It is a mathematical trick, the diagonal is always longer than either of the sides of a rectangle.
Get a map of your plot of land and draw the longer perspectives you can achieve. You can lay out your garden so that attention is drawn to the end of these lines. We will see how you can do this in the next tips. But now, go out and find these lines, and mark them on the plan.
This is especially useful in closed gardens. If it has openings onto the landscape, we will give you more ideas later on.
2: Use Oval Layouts
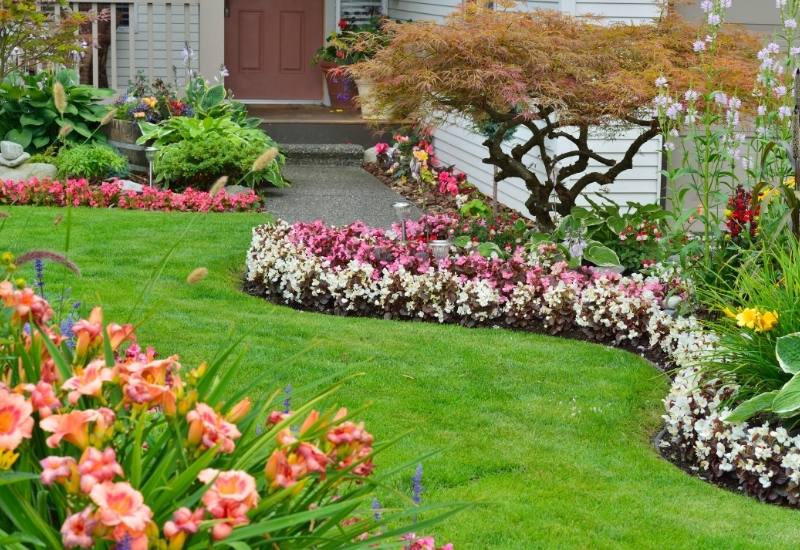
Most amateur gardeners look at a rectangular land plot and divide it into even more rectangles. Most lawns have this shape, then the patio repeats it, even flower beds end up of this boring and very formal shape…
Ovals instead look bigger! It’s a visual effect because the sides of an oval are longer than that of rectangle of the same size and they curve, so our eye travels longer to get to the end of an oval, while with a rectangle or square we just go straight through the middle and to the end, which is the length of one of the sides!
Direct your oval so that the major (long) diameter (axis) coincides with one of the long perspectives you have found. You will get a tilted oval floor shape that goes to one of the corners of your garden. You can use another one to go to the other corner, or play with this pattern.
This could be your lawn, your open space, a patio, your entertainment space etc… The main open space of your small garden should be an oval that follows the longest perspective. This on its own will make your garden look twice and big as it really is on paper.
You can adapt this basic concept and shape to the layout of your garden, bean shapes, broad winding snake shapes etc. are all fine, but avoid stark geometric shapes with angles and straight sides.
3: Make the Best of How We Look at Gardens
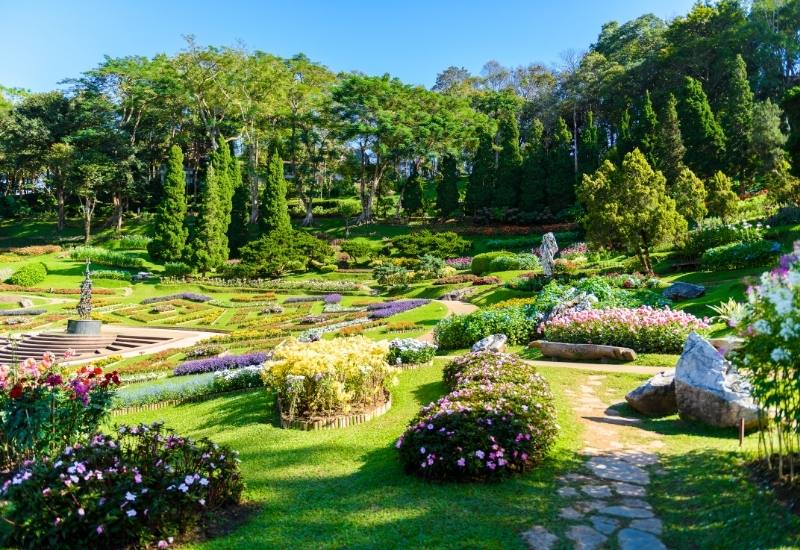
When we look at a landscape we go from left to right. We start on the left and then we move back and right. It is the same as we do when we read or when we look at a picture. In fact, technically we say that we “read” gardens and paintings. Keep this principle in mind because we will use it again.
You need to adapt it to your space, because you want your guests’ eyes to go where you have a scape-view, where you have a beautiful spot or feature. You don’t want them to end up staring at the toll shed or compost heap!
But if you turn the oval with the faraway end to the right, you will give a sense of space. If you turn it the other way round, you will trump the viewer; you will have an unexpected effect. You will surprise them.
Both solutions are possible. The first is a more straightforward and easier to use. For the second, you will need to use some of the tricks I am showing you later on, like veiling and zig-zagging. If you are tempted, read on, because we are looking at one trick of the trade at a time.
4: Place Eye Catching Features at the End of Long View Lines
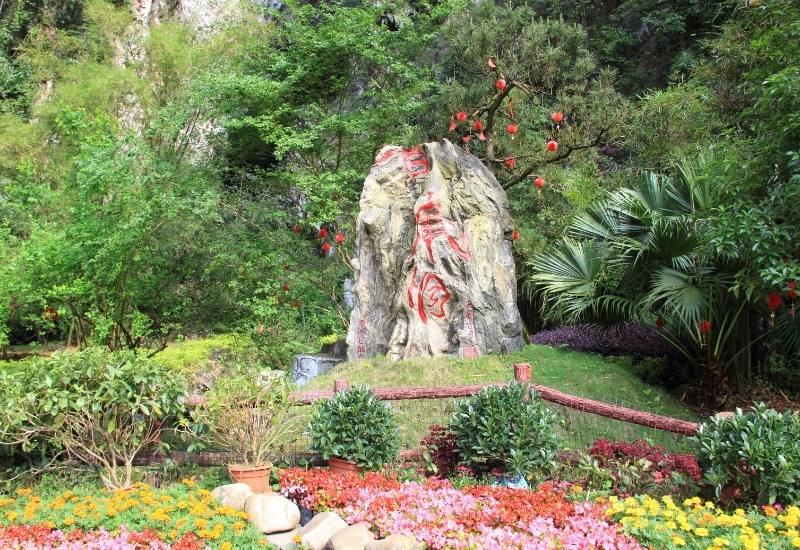
You can direct your visitors’ eyes to go where you want them to: place an eye-catching feature or plan just at the very end of the longest perspective lines you have found.
A red and black Grecian Urn (even a reproduction of course), a water feature, a sculptural plant, like an agave, for example… Use your imagination and choose something that fits with your design.
It is simply a way of tricking the eye… When you see a new landscape, you unconsciously search for something to fix your eyes on, something that stands out. You just need to provide it and place it as far away as possible…
5: Slow Down Viewing with Dotted Stoppers
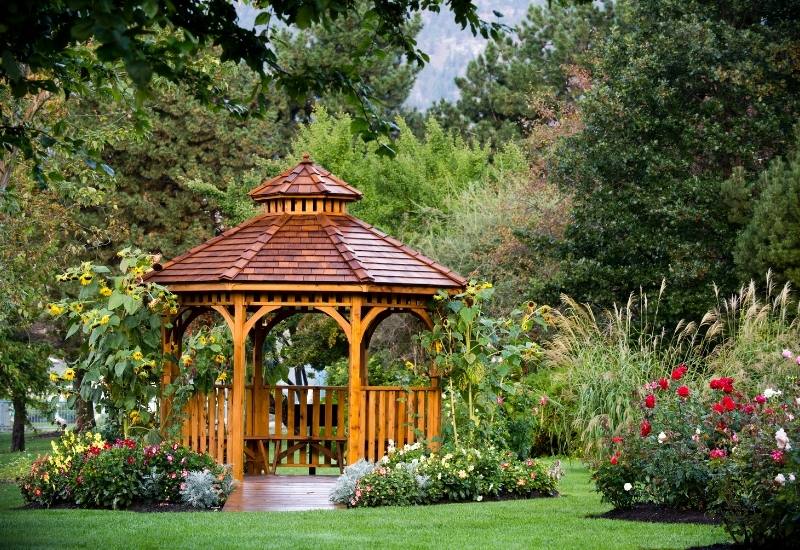
You can stretch your garden even further now… Actually, what you need to do is slow down the movement of the viewers’ eyes; like when you walk slowly, you get the impression that the distance is bigger; it works for gardens too! Let’s see…
Now you have an oval with a long axis that is also the longest perspective in your yard. At the end you have a showy feature; let’s choose a big amphora, for example. Look at the sides of the oval and place a few interesting features or plants that stand out along these curves.
This way, anyone looking at your garden won’t rush with her or his eyes to the back; s/he will pause at every “stopping point” and this will make the journey feel longer and your garden will look bigger.
What’s good for this trick? Any feature or plant would do, but maybe it’s best if you choose smaller ones than the one you chose as the “arrival” of this journey of the eyes.
6: Incorporate the Landscape into Your Garden
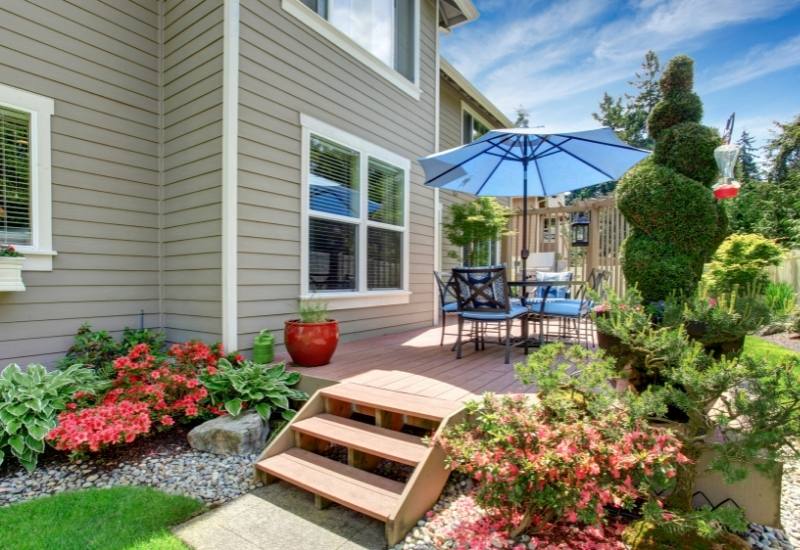
One of the best tricks of the trade to make a green space look bigger is to bring the outside into your garden. The idea is to allow the viewers to see beyond the end of your garden, but at the same time trick them into thinking what they see is inside.
To start with, choose a nice view. If beyond your back fence there is a park, an open space, or even a distant landmark, then cut a hole into the fencing and allow people to see it.
At the same time, grow a shrub, a climber or a vine around this hole; this way, it will look like a natural view, it will soften the effect and you will blend the outside view with the inside of your garden.
7: Soften Edges
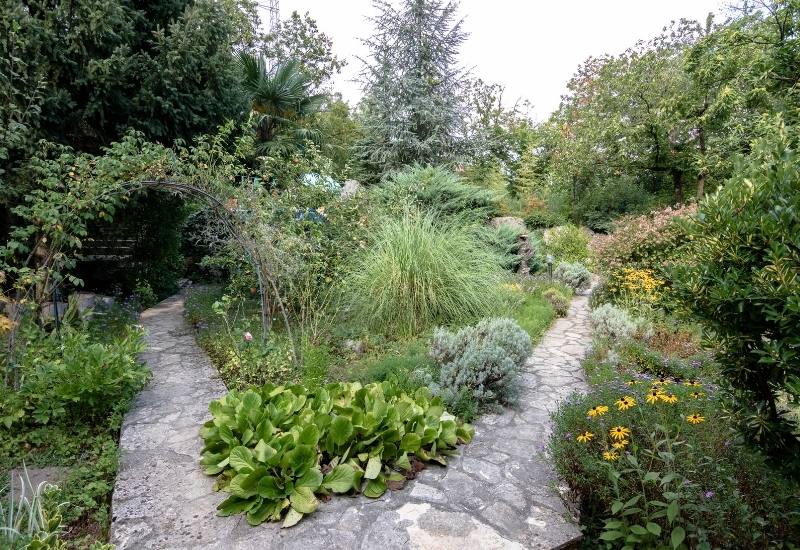
You have your oval lawn, all the viewpoints marked with eye-catching planting and features, but there is still something you can do… Harsh and clear lines invite people to run along them quickly with their eyes.
Instead, allow small plants and shrubs to spill over the border; this way you will smudge the line, and slow down the movement.
So, even if you have placed stones, or bricks or wood edging to the flower beds and birders that surround your open space, try to soften them and hide them with sprawling and draping plants like petunias, Convolvolus sabatius, Tradescantia etc. The choice is huge.
8: Use Different Heights
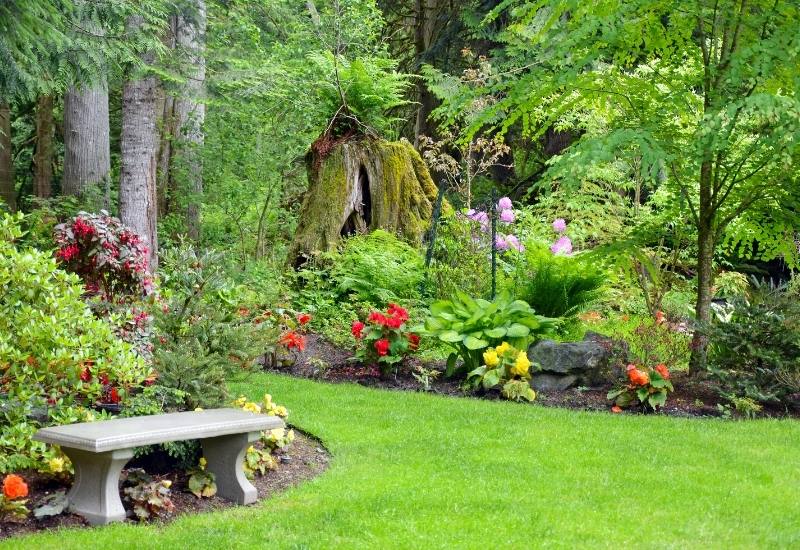
Eyes travel lengthways but also up and down along lines. If you have a curving line all at the same level, you will get to the end of it faster than if it goes up and down. It’s the same effect you get if you look at a large plain or at rolling hills…
The same applies to fences, edging and borders. If they are flat, they make your garden look smaller, if they go up and down, they make it look bigger. Undulate top line, the contour of your fences, edging and borders.
You can use stones and rocks of different sizes for edging; if you use bricks, don’t lay them all flat, place some upright, some flat, some on top of each other…. Now you can find waving wood edging in garden centers, choose this instead of the more traditional one.
Borders should have the tallest plants at different heights, and an arching fence is far better than a straight one…
On this topic, I have another tip…
9: Use Vertical Lines
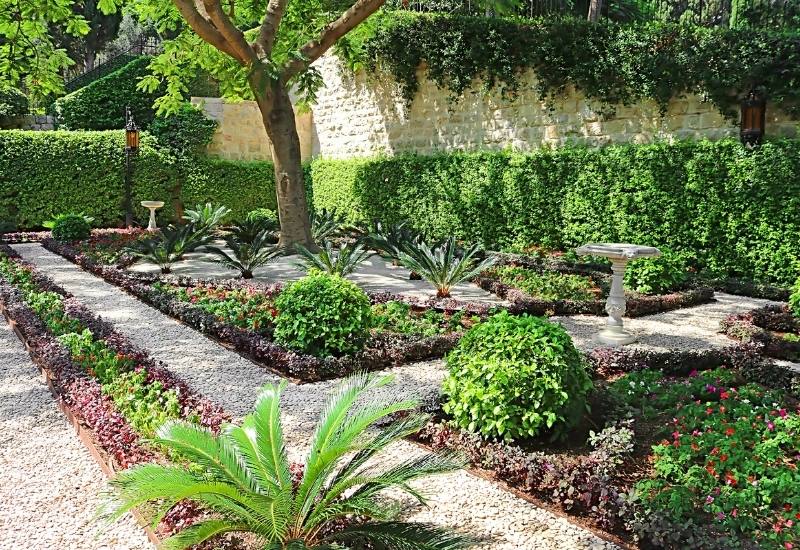
Another way to make a garden look big is to direct the viewers’ eyes up, rather than to the end of your plot of land. A special case is with fences… Fences where the horizontal bars or planks are dominant will make your garden look small.
People will run along them with their sight and soon reach the end. Fences with frequent and visible vertical posts have the opposite effect.
Also place some vertical features, like statues, posts, a bird feeding station etc. halfway from the back of your yard. Don’t place them at the back, or you will spoil the effect. Trick your visitors into going up and down these structures before they reach the end of your green space.
Of course, you can also use pointed and upright plants, like cacti, column-shaped junipers (Juniperus communis ‘Compressa’ or Juniperus chiniensis ‘Spartan’), small palm trees like pigmy date palm (Phoenix roebelenii)…
The key point is to use fence posts, features, and plants to divert the view up before it reaches the back of the garden.
10: Scatter Irregular Eye Catchers
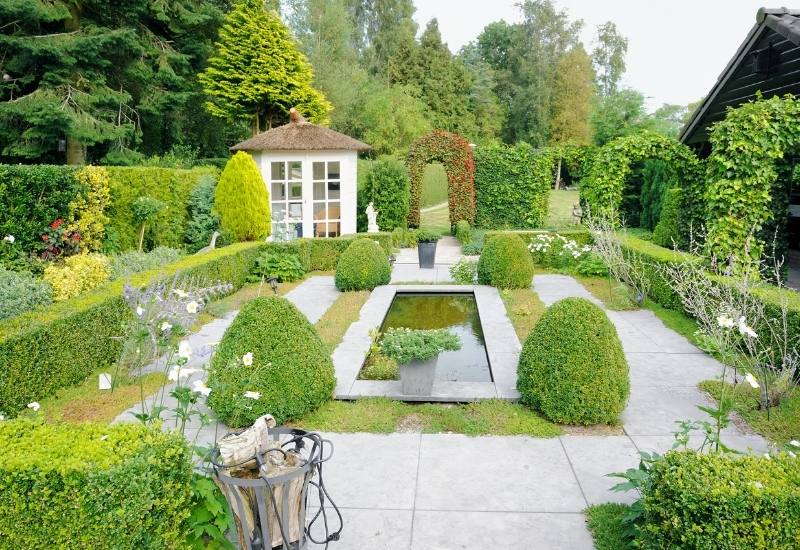
Let’s imagine a line, like the edge of a lawn, with beautiful, upright pots along it. Now let’s see two cases. In the first case, all the pots are the same and they are placed at regular intervals. You will quickly and unconsciously work out the distance, and you will soon skip to the end.
Instead, imagine that each pot is different and that they occur at irregular distances. This way, you are surprised at each stage; and you will slow down.
Regularity is not a friend of small gardens. You want surprise, variation, and irregularity, even along the view lines you have laid out for your friends and guests.
11: Move Bulky Structures to One Side
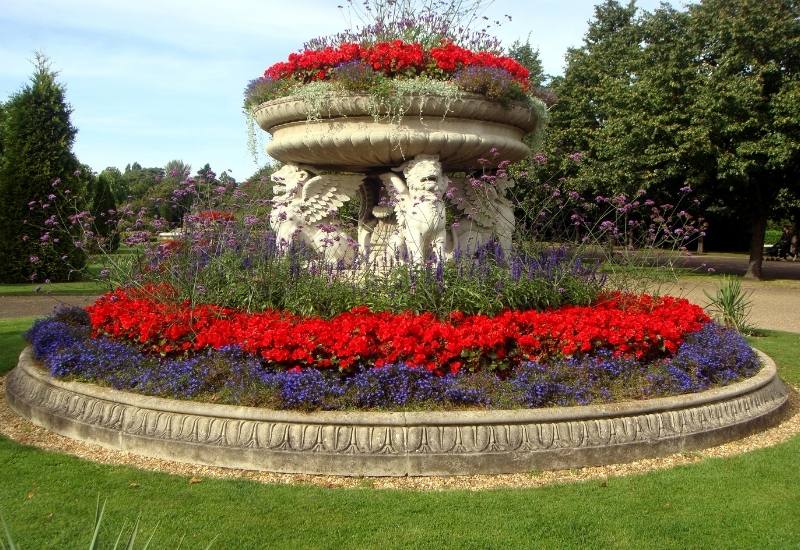
Most small urban and suburban gardens still have a shed, or a place where you keep your tools. You cannot get rid of it, but you need to place it in the most convenient position.
And it is at the back and on the left. If you can’t move it to the right and still at the back, but never in the center back, and never halfway through the yard with small spaces.
If you place it center back, it will literally make your garden look much smaller; it will trick people into thinking that your plot ends where it starts.
Place it halfway through to the side, and it will hide part of your green space.
If you place it back and right, then you will need to divert the view from its natural course, the way we read landscapes. You will need to attract the view to the right with zig-zagging and other tricks which we will see soon.
12: Soften All Structures
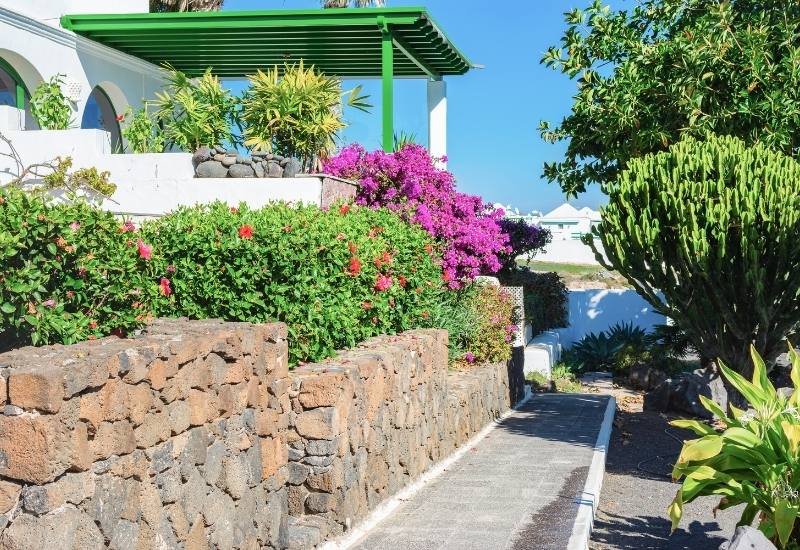
On top of placing bulky structures where they cause the least damage to your space management, you need to soften all hard hedges of buildings and other structures.
Grow climbers, wall-covering shrubs, even vines with open habits will do; also bushy plants just by the edges and corners of sheds and garages are good for this.
Every sharp corner, and every regular structure delimits your garden very starkly; it gives the idea that this is one end of your garden.
If you soften them, you incorporate them into your garden and we will take them as being part of the garden, and not the end of the green space.
13: Veil the View
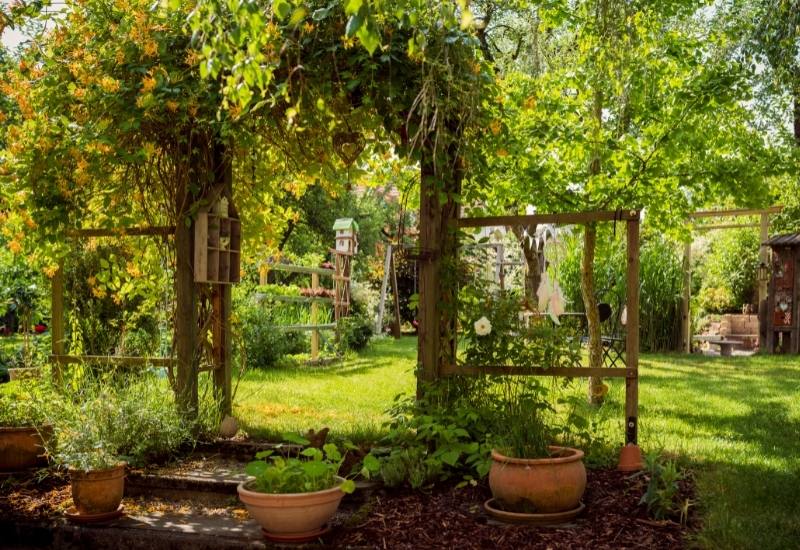
This is a very intelligent trick: if you put a partial veil or block halfway through your garden you make people stop there and then try to move beyond.
This makes your garden look bigger than it is and it’s ideal for long and narrow gardens. Let me give you a few examples.
Place a trellis with a climber with an open habit that covers part of your garden; you need to allow people to see through it, so they can see the rest of your green space, but they will also have to pause and then find what’s past it.
You can grow some bamboo canes and keep them thin, so you get a partial screen with the same effect. Even growing some tall but open plants like hollyhock, delphinium or sunflowers will work fine, and you can easily correct it if it does not work for you.
14: Create a Perspective with Arches
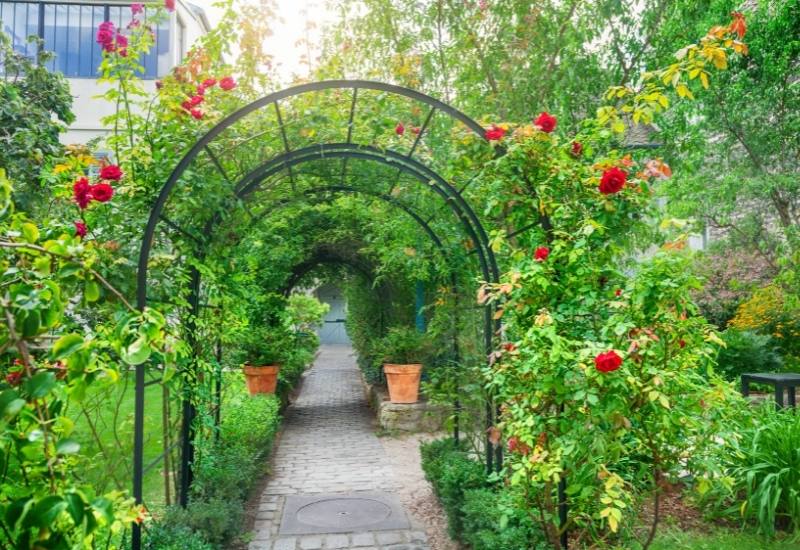
You can make your garden look longer if you place three or more arches along it that go from side to side. You can grow climbing roses, morning glory, or clematis on them; this will give you lots of benefits.
To start with, you will exploit height to grow flowers, and when space is at a premium, this is the perfect way to pack more into a tiny area. Second, you can literally use a trompe l’oeil effect.
Make the second arch a bit smaller than the first, and the third even smaller. This way you will create a faux perspective, giving depth to your small green haven.
And, use irregularity here too. If you make the third arch significantly smaller than the second, you will get a long tunnel effect…
15: Use the Colors Blue and Silver
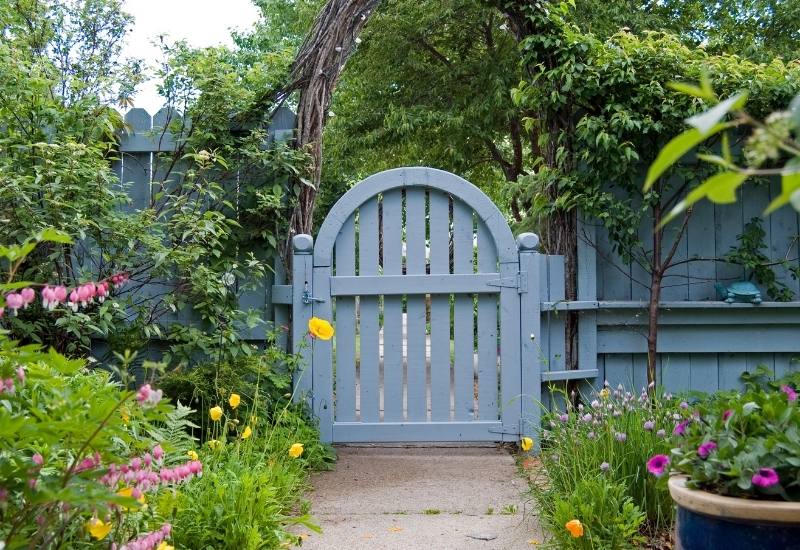
Blue and similar shades, including silver blue, give an idea of distance and space. For this reason, a small garden should never lack blue and silver foliage.
This alone will make your garden look bigger because we literally see these colors as further away than they actually are.
There are many succulents and conifers with these colors, but there are also perennials and annual plants you can use.
Similarly, you can use these colors for fences and structures, even in pastel shades if you don’t want a bright and clashing effect. Do this, especially at the back of your garden is short and the sides of your garden are narrow.
16: Hide and Mask the Borders and Contours of Your Small Garden
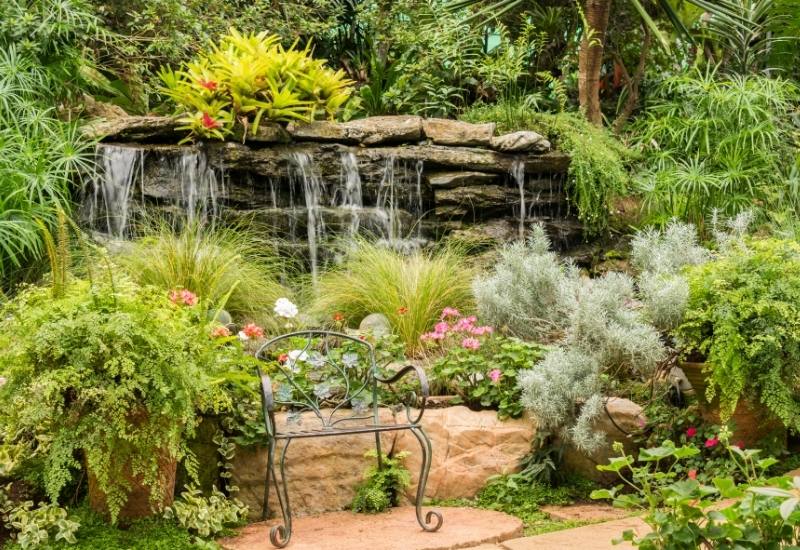
If you see clearly where the garden ends, you have a clear idea of how small it is. If you leave the back fence and wall in full sight, you tell viewers that that’s the limit of your yard.
Instead, grow shrubs, climbers, and trees to mask and cover fences and walls. Even if they only partly cover them, you will get a good effect.
Like when you are in a forest, you imagine what’s beyond a thick bush. When you face a wall, on the other hand, you just stop and you know what’s beyond is not your concern.
Do this, especially in the middle of the back fence or wall and where you have the viewpoint at the end of the main axis or perspective. Similarly, concentrate on the middle and the end of the sides.
If you start with a fence and end up with a natural-looking hedge, you get a feeling that the garden opens up; if you start with shrubs and end with a fence or wall, you get the opposite effect.
17: Design and Develop Zig Zagging Lines
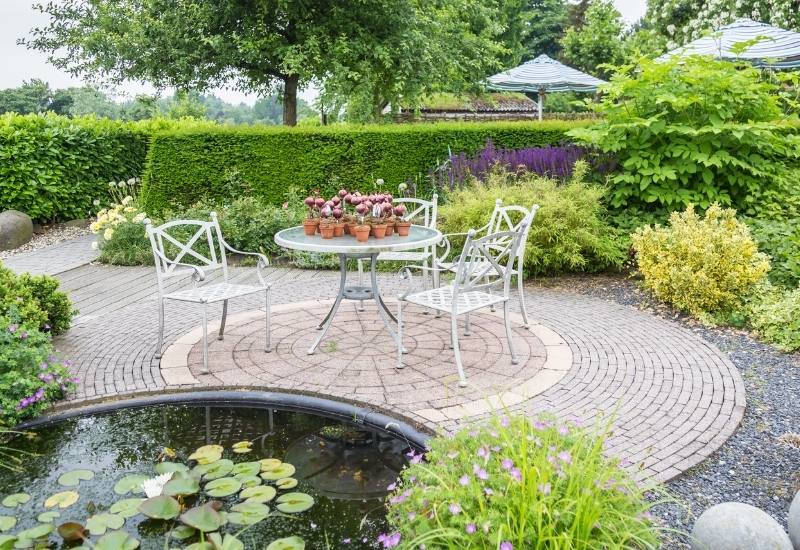
This is an idea for the experienced gardener, or if you really have a major problem: the only or best view line goes to an unsightly place. This could be a shed or even an ugly factory or block of flats beyond your property that you cannot hide.
If you need to turn the attention away from the back right, where we naturally go, then you need to combine a few tricks.
To start with, you can direct the oval to the back and left, but this will clash with the natural way we read gardens, as we said.
So, look at the curve of the right-hand side of the ellipse, before it reaches halfway through, at about 1/3, place a very eye-catching feature or plant.
This will be the first distraction. But make sure that it points to the left with its shape. It could be a statue with literally a pointing finger. Or it can just be a swing chair that faces left… This way you can mix design with useful furniture.
Anything which has a line and direction that goes left will do.
Then, just behind it, place a veil, a partial screen like we saw in point 13; an open trellis or shrub, a border, etc…
This way the eye will need to move left, and then you will need to choose a very, very showy feature or plant to attract the sight to the back left.
Zigzag is complex, but the effect is excellent: the switching and moving along different axes will make your garden look twice as big as it really is!
18: Use Winding Paths
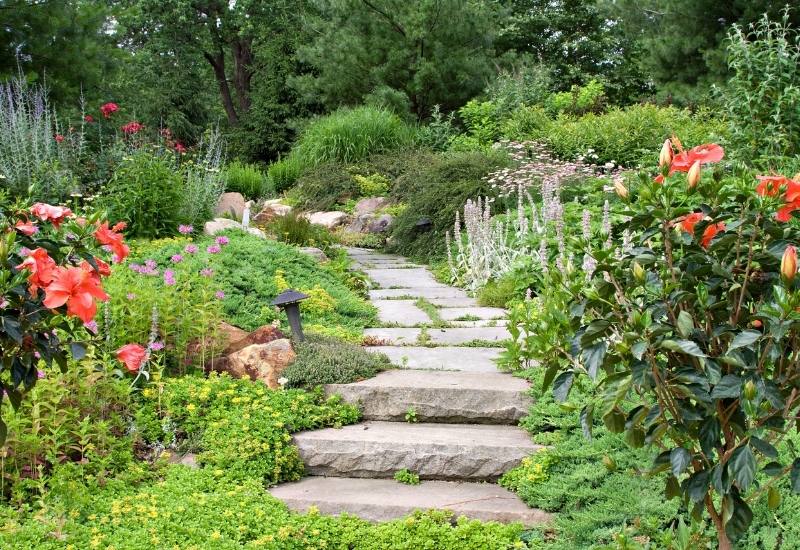
Paths have the same effect as view lines, fences, hedges, etc. They guide the way we explore gardens. Straight ones make you go fast, so your garden looks small. Instead, curving and winding paths make gardens look big.
But this is not just a visual effect; walking along a winding path makes the journey longer. What is more, you keep changing perspectives along the way. This means that you do not focus on one place, one end of the garden, and this makes it appear bigger.
There’s more on this topic, next…
19: Manage Views along Winding Paths
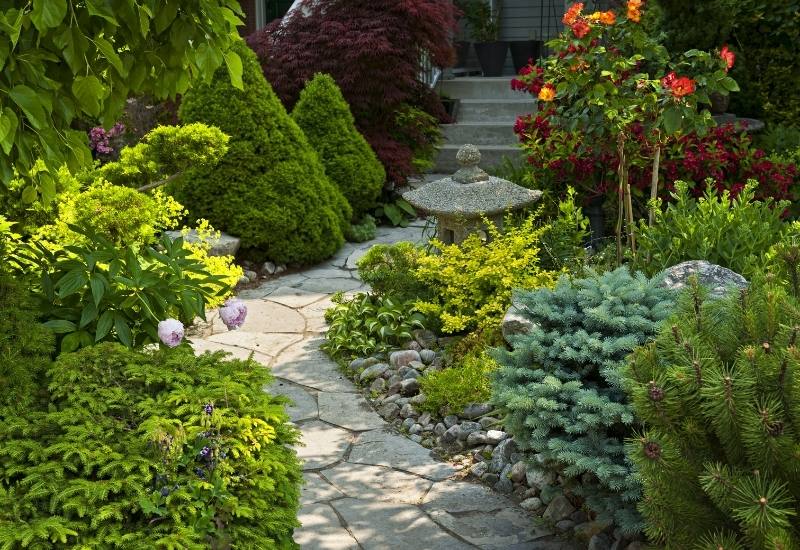
Once you have laid out your path or paths, take a walk along them! Go slowly and be very aware of where your eyes go. Place eye-catchers to guide visitors as they walk.
These should not lead to what’s next along the path, but away from the track itself. Find chances to make your guests look back, turn left or right, etc… And avoid drawing their attention to the margins of your yard.
Once again, use features and colorful plants, including those with red, black silver foliage, or those with very showy shapes…
So, you can make your garden look bigger when people stand and look at it, but also when they venture into it and explore it.
A very simple solution is to make your paths broadly follow the ellipsis or oval of the open space. This way, you get a harmonic layout, a fairly long track, and one that keeps changing focal points. And you integrate these two key strategies.
20: Careful with Paving
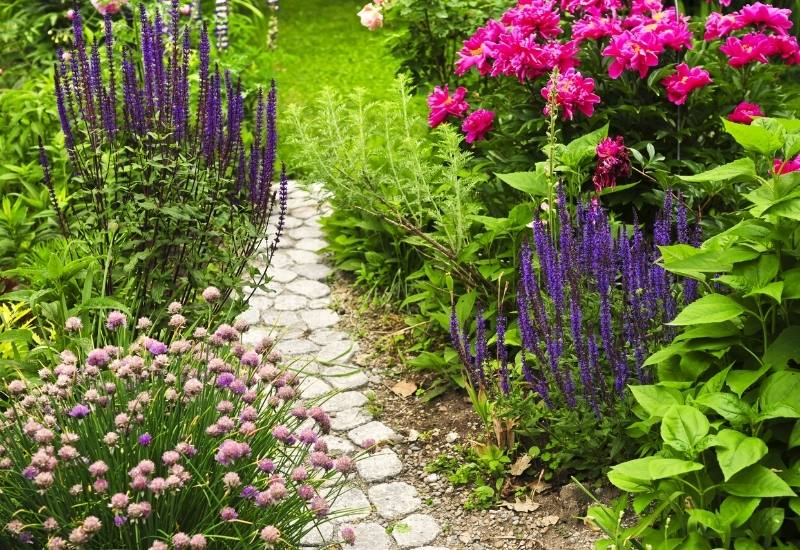
A paved path or living space looks smaller than a green one or one with stepping stones. If you allow grass to grow among irregular flat stones, you get a sense of space and freedom. If you pack up all, especially similar tiles together, you get a sense of constraint.
With stepping stones just marking the path, you also get the lawn and even flower beds to stretch visually over them. The fewer elements that stand out, the larger your yard will look.
21: Use Light and Pastel Colors for Structures and Paving
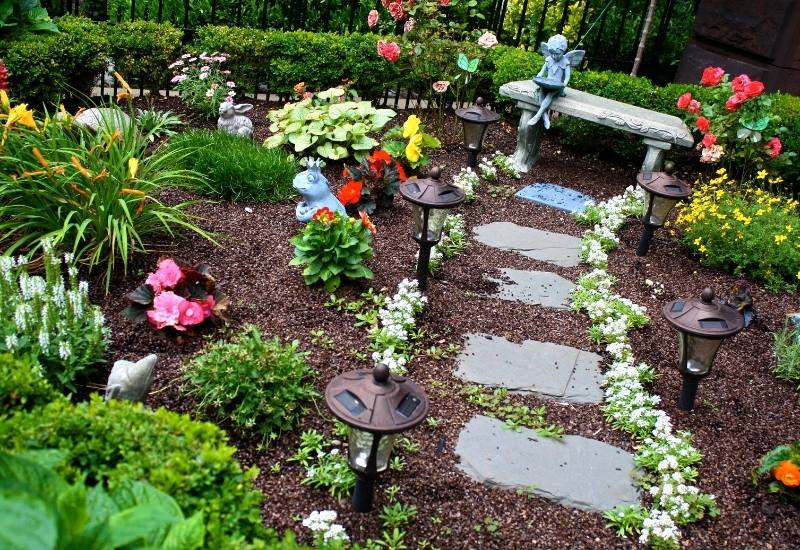
A black floor may look elegant, but it looks small! Use white, off-white, cream, pale yellow, pink, and any pastel shade, including cold hues of green and blue… Use them for both your fence and buildings and your paths, patios, etc. These will give a sense of light, airiness, and open space.
What is more, try to have color continuity in your garden. Having a light and soft color that links the shed to the fence and to the paths will improve the sense of space you get in your garden…
And finally…
22: Use Mirrors!
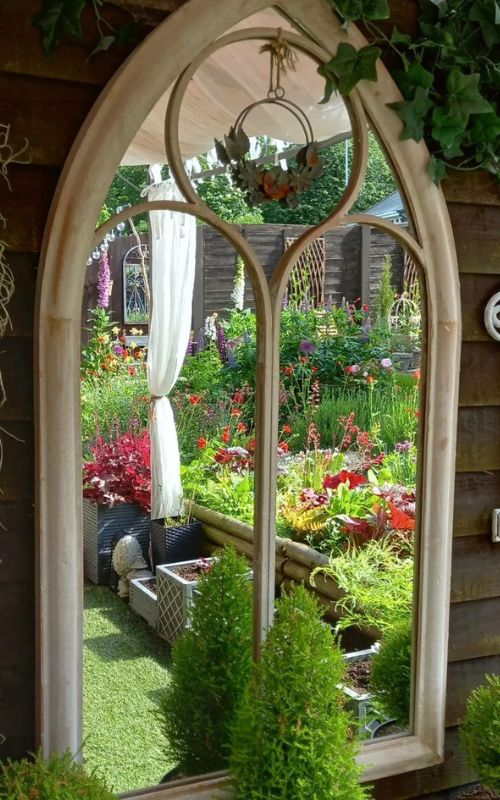
You can use mirrors to widen gardens as well as indoor rooms. The difference is that you want to mingle them in with their green surroundings. Choose large and sturdy mirrors, metal ones for example, because you don’t want them to break.
Place them where you know your garden shows its limits, at the back, against the fence, or the wall of your neighbor’s home. but hide them a bit.
Allow plants and vines to grow partly over them, to smooth down their hedges, so they look embedded in a natural environment, like old ruins left in a forest, etc.
You can also paint them to disguise them. For example, a tall mirror on the back fence can turn into a false door if you draw the frame, handle, casement, etc.
Be creative, and shop around at antique dealers, fairs, and second-hand stores for a very original look and solution for your small green space.
A Small Plot Does Not Mean a Small Garden
There is no reason why what you see on the plan of your garden should be all you get! You know now that with careful design, planting, color choice, selection and positioning of features,, and other tricks of the trade, your small yard can turn into a spacious green haven even twice as big as it is on paper!

Written By
Amber Noyes
Amber Noyes was born and raised in a suburban California town, San Mateo. She holds a master’s degree in horticulture from the University of California as well as a BS in Biology from the University of San Francisco. With experience working on an organic farm, water conservation research, farmers’ markets, and plant nursery, she understands what makes plants thrive and how we can better understand the connection between microclimate and plant health. When she’s not on the land, Amber loves informing people of new ideas/things related to gardening, especially organic gardening, houseplants, and growing plants in a small space.
