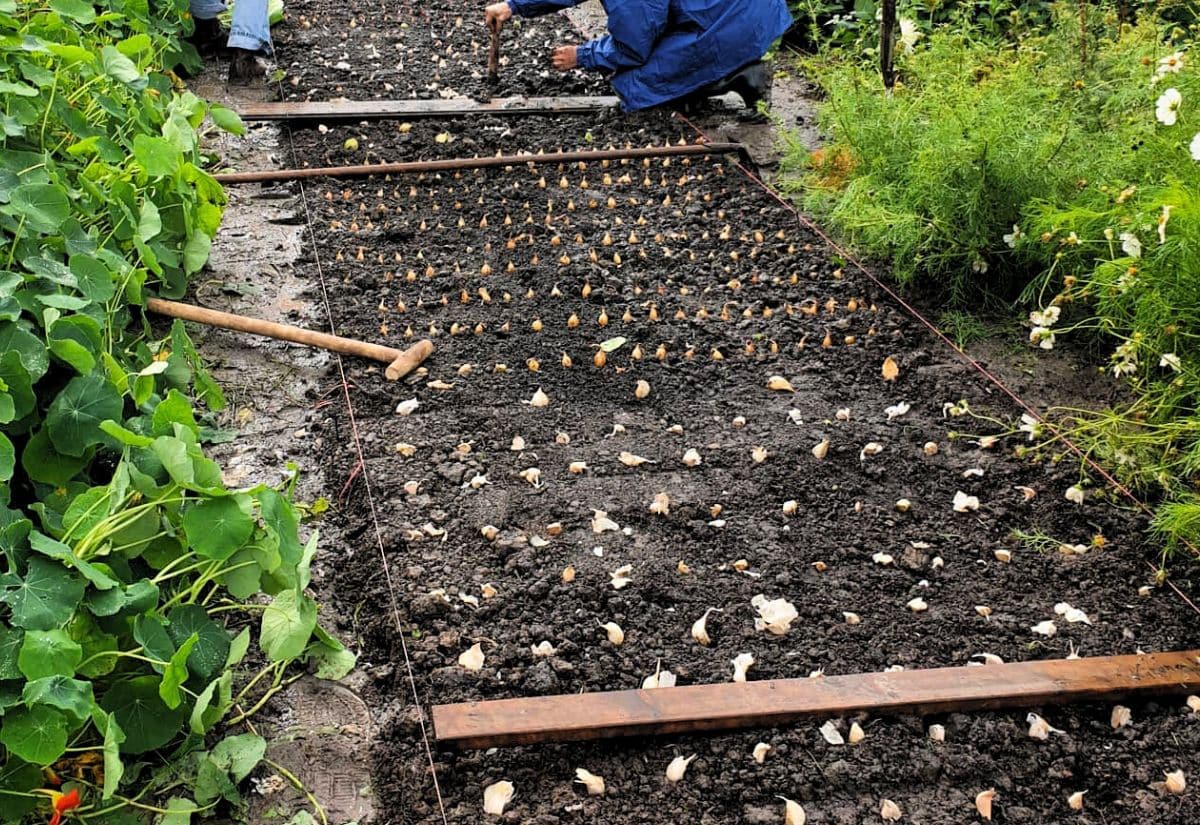
Planting garlic in the fall can lead to an impressive harvest the following summer, as the cooler temperatures and winter dormancy period can help to establish a strong root system.
Growing up, I “didn’t like garlic”. That was because I was exposed to cheap powdered stuff that was more pungent than pleasant and shaken with a liberal hand. Fresh garlic straight from the garden; now that’s something else entirely. Whether you are a seasoned garlic grower, or wondering when to get your first cloves into the ground, It’s important to know when and how to plant garlic for the best yield and harvest.
For best results, plant your fall garlic about 4 or 6 weeks before the ground freezes in your area. In my Zone 2b garden, that is usually around early to mid September, but you might be able to hold off until November depending on your climate. Then, mulch it well and leave it alone. Simple, right? Garlic thrives with minimal fuss, but timing your planting just right is crucial.
Under the snow, your garlic will be biding its time before it bursts out bright and early come spring. Here’s the thing about fall garlic planting: a few easy tips can make all the difference for a stunning crop ready by early next summer. keep reading and I’ll share all you need to know about planting your garlic in the fall – for a huge harvest of truly amazing bulbs.
But Why Exactly Should You Plant Garlic In The Fall?
Quite simply, fall garlic is any cloves that are planted in the fall instead of the spring. Since garlic takes a long time to mature (typically around 8 months), growers can get a jump start on the season by starting it in the fall.
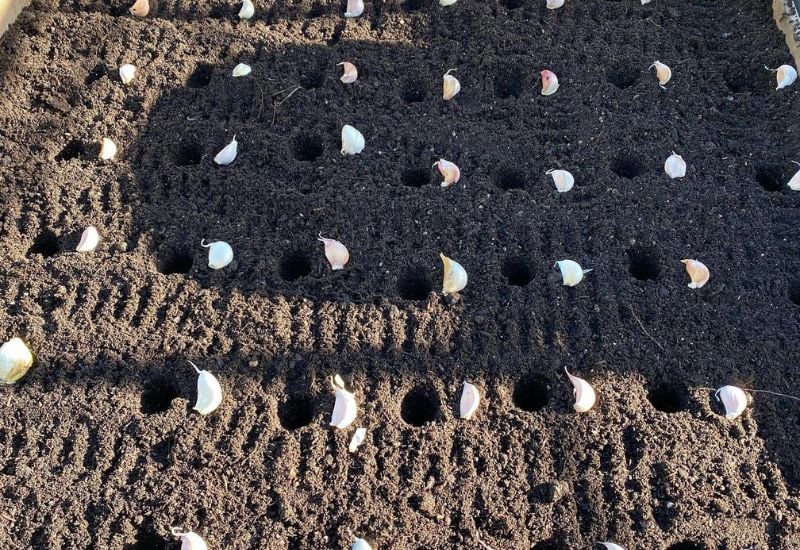
Garlic planted in the fall will send out hair-like roots but will go dormant before green stems develop. The bulbs remain dormant all winter and start growing again as soon as the soil warms in the spring. In many cases, your fall planted garlic will be one of the first crops to emerge.
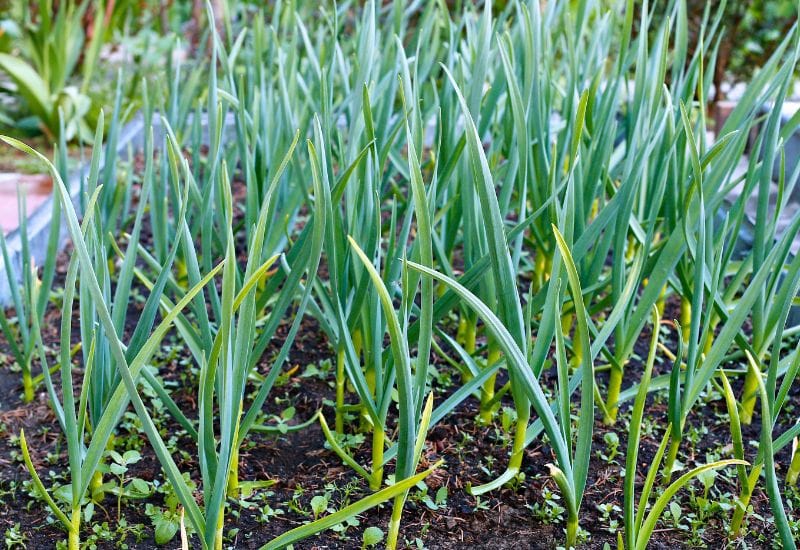
Throughout the spring and summer, fall-planted garlic grows leaves (each leaf corresponds to a single layer of papery wrapper around the bulb), flower stems (called scapes), and of course, large bulbs. Garlic bulb production is triggered by day length, and the bulbs start forming when the day exceeds 14 hours.
There are many great reasons to plant garlic in the fall, including:
When to Plant Garlic in the Fall
When growing fall garlic, it is very important to plant it at the right time. If planted too late, the roots won’t have time to grow and the garlic won’t be able to survive winter as well; if planted too early, the garlic will start producing green tops, and the plant can freeze and die as soon as the temperatures drop.
Plant garlic in the fall 4 to 6 weeks before the soil freezes and the growing stops for the year. This will give the cloves time to establish roots but they won’t start growing and greens yet. In our northern garden, this is usually around mid-September but you can plant garlic right up to November in temperate climates.
How To Plant Garlic This Fall: 8 Tips for Success
Here’s how to successfully plant garlic in the fall:
1: Choosing the Right Garlic Variety
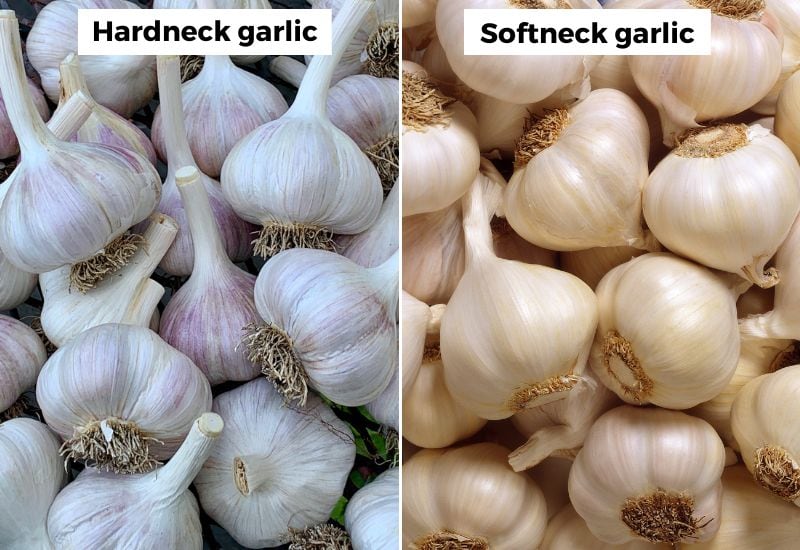
There are two types of garlic: hardneck and softneck
Which garlic to plant will depend on where you live. If you live in a northern climate, then you definitely want to plant hardneck varieties, as the softneck will not overwinter very well. If you live in a warm climate, then softneck varieties are great for fall plantings.
Some people say that all fall garlic is hardneck, but this is an overgeneralization. They say this because most growers who plant in the fall live in the no
2: Choose The Best Garlic For Seed
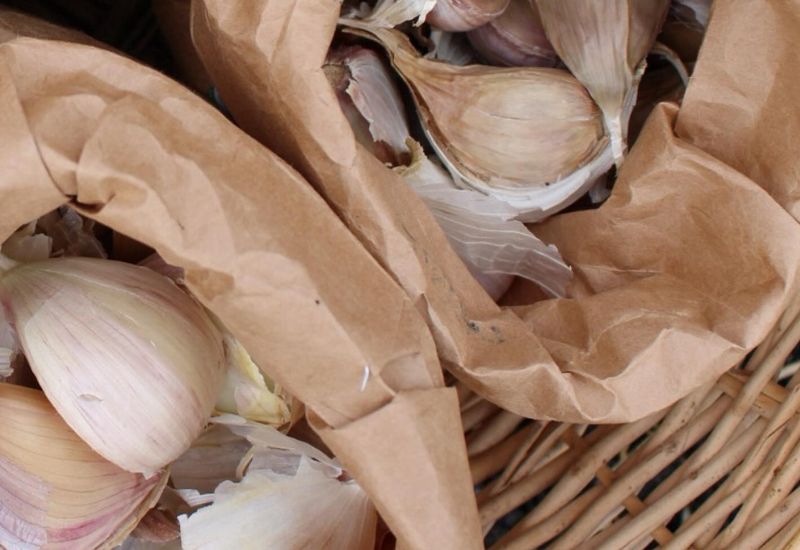
Start by choosing the largest cloves (as these will grow into the largest bulbs). Choose healthy cloves that are firm and mark-free without any sign of rot.
Separate each clove from the bulb, making sure the skins remain undamaged. Along with choosing the right type (hardneck or softneck) it is also important to select a variety that is suited to your area. You can buy your garlic from a local garden Centre, or even from a farmer’s market if the growers are from your area. Garlic grown locally is best as each strain will take 2 or 3 years before it becomes acclimatized to your area.
Do I Have To Soak My Garlic?
There are many different theories on whether you should soak your garlic before planting. Many suggest soaking them in fertilizer (for a growth booster), baking soda (to inhibit bacteria), or even vodka or rubbing alcohol (to sterilize the seed garlic).
Soaking can aid growth and prepare cloves for wet fall weather, but in my opinion, it isn’t necessary.
3: Choose The Biggest And Best Cloves To Plant
Choose the largest and healthiest cloves from your garlic bulb for fall planting to ensure the growth of large, robust bulbs. Remember, it’s not just about size—it’s about shape too.
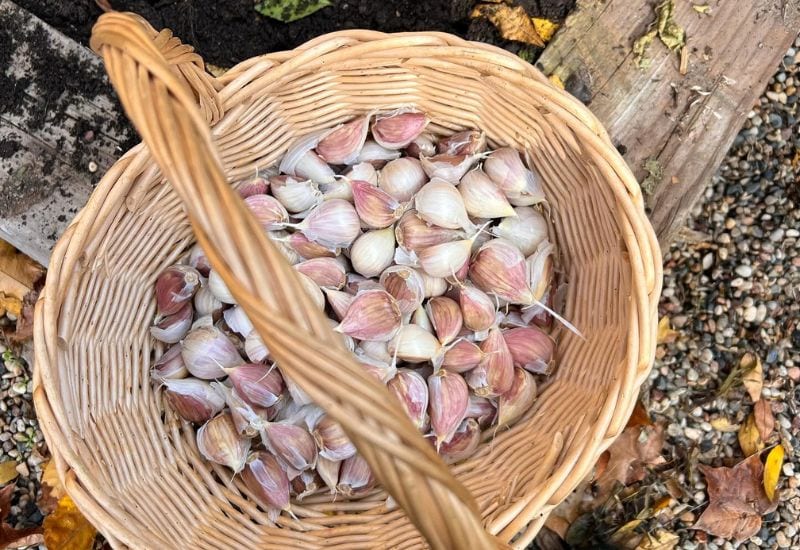
Choose cloves that are plump, full, and even on both sides. Why? Because oddly shaped cloves can produce wonky bulbs. They might have character, but they’re tricky to store and a hassle to peel. Stick with symmetrical cloves and you’ll be setting yourself up for success—expect smooth, round bulbs that that store well and are easier to use in the kitchen.
4: Prepare The Planting Bed For Your Fall Garlic Planting
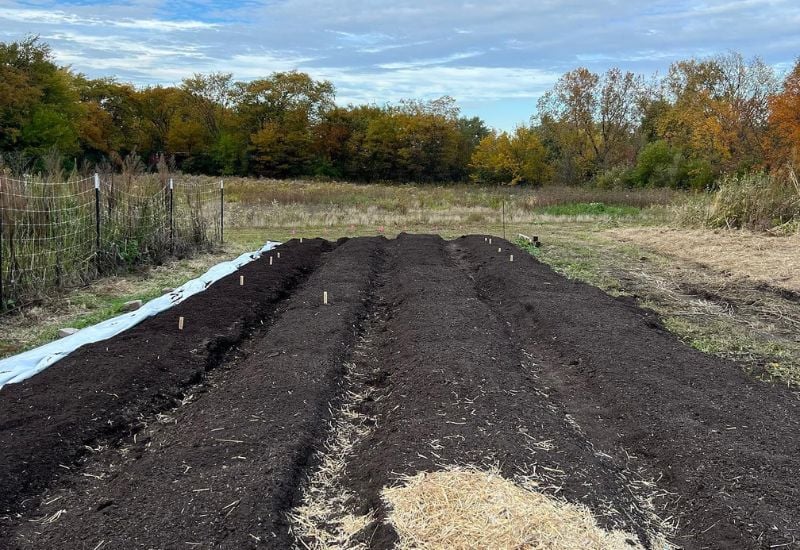
Choose a spot that receives full sun throughout the summer. Make sure the soil is loose with good drainage so the bulbs can grow without impediment and won’t become waterlogged.
Garlic prefers a well-drained soil with plenty of organic matter. You should test your soil pH which should ideally be between 6.0 and 7.0. If needed, adjust your soil’s pH with lime (to raise pH) or sulfur (to lower pH) based on soil test recommendations. Next, add a nice layer of compost. We find a 2cm to 3cm (1 inch) thick layer provides all the nutrients the garlic will need to grow next year.
TIP: If your winters get really cold, then fall planting in raised beds isn’t recommended. Raised beds can get colder than the surrounding soil and your garlic is more likely to freeze.
5: Plant Garlic From a Clove
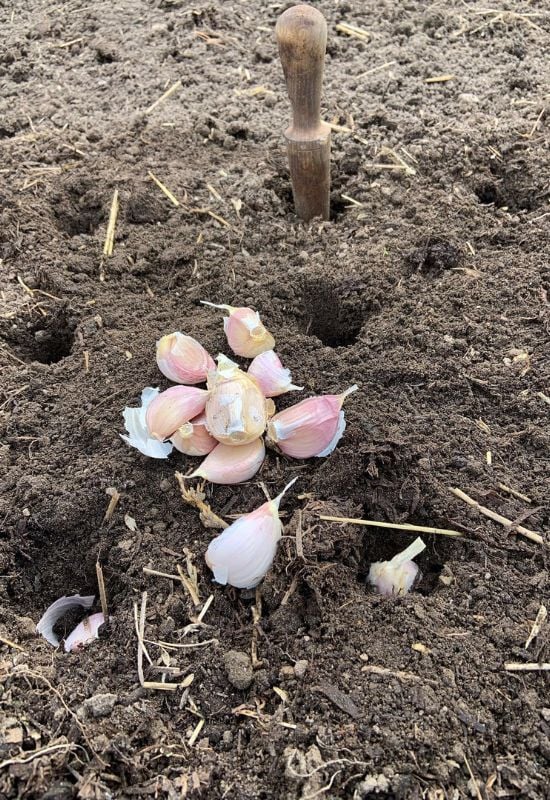
Just before planting, break apart the garlic bulbs into individual cloves, leaving the papery husk on each clove. Now, plant your garlic cloves at a depth of approximately 5 cm (2 inches), ensuring the pointed end is facing upwards. Allow a distance of 15 cm to 20 cm (6-8 inches) between each clove to give them ample space to develop. For denser planting, use 6-inch off-centered spacing to fit more cloves, which may result in slightly smaller heads but a larger total harvest.
After placing the cloves in the soil, cover them with earth and press the soil down firmly to eliminate air pockets and secure the cloves in place.
Here’s a pro tip: toss a half handful of worm castings into each hole before planting. It’s like giving your garlic a nutrient-packed pillow to rest on, ensuring they have all they need to grow strong and healthy.
6: Plant Your Garlic Bulbs With The Pointy End Facing Up
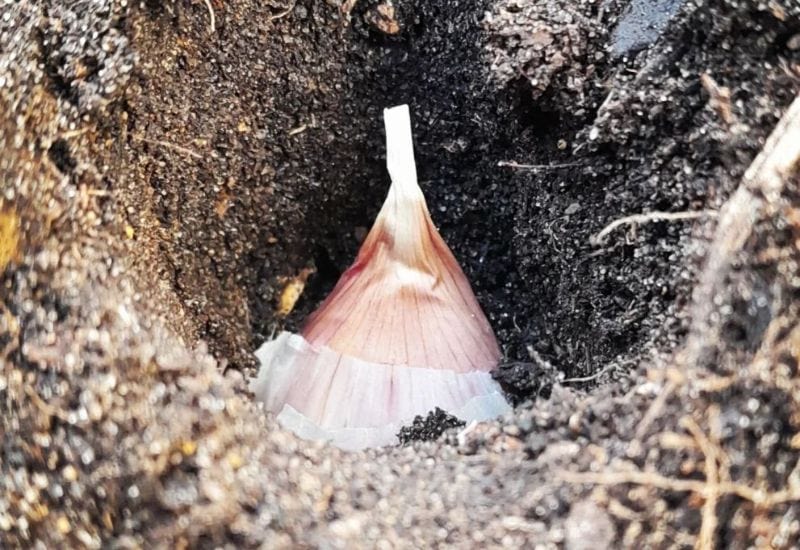
When you plant garlic, it’s crucial to place each clove with the pointy end facing up and the flat end down because this is how the clove is naturally oriented to grow. The pointy end is where the sprout emerges, and it’s meant to shoot upwards towards the sunlight. The flat end is where the roots come out, and they need to head straight down into the soil to anchor the plant firmly.
If you plant the clove upside down, the young sprout has to work harder to grow, as it will instinctively turn itself around to head towards the light. This not only wastes the plant’s energy but can also stress it, possibly leading to weaker growth or even deformities in the plant. Plus, the roots will also struggle to find their way down, which can lead to poor anchoring and insufficient uptake of nutrients and water from the soil.
7: Apply A Generous Layer Of Mulch, Such As Straw Or Leaves
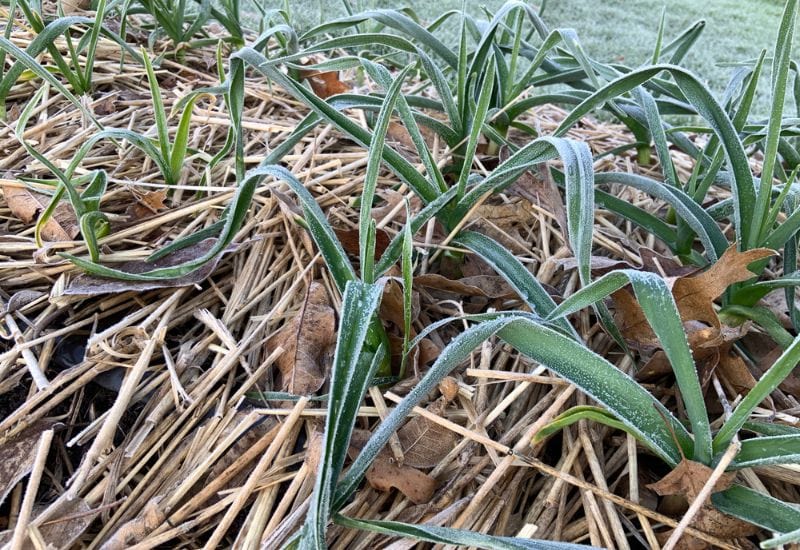
Once your garlic is planted, cover them with a thick layer of organic mulch. Our preferred way to mulch the garden is with 15cm (6 inches) of straw, but you an use any organic matter you prefer.
The mulch will protect your garlic over the winter and suppress weeds during the growing season:
Once your garlic is planted and mulched in the fall, you can sit back and enjoy the rest of the year as it won’t require any care during the fall or winter.
8: Spring Maintenance
When spring rolls around, your garlic will start growing as soon as the soil warms up. In fact, it will probably one of the first things to start growing in your garden, and your garlic will be relatively low-maintenance for the rest of the year.
Here are some jobs you might need to do during the growing season:
Garlic Planted In Fall When To Harvest?
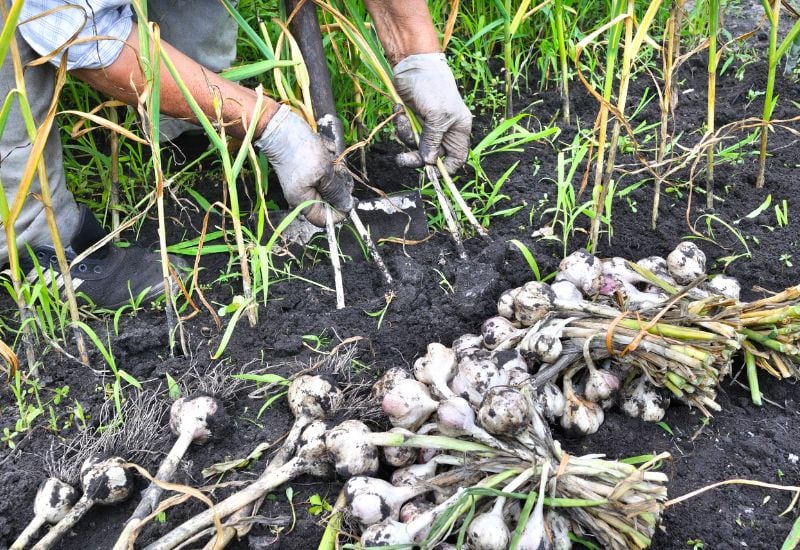
Fall planted garlic is usually ready to harvest around the end of July into August. Stop watering at the beginning of July (or about 4 weeks before you plan on harvesting) to give the outer wrappers a chance to dry.
You’ll now your fall garlic is ready to harvest when:
When they are ready, dig up your garlic and brush off as much dirt as you can.
Curing
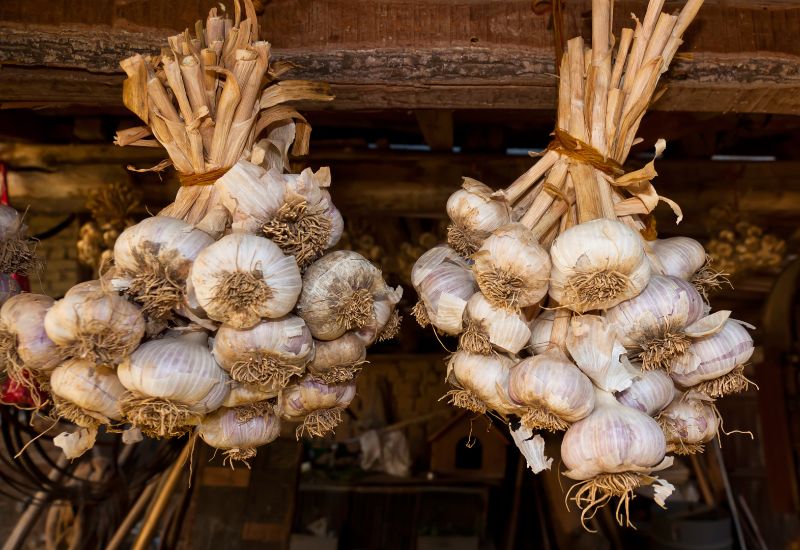
Curing is when you get your garlic ready for storage.
Cure your garlic by keeping it in a cool, well ventilated spot that is out of direct sunlight for about 1 month. Once the leaves, roots, and wrappers are completely dry, brush off any remaining soil, trim the roots off, and cut the tops to about 3cm to 5cm (1-2 inches) above the top of the bulb.
Storage
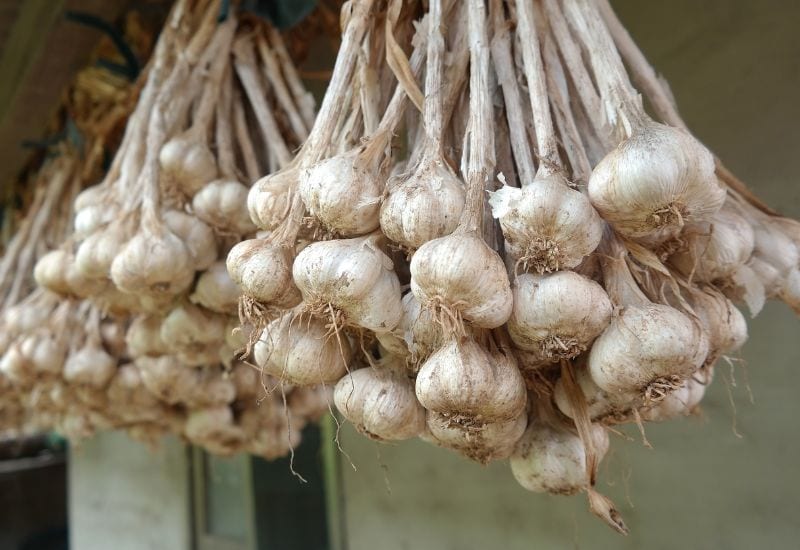
My favorite way to store garlic is to hang them in mesh bags. Keep them cool and dry (65-70% relative humidity), checking them occasionally to remove any that are going bad.
When stored like this, hardneck garlic will store for 5 months while softneck varieties will easily keep for 8 months.
Conclusion
Planting garlic in the fall is simple and easy. Not only do we avoid the spring rush, but we will be rewarded with large, great tasting garlic. If you have never tried planting garlic in the fall, then I strongly recommend giving it a try… and you will be amazed by how great your crop will be next year.

Written By
Amber Noyes
Amber Noyes was born and raised in a suburban California town, San Mateo. She holds a master’s degree in horticulture from the University of California as well as a BS in Biology from the University of San Francisco. With experience working on an organic farm, water conservation research, farmers’ markets, and plant nursery, she understands what makes plants thrive and how we can better understand the connection between microclimate and plant health. When she’s not on the land, Amber loves informing people of new ideas/things related to gardening, especially organic gardening, houseplants, and growing plants in a small space.
