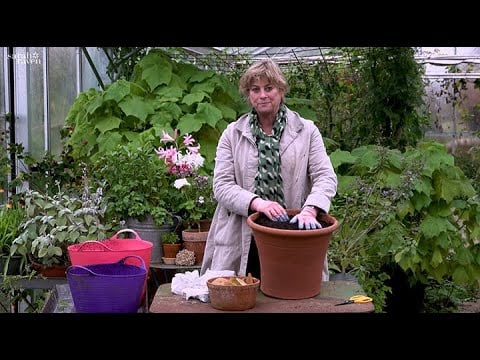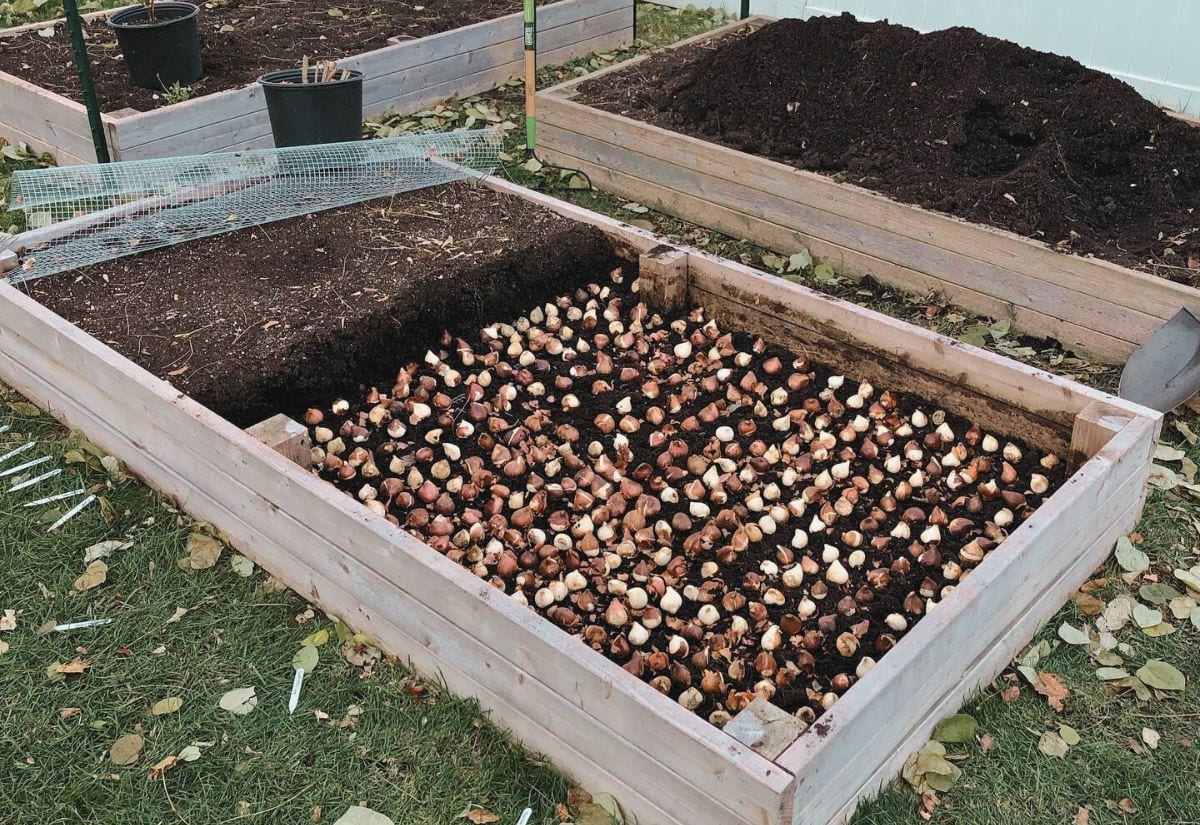
As the vibrant colors of summer fade into autumn, it’s the ideal time to plan for a stunning spring garden. Fall is the time to plant your spring and some summer flowering bulbs, right before the ground freezes.
Planting spring flowering bulbs such as daffodils, crocuses, tulips, hyacinths, irises, snowdrops, and lily of the valley this fall is a fantastic way to bring early season color into your garden. A bit of effort now means a spectacular display later, signaling the end of winter.
You might wonder: when is the best time to plant, how deep should they be, and where’s the best spot in your garden? Answering these questions is key to growing beautiful bulbous perennials like a pro. Trust me, once you get the hang of it, you’ll find joy in this gardening task. Just imagine the delight of watching your bulbs bloom next spring!
Remember, there are various ways to plant these spring bloomers, whether individually, in groups, or in a more natural, scattered way.
It can seem overwhelming with so many questions and so many bulbs to plant in the fall. But I’ve been growing bulbous perennials since my childhood, long before I became a professional gardener. So, I’m thrilled to share with you my top 10 tips for planting flowering bulbs this fall to ensure your spring garden flourishes.
Lots Of Bulb Varieties You Can Plant In Fall For Beautiful Blooms Next Spring
Put simply, plant bulbs (but also tubers and corms) in fall of varieties that flower in spring, and even some in summer. Of course, in temperate and cold countries, this means only hardy varieties. But fortunately, most of them are.
If you’re unsure which ones to choose, here’s a list of fall-planted bulbous perennials that will ensure a vibrant spring display:
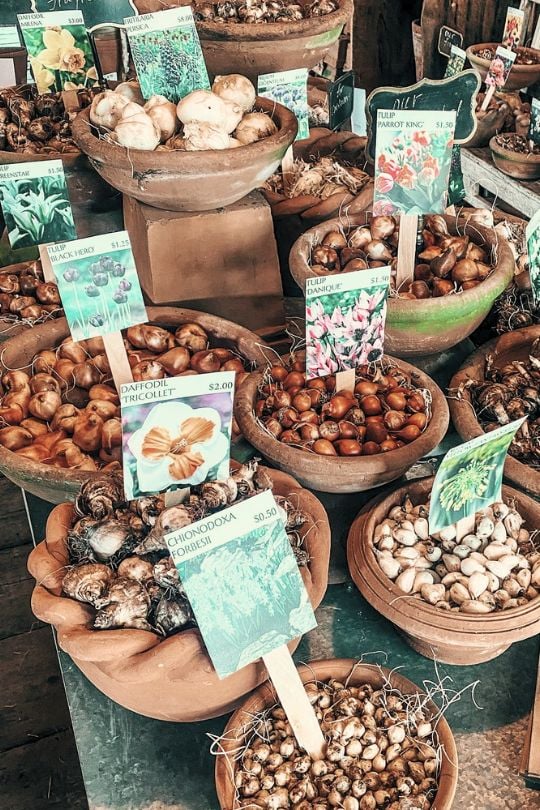
As you can see, you have a lot of bulb planting to do in fall if you want your flower beds and borders to be packed with blossoms in spring, and even summer.
But you need to get it right, and the first thing is how to plant a variety that will survive in your climate.
10 Tips To Plant Your Bulbs Correctly In Fall And They Will Blossom Profusely In Spring (And Summer)
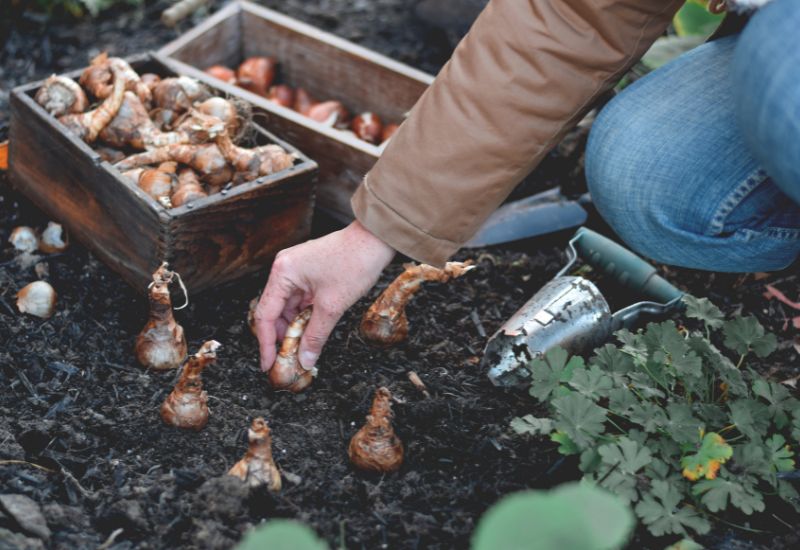
There are four things to keep in mind when you plant your bulbs in fall:
And we can start with the first…
1: Get The Time Just Right In Fall and Your Bulbs Will Have The Best Chance To Blossom In Spring (Or Summer)
Fall is a long time, spanning three months, and very different from country to country, so, how can you get the time just right to plant your flowering bulbs?
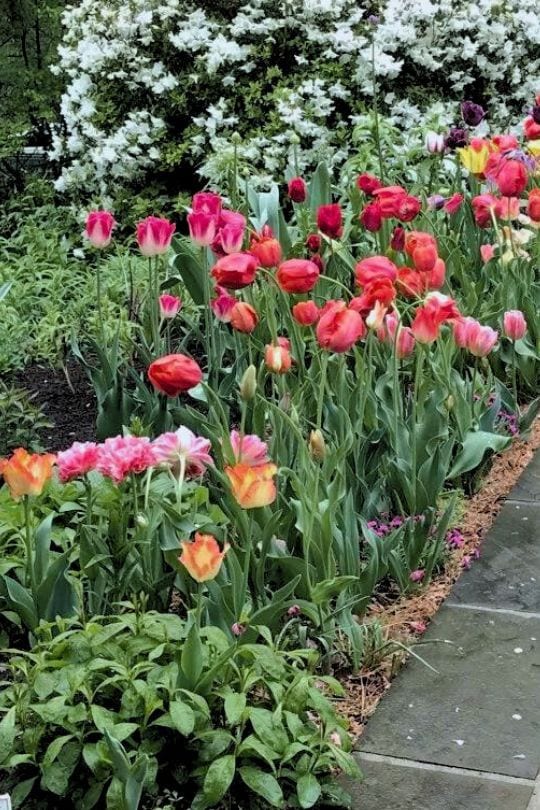
I like to plant them least two weeks before before any risk of frost or the ground freezing!
This is because even very cold hardy bulbous perennials like daffodils or crocuses like to settle in before freezing temperatures come.
A good indicator for bulb planting time is when nighttime temperatures consistently fall to around 40°F (4°C). In northern regions (USDA zones 3 to 5), this typically means planting from late September to mid-October. For those in the Upper, Middle, or Lower Southern regions (zones 6 to 7), aim for October or November. And if you’re in a warmer area like zone 8 or higher, early December is usually ideal.
Tulips are a bit more flexible and you can plant them as late as winter if necessary. While you it’s possible to plant tulips in early fall, but you have to be careful about the soil conditions. If they are planted in overly wet ground during September and October, they may not start growing immediately and remain in damp soil. This situation increases their risk of developing fungal diseases.
Remember, most spring bulbs need a chill period of 12-16 weeks at temperatures at or below 40 degrees Fahrenheit to bloom properly. If you’re in an zone 10 or above, where frost is unlikely, pre-chill your bulbs in the refrigerator (but not freeze them) for 6-10 weeks to mimic a cold period and encourage proper blooming come spring.
2: It’s Also Crucial To Consider The Hardiness Of The Bulbs
When planting bulbs in the fall, it’s essential to ensure they can survive the winter chill. First, check the USDA hardiness of the bulbs you’re interested in and make sure your garden meets their minimum hardiness requirements.
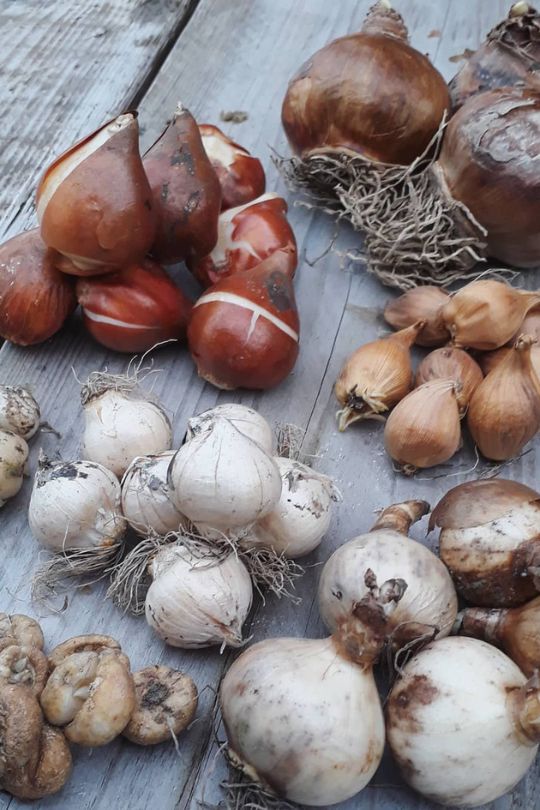
For instance, daffodils, snowdrops, and crocuses are hardy down to USDA zone 3. So, if your garden is in zone 3 or a warmer zone, you’re all set to plant these. However, the belladonna lily is a bit more delicate, only hardy in USDA zones 8 and above. Therefore, in zones 6 or 7, you cannot trust its bulbs to survive winter in your garden.
Be very particular with lilies (the actual Lilium genus), some are hardy to USDA zone 4, some are more tender, like zone 7, others are hardier, like down to freezing zone 3. Check the variety, and in case, wait till spring to plant them.
But I have an extra tip for you, which may come as a surprise plant your bulbs in fall with the waning Moon! If she is in the waxing phase, they will tend to sprout, and this is the wrong time to do it… Good old gardening secrets…
3: Choose Wisely Where to Plant Your Bulbs in the Garden
When choosing where to plant bulbs in your garden, it’s important to consider a few key factors. Firstly, ensure the soil has good drainage. Sunlight is another crucial aspect. Most bulbs thrive in full or partial sun during spring. In my experience, especially here in sunny California, our bulbs benefit from a bit of shade in the afternoon.
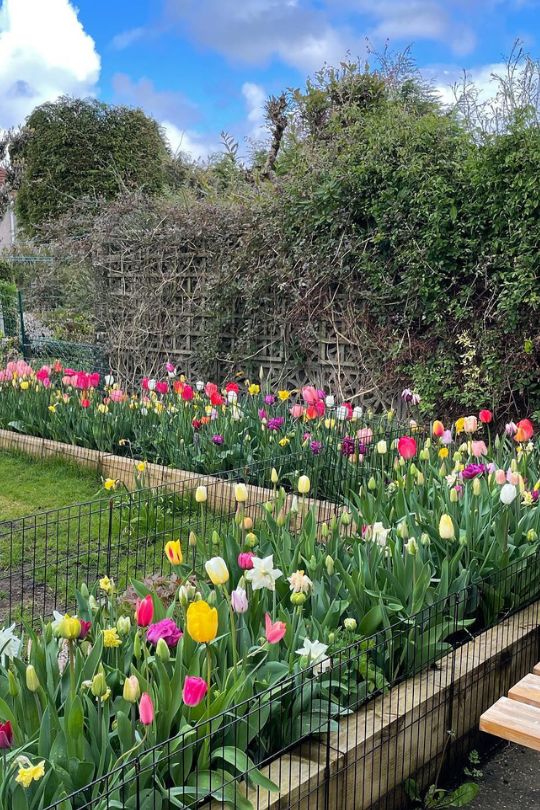
This extra shade helps the flowers grow taller and develop longer stems. If your garden gets a lot of sun, like mine, a little shade can encourage the stems to stretch upwards. However, But full sun will work as well.
Think about the visual impact of your bulbs. Plant them along walkways, at the front of borders, or in spots you can see from your windows for maximum effect. Don’t overlook areas under deciduous trees, in annual garden beds, or spaces that are yet to welcome perennials early in the year. These spots are perfect for spring bulbs, adding a splash of color and life to your garden.
4: Prepare The Soil Before Planting Bulbs
Preparing your soil for planting your flower bulbs this fall is key for growing beautiful bulbous perennials – whether they’re hardy like daffodils or need a bit more TLC like lilies. For fall planting, I always aim for soil that’s fertile, rich, well-drained, yet light. This is important because bulbs struggle in heavy soil, finding it tough to break through and establish.
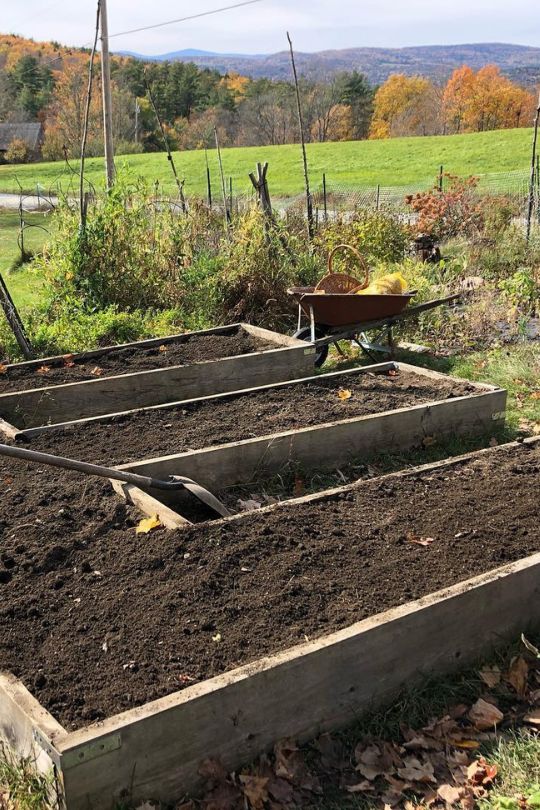
Here’s a tip for creating the perfect soil conditions: mix compost into your bulb planting holes. This is especially vital if your garden has heavy clay or tends to stay wet. The best soil for flower bulbs? Sandy loam. It’s this great mix of clay, sand, silt, and a bit of organic matter. Plus, it typically has a neutral pH, around 7.0, which is just right for ensuring good drainage, easy root growth, and the right nutrition.
Remember, maintaining that neutral pH of 7.0 is crucial. If the soil’s pH dips below 7.0, it’s acidic, and above 7.0, it’s alkaline. Both extremes can hinder the bulbs’ root development.
Before planting, enrich your soil with compost or organic matter for those essential nutrients. I also like to add peat moss to improve drainage. Watch out for overwatering or very soggy soil, as that’s a surefire way to end up with rotten bulbs.
Once my soil is ready, I can start planting my bulbs before fall is over. But how?
5: Know How Deep Should The Bulbs Go Into The Soil?
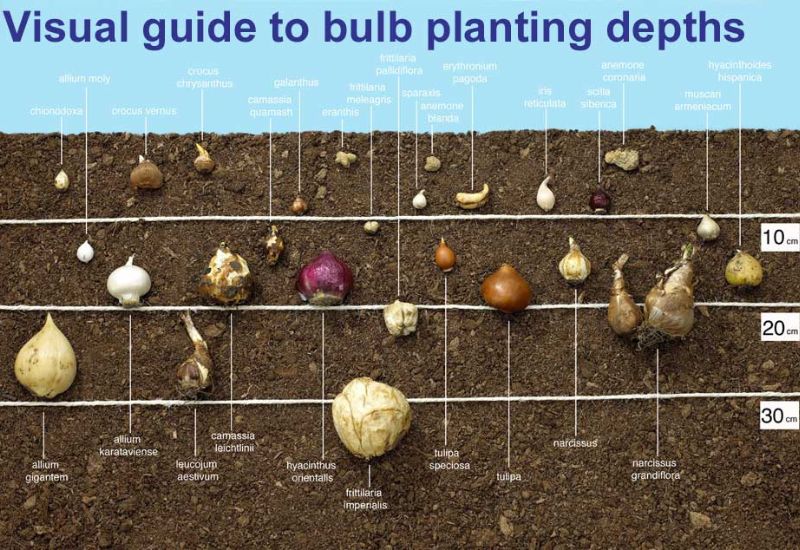
The general rule is to plant bulbs three times as deep as the bulb itself is tall, this depth is from the base. This means that a bulb that is 1 inch tall (2.5 cm) goes 3 inches deep (7.5 cm) from the basal plate (base) and it leaves 2 inches (5.0 cm) from its tip to the surface.
Some go a bit deeper (Lilium), and the deepest is Fritillaria imperialis, at least 12 inches (30 cm)! But, on the whole, there are three main layers:
Do check when you buy your bulbs, the depth is always indicated.
6: Plant Your Bulbs At The Right Spacing
The spacing of the bulbs changes according to the spread of the plant they grow. Some are very thin (from daffodils to snowdrops, tulips, crocuses, Muscari etc.) and you can plant them very close, even almost touching if you want a dense effect.
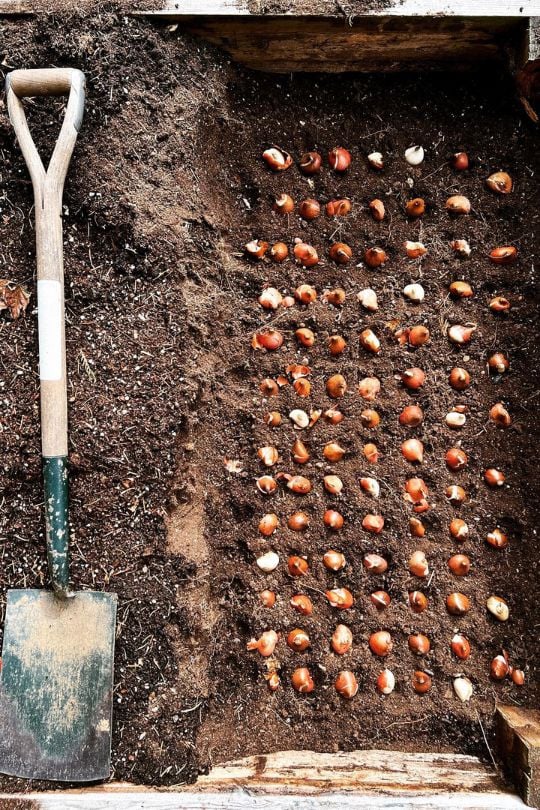
Planting small blubs almost next to each other is quite popular, but… I love it, but it is best if you do it in flower beds or containers, and then you dig them up. Otherwise, they may get too packed, too crowded underground, and you will still need to thin them.
Other bulbous perennials grow larger plants, like Lilium and Fritillaria imperialis, and they need more space, about 12 inches (30 cm). Again, check for each variety to make sure.
For spring-flowering bulbs, remember that different types need different planting depths. To help you out, here are some general guidelines:
And now, let’s see two ways to plant your bulbs, actually… Three!
7: Three Ways To Plant Your This Fall For A Beautiful Spring Garden
You can plant your bulbs one by one, individually or in groups (even mass, as we say when there are more than 7), and also layer them… And here is how to do it correctly.
1: Plant Individual Bulbs in Fall to Mix Them with Other Perennials
If you want to scatter your daffodil or tulip bulbs here and there, maybe to mix them with other perennials, you need to plant them individually. And here you have two options.
Shall we see each method for planting individual bulbs turn?
How to Plant Individual Bulbs with a Dibber
Dibbers are the most rudimental and easiest tools to plant individual bulbs, in fall or any other time of the year, but it is also easy to make mistakes with them. So, do it professionally, like this.
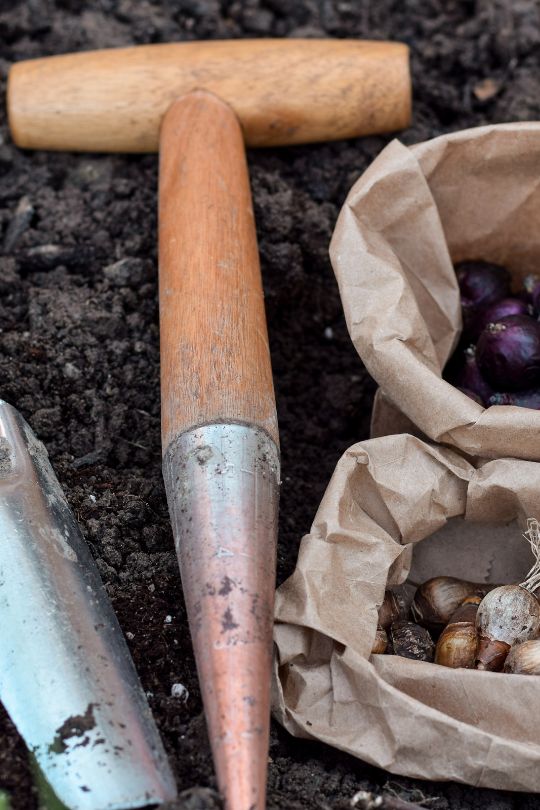
But now, how can you plant your bulbous perennials with a bulb planter?
Plant Individual Bulbs with a Planter
A bulb planter gives you bigger holes, and you can also be more precise with the depth with it, and here is the correct way to use it.
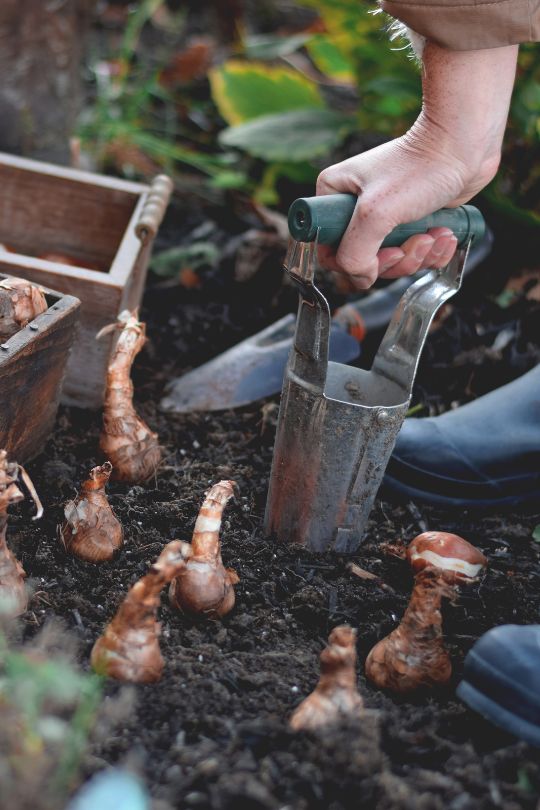
You can plant a few smaller bulbs in the same hole you het with a bulb planter, like crocuses, bluebells, snowdrops etc. I use it to get little groups of tiny bulbous perennials.
I personally picked out this bulb planter, which has made planting much simpler for me. This tool is marked with inches and centimeters, eliminating the need for guesswork each time I plant a bulb. Plus, it comes with an automatic soil release feature, making it incredibly user-friendly.
2: Group and Mass Plant Bulbs in Fall, for Larger Displays in Spring and Summer
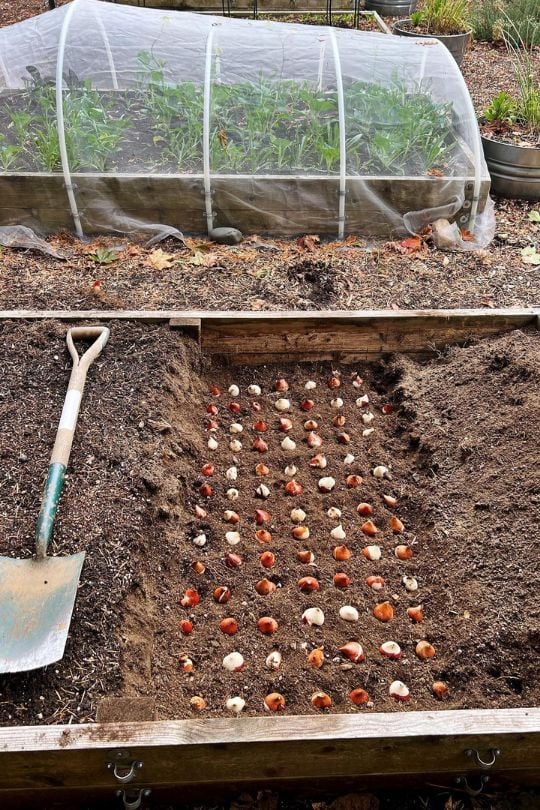
If you want to plant lots of bulbous perennials together, you can still use a bulb planter or dibber, and I do use them when the soil is really soft. But when it is a bit harder, then I have to prepare the whole bed. And that’s how I do it.
If the soil is not fertile or well drained, then I prepare it now, like this:
3: Lasagna Planting Fall-Planted Bulbs For Spring Blooms
Luckily, many bulbs go at different depths, and this allows me to layer them, and get many varieties in the same bed, and a very dense floral display as well! It is simple, and it works like this.
You can do this more roughly with three layers for deep bulbs (8 to 12 inches, or 20 to 30 cm), medium bulbs (8 to 4 inches, or 10 to 20 cm) and shallow bulbs (less than 4 inches, or 10 cm).
It is simple, once you know how deep the bulbs go!
And now, I leave you with a final tip…
8: Give Your bulbs A Good Drink After You Plant Them
Your approach to bulb gardening is thorough and mindful of the specific needs of the plants. Starting with initial watering at planting, you provide the necessary moisture for root formation. This early stage watering is crucial, even though the bulbs don’t have roots yet, as it prepares the soil for when the roots begin to grow.
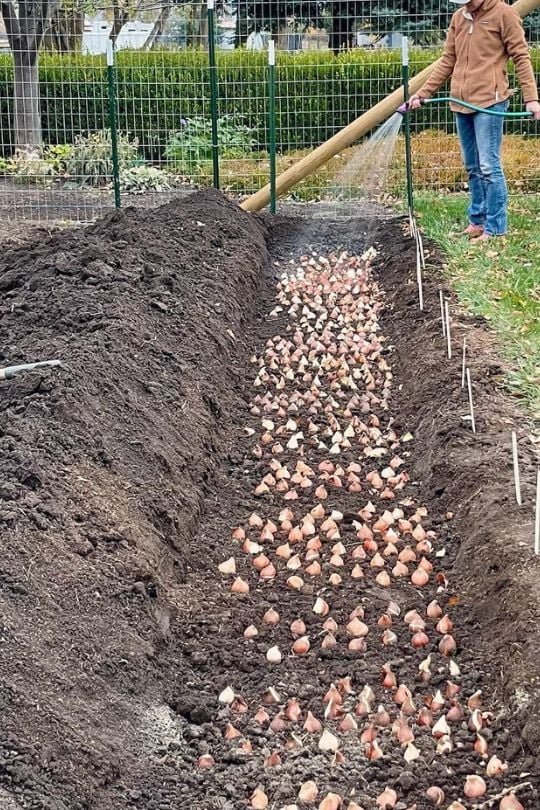
The additional round of watering as winter approaches is another thoughtful step, especially important for root development. Your consideration of local climate conditions, such as the heat in your area, and adjusting watering practices to prevent bulb rot demonstrates a deep understanding of the needs of your plants. The extra water in dry winters is a smart move to compensate for the lack of natural precipitation.
Here’s a tip: hold off on regular watering until you see flower buds emerging in the spring. Once your bulbs begin their spring growth, aim to water them weekly, especially during dry spells and while they’re blooming.
9: When and How to Compost Bulbs When You Plant Them in Fall
I lay one inch of good quality compost (1 inch or 2.5 cm) over the bulbs after I have planted them in fall, not before (!!!), but if you forget, you can still do it in early spring; it will have plenty of time to penetrate the soil for when your bulbous perennials need it.
The important is that you don’t dig compost into the soil; it goes on the surface.
But then, after all this work, you don’t want some little hungry rodent to take it as an invitation to dinner, do you?
10: Protect Your Bulbs From Rodents And Moles In Fall
Bulbs are very nutritious indeed, and rodents and moles may be tempted to eat them after you plant them, so, come spring, you may have fewer than you expected – unless you protect them… Here are a few handy tips for you…
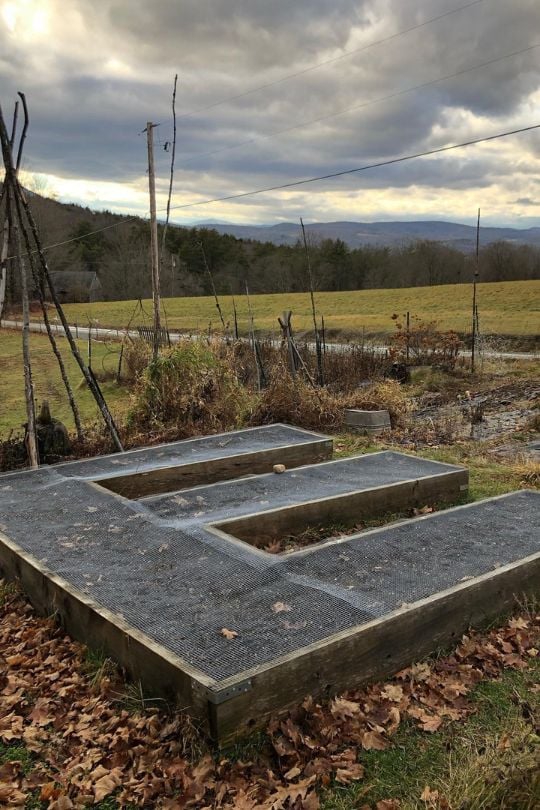
Grow caper spurge against moles. These burrowing mammals can be a real curse on gardens, but Euphorbia lathyris (caper spurge) really disgusts them, and you will need to plant quire a few all over your garden, and around your bulbs to keep them away.

Written By
Amber Noyes
Amber Noyes was born and raised in a suburban California town, San Mateo. She holds a master’s degree in horticulture from the University of California as well as a BS in Biology from the University of San Francisco. With experience working on an organic farm, water conservation research, farmers’ markets, and plant nursery, she understands what makes plants thrive and how we can better understand the connection between microclimate and plant health. When she’s not on the land, Amber loves informing people of new ideas/things related to gardening, especially organic gardening, houseplants, and growing plants in a small space.

