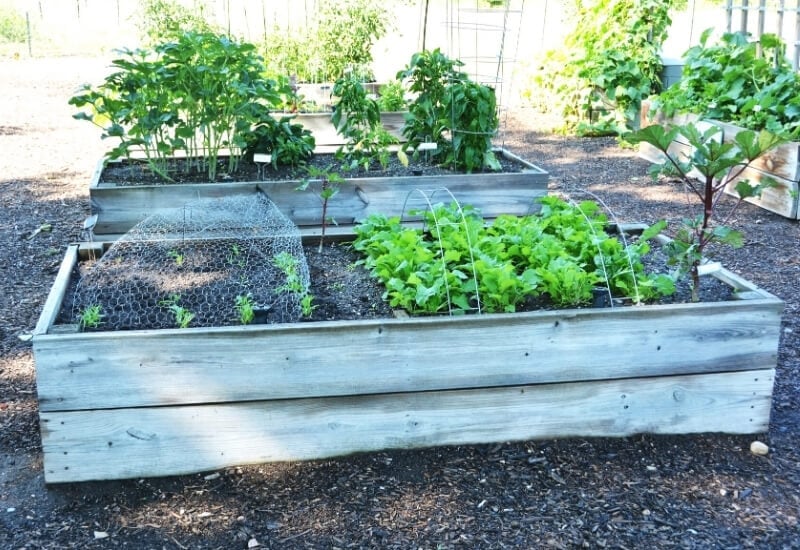
One of the best ways to get started gardening is by using raised garden beds. Raised garden beds are an option for all gardeners and allow you to grow more vegetables in a limited space while increasing your soil quality.
As more people turn back to gardening to grow their food, raised bed gardening continue to increase in popularity. Using this method of gardening allows you to create the perfect environment to produce high yielding plants.
Chances are you have many questions about building your own DIY raised bed garden, like types of material to use, how deep your raised bed should be, how to fill your raised bed cheaply, what type of soil raised beds need, and what and when to plant in a raised bed.
We have you covered! We answer all of the questions that you might have about raised garden beds.
But, don’t worry to help you to get started In this ultimate raised bed gardening guide my goal to answer all of the questions that you might have about raised garden beds from planning to harvest and planting.
So, let’s dive in!
What is a Raised Garden Bed?
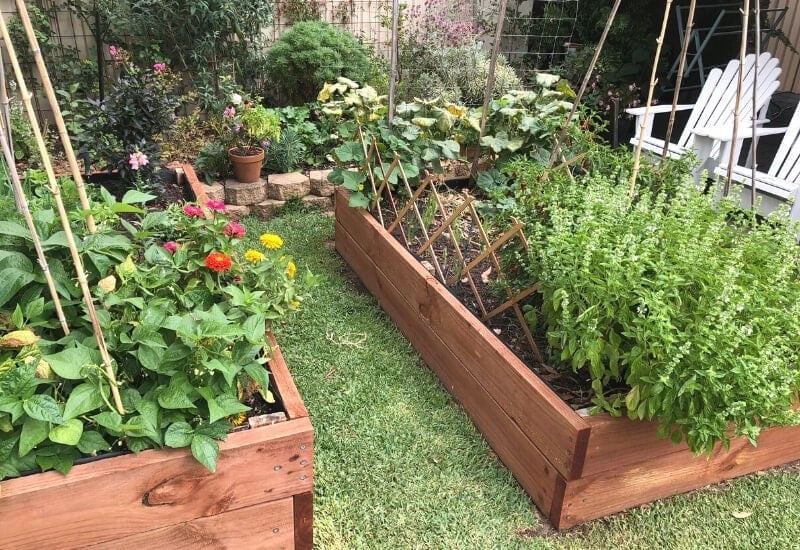
A raised garden bed is precisely what the name suggests – a raised garden is a method of growing plants higher than the ground. Where soil is enclosed in freestanding box or frame built with wood, but cinder boxes and metal are options as well. They allow gardeners to place soil aboveground and plant their crops there.
Millions of gardeners prefer to use raised garden beds rather than traditional in-ground gardening.
Let’s look at some of the benefits of growing vegetables in raised beds. The benefits showcase why so many prefer this option.
The Benefits of Raised Garden Beds
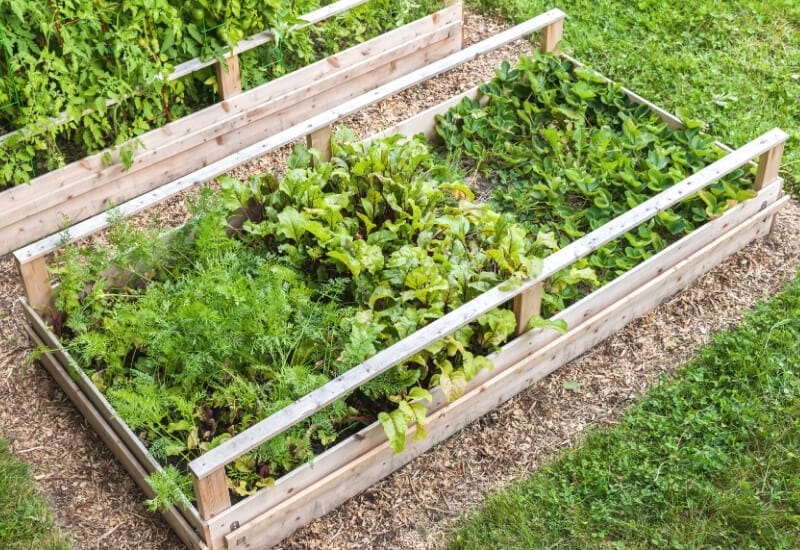
Trying to decide if you want to plant vegetables in raised beds instead of planting in the ground?
Here are some of the benefits of raised bed gardening:
Ideal For Small Spaces
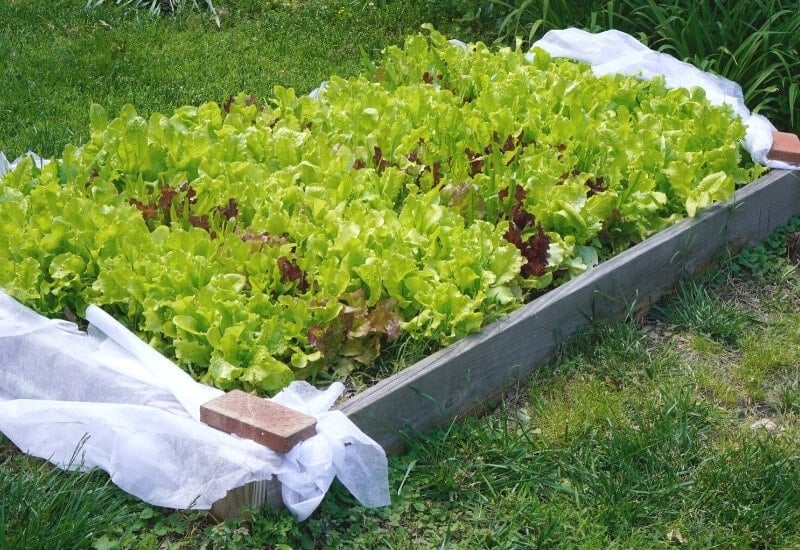
Traditional, in-ground, row gardening takes up a lot of space, and often, due to soil compaction and lack of nutrients, fails to deliver a stable yield.
If you don’t have a lot of room to garden, you want to make sure your space is as productive as possible.
More Productive Gardening
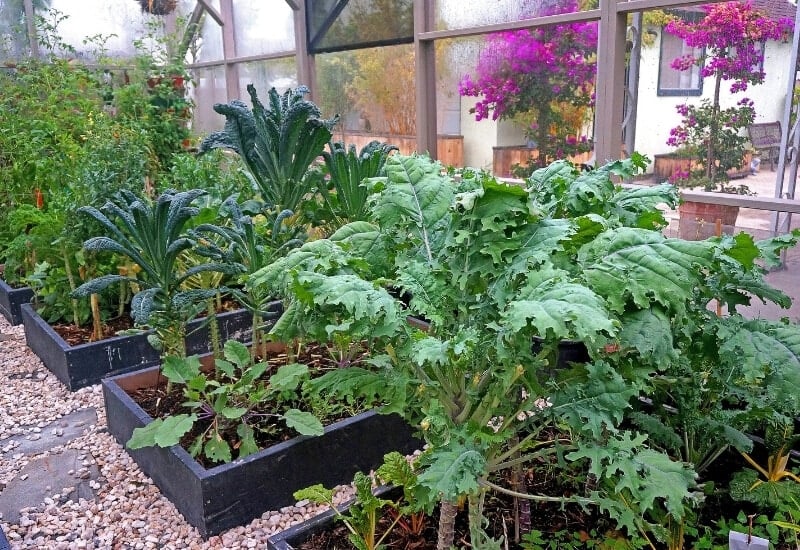
Perhaps the most crucial benefit of using raised garden beds is that they are more productive than traditional in-ground garden beds.
Walking in these beds is a no-no, so it prevents the dirt from becoming compacted, making it harder for roots to grow deeper and prevents water and air from reaching them.
Raised beds are ideal for root crops because the soil is fluffy without rocks or other problems that might get in the way. Also, since the soil isn’t compacted, it allows for better water drainage.
Chores Are Easier And More Comfortable
When the garden beds are higher off of the ground, it makes it easier to maintain them. You don’t have to bend or kneel as much, saving your body from strain or discomfort while tending to your garden.
Gives You Control Over Soil Quality
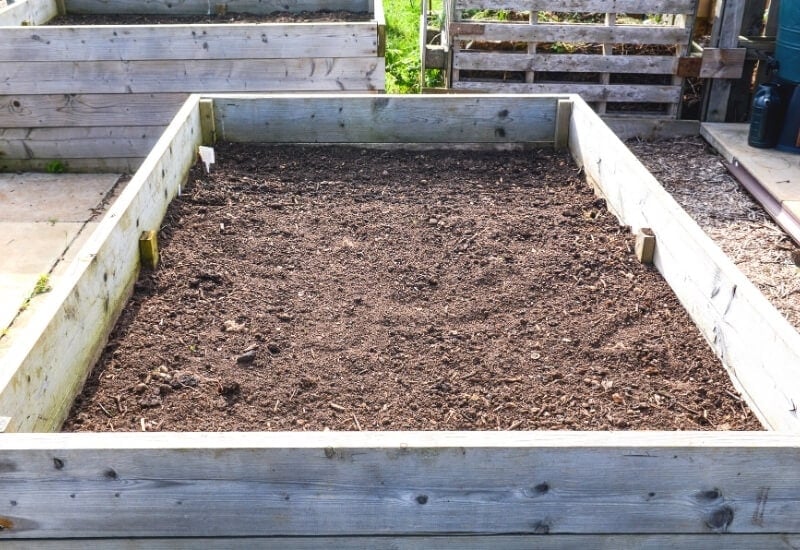
Planting in raised beds gives you control over the soil quality and content. This is particularly important if you live in an area with rocky, sandy, or clay soil that is nutrient-poor.
Instead of spending months trying to amend the soil quality, start fresh and fill your garden beds with nutrient-dense soil.
Reduces Weeds
Since the raised beds are elevated above the ground and the surrounding weeds, it’s easier to keep the number of weeds lower. It also means that removing weeds takes a lot less work and backache on your part.
Looks Nicer
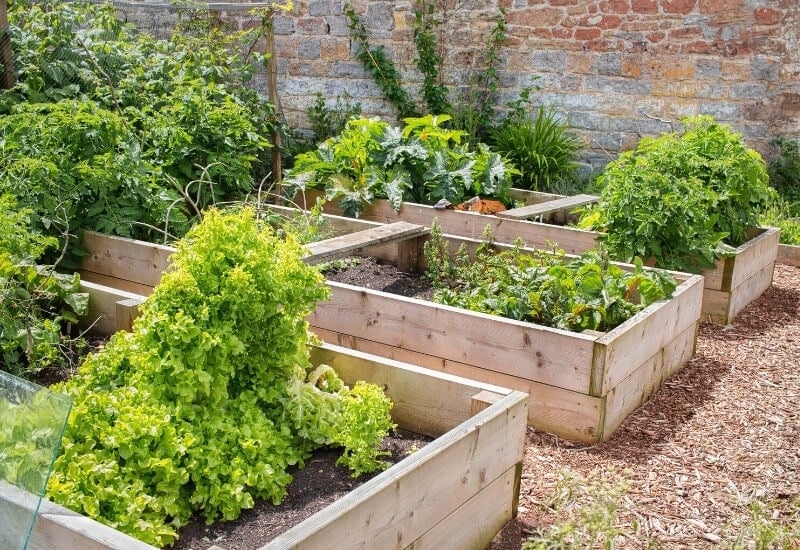
Let’s be honest; the look of your garden matters as well! Raised beds look nice and are easier to maintain.
It’s easier to create well-defined pathways and decorations throughout your garden beds. You don’t need an HGTV-worthy garden.
Best Materials To Use For Building Raised Garden Beds
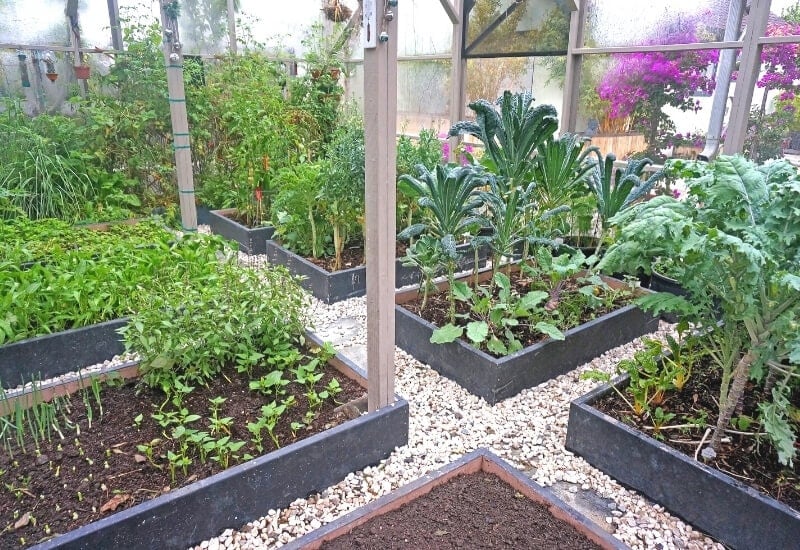
The first thing you want to do is determine what type of material is best for your garden beds. Wood is the most common selection, but there are different wood types, making the decision even harder.
Here are some of the most common options for materials to use for raised beds.
Pressure-Treated Lumber
The most common choice for the best wood for raised beds is pressure-treated lumber. It’s cheaper than cedar; that matters to a lot of gardeners.
Regular pressure-treated lumber has a mix of chemicals that prevent moist soil and weather from causing it to rot.
There is controversy over pressure-treated lumber, especially for organic growers. While it’s marked as safe for organic growing, some people have reservations about using this type of wood because of the chemicals.
Cedar
If your budget is bigger, cedar is the best wood to use to build raised garden beds with, because it contains natural oils that prevent it from rotting over time.
That means there is no need to spray it with chemicals. Cedar is, overall, more durable than other types of wood so that it will last longer than the cheaper pressure-treated lumber.
Concrete Blocks
Concrete blocks, or cinder blocks, are another popular and cheap option for raised garden beds. Look for free or cheap ones online from the marketplace or local buy and selling forums. Local hardware stores sell concrete blocks as well.
The problem with using concrete blocks is that it heats the soil up and retains the heat longer.
That helps in the spring and fall, but in the summer, the soil might become too warm. You’ll need to water more often to keep the temperature down.
Raised Bed Kits
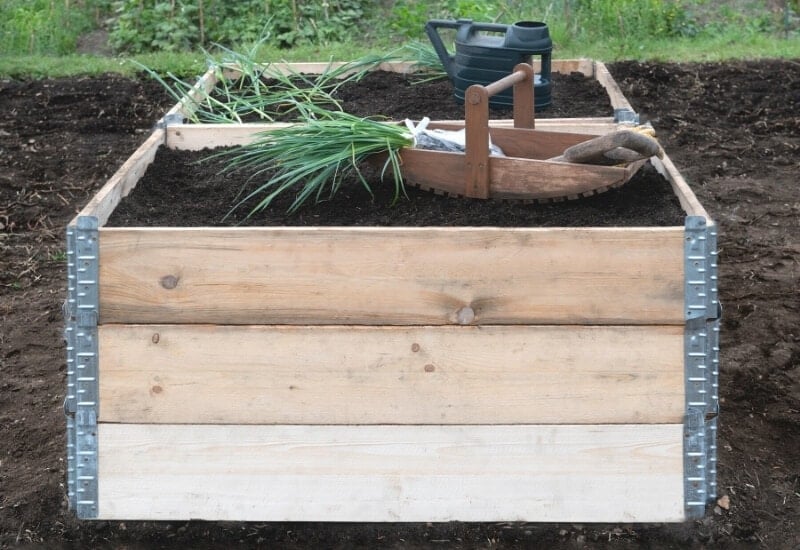
If you aren’t too crafty and have extra money to spend, consider buying kits to build raised beds. Gardening stores offer a range of kids from aluminum corner kits that require you to build lumber or complete kits in cedar, composite wood, recycled plastic, and galvanized steel.
The only negative to using these types of kits is that they cost extra money than building them yourself. For those who don’t have the tools required to build raised beds, consider this option.
What Not to Use to Build Raised Beds
Not all materials are ideal for making raised beds. Some materials might harm you and your soil if you make the wrong choice. Here are some ideas that you should avoid even though they might seem like a good idea.
Railroad Ties
It’s tempting to use railroad ties because they’re cheap and the perfect size. There is one huge, glaring problem;
most railroad ties are treated with creosote, a toxic chemical that you want nowhere near vegetable plants.
Tires
Many people use tires to grow potatoes, but it’s a controversial choice. Tires contain heavy metals that might leach into the surrounding soil.
The rubber bonds to the metal, so it is harder to leach out, but some people opt to avoid it internally.
Pallets
Without a doubt, pallets are hugely popular for growing all sorts of plants. They are an excellent source for garden bed materials. However, understand the pallets are made from shipping materials. Some are treated with a chemical called methyl bromide, a known endocrine disruptive chemical that might impact reproductive health.
New pallets are safe because the producers stopped using these chemicals years ago, but old pallets are still used. Look for a pallet stamped with “HT” or heat treated.
7 Things to Consider Before Preparing a Raised Garden Bed
Building raised beds takes time and several considerations. Since they cost money to create, it’s best to put in the proper time planning and designing your garden beds.
Here are few things you should consider before planting a raised bed garden:
1. What To Plant In A Raised Garden Bed?
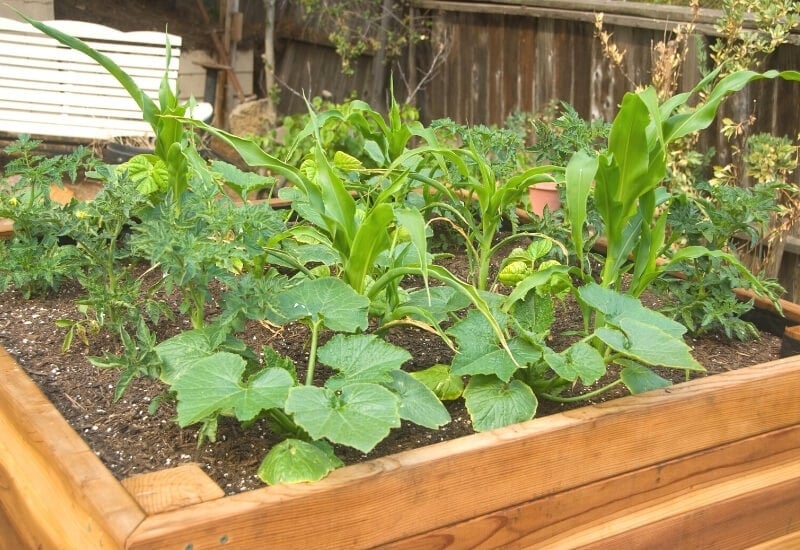
All vegetable plants, flowers, and herbs grow well in raised garden beds but root vegetables like carrots, beets, radishes are perfect for raised beds, but you make sure the raised beds are 12 inches deep or more. Rather than these, leafy greens such as lettuce, spinach and kale are some great choices for a raised garden beds.
Feel free to experiment and grow all of your favorite vegetables.
Growing in raised beds increases productivity, so vegetable plants are perfect. Some plants that grow well and produce higher yields in raised beds include:
2. When To Plant In A Raised Bed?
Planting in a raised bed begins in the early spring with spring, cool-weather crops. As soon as the soil is workable, it’s time to start planting frost-hardy plants.
Planting in a raised bed takes place at the same time as in-ground gardening; follow the same recommendations.
Plant frost-hardy plants three to four weeks before the final frost date in your region. Warm-season crops, such as green beans and tomatoes, should be planted in raised beds after the final frost date.
3. How Big Should A Raised Bed Be?
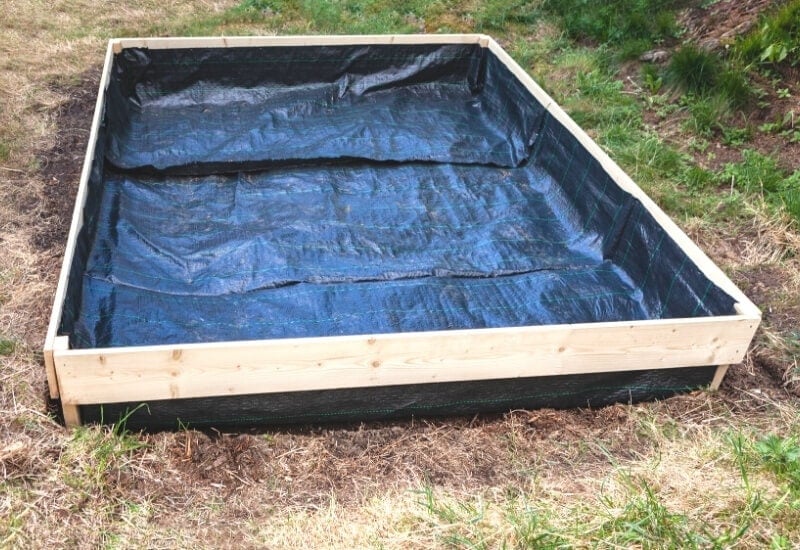
You can make a raised bed as large or as small as you want. The most common size is 4 feet wide because lumber comes in 4-foot increments, making it easy to cut the width you need.
Four-foot widths make it easy for you to reach across the garden bed to access weeds or veggies that need to be harvested without stepping onto the soil itself. If you make a raised bed too wide, it becomes too difficult to reach the middle.
As far as the length goes, you can make your raised bed as long as you want. Some prefer eight feet long or 12 feet long. Make your raised bed
4. How Deep Should A Raised Garden Bed Be?
Raised garden beds should measure 12 to 18 inches in depth, but it varies based on what is at the bottom of the bed. When situated over grass, a depth of 6 to 12 inches is sufficient. That gives the initial roots space to spread out before gradually extending into the bare earth underneath the beds.
For beds placed over concrete, a minimum depth of 12 inches is needed, but more is better. Some gardeners suggest 18 inches depending on what you grow because some plants have extensive root systems.
5. How To Pick The Perfect Spot For A Raised Bed?
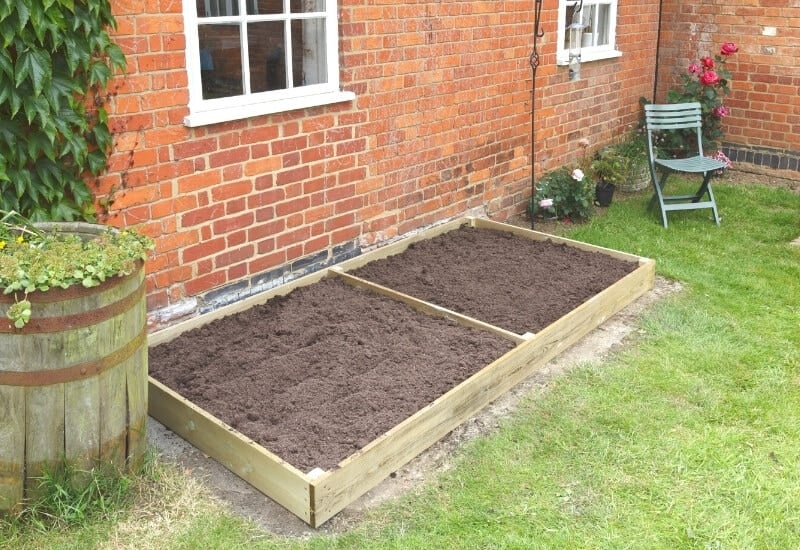
The best place to put your raised bed in the area where it will receives a minimum of six hours of direct sunlight, but more is preferred if possible. If the site you select isn’t level, it will need to be leveled before building the raised beds.
Be sure to ensure that no large trees are nearby that might cast a shadow over your beds when in full bloom. Large trees also increase the chances of large tree roots in the soil that might disrupt the vegetable plants.
One of the benefits of using raised beds is that they look nicer, so many gardeners feel at liberty to use their front yards rather than their back yards to grow vegetables and other plants.
Aside from sunlight needs, avoid low, wet areas where the soil stays soggy. A well-draining location is necessary because soggy, waterlogged roots increase the likelihood of root rot or other diseases.
6. How Do You Prepare The Soil For A Raised Garden Bed?
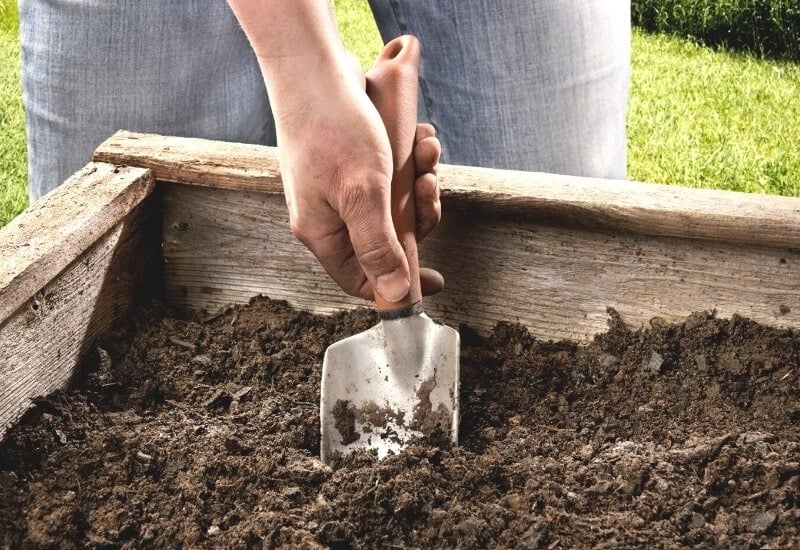
Before filling in your raised bed with soil, use a garden fork or shovel to break up and loosen the dirt underneath.
Try to loosen the soil six to eight inches deep down. Doing this improves drainage and moisture retention.
You should also remove any rocks or large clumps of compacted soil. Any obstructions to root growth, especially for root vegetables, are problematic for your plants.
7. What Do I Put On The Bottom Of A Raised Garden Bed?
Place cardboard or newspaper at the bottom of the raised garden bed. Some gardeners like to put a layer of grass clippings, leaves, wood chips, or other organic materials underneath the cardboard if they built the beds over the top of concrete. Raised beds over grass don’t need an organic layer underneath,
One of the most common concerns when preparing and building raised beds is how to get rid of the grass at the bottom. Manually cutting out and removing grass is an enormous task that takes hours and a lot of labor.
Here’s a much easier solution.
Cut out cardboard (multiple pieces will be needed) to fit into your raised bed and cover the grass. Newspaper is another option, but cardboard kills the grass faster by suffocating the grass and weeds. Make sure to remove tape or labels on the cardboard because they won’t decompose.
Once all parts of the grass are covered with cardboard, cover it with soil. Over time, the grass breaks down underneath the cardboard. This process takes time; the best time to do it is in the fall, giving the grass time to break down over the winter.
However, if you’re doing it in the spring, don’t stress. Your plants’ roots will spread out and thrive; try to add more depth to your bed.
8. How Much Soil Do You Need To Fill A Raised Bed?

Figuring out how much soil you need to fill a raised bed requires some math. Multiply the width of the bed by the length and by depth. It sounds complicated, but here is an example.
If you have a garden bed that is 8 feet long, 4 feet wide, and 1 foot deep, the volume needed is 32 cubic feet of soil per each raised bed. Depending on the bags of soil purchased, you will need between 16 and 32 bags. Some soil bags are 1 cubic feet, and others are 2 cubic feet.
If math isn’t your strong suit, consider using a simple soil calculator. One of the best comes from Gardener’s Supply Company. If you need large quantities of dirt, most garden nurseries off bulk soil purchases, and they will calculate how much you need if you provide the dimensions and number of raised beds that you need to fill.
It’s best to buy or create more than you need. Throughout the first gardening season, the soil settles and slightly compacts (not as much as in-ground garden beds), leaving more space for you to replenish your beds.
9. Do You Want To Install Irrigation?
A drop irrigation system is the most practical way to water a garden, but the best time to set it up is when you’re setting up your raised beds rather than once they’re built and filled.
Hoses run under pathways or layers of mulch; it’s easy to adapt the beds around where the hoses are.
10. When To Water And Fertilize Raised Garden Beds?
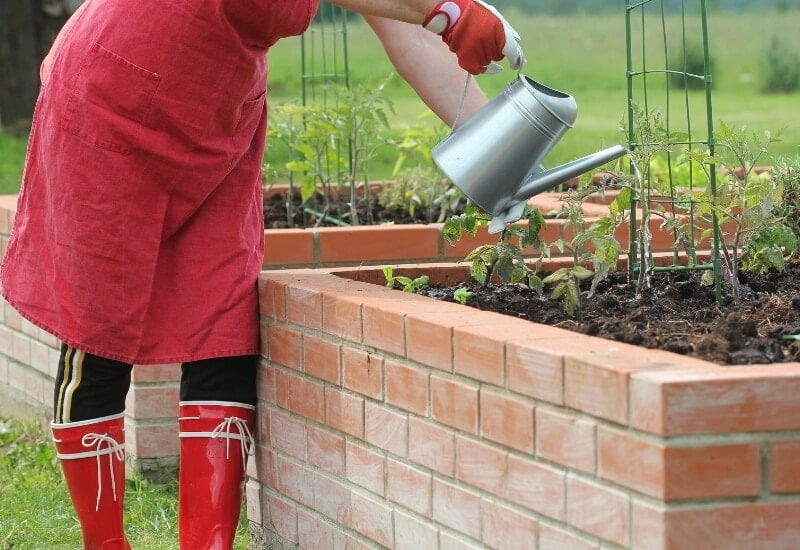
Raised garden beds need to be watered more often than in-ground garden beds. Check the soil each day; if it’s dry two inches down, then it needs to be watered.
Avoid overwatering because waterlogged roots lead to root rot. Watering every other day is sufficient for raised beds.
Fertilizing needs vary based on the plants growing. Add granular fertilizer at the beginning of the growing season and add a liquid fertilizer half-way through the season to give your plants a boost.
How to Build a Raised Garden Bed
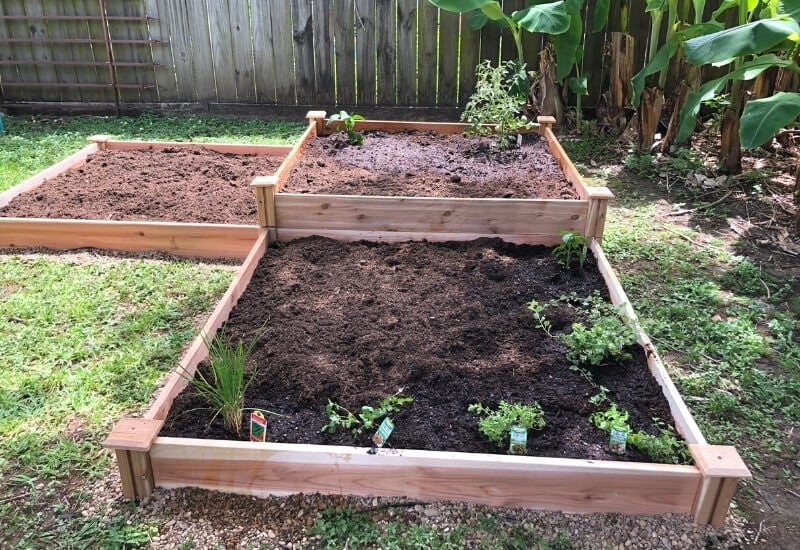
Now that you figured out your garden beds’ location and dimensions, it’s time to build your beds. The process might seem intimidating, but even a novice can complete the task.
There are several ways to put together a raised bed. Here is one of the simplest methods.
What You Need
To build one garden bed that measures eight feet long, four feet wide, and six inches deep, here is what you need.
How To Build A Raised Bed
- Cut one 2x6x8 in half, making two four-foot sections. If you don’t have a saw at home, then ask the lumber company to cut it for you. Places such as Lowe’s and Home Depot offer this service.
- Lay two 2x6x8 parallel on the ground, forming the long sides of your raised bed.
- Place the four-foot sections on both ends of the eight-foot sections.
- Using a hammer or nail gun, nail each side together, connecting the long sections to the four-foot pieces, creating a rectangle. Use galvanized nails or screws to attach the boards for best and results.
What is the Best Raised Bed Soil?
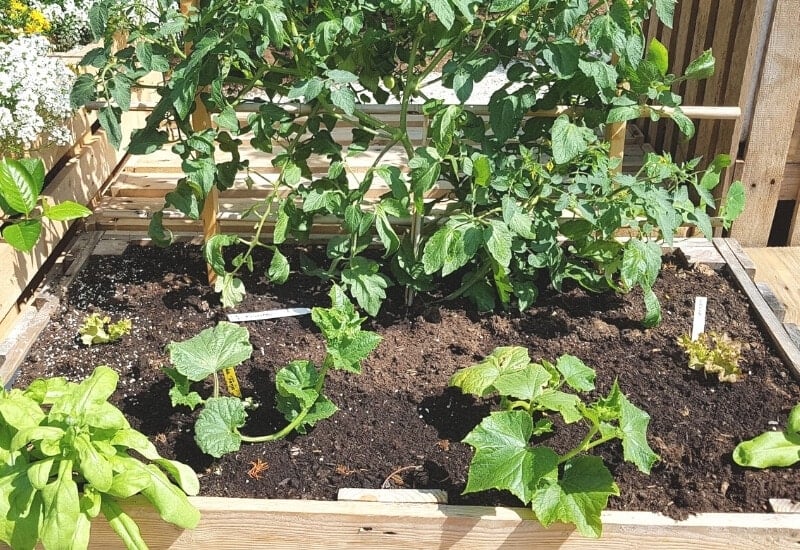
The most critical ingredient for a garden bed is the soil. Without healthy, nutrient-dense soil, plants fail to grow, wasting your time, energy, and money. Raised beds increase the likelihood of a high-yield gardening season because you can amend and create the perfect soil.
Soil health and quality is key to a productive garden. One of the most common questions gardeners get when discussing raised garden beds is, “what kind of soil do you fill your raised garden beds with?”
The “perfect” raised bed soil is rich, fertile, moisture-retaining, and well-draining that isn’t compacted; it needs some sort of fluffiness to it.
Perfect Raised Bed Soil Mix Recipe
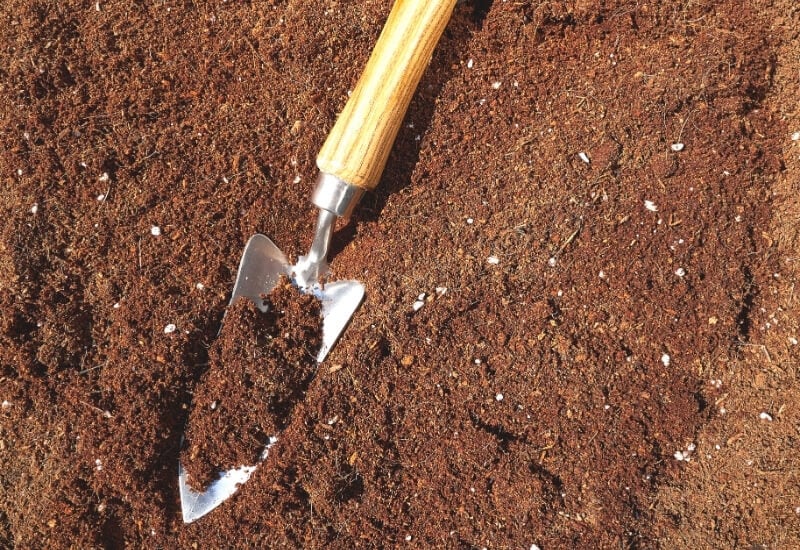
This basic soil recipe fills a 4ftx8ft raised bed.
In general, your goal is to fill your garden beds with some sort of ratio. An example is:
What does this all mean? Let’s break down the best soil for raised garden beds.
Soil
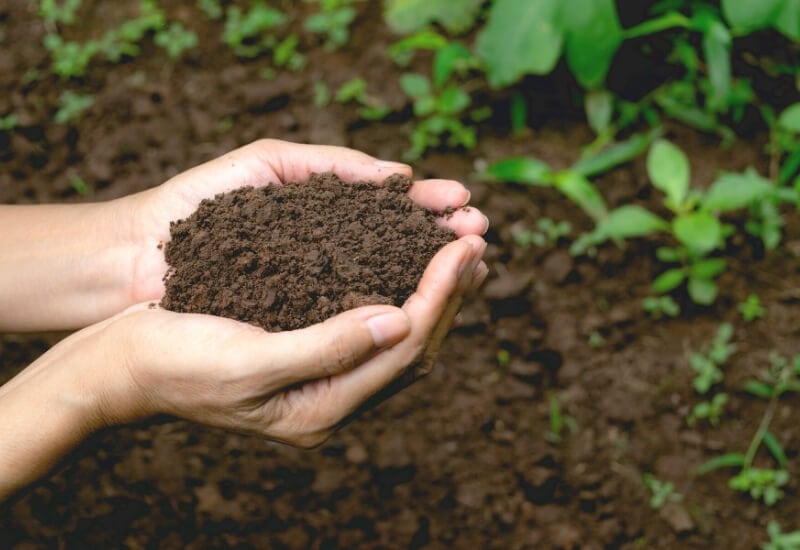
For soil, you can either buy bulk soil or bagged soil. If using bagged soil, go for high-quality, organic soil blends. Don’t use only potting soil because it’s too light and fluffy for raised beds on its own.
Mixing various bagged soil is ideal because you’ll end up with a range of compositions and textures.
Bulk soil depends on where you buy it. Some offer a mix of topsoil, compost, and soil conditioner.
Others have a mix of simple topsoil and soil conditioners. Ask your local gardening center for their available options.
Compost
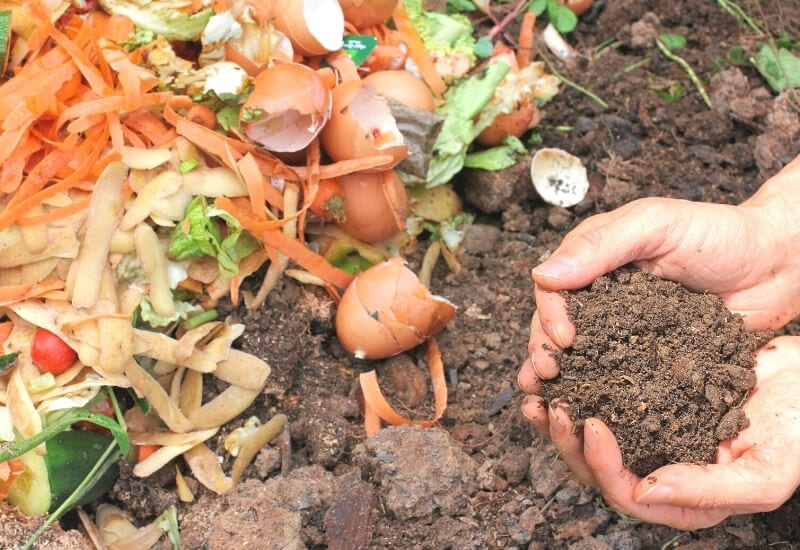
Compost is organic matter that broke down over time, gradually decomposed until it formed into a rich, nutrient-dense soil conditioner.
Homemade compost takes time to create, but it’s cheaper than buying bagged compost or bulk compost.
Manure counts as compost, but fresh manure isn’t safe for your plants. It must be aged appropriately and composted because fresh manure contains high nitrogen levels that might burn your plants. Never add fresh animal manure to your plants.
Aeration
Another critical component of the best soil for raised garden beds is aeration; it’s almost as essential as compost. Coarse sand, lava rock, pumice, or perlite are options.
Aeration is necessary because air is necessary for all living things in your soil, such as beneficial microbes, nematodes, worms, fungi, and more. The most crucial reason for aeration is that the plant’s roots need air to survive; plants breathe through their roots.
Adding aeration to your raised beds help to promote drainage and prevent the soil from becoming over-compacted.
How to Fill Raised Garden Beds Cheaply

It is possible to buy a triple-blend of soil or bulk soil sold by the yard from your local gardening center, but the cost is often prohibitive for the average gardener.
Call your local garden nurseries to ask for quotes; make sure you use a garden soil calculator to figure out how much you need before you call.
Here how to fill your raised vegetable garden bed and save money on soil costs:
1. Core Gardening
If you’ve never heard of core gardening, you’re missing out. The basic idea behind it is to create a sort of “sponge” in the middle of your garden beds that holds water while spreading and wicking the moisture out two feet in both directions.
Gardeners love core gardening for a few reasons.
It’s possible to use this method to have an existing raised bed or a new one that needs to be filled up. Here is what you should do.
1. Smother Grass
If you have a new raised bed, lay cardboard or newspaper down at the bottom of the bed to smother the grass and weeds. Then, spread some soil over the top of this cardboard or newspaper, but don’t put too much.
2. Make A Trench
Make a trench that is 8-12 inches deep and 1-2 feet down the middle of the raised bed. If you do this in an existing raised bed, most the soil to the side or remove it for a short period.
3. Fill The Core Of The Garden Bed
Fill the trench (the core) with wet, organic matter that is breaking down. Many gardeners use old straw bales, such as the type that are fall decorations. Let them sit throughout the winter and place them inside of the trench.
4. Water Thoroughly
After you create and fill the core, water it thoroughly, which is called charging the core. That’s making the sponge that provides water all season long.
5. Fill The Rest Of The Bed
Now, fill in the rest of the garden bed with your existing or new soil. Cover the core with soil as well. After that, it’s time to start planting.
2. Hugelkultur Raised Beds
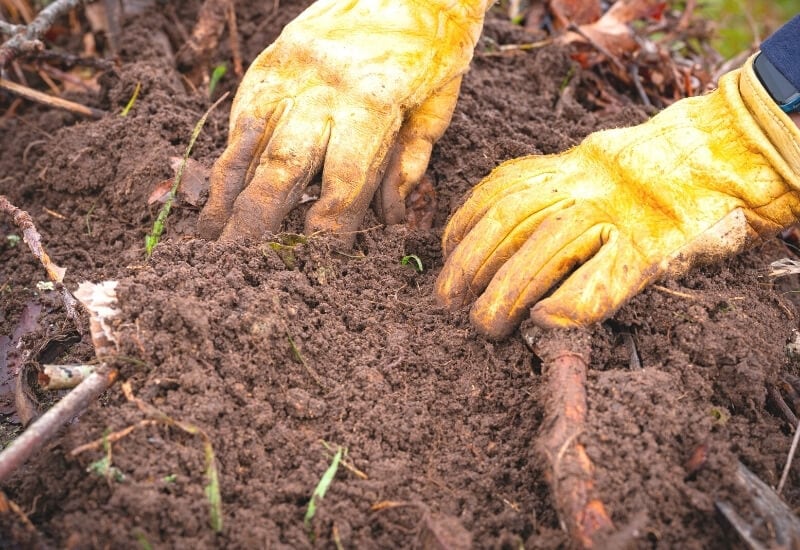
Another option to fill raised garden beds cheaply is to use Hugelkultur, when you bury large amounts of rotting debris under the soil. Most use large rotting logs, sticks, and other types of organic matter.
It’s similar in theory to core gardening with many of the same benefits. Adding debris under the soil retains moisture while providing your plants with plenty of nutrients. It also leads to stronger, deeper root systems.
Here’s how to use the Hugelkultur method to fill your garden bed.
1. Cover The Ground
The first thing you should do if you don’t have existing garden beds is to cover the earth with cardboard or newspapers. Doing so kills off the grass and weeds. Then, move to the next step.
2. Spread Rotting Debris
Find plenty of rotting logs, twigs, and debris, and then spread them over the bottom of the raised bed. The wood needs to be rotting already because it holds moisture and nutrients better than fresh wood.
Don’t leave extra spaces! Spread shredded leaves, grass clippings, wood chips, and other organic mulch between the logs and twigs.
This helps to take up space with free or cheap materials and reduces how much you need to spend on the soil.
3. Water Well
Water all of the debris and organic materials that you laid down well. It should be thoroughly watered because the materials provide water to your plants for the entire gardening season.
4. Fill With Soil
The final step is to fill in the rest of the garden bed with soil. Some recommend using only topsoil since the debris will add nutrients, but a topsoil blend with compost is preferred for immediate nutrients for the small seedling roots.
3. Ruth Stout Garden Bed
Ruth Stout is called the “Mulch Queen,” and she developed this gardening method in the 1880s. She focused on using spoiling hay as a mulch, which helps build soil quickly because it breaks down fast and feeds the soil.
For those filling raised garden beds, the Ruth Stout method is one of the easiest to use and one of the cheapest options if you have access to free hay. If you’re growing potatoes for the first time, this method is highly recommended.
Here’s how to use this method in raised garden beds.
1. Spread Compost First
The first step is to spread a few inches of compost or aged manure on top of the ground. There is no need to use cardboard to kill the grass or weeds; compost layers do the same thing.
2. Spread The Spoil Hay
After spreading several inches of compost down, lay the spoiled hay on top of the compost. Make sure the hay is distributed evenly; it should be between eight to 12 inches deep.
That’s all you have to do to get started with the Ruth Stout method of gardening.
3. Start Planting!
Potatoes are the most common crop planted with this method, but any vegetable crop grows with this method. If you’re planting seedlings, the hay must be moved to the side, and the seedlings need to be transplanted into the soil.
4. Back To Eden Garden Beds
The concept of Back to Eden Gardening is similar to the Ruth Stout method. The founder, Paul Gautschi, used wood chips and chicken manure rather than spoiled hay, but the process is similar.
Traditional Back to Eden Gardening isn’t done in a raised bed, but more gardeners adapt it to be a method to fill raised beds cheaply.
Here’s how to get started.
1. Cover The Ground
It’s recommended to cover the ground with cardboard or newspaper. Wet it down to help smother the grass or weeds.
Ensure you cover all of the grass in the raised bed; leaving grass exposed increases the chances of weeds coming up.
2. Fill The Raised Bed Halfway
Next, buy soil. Usually, a 50/50 ratio of topsoil and compost works well. The cheapest way to source this is in bulk by the yard.
Fill your garden bed up halfway with the soil. You’ll need a deeper bed than six inches due to the inches of wood chips required for this method. Typically, it’s recommended to spread four to six inches of soil.
3. Spread A Layer Of Wood Chips
Spread wood chips over the top of the soil as a layer of mulch. It’s best to make the wood chips at least four inches deep, but any depth works. Don’t mix the wood chips with the soil; lay them on the top.
When planting seedlings with this method, push back the wood chips and plant them into the soil. Make sure the chips aren’t touching the stems or any part of the plant
Conclusion
If you’ve yet to dive into using raised garden beds, this year is the time. This straightforward gardening method leads to improved garden soil quality and higher garden yields. Grow more vegetables than ever by using raised garden beds.

Written By
Amber Noyes
Amber Noyes was born and raised in a suburban California town, San Mateo. She holds a master’s degree in horticulture from the University of California as well as a BS in Biology from the University of San Francisco. With experience working on an organic farm, water conservation research, farmers’ markets, and plant nursery, she understands what makes plants thrive and how we can better understand the connection between microclimate and plant health. When she’s not on the land, Amber loves informing people of new ideas/things related to gardening, especially organic gardening, houseplants, and growing plants in a small space.

If you make raised beds on stilts what do you use on the bottom.You will need to have some drainage .What is the best way to do that??
Thank you for all the info. are hoping to make raised beds at our church
When creating raised beds on stilts, it’s important to ensure proper drainage to prevent waterlogged soil. There are a few methods you can use to achieve this:
Hardware cloth or mesh: Place a layer of hardware cloth or fine mesh at the bottom of the raised bed. This will allow water to drain through while preventing soil from falling out. Make sure to secure the mesh tightly to the bed frame to hold the soil in place.
Drainage holes: If your raised bed has a solid bottom, you can drill drainage holes at regular intervals to allow excess water to escape. Holes with a diameter of around 1/4 to 1/2 inch (0.6 to 1.3 cm) should suffice. Ensure there is an adequate number of holes to ensure efficient drainage.
Gravel or pebbles: Another option is to add a layer of gravel or small pebbles at the bottom of the raised bed. This acts as a drainage layer, allowing water to percolate through. Place a landscape fabric or weed barrier over the gravel layer to prevent the soil from mixing with the gravel.
Remember that good drainage is essential for the health of your plants. If water tends to accumulate in the raised bed, it can lead to root rot and other issues. Ensure that excess water can escape easily.