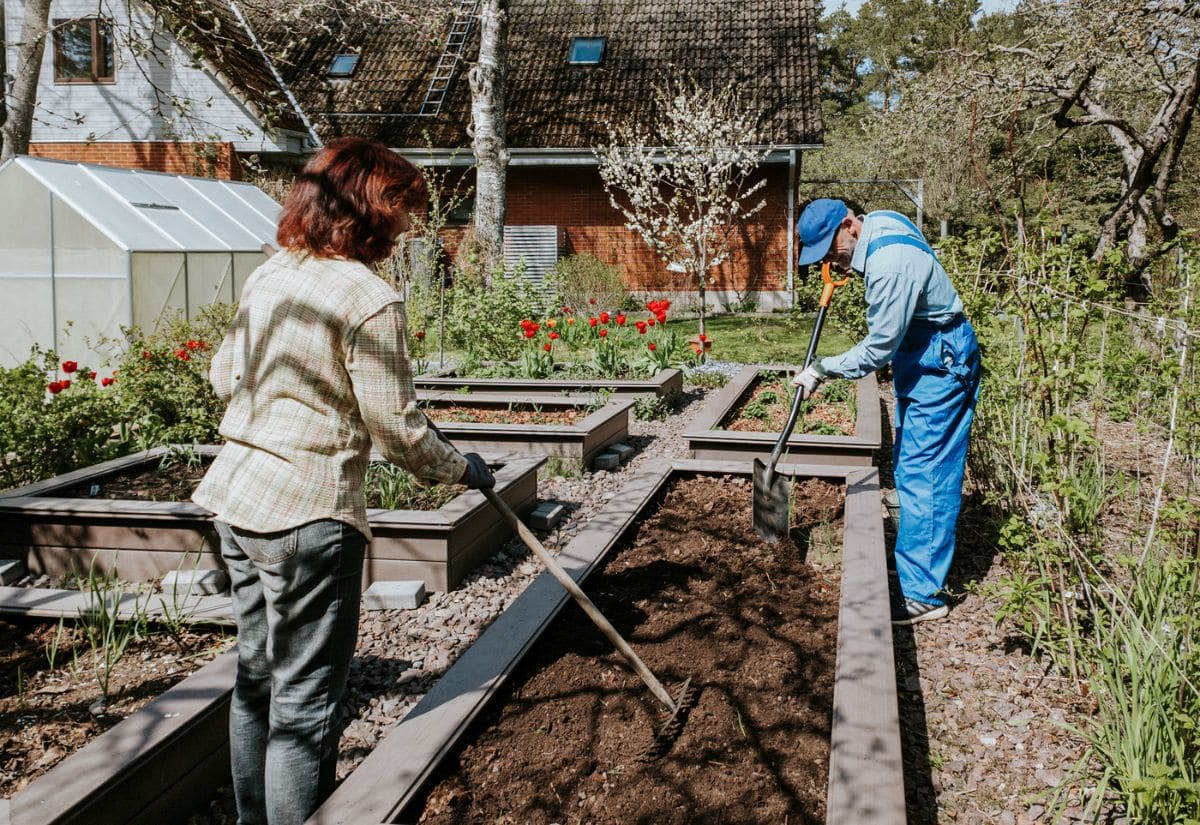
With warming temperatures and longer days, it is hard to not succumb to spring fever, especially when it comes to your garden.
This winter has held cold, snowy days, but sunny days are just around the corner, and it is never too late to start preparing for another season of gardening. Whether you are an experienced gardener or brand new, it is always a clever idea to get a head start.
It may seem overwhelming, but taking advantage of the early season planning can better prepare you for a calm transition into spring. From planning to planting, here are a few steps that I take to prepare my garden for spring.
Create your plan for the gardening season
Use this time to let your creativity run wild and come up with a beautiful layout that showcases the best of your garden. This will help you utilize your space and ensure your garden is well-balanced and visually appealing.
1: Pick out Seeds
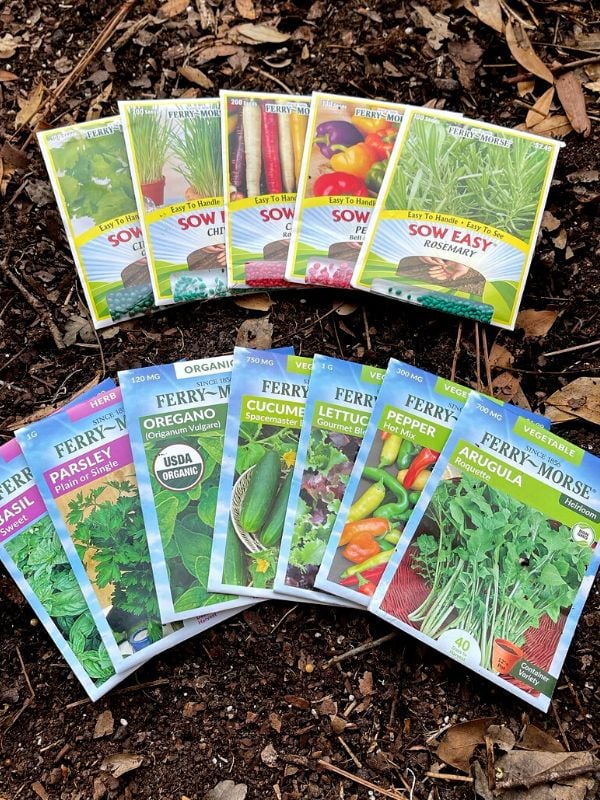
First things first, you must decide what it is you want to plant. I love going through seed catalogs, envisioning the bright colored vegetables growing in my garden.
When it comes to choosing seeds, it all starts with picking the best variety of seeds for your needs. Remember to take note of varieties that work best in your area and planting zone.
Certain varieties have higher germination rates as well as better diseases resistance. If you have problems with certain diseases such as powdery mildew or blight, you may want to look for seeds that have higher resistance to such diseases.
Other things to remember when looking at seeds are frost resistance and days to maturity. Depending on the length of your season, this can help you decide which flowers and vegetables can be planted outside early, and which ones must be started inside.
Also, for areas with a shorter growing seasons, finding a variety with a shorter number of days to maturity would be advantageous.
Have fun exploring the seeds! When I pick out my seeds, I always have my tried-and-true favorites, but I like to add something new and exciting that I have not grown yet such as spaghetti squash or amaranth.
2: Set up your Planting Calendar For Your Garden
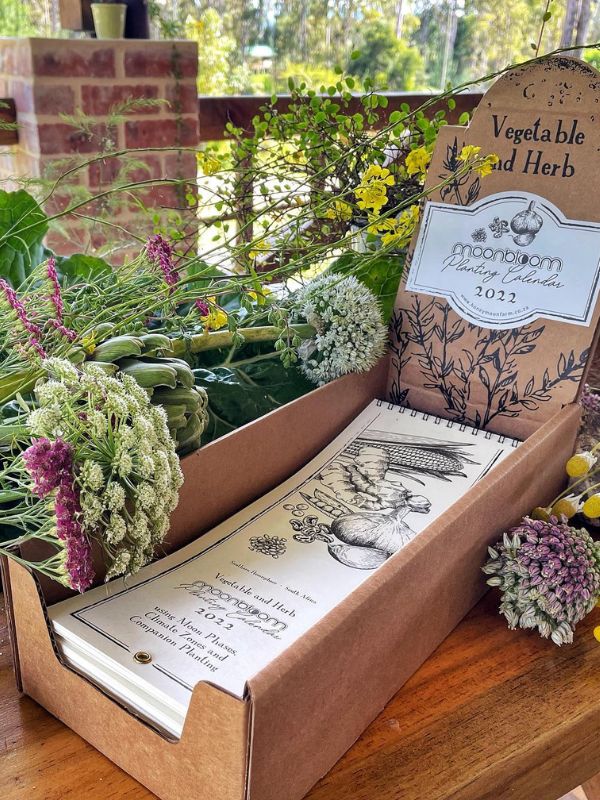
Once you have your seeds picked out, it is important to set up a planting calendar. When it comes to gardening everything is about timing, especially when you live in a climate with a shorter growing season.
My favorite resource has always been the farmer’s almanac. It gives you dates, based on your region, for when to start seeds indoors or outdoors, and when to transplant.
Certain plants need to be started indoors than transplanted outside so that they can reach their maturity during the growing season, while others like to be directly started outside.
Likewise, some plants tolerate cold, while it is imperative for others to be planted after the risk of frost has passed.
Some seeds must be started in a biodegradable peat pot instead of plastic containers so that when planted, the roots are undisturbed. These include squash, cucumbers, and melons.
3: Design your garden bed
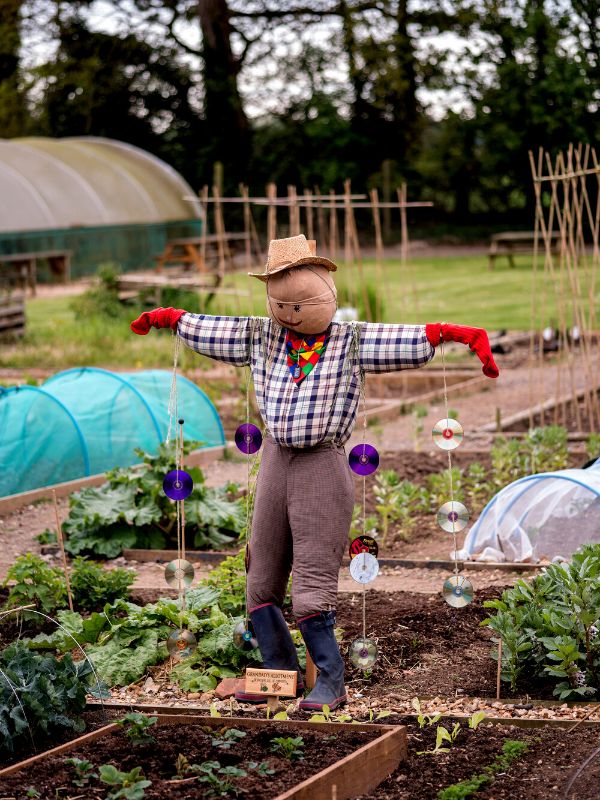
One of my favorite parts about gardening is deciding what goes where. This is one of the most creative parts of gardening, and you can truly let your personality shine through. My garden is all about companion planting and diversity.
I mix carrots with tomatoes and sprinkle marigolds throughout my peppers. However, some prefer neat rows with uniform spacing. You cannot go wrong.
If your plants have space to grow, the arrangement is up to you. Learn what plants like to be planted next to each other, and which ones do not. While plants like squash and naturisms go well together, keep potatoes and tomatoes apart.
I enjoy taking the time to draw my vision out, making diagrams of where each plant will go. The method is both fun and rewarding.
Get the place cleaned up!
1: Clean your pots, tools, and other supplies
You probably haven’t looked at your loopers or pruners all winter, but this is the time to bring them out to inspect and disinfect.
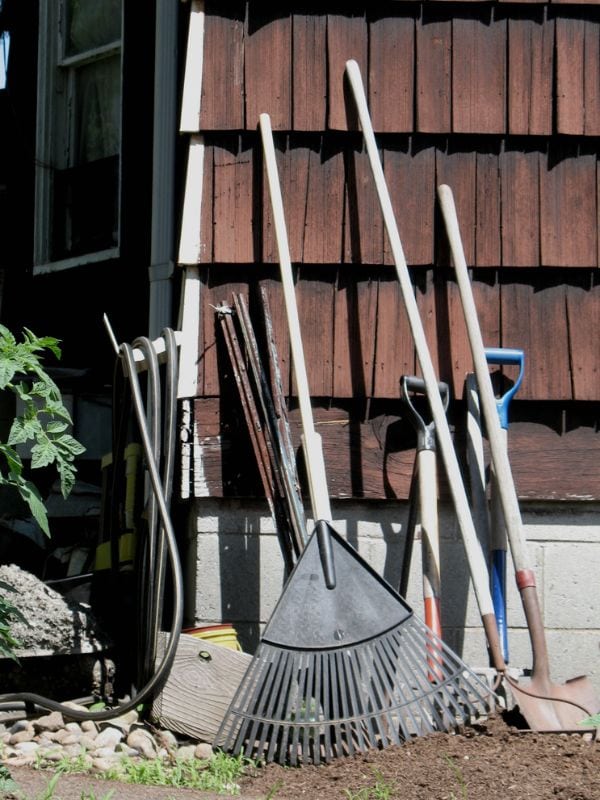
If you did not do it in the fall its important to clean tools and containers to minimize the chance of bacteria, viruses, or fungus spreading to your plants. To set up an efficient spring cleaning I like to do it in simple steps.
2: Take inventory
Now that you have an idea of what you will need for the season, take stock of what you have and what you need to acquire. Start gathering your soil amendments, pots, seedling kits, and seeds.
Take note of what tools you have, and which ones you may need to replace. Most things you can buy from a local gardening store, but in some cases, such as with certain seeds, these may need to be ordered online in advance.
Also, remember later season needs such as fertilizers and insecticides so you can be prepared for extended care.
My early season list includes
3. Clean out the greenhouse
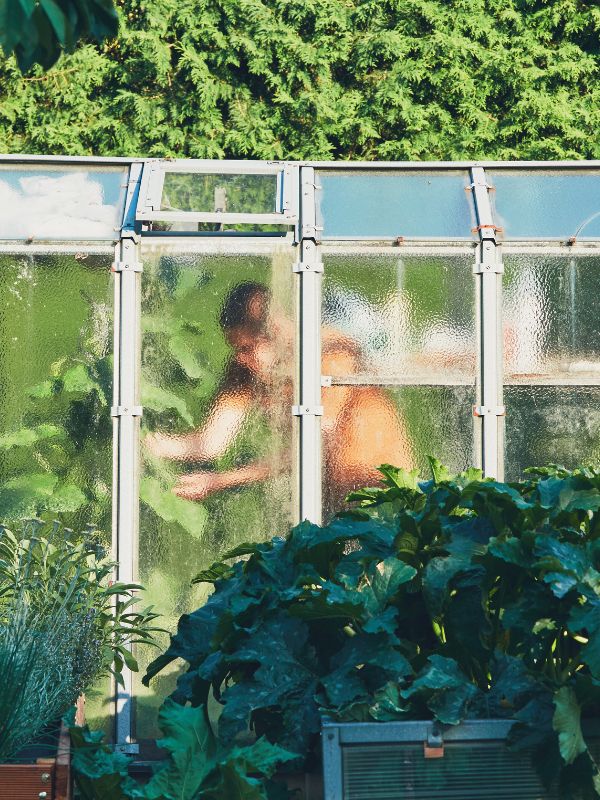
If you have a greenhouse or growing area for newly planted seedlings this is the time to do a deep clean.
Baby seedlings are fragile and susceptible to many diseases and pests. Make sure they are off to a good start by giving them a safe place to grow. I like to sweep out my greenhouse getting rid of any organic debris that has gathered over the winter.
I then wipe down all surfaces with a disinfectant. I have a cement floor in my greenhouse, so I even disinfect that the ground
Prepare your vegetable beds for Spring planting
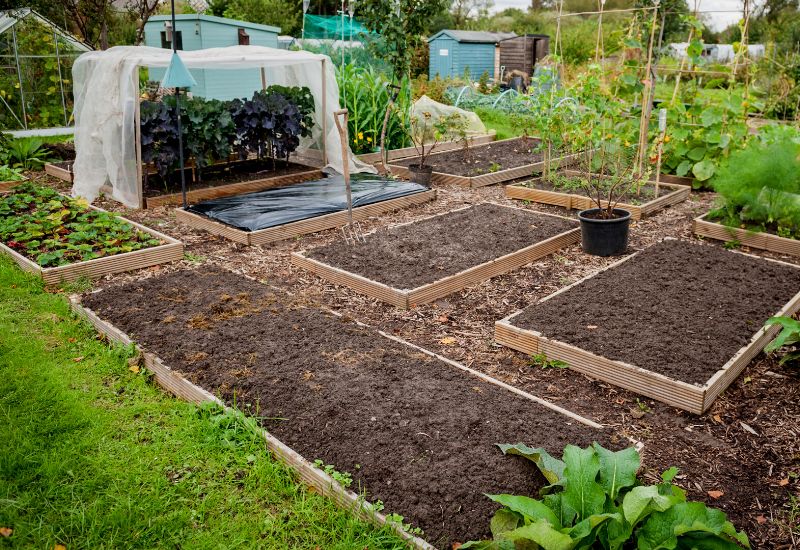
1: Tidy Up By Removing debris ,old plant material And Weeds
A clean garden makes planting easy and straightforward. Increased studies show that leaving debris and plant matter is great for adding nutrients and supplying shelter for beneficial insects in winter but come early spring you can tidy the place up again.
Pruning, trimming back, and raking up debris and plant matter is important part of the garden prep.
I like to till in organic matter that has been sitting on top of my soil all winter long. At this point, I also start to keep my eye out for any weeds. The earlier you pull, the less problem you will have later in the season.
2: Loosen The Compacted Soil
To till or not to till? A question that is brought up again and again. More and more studies and research are showing that no till gardens are just as successful as tilled gardens and may even have healthier soil.
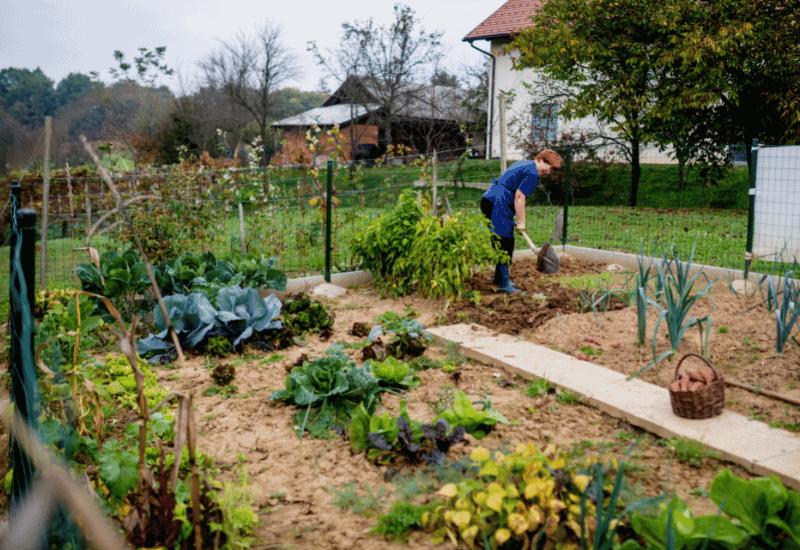
If you have had a healthy layer of compost or organic matter covering your soil all winter, you do not need to fully till.
I personally like to mix the top six inches, stirring the compost, soil, and organic material, creating an aeriated place to plant.
Of course, this all varies with what type of soil you have, and what type of climate you live in. So, it’s always better to learn what is best for your soil in your area before you make the decision to till it or not.
3: Test soil pH level and nutrient content
As well as supplying your garden with the proper amount of nutrients, it is important to make sure the pH of your soil is ready for spring planting. Soil pH can range anywhere on a scale from 3- 8.
It is essential that your soil is balanced, or it plants are unable to uptake nutrients, making your newly added compost meaningless.
There are many options for soil tests kits online, at garden centers, or with your local extension office. Certain regions can have soil that is slightly more basic or acidic. If your soil is slightly acidic, you can add lime.
If your soil has a high pH, then adding sulfur or peat moss can help to lower it. A Ph range of 6.5 to 7.00 is the optimum range to access the primary nutrients of Nitrogen, Phosphorus, and Potassium and is favorable for important bacteria in the soil. Also look at levels of micronutrients.
These are essential to the success of plants, though in too high amounts, they can be toxic. Note that certain plants prefer more acidic soil such as blueberries, azaleas, and hydrangeas.
4: Amend the soil with organic matter
Adding compost to your garden beds might be one of the most important ways you can prep for a successful gardening season. With gardening it all starts with the dirt. If you have good dirt, you have healthy plants, minimal pests, and large harvests.
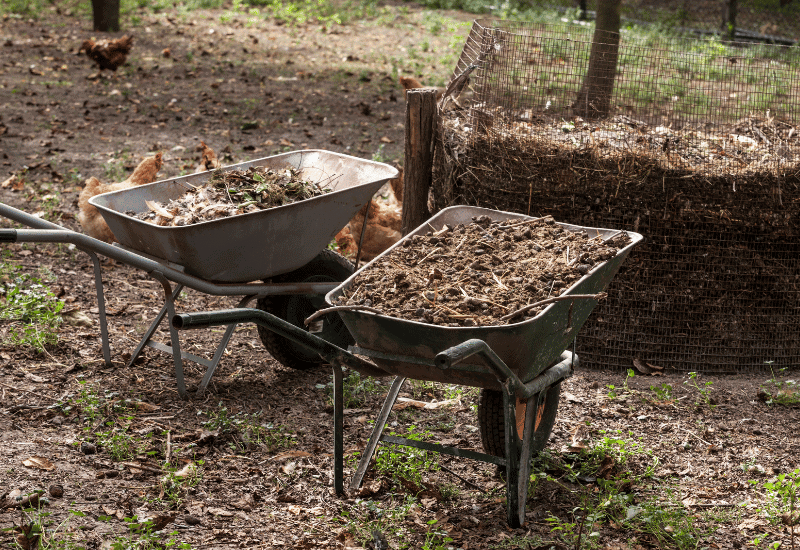
Soil health comes from a combination of microbes and nutrients, which stem from organic material. Even the best soil gets depleted and needs nutrients to be refreshed. I like to add 1 or 2 inches of fresh compost in the fall or early spring, then till it in a week or so before planting.
My compost is a mixture of food scrapes, yard waste, and chicken manure. Chicken manure is extremely hot, so you want to make sure it has composted down completely. If you do not have compost ready to go, many garden centers sell prebagged compost to add to your garden.
My favorite is Glacier Gold. Other options to add nutrients to your soil are earthworm castings and bat guano, and mushroom compost. Many of these are sold at local garden centers.
Get To Know Your Soil
If you have sandy soil, you may want something to help you retain water. Similarly, with heavy clay soil you may want to add something to help you have more drainage. Most of the answers to these problems is more organic material and compost.
However, in some cases adding amendments such as coco coir and peat moss can help your soil keep more moisture.
Give some care to Fruit Trees, Perennial, and Shrubs
Pruning
This depends on what type of garden you are growing, but if you have fruit trees, shrubs, or perennials, early spring can be the best time to prune. Fall pruning can leave your plants wounds susceptible to cold damage in the winter but pruning in early spring/late winter encourages healing and an explosion of growth.
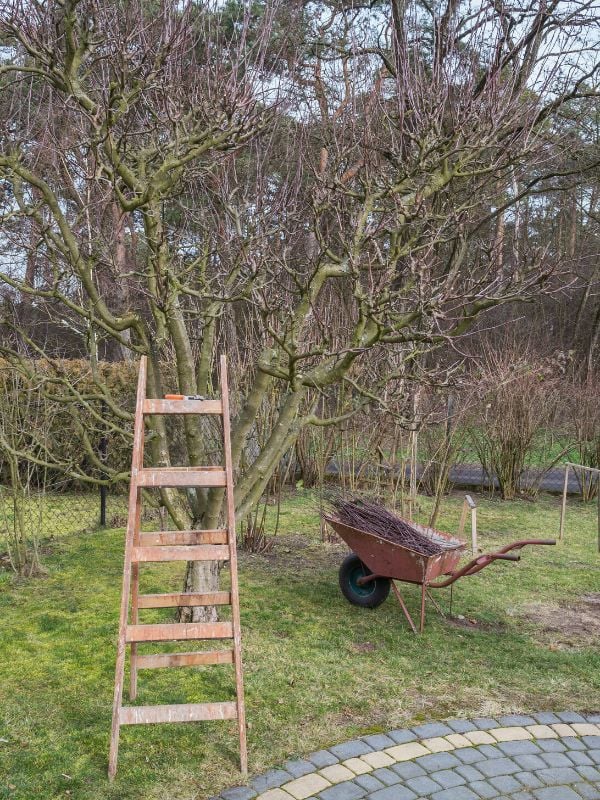
I love to prune my fruit trees during this time, because the dormancy allows me to easily see the tree’s structure.
I also do not have to worry about spreading diseases as much when the tree has no leaves or flowers.
My apple deals with fire blight so as a prune, I make sure to wipe my pruners with bleach between each cut. I also take this time to prune some of my shrubs and raspberry bushes. Remember to remove the 3 d’s: diseased, damaged, and dead.
Also remove any overlapping branches, those that compete with the leader, and any water spouts (vertically growing branches.
Proper pruning can allow for lighter airflow to your plant resulting in a healthier growth and a better harvest.
It is important to remember that though many plants thrive from being pruned during this time, there are a few who do not. These include any spring flowering shrub such as lilacs, forsythia, azaleas, and rhododendron and perennials such as bee balm, hostas, peonies, iris, hollyhocks, and day lilies.
So, wait for a sunny late winter or early spring day, and head out into the backyards with your pair of pruners!
Pest Management
Apple trees and other shrubs and trees can suffer from a multiple insects and diseases. Some of the most common are fire blight, scale, codling moth.
This is a great time to act against these pests before they explode. Early spring can great time to spray trees and shrubs with horticultural oil to smother insects and their eggs in their early stages.
With codling moth, you may have to time the spray after they have laid their eggs for it to be effective.
These are just a few of the steps I like to follow so I can hit the ground running when it comes to spring! To have a successful garden planning and preparation is the key. Be creative, be adventurous, and have fun growing!

Written By
Amber Noyes
Amber Noyes was born and raised in a suburban California town, San Mateo. She holds a master’s degree in horticulture from the University of California as well as a BS in Biology from the University of San Francisco. With experience working on an organic farm, water conservation research, farmers’ markets, and plant nursery, she understands what makes plants thrive and how we can better understand the connection between microclimate and plant health. When she’s not on the land, Amber loves informing people of new ideas/things related to gardening, especially organic gardening, houseplants, and growing plants in a small space.
