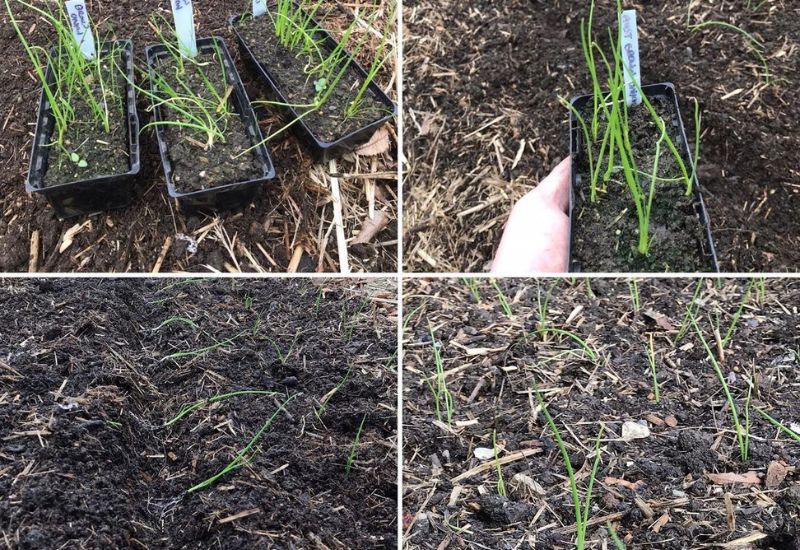
Growing onions from seed is as cost-effective as it is rewarding. Yet the process of transplanting them from a small plant pot to the garden soil can be challenging. Not only do you have to be extremely careful not to damage the tender onion roots, but you also need to make sure the soil in the garden bed they’re destined for is properly prepared. Plus, timing is everything when it comes to moving those little seedlings.
In today’s post, I’m going to walk you through how to separate your multi-sown onions, spot the signs that they’re ready to move, and transplant them without any mishaps. Trust me, these tips are going to be a game-changer for your veggie garden!
Starting Onion Seeds
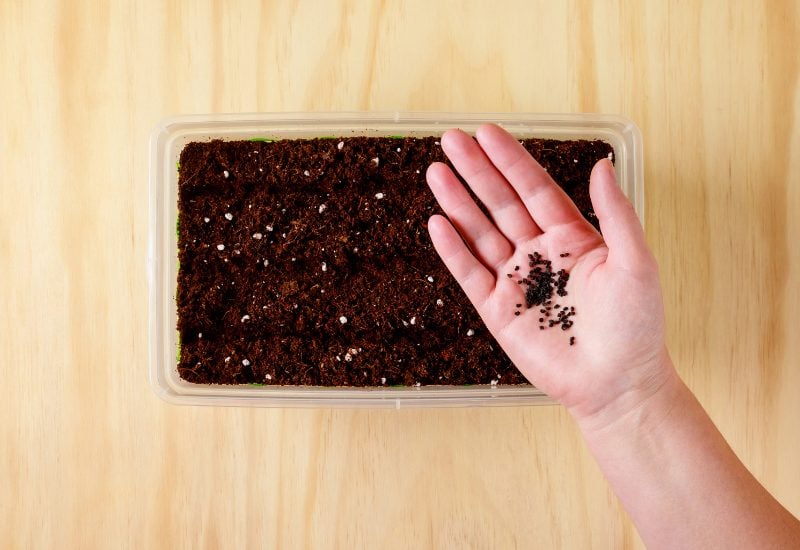
You can start a staggering number of onion seeds in a simple 3-inch plastic plant pot. Their wiry roots do a great job of living next to each other without permanently tangling with each other. This is part of the trap root nature of onions, which varies from a lot of other vegetables that have a mass of delicate hairy roots.
Separating Onion Seedlings
Onion seedlings can look hopelessly tangled at first glance. Yet their wiry tap root seedlings are surprisingly easy to separate for transplanting.
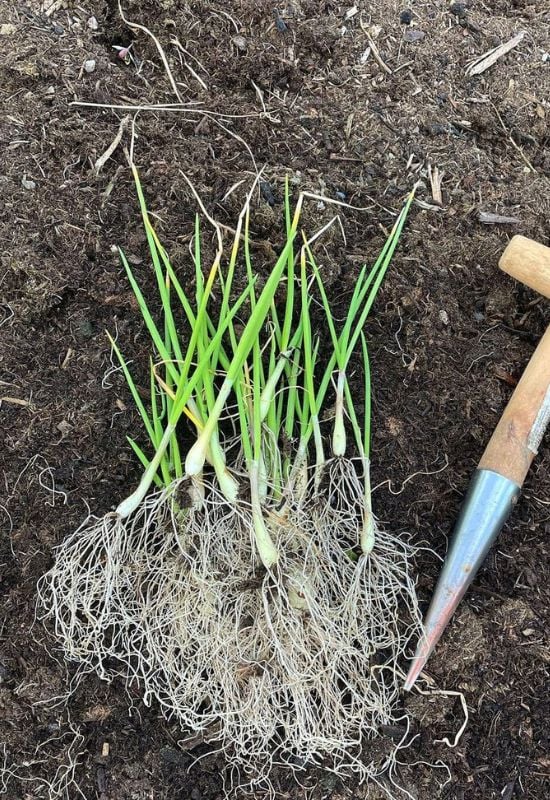
Carefully slip the plastic pot off the root mass. Then roll the soil gently, allowing any soil particles to fall away from the onion transplants.
Eventually one of the onion seedlings at the edge will look looser than the others and you can pull it straight out. One by one you can gently pull the onion seedlings straight out without turning or twisting until you have the majority free from the root mass.
Pro Tip
If there are a few still tangled in the center of the root mass, you can lightly soak them in water for a few minutes. This will help loosen any soil they might be adhering to as well as lubricate the relationship between the tangled root systems.
Preparing the Soil Bed for Transplanting
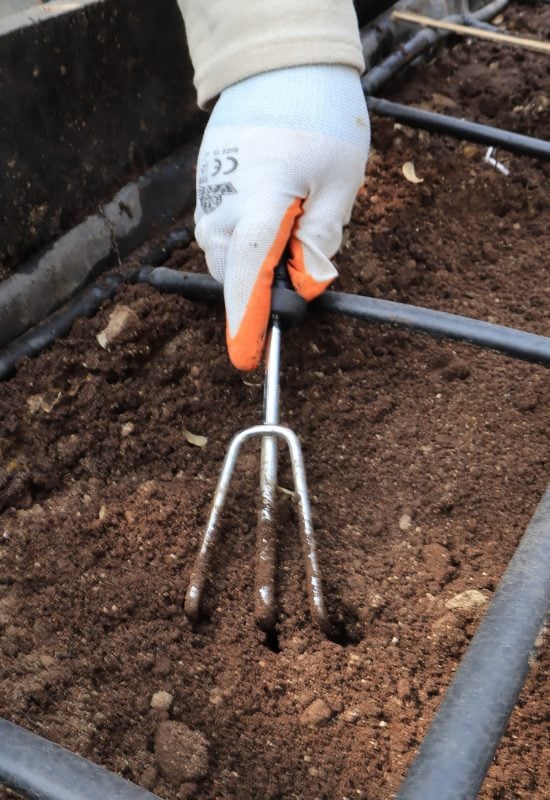
Your onion seedlings will grow best in well-drained soil with a good amount of organic matter and pH between 6.0 and 7.0. Augmenting your soil with a little slow-release phosphorus fertilizer also promotes bulb development.
However, phosphorus isn’t as important for onion transplants meant to be grown for scallions or pearl onions.
Onions also need the soil to be loose. Compact soil inhibits bulb development. So, be sure to vigorously till the planting bed. If you have a lot of clay in your soil, you can augment it with sand or vermiculite.
Transplanting the Onion Seedlings
Traditionally transplanting onion seedlings involved a special tapered tool known as a dibbler. It has measure marks on the side that make it easy to consistently transplant the onion seedlings at the same depth. However, you can easily improvise a simple stick to make the hole.
Transplanting Onions for Large Bulbs
If you’re planning to grow the onions for bulbs, you want to space them 3 to 4 inches apart and make the hole roughly 3 to 4 inches deep.
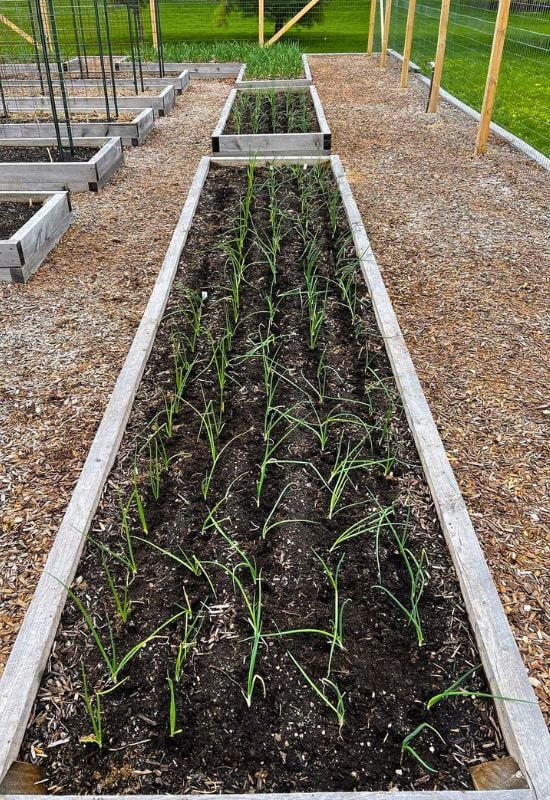
This will allow you to bury the roots pointed straight down where they can access moisture easily in the heat of summer. Then back fill with soil until the white/yellow/red portion of the onion seedling is just barely buried.
Transplanting Onions for Scallions
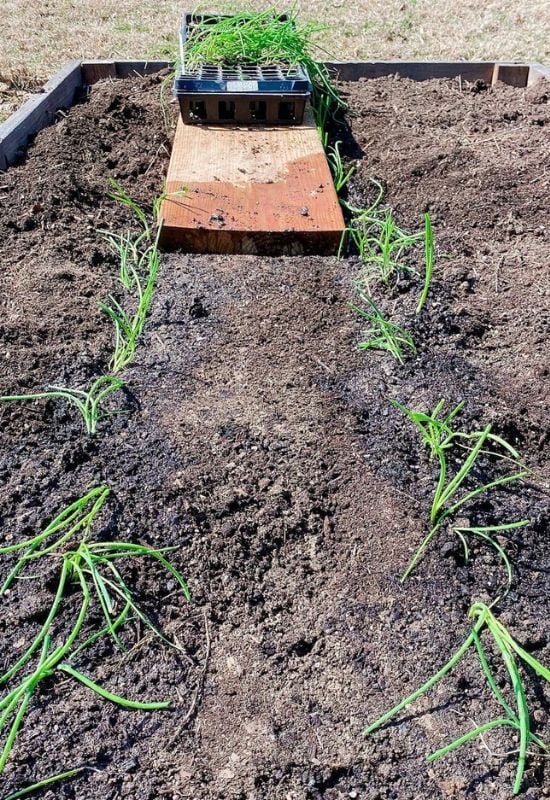
If you’re transplanting onions to be harvested as scallions or spring onions you want to make the holes 5 to 6 inches deep and backfill until 1 to 2 inches of the white/yellow/red portion is buried. This will encourage long, small bulbs that will grow tall before you harvest them in 4 to 8 weeks.
You can transplant onion seedlings for scallions much closer than those grown for bulbs. You can even plant them as close as 1 inch between them if you’re planning to harvest them just as scallions.
If you want some to remain in the soil to develop into pearl onions, it’s better to space them 2 inches apart.
Prune Your Onion Seedlings as Needed
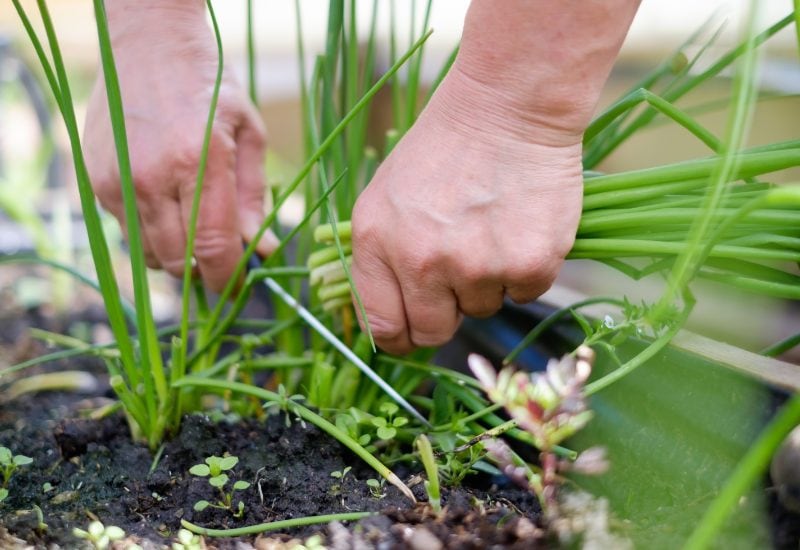
Pruning transplanting onion seedlings is absolutely necessary if any portion of the green top flops over toward the soil.
If the “Neck” where the greens meet the bulb kinks over the top will die and the bulb will stop growing. Mistakenly thinking it’s come to harvest time.
To prune, you need to only cut back a few inches from the section of green that’s tipping over. Roughly 3 to 4 inches at most. Cut it cleanly with a scissors, and the rest of the onion top should continue to grow vigorously.
You might need to continue periodically pruning your onion tops as the season goes on.
You can always use the pruned portion as a chopped garnish or an improvised substitute for chives.
Conclusion
Transplanting onion seedlings from a small 3-inch plating cup is easier than you might think. You just have to roll them gently to loosen the soil and slowly pull them straight out of the root mass.
You can then plant them into soil that’s been vigorously tilled and amended lightly with a time-released phosphorus fertilizer. This promoted root/bulb growth for a great harvest in late summer through the fall.
If your onion transplants bend over to the point of the green tops touching the soil, you’ll need to prune it back. If the base of the tops crimp over, the green portion of the onion will die back and the bulb will stop growing, needing to be harvested.

Written By
Amber Noyes
Amber Noyes was born and raised in a suburban California town, San Mateo. She holds a master’s degree in horticulture from the University of California as well as a BS in Biology from the University of San Francisco. With experience working on an organic farm, water conservation research, farmers’ markets, and plant nursery, she understands what makes plants thrive and how we can better understand the connection between microclimate and plant health. When she’s not on the land, Amber loves informing people of new ideas/things related to gardening, especially organic gardening, houseplants, and growing plants in a small space.
