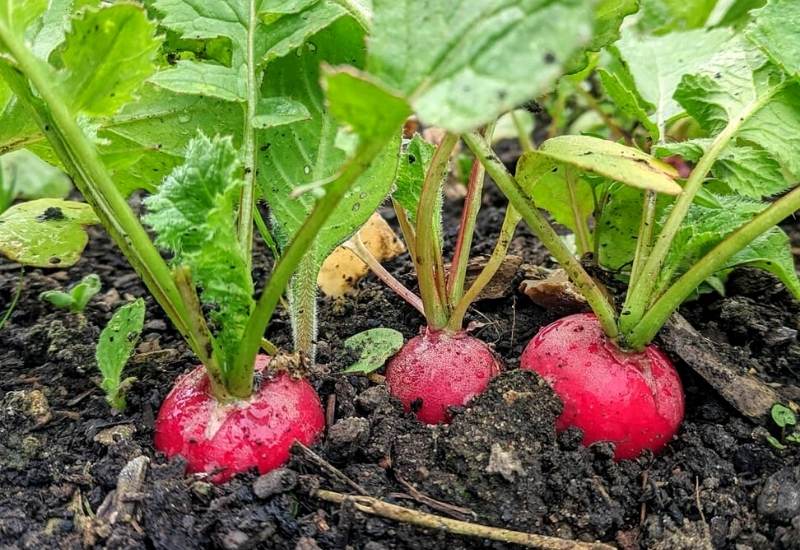
Radishes are one of the easiest, quick-to-harvest cool weather vegetable seeds you can plant in your garden.
Like most root vegetables, radishes are a biennial, meaning they will bear seeds the second year if left in the ground over winter.
They thrive in cool weather and they grow very fast, so they can be one of the first vegetables ready to eat from your garden in the spring.
Radishes are typically divided into two categories: spring radishes and winter radishes. The spring varieties are what most people associate with radishes.
They are small and either round or oblong, have white flesh and red skin, but black varieties are also popular.
Winter radishes, such as the daikon, are large roots that are long and tapered, often reaching 30 cm to 38cm (12 to 15 inches) in length and 6 cm to 8cm (2.5 to 3.25 inches) in diameter.
A mainstay in Japan, they are grown like the more common spring radish, except they are usually planted in the summer and left in the ground into the early winter.
In this article, we will learn how to grow the common spring radish from seeds, but you will be able to apply this knowledge to grow the winter radish.
Let’s take a look at how to sow, cultivate, and harvest grow radishes from seed in your garden.
Plant cultivation and history
It is believed that the radish originated in Southern Asia where wild versions still flourish. This edible root quickly spread throughout the ancient world and was a popular dish among the Greeks and Romans.
The ancient scholar Herodotus claims that the “radish” appears on ancient Egyptian pyramids in the 3rd century BC, but historians have discredited these claims since Herodotus could not read hieroglyphics.
Regardless, the radish has been enjoyed in culinary dishes for thousands of years, and it is as popular today as it was in antiquity.
Here’s how to grow the best-tasting, healthiest radishes around from seeds.
Planting Radishes
Radishes are one of the most fast-maturing, versatile, easy vegetable to grow from seeds! They are one of the first seeds to put in the garden, and one of the first to be harvested. Because they grow so fast and so well, they are best grown from seeds planted directly in the garden.
1: Where To Plant Radishes?
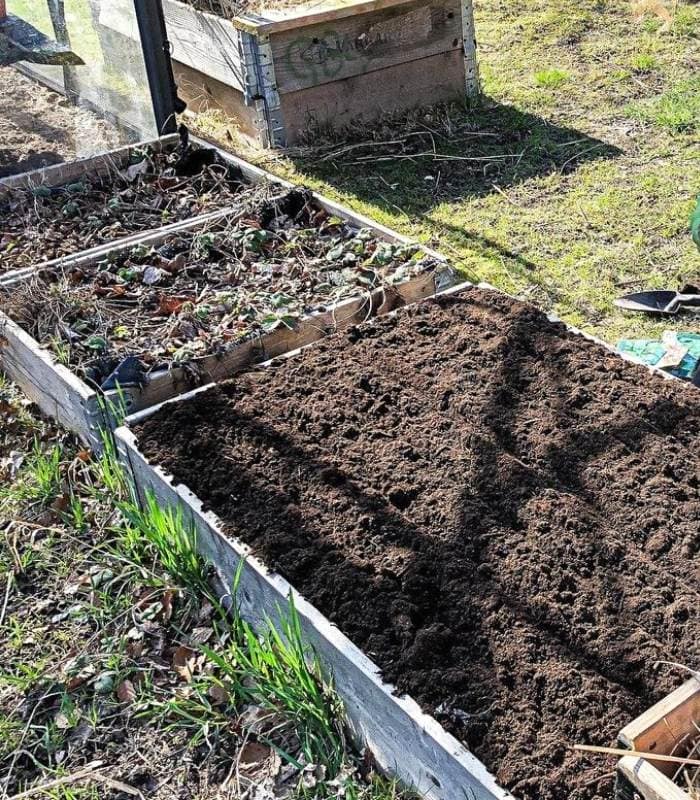
When growing radishes in the garden, choose a nice sunny spot. Radishes grow best in full sun (at least 8 hours of sunlight a day), but also do well in partial shade.
If you are planting your radishes in mid-summer, consider choosing a more shaded spot as they are a cool-season plant and do not do as well in the heat.
Before planting, add a good amount of compost or well-rotted manure to your bed to feed your radishes as they grow. The added humus will improve water retention and aeration in the soil, and keep the soil nice and loose for the developing roots.
Work the soil so it is a nice fine tilth. Remove any large clumps or debris which can impede growth and deform the roots. Radishes prefer a soil pH of 6.0 to 6.8, so add amendments accordingly.
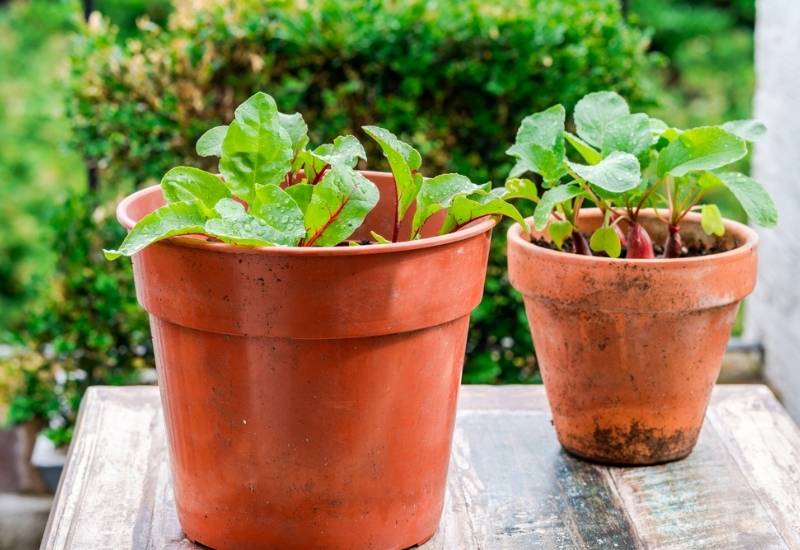
Container Growing Radishes: Radishes grow well in containers or in the garden. When planting in containers, make sure the pots are at least 15 cm (6 inches) deep to provide enough space for the roots to properly develop.
Even though the root itself is fairly small, you want to have enough depth to accommodate the long taproot. Fill the container with a mix of potting soil and compost, or use soil from your garden as we discuss below.
Place the pot in a sunny spot and keep them well watered (remember, the soil in pots dries out faster than it does in the garden).
2: When to Plant Radishes?
Radishes can be grown at any time during the growing season. Sow seeds every 2 weeks or so beginning before the last spring frost until about three weeks before you expect frost in the fall.
Radishes grow best in the spring and fall, so extra care might be needed during the heat of summer. Long hot days can result in small roots and can cause the plant to bolt and go to seed.
Radishes germinate best with a soil temperature of 18°C to 24°C (65°F to 75°F) and they should emerge in 5 to 7 days.However, radishes can be planted quite early in the spring.
We generally put in our first planting about 3 to 4 weeks before the last spring frost and the seeds still germinate before everything else.
Most radishes are ready for harvest about 25 to 30 days after the seeds emerge from the ground. Much past this and they can become dry, woody, and bitter. This is why it is good to plant a few seeds every few weeks.
3: Planting and Spacing Radishes
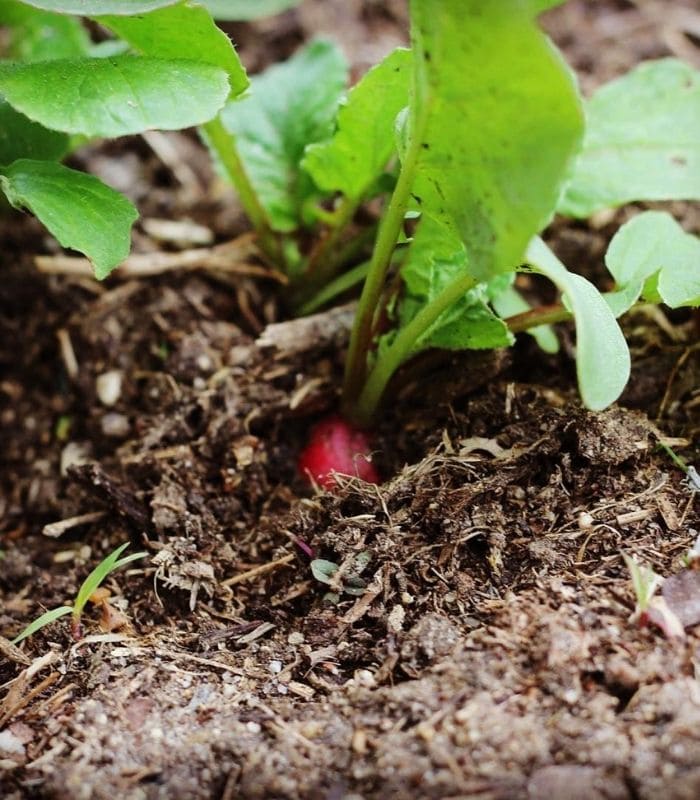
How far apart to plant your radishes will be determined by your variety and how big the roots will grow. We generally plant our radishes about 2.5 cm to 5 cm (1 to 2 inches) apart, in rows that are spaced 30 cm (12inches).
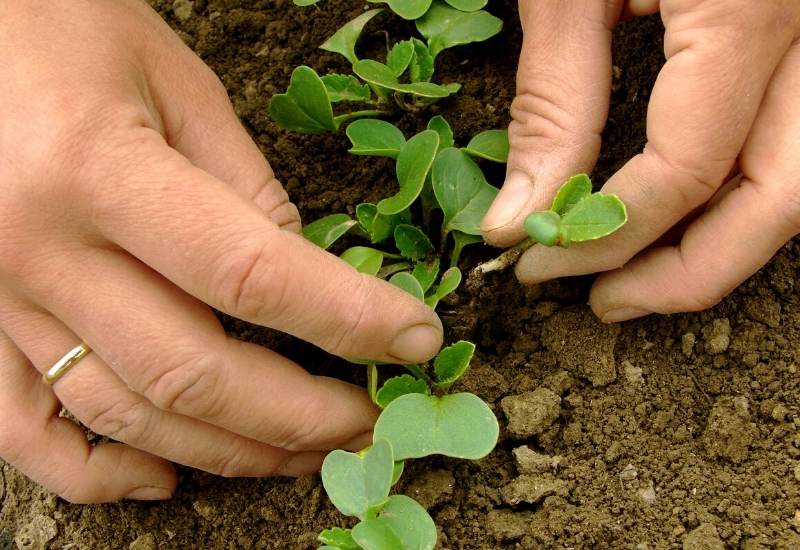
Most seed companies suggest sowing the seeds close together and then thinning them after germination, but we find this is often unnecessary since radish seeds have a fairly high germination rate (usually about 80%).
Remember that winter radishes can grow quite large, so make sure you space them accordingly.
4: How To Sow Radish Seeds
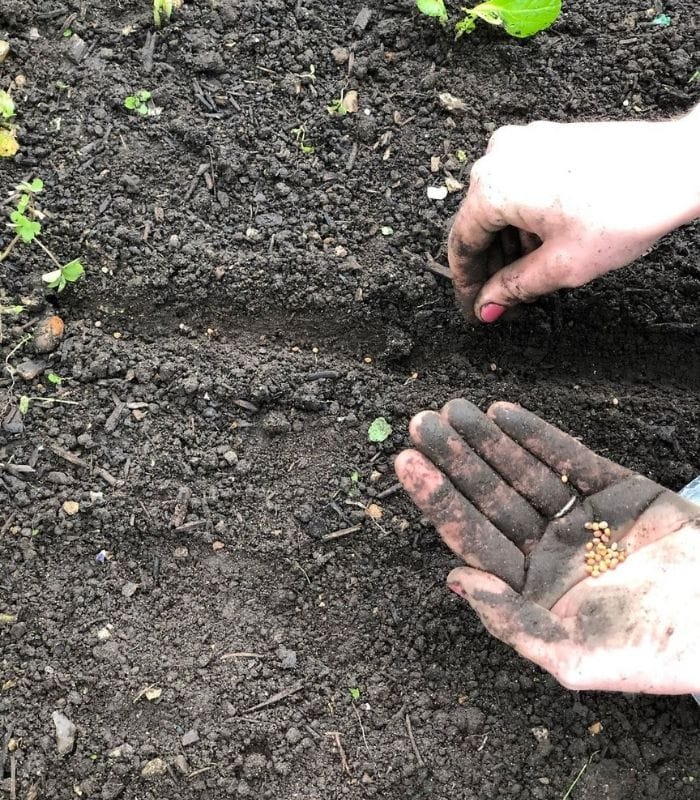
Make a shallow trench in the soil, about 5mm to 10mm (1/4 to 1/2 inch) deep.
Place the radish seeds in the trench and lightly cover them by filling the trench back in.
5: Companion Planting
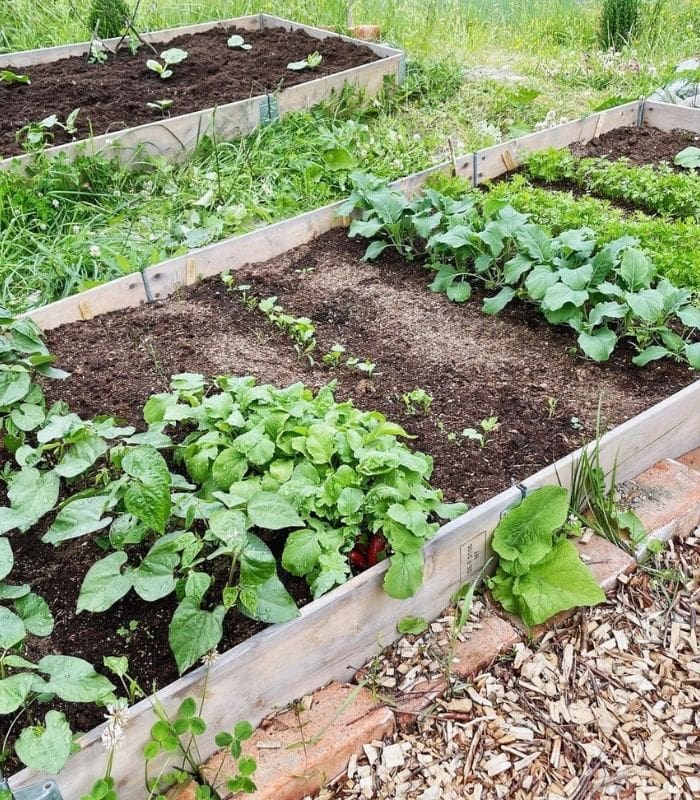
Radishes can be grown with many different vegetables, such as beans, beets, cucumber, herbs, parsnip, peas, greens, squash, and tomatoes.
Instead of planting radishes in their own rows, our preferred way to grow radishes is to sow them in rows with other vegetables.
This avoids monocropping which helps avoid diseases and pests, and the fast germinating radishes mark the rows allowing you to weed before the other crop has emerged.
This works particularly well with slow-germinating vegetables such as carrots, parsnips, green onions to name a few.
Besides being natural row markers, radishes can have other benefits for your garden. Remember how radishes will bolt in the heat?
Leave a few of your radishes in the garden to fully mature. The beautiful flowers will attract copious amounts of beneficial predator insects which will keep undesirable bugs from invading your garden.
The flowers will also attract pollinators such as bees and hummingbirds. Once the flowers have faded, seed pods will form which can be harvested, dried, and sown in the garden next year. These seedpods are edible, and I actually prefer the taste of them over the radish root itself
Caring For Radishes
During their short growing time, radishes need little care. Here are a few things to watch for, however, so you will get the best harvest possible.
1: Watering
The amount of water your radishes get can affect how “hot” they are. Too little water results in slower growth which can make them spicier, whereas adequate water will help them grow quickly and have a milder flavour.
Lack of water can also cause your radishes to become woody. But be careful not to overwater as this can cause the roots to rot. Adding an organic mulch, such as straw, can help retain moisture in the soil without the danger of overwatering.
2: Do Radishes Need Fertilizing?
Because they grow so fast, it is usually not necessary to feed your radishes before harvest.
Your best bet is to start them off right with a good dose of compost in the soil and they should be well fed for their few short weeks in the garden.
Common Problems with Growing Radishes
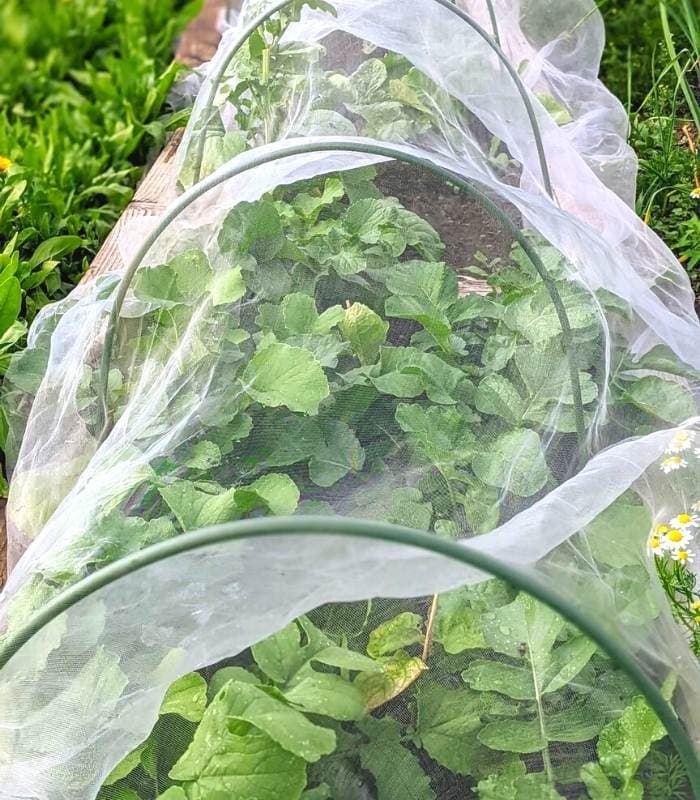
Despite their short growing season, there are many diseases and parasites that can infest your radishes. The best ways to protect your radishes are to rotate your crops, avoid monocropping, add compost, remove infested plants, and use floating row covers.
Crop rotation (planting radishes in a different spot of the garden each year) will keep diseases and fungi from building up in your soil. For best results, don’t plant radishes in the same spot for around 3 to 4 years.
Monocropping creates an all-you-can-eat buffet for diseases and insects. Planting your radishes with other vegetables and companion plants creates a healthy environment and a single pest won’t be able to take over.
Since most diseases and fungi like damp environments, adding compost will improve drainage and keep your soil from becoming too wet. The compost will also introduce beneficial bacteria which will keep the bad stuff from taking over.
Make sure to remove any sick or infested plants immediately to keep the issue from spreading. Do not put them in the compost or you can reintroduce the issue next year.
To combat invading insects, you can place floating row covers over your crop. This will shield your plants, and stop the bugs before they even reach your radishes.
1: Common Diseases
There are, unfortunately, many diseases that can affect your radishes. Thankfully, they can often be eliminated by following the suggestions above. Here’s how to identify the main diseases that your radishes will encounter:
2: Common Pests
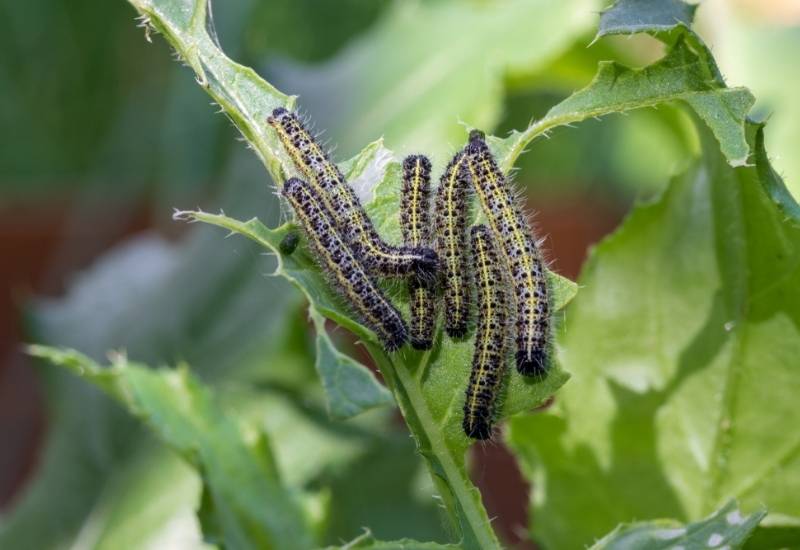
Bad insects will invade your garden from time to time. As well as the ideas above, spreadin diatomaceous earth around your radishes can help eliminate many unwanted bugs (but be careful you don’t hurt the good bugs in the process). Here’s how to identify the most common invaders.
Recommended Radish Varieties To Grow
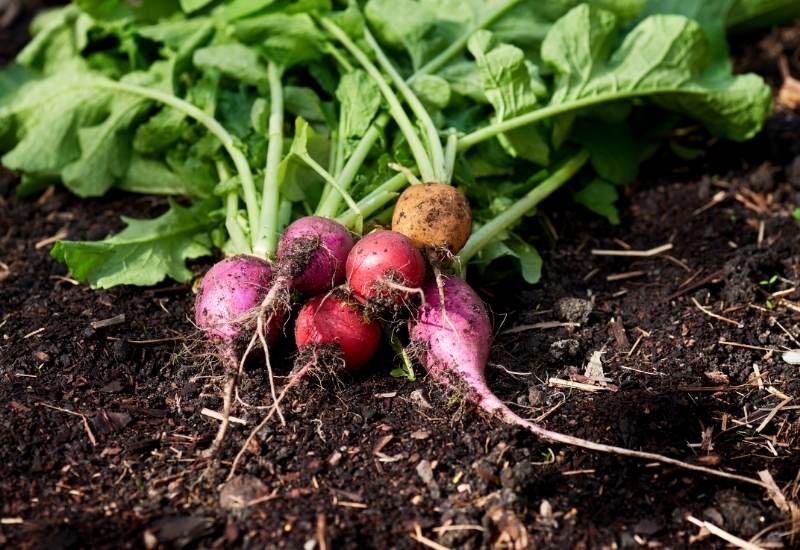
There are many different radish varieties to choose from. Here are a few suggestions:
How And When To Harvest Radishes
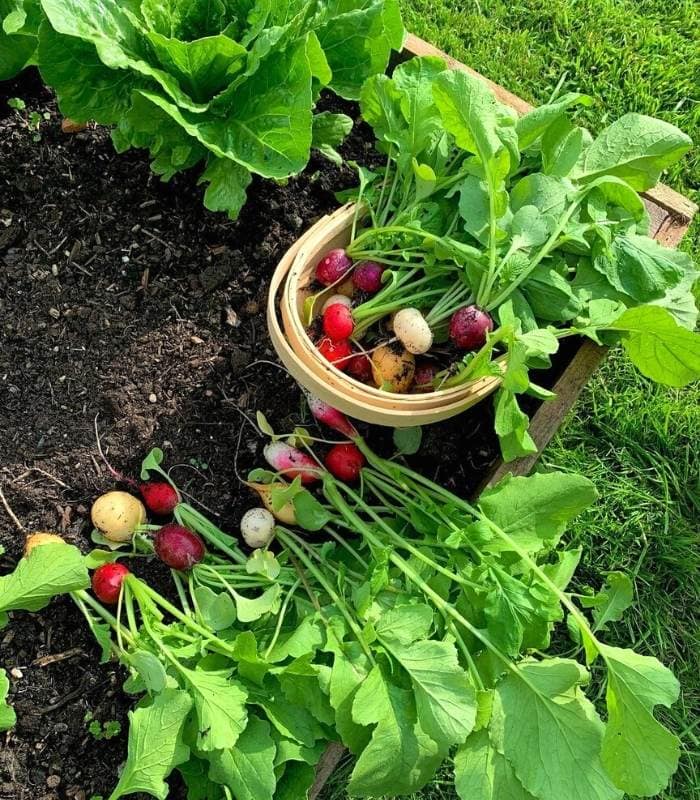
On average, most radishes are ready for harvest in 20 to 30 days, or when they are about 2.5cm (1 inch) in diameter though this depends on the variety you are growing.
Follow these simple steps to successfully harvest your radishes:
And don’t forget to leave a few radishes in the garden to produce edible seed pods that have a mild radish flavor.
Storage
Radishes can be stored in the fridge for several weeks.
Conclusion
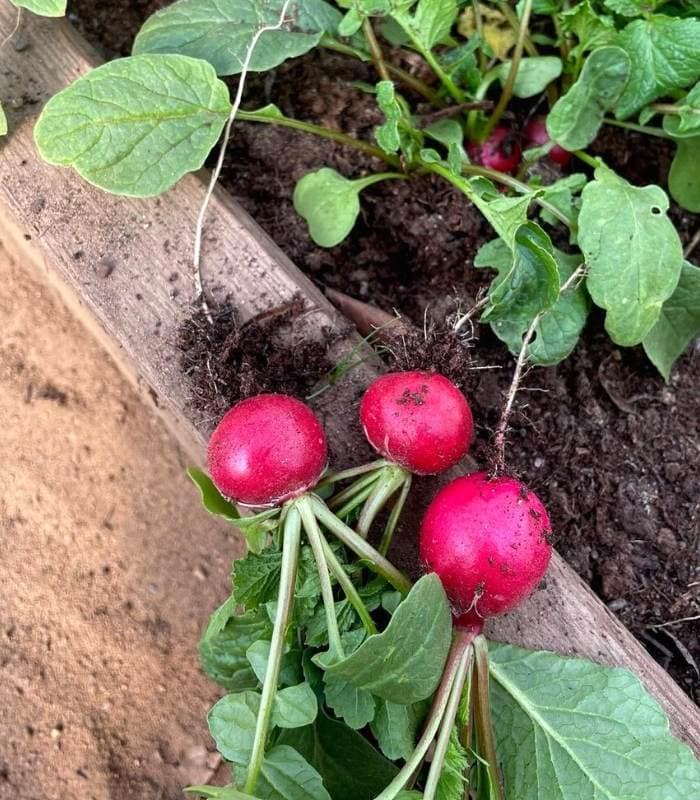
Radishes are an amazingly easy vegetable to grow. They will grow in most climates and almost every garden.
You can usually just throw the seeds in the ground and produce a spicy harvest a few weeks later.
They make a great addition to salads and go great with dips.
Many people have been turned off radishes by the hot and bitter ones from the grocery store, but the homegrown radish will convert the staunches anti-radish advocate into a radish-eater.

Written By
Amber Noyes
Amber Noyes was born and raised in a suburban California town, San Mateo. She holds a master’s degree in horticulture from the University of California as well as a BS in Biology from the University of San Francisco. With experience working on an organic farm, water conservation research, farmers’ markets, and plant nursery, she understands what makes plants thrive and how we can better understand the connection between microclimate and plant health. When she’s not on the land, Amber loves informing people of new ideas/things related to gardening, especially organic gardening, houseplants, and growing plants in a small space.

Thank-you. Your info was very helpful…..
Hi Amber,
I have never had problems growing healthy radishes but this year they don’t seem to want to bulb up, just spindly roots. I have tried 2 lots but same outcome. I am using the same planter boxes as before although I have topped up with a different potting mix.
Can you suggest how to fix this?
Thanks
Peter
If you grow radishes in areas with lots of rainfall in the spring, the soil may get heavy and waterlogged which can make the plant stop producing bulbs. Also take care not to add too much nitrogen to the soil, since this will promote leafy tops instead of bulbs. Soil pH can be another reason for a lack of bulbs.