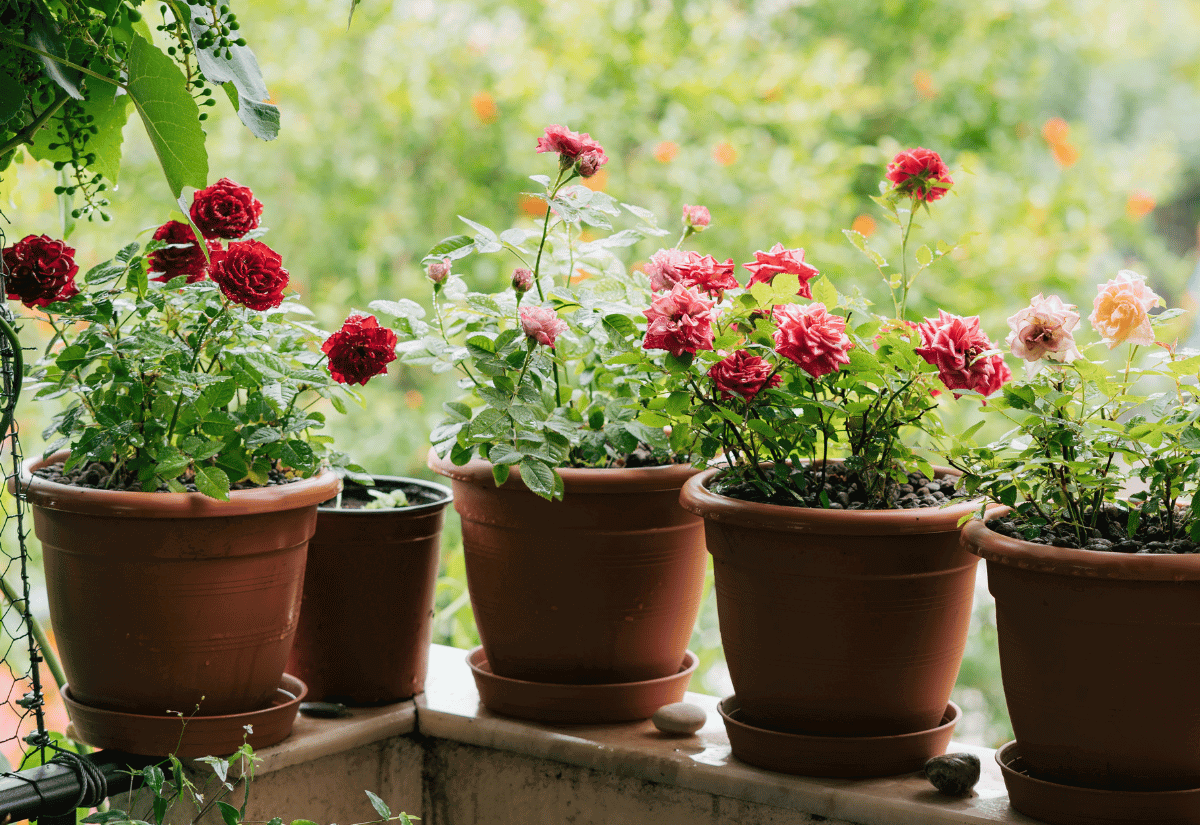
Ah, roses! The epitome of romance and sophistication, these blooms grace countless gardens with their undeniable charm. You don’t need a sprawling garden to enjoy its enchanting beauty and delicate fragrance.
Even if you’re working with a small balcony or a modest windowsill, growing roses in pots is entirely possible. You just need to pick the right varieties and know how to care for them.
While taller roses are more suited for planting in the ground, more compact and moderately sized varieties adapt beautifully to life in containers and pots, just like they would in open gardens.
This means you can still experience their gorgeous, fragrant blooms on terraces and patios, even if you live in a colder climate where winter shelter is necessary.
Whether you’re keen on growing charming shrub roses or enchanting climbers, many varieties can flourish in pots as long as they’re not too large and you’re prepared to give them their fair share of attention they need.
But let’s be honest – roses, especially those grown in containers, are anything but low-maintenance. Growing container roses is a specialized and complex craft with essential steps to follow. From planting and pruning to deadheading, fertilizing, and beyond, you’ll need to stay vigilant in their care.
But don’t worry! Our step-by-step guide to growing roses in containers will lead you on this mesmerizing journey.
It’s a lot, but I promise you that you will go through all this in detail, in easy-to-follow steps, and even having fun! Yes, because we put together the best guide to growing roses in containers ever!
So, let’s dive in, and together, we’ll embark on the delightful adventure of growing roses in pots, and soon you’ll be surrounded by their heavenly fragrance and captivating charm!
How to Choose Your Rose Container
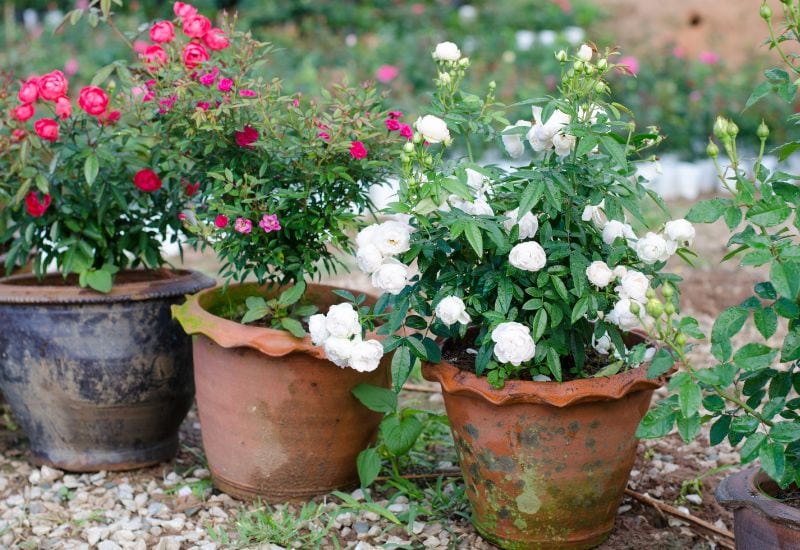
The choice of the container is very important because your rose’s health may depend on it! A rose is a time and even money investment, and you don’t want to see it all ruined because the container is not good enough! And what makes a pot ideal for a rose? Three things mainly…
Choose Rose Varieties For Pots For A Beautiful Container Garden

If you think that any rose will grow well in a container, think again! You need to select the variety carefully, and there are some important guidelines you need to follow. Here they are…
The question is, “Where can you find all this information”?
Research Your Rose Variety Before You Buy It
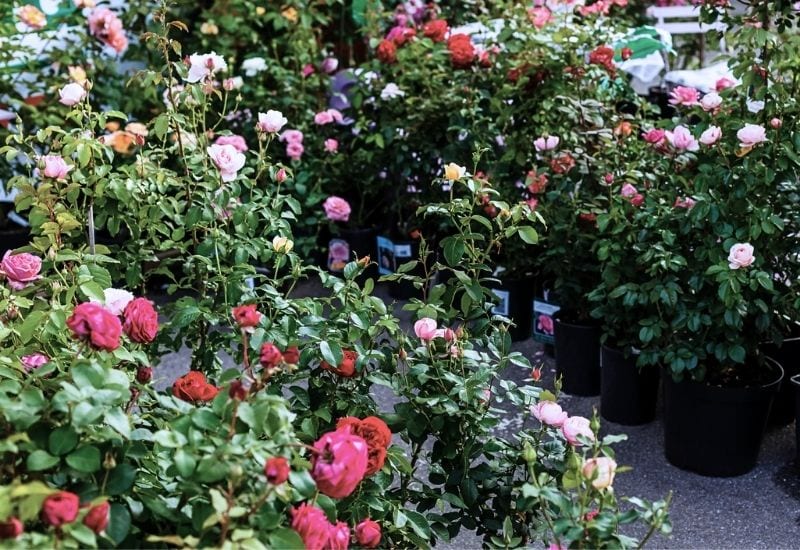
I know, going to a garden center, falling in love with a rose and taking it home is the stuff of dreams… In fact, but these can turn into nightmares if your chosen plant does not adapt well to the place you offer…
By all means, go and check all the varieties available in local retailers and even nurseries if you can. But don’t rush! Think about choosing a rose like choosing a puppy or a kitten. You want the right match for you.
So, note down the names of the roses you like and then do some research. How?
The better you know your rose before planting it, the more successful you will be – but let me add that your experience will also be much more rewarding and even fun! That is, on condition that you choose a healthy plant!
How to Choose a Healthy Rose to Grow in Containers
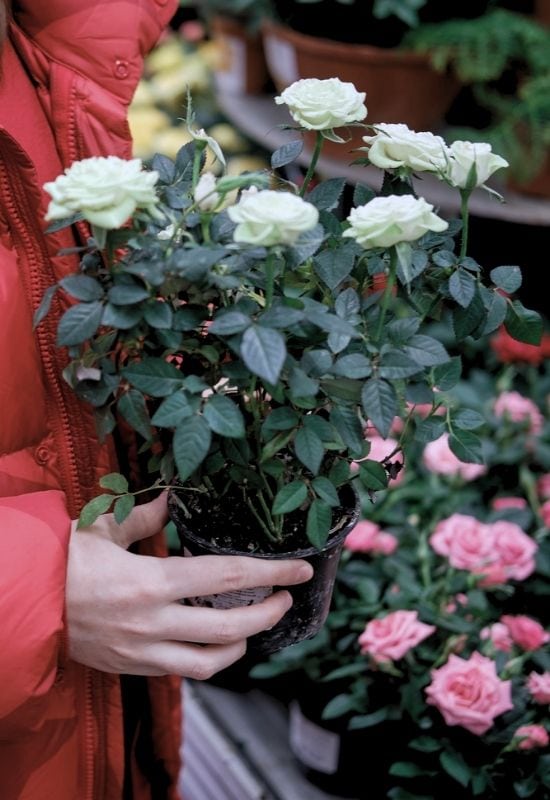
Roses are delicate and disease prone plants, so select a very healthy specimen to have a great start. Nothing is more upsetting than buying a new thorny shrub to see that the leaves start turning brown and the new buds “freeze” before even opening…
There are some tell tale signs that the plant you are about to take home is, or is not in good health, and I am happy to share them with you.
So, make sure you have a strong and vigorous plant to start with, but you also want a rose “in shape” and I mean it literally.
Choose a Rose with a Good Shape!
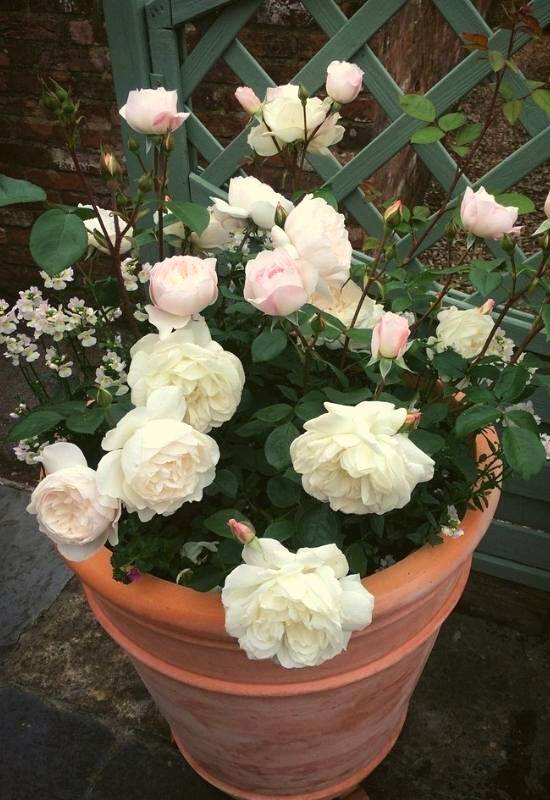
You can tell a real gardener from an amateur from how he or she recognizes a well shaped rose. It’s weird that people are mostly ignorant of what the world’s favorite shrub should look like!
Abs going around gardens in suburbia, you can see the damage this ignorance causes…
There are two basic shapes for roses, and we will look at them separately: basket shrubs and climbers. Ok, I gave you a clue…
Choose a Well Shaped Basket Shrub Rose
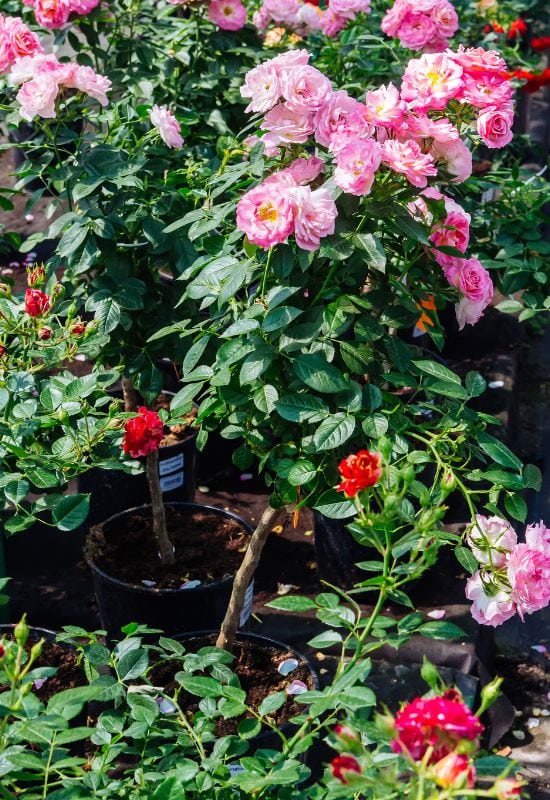
A rose shrub must look like a basket; keep this in mind, because it is the basic concept for pruning them too. What do we mean?
Reshaping a rose is hard if it already has a bad shape as a small plant. And now you know what to look for in a well formed rose shrub. But how about climbers and ramblers?
Choose a Well Shaped Climbing or Rambling Roses
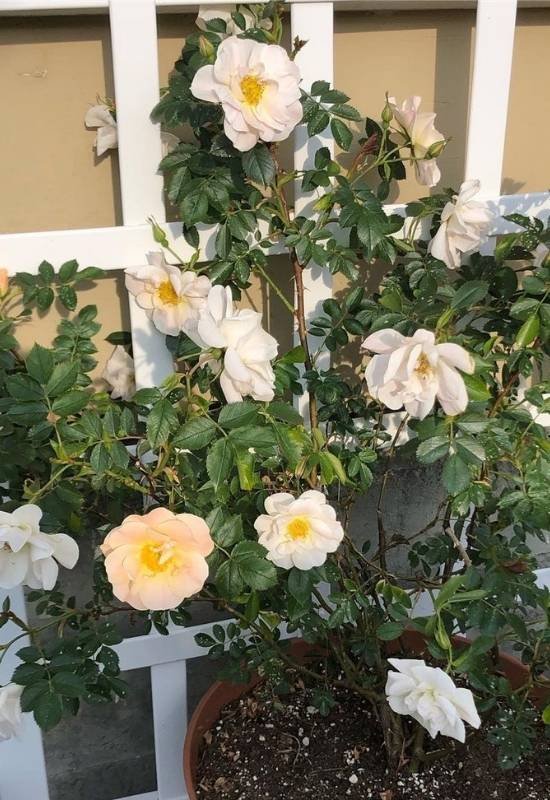
Rambling roses are less suitable for containers, but small climbing ones are, and they top need to be in good shape. If you have a large container and lots of floor or ground space, you may choose a rambler. Instead, short climbers can easily fit in containers. In both cases, however, you want a plant that has good potential. So…
The shape of rose plants is important, but so is the size when you buy them.
Choose a Fair Sized Rose Specimen
How big should the rose you choose to take home and grow in a beautiful container? It depends…
And do you know that sometimes you buy two roses, not one? It’s a teaser!
Grafted and Non Grafted Rose: Which is Better?
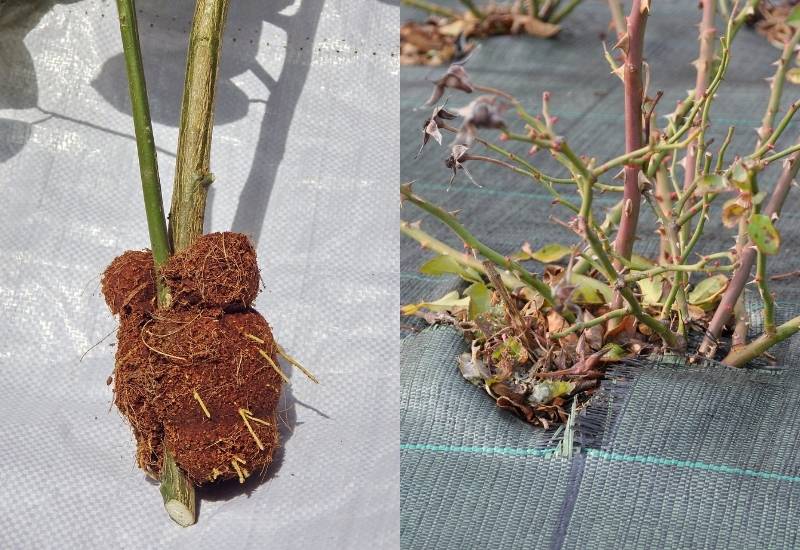
Some roses are sold as grafts on a “root stem”; basically you get a plant that grows on top of the other. The one with the roots is usually a stronger and more vigorous variety, while the ones on top, those that will give you the flowers, are a weaker cultivar.
The less vigorous variety will get the strength of the root stem. So, if you see that the rose you are buying is “in two parts”, don’t worry. It does not mean that it had an accident.
Do make sure that the “scion”, the new plant grafted on top, is healthy and strong and vigorous. Look for new leaves, stems and branches! It means that the graft has worked.
Equally, if the rose is not grafted, don’t panic. It usually means that the variety is strong enough to cope on its own. And grafted roses tend to cost more than others… and talking about money…
How Much Should You Pay for a Container Rose?
If you are lucky and you have friends who can give you a healthy container rose, you may even get it for free. If you want a super rare variety, then get ready to ask for a bank loan… Well, the most expensive rose ever, David Austin’s cultivar ‘Juliet’ sold for $15.8 million!!!
Ok, I guess you were aiming for something cheaper… but for a good quality rose, expect to pay in excess of $20 and you should be ready to go past $50 and up to $100 for new and sought after cultivars.
If you still need some ideas about which rose to choose, we have an article with the very best 14 roses to grow in containers to help you!
Great! Now you know which rose to pick… It’s time to take your thorny baby home now!
How to Take Your Rose Home
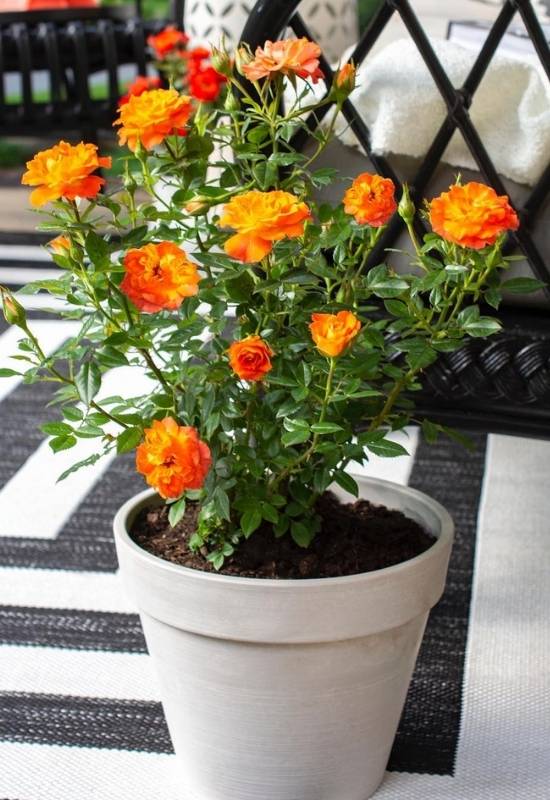
Make sure that the plant is safe during the journey home. Try to avoid bumps and high speed, when roses shake, they may lose foliage but they can also harm themselves with their own thorns! They scratch their own branches and these wounds very often become infected.
So, make sure your rose is fastened and safe. Also avoid very hot hours in summer; morning or evening are better for a road trip, especially a long one. But even after you have safely brought it home, you need to be very careful…
How to Lower Stress After You Take Your Rose Home
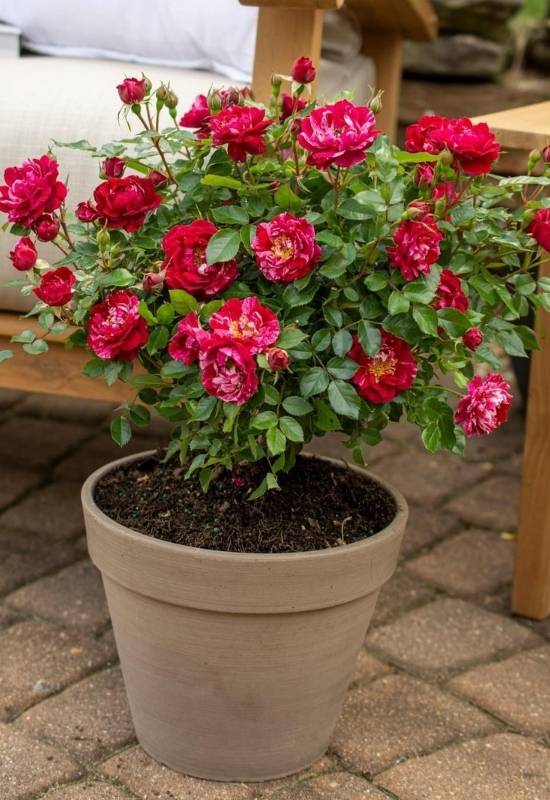
We said that for roses “relocation” is a source of stress, remember? When you take it home, you need to be quite careful.
Typically, the rose will slow down its growth, and in some cases it may stop altogether for a couple of weeks. If it has flower buds, they may even die before they open.
This is nothing unusual; you have done nothing wrong. But you can “soften the blow” to your new friend…
Once the rose has started growing again, you can move it to a more permanent position, or you may repot the plant if necessary, but how? First of all, get the correct potting mix for them.
How to Prepare a Good Potting Mix for Your Container Roses
A good start is to use organically rich potting soil; humus or compost based mixes are best. Two thirds generic potting mix and one third compost is ideal for roses. But they will go through it faster than you think unless you feed them frequently.
You can use garden soil too, as long as it is very well drained and super fertile, which means rich in organic matter. If you do, roses prefer loam, but they will adapt to clay, chalk and sand based soil too.
Do remember though that in a pot, your rose cannot draw food from far away, so, keep improving the soil with organic matter and fertilize regularly. And this is key to their happiness and your success.
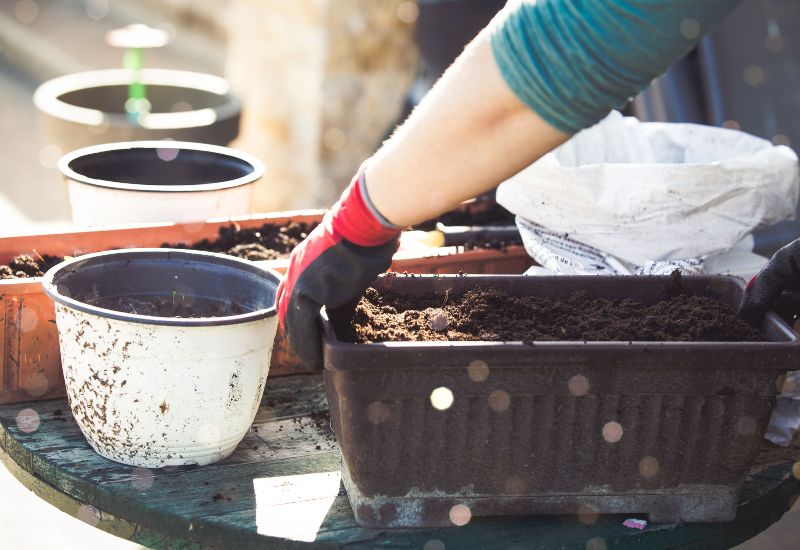
Roses in containers require very rich soil, so make sure you use:
Do make sure you mix them well. And don’t forget to mulch the soil abundantly (2 to 3 inches, or 5 to 7.5 centimeters) once the roses are in place.
How about if you don’t have potting soil, or / and you want to use garden soil, you are in luck…
We will talk about how to keep the soil fertile by feeding your roses regularly, but now you have made the potting mix, you can start repotting them…
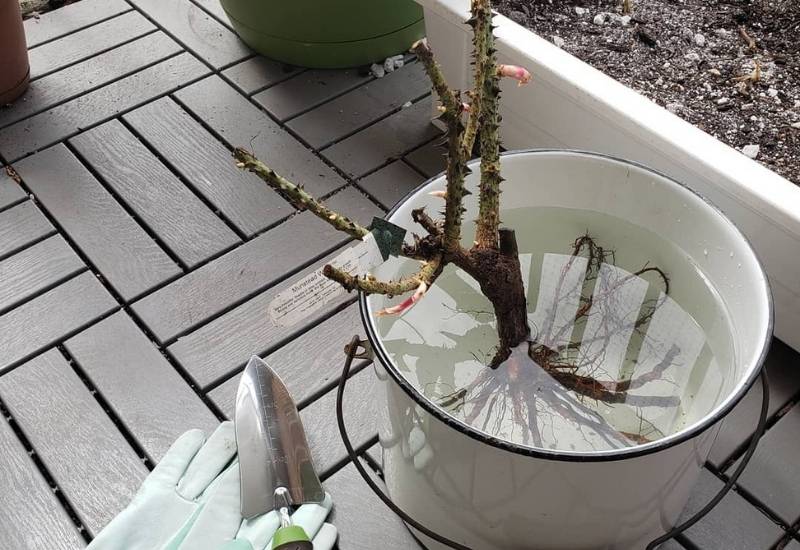
How to Repot Store-Bought Roses In Containers
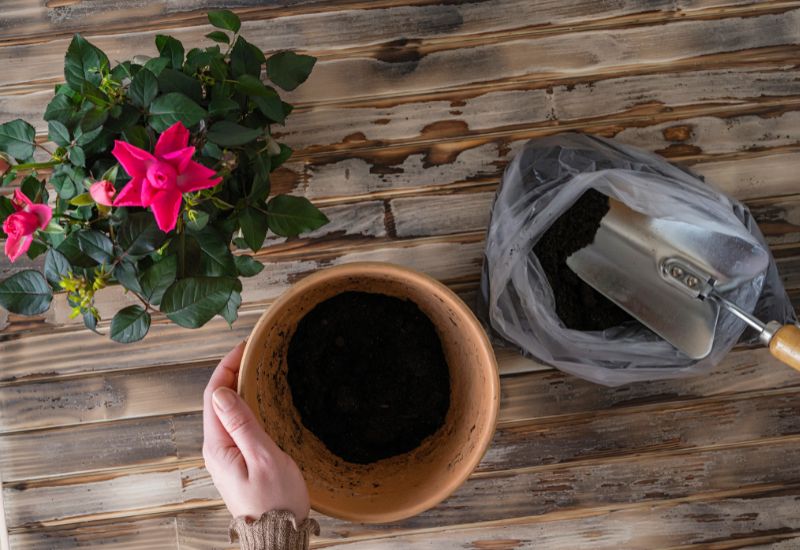
Let’s make one thing clear; it is best to repot the rose into its final adult container straight away. Unlike other plants, roses don’t take easy to changing home every year or two years…
What is more, imagine trying to repot a climber attached to the trellis, you just can’t! Not to talk about the thorns… Once a rose is big, it’s basically impossible to repot it.
So, choose a very large and deep container, to match the adult size of your rose. Refer to the sizes at the beginning of this article. Ready, let’s go!
Safety firs:
Next, prepare the container and soil.
Water generously.
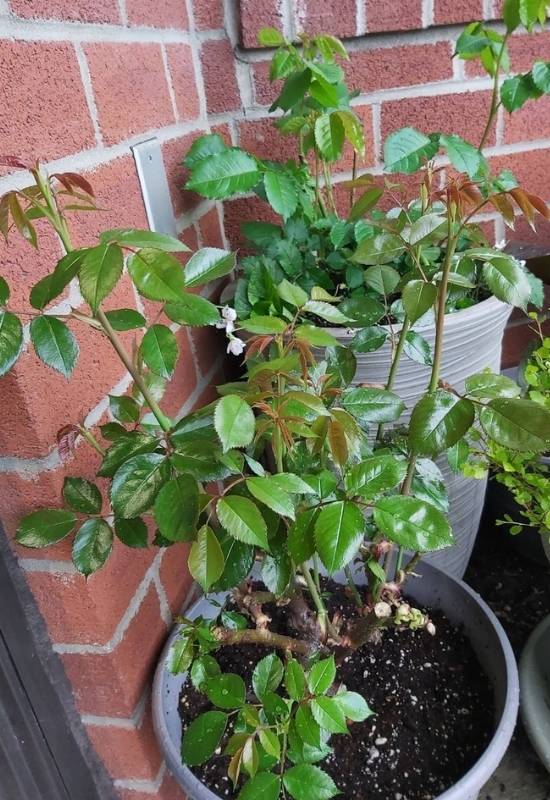
In the few days following the repotting, keep an eye in the plant and on the soil… It may sink down a bit, as it settles. Add as necessary. Then, about a week after repotting…
Water your rose and mulch abundantly. Mulch is a must with potted roses. But you can also add some “friends” to your potted rose…
How And When You Should Feed Your Container Roses
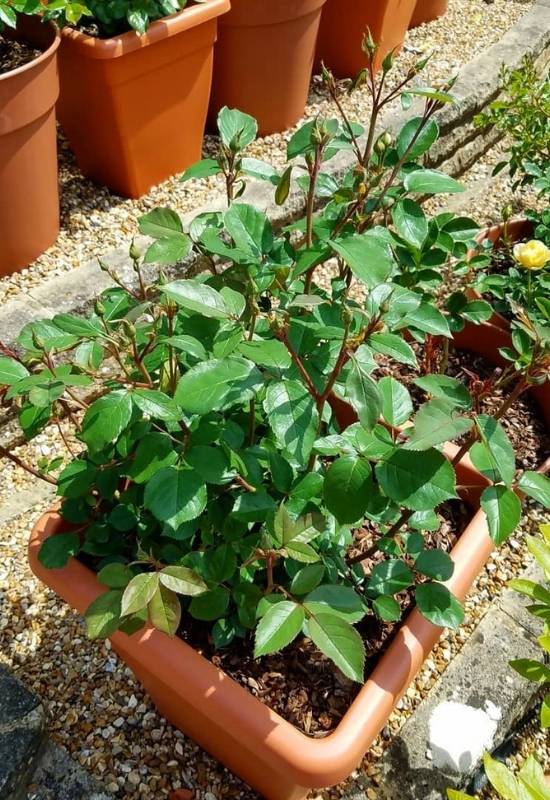
Container roses need regular and frequent feeding. Much more than roses in a garden or park. Remember that our thorny friend is a big eater! It goes through nutrients quite fast, and it needs nutrition before every new bloom, and before it starts growing every year.
Of course, use a rose specific organic fertilizer. I know we all “cut corners” with fertilizers sometimes, but with the queen of flowers, please don’t. And also think about watering and ventilation…
Give Your Container Rose Adequate Watering and Ventilation
Containers dry up much faster than open soil, and roses do not like very dry conditions. While they may forgive you if you forget to water them once when they are in an open garden, they won’t if they are in containers.
By all means avoid that sad sight of rose buds and heads drooping and asking for a drop of water. They do pick up, but the plant gets weaker and you may lose the blooms.
Always water your potted roses when the top inch of soil is dry. Water regularly rather than excessively at long intervals. In summer, you may have to water your roses daily, and if the temperature gets over 90oF (or 30oC) absolutely do! Water helps them resist the heat, and keep in mind that roses don’t tolerate it well.
Finally, choose a well ventilated and dry spot, without strong wind. Any stuffy, clammy or muggy spot will end up causing diseases to your beautiful rose shrub. On this point do check for molds on terracotta and clay pots. A tiny bit on the outside is fine, but sterilize the pot if it gets excessive and especially if it grows onto the inside.
Lack of ventilation is often the cause of rose disease, including the ones we are going to see next.
How to Protect Your Container Rose
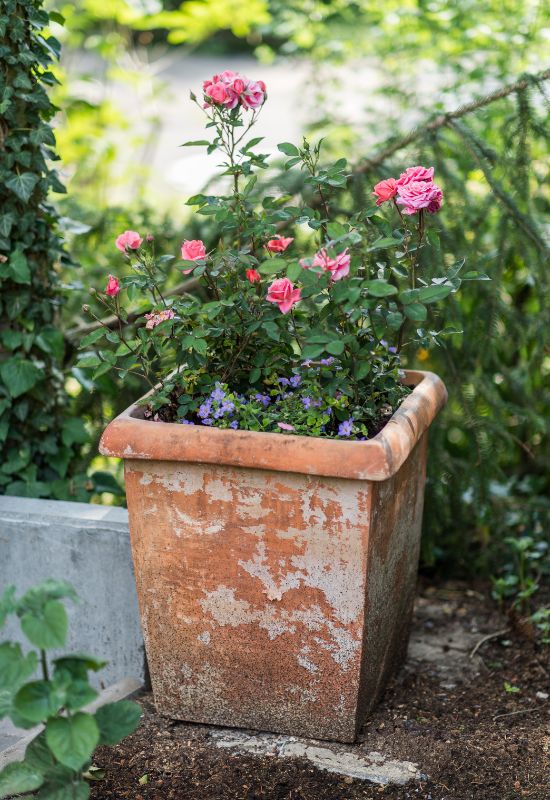
Keep in mind that a rose in a container is far more susceptible to the weather than in full soil! You you will need to protect it! Three are the key “elements” you need to look out for (I feel old fashioned when we talk about roses…
These are the basic rules, but winter is an especially dangerous season for potted roses, so, let me spend a few words on it.
Overwintering Container Roses
In winter, the cold gets through the walls of containers much faster than in the soil, we said. What is more, it can reach the roots of your prized bush from all sides, and this can spell disaster.
Be very aware of what temperatures are like in the cold season where you live. Anywhere in USDA zones 3 or beneath will require that you shelter your roses in winter. But I would advise it even at higher zones.
Find a place that is dry, ventilated, cool but not freezing cold, lightly lit. I would avoid total darkness; roses are still alive in winter, even if at sleep. Their metabolism is not “stopped” but greatly slowed down.
Places like entrance halls, well lit indoor stairways are ideal to store your potted roses in winter. A well lit shed will also do nicely. Of course, a cool greenhouse is ideal, but few of us can afford one.
If you expect winter to be comparatively mild, still remember to wrap the container in insulating material and mulch abundantly. You may well wish to protect the bush as well, wrapping it in perforated polythene sheets.
And this is how you make sure your roses feel comfortable and safe, but how about pruning them once winter is over? We are talking art with roses, so, get ready for a wonderful journey!
How to Prune and Deadhead Roses
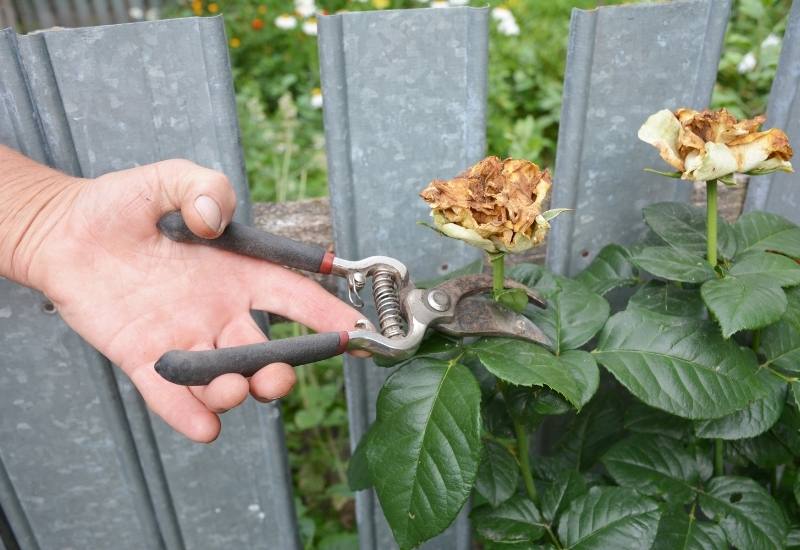
The way you prune container roses is the same as you do with soil grown roses, only you may wish to contain the size more carefully. But the techniques (or art) are the same. But we need to make some distinctions.
Pruning is the act of cutting stems, branches and canes; it shapes the plant and it is done once a year or at long intervals.
Deadheading means cutting the end of the stem where the spent bloom is. This is done regularly and often soon after the flowers have wilted.
In both cases, there are some key safety precautions:
These are necessary every time you cut a rose, even for cut flowers. But let’s talk about the right time to do this.
When You Can Prune Container Roses
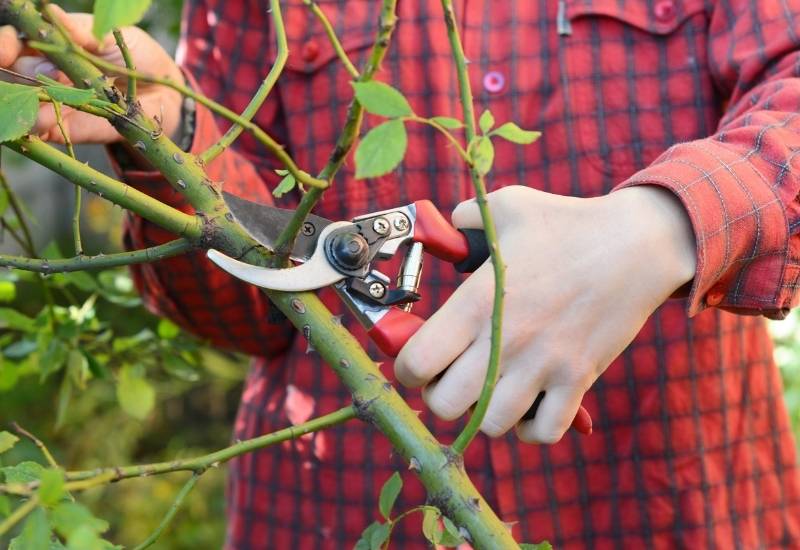
There is an old adage among rose gardeners about the right time to prune them. It says, “Prune your roses when forsythia is in bloom”. It’s a rough but reliable guideline which tells us that the best time is in early to middle spring. In most temperate places this would be late March to mid April.
Of course you would need to adapt this time according to local climate; in Canada it may be a bit later, while in Mexico it will be earlier. Funny enough forsythia grows almost anywhere, in hot and cold countries. So if you want ti stick to the rule and trust Nature…
This is, of course, for the main pruning. It is best done just before the plant starts growing again every spring, this is before the gems open into leaves and just as it comes out of dormancy.
In this pruning, you shape and mold the plant for the year. You basically decode which branches or canes you want it to grow and which you don’t.
You can give small pruning to roses at other times, especially in fall. But fall pruning is mainly hygienic, a health operation, and not a “beauty” makeover. In fact you can cut any sick and dry branches, stems and canes before winter sets in. That will have many benefits, including:
Finally, are there any other times you can give a few snips to roses?
Yes, if a branch is dead, really ill and at risk of infecting others, by all means cut it at any time.
Here is all about “when” and now on to “how”.
Let’s remember an important point: shrub roses need to look like baskets, while ramblers and climbers need to look like vines or arching canes…
I know you knew it but it’s so important, so much so that we need to talk about them separately.
How You Prune Shrub Roses
Pruning shrub rose is quite complex, and if you are not confident, call an expert. Bad pruning is at the root of most rose problems.
You can’t imagine how sad it is to see badly shaped thorny bushes that suffers so much in basically every suburban garden! So, let’s see how you actually do it.
You will agree with me that pruning a rose is a difficult craft, or maybe an art, as is all tree surgery anyway. And we still need to see how to do it with climbers!
How You Prune Climbing and Rambling Roses
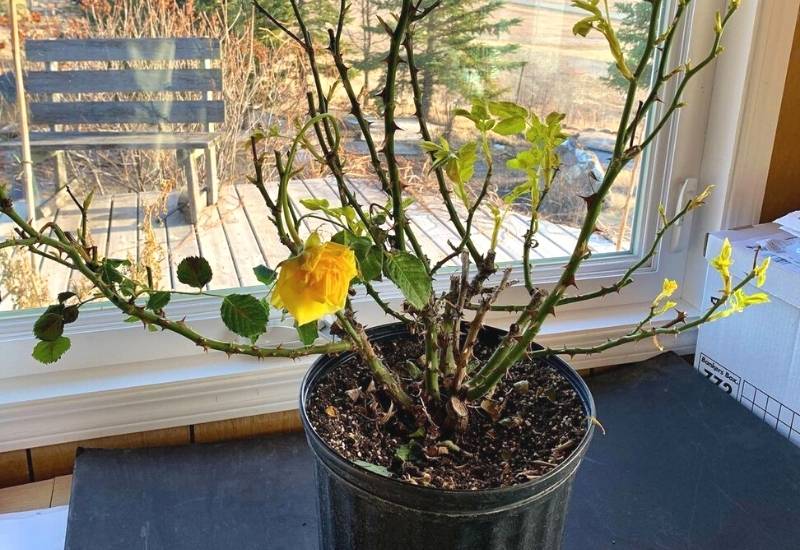
To start with, when pruning, we use “cane” for ramblers and climbers, instead of branch. It’s technicality, but it will make your life easier and your rose surgery much more successful.
There are two types of canes. The primary or main canes are those that start from the base of the plant, and they grow long. Secondary or side canes are those that branch off from the main ones, and in some varieties they are short, in others they arch down etc. They really add a lot to the personality of your thorny beauty!
In climbers and ramblers, secondary canes bear blooms, not primary ones.
And pruning a rambler or climber is different in year one than the other years… So.
How to Prune a Climbing or Rambling Rose in Year One
Year one is when you give your climbing or rambling rose its overall shape. To do this, you need to choose which main canes you want to keep. Your choice will depend on:
How to Prune a Climbing or Rambling Rose in Year Two and Beyond
Year two, three, four etc. are all a different matter with climbing and rambling roses. Let’s see why…
The rest is juts routine maintenance.
Wow! Now you are an expert of rose pruning! Experience will give that “professional eye” that only comes with practice. But we still have some snipping to do, remember?
How To Deadhead Potted Roses To Keep Them Flowering For Longer
You dead head roses when the blooms are spent, especially of you wish them to bloom again. Of course, you won’t do it if you want your beautiful flowers to turn into edible and and attractive hips.
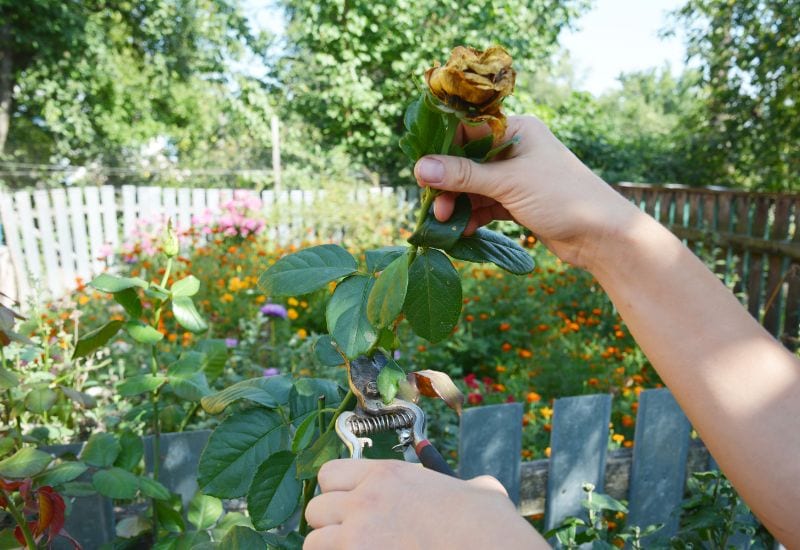
It is quite common to dead head repeat bloomers till the very last show of flowers in fall, and then leave the hips on for some color (and food) late in the season. But even this apparently simple operation has its complexities with the most popular flower in the world…
Let’s through them methodically.
It’s a lovely job to do in the evenings, quite relaxing… But there’s a final thing we need to say about “cutting roses”.
Sloping Cuts and Flat Cuts: Which Are Better?
There is a long tradition of cutting roses at an angle, with the lope leading away from the chosen gem or leaf to save… This allegedly leads the water away, making it slide off, thus avoiding rotting. This should be roughly at a 45o angle.
Personally, I use this system. But there are gardeners who say that it does not make any difference; if the cut is neat, any drop of water will slide off anyway, apparently. The choice is yours, but I think it does not cost any extra effort to give the “slanting snip”…
However, even if you cut down your rose, it will need feeding. Yes, roses are very hungry plants. But do you feed container roses the same way as you do in full soil?
How to Protect Container Roses from Disease
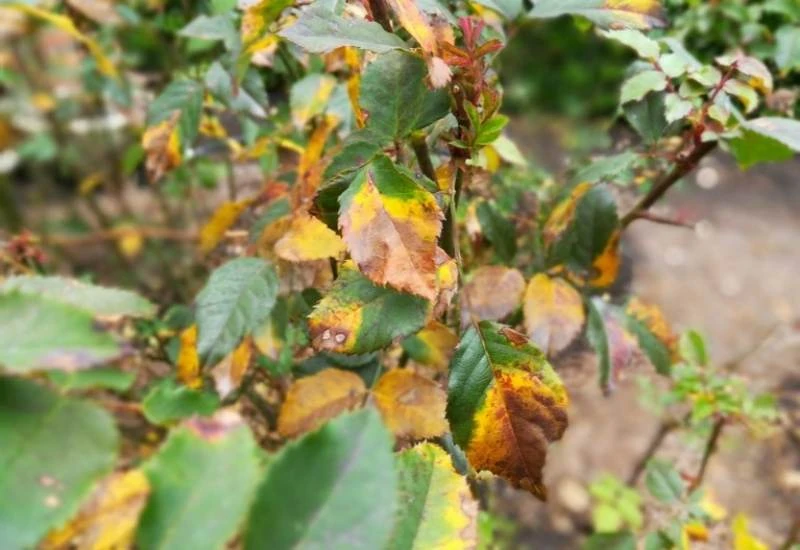
Roses ate very much prone to catching diseases, and container roses even more so! In fact, it is hard to find a single rose without any ailment at all, even in public parks tended by professional gardens.
Look at the average rose and you will find loads of symptoms of disease, like:
When they grow in containers, they are more likely to catch infections and other diseases. The explanation is very, very complex… Let’s just say that in healthy full soil they have a multitude of small organisms that protect them.
Then they communicate with other plants through their roots and underground fungi, so they actually get “the news” and prepare for pests and disease.
No, it’s not a joke…
What can we do to make sure that our rose is as healthy as possible? Th solutions are often very simple and cheap, but we need to look at each problem in turn…
1: How to Get Rid of Aphids or Green Flies on Your Container Roses
Aphids are some of the most common “rose problems”… The tiny little animals seem to love out thorny beauties more than other plants.
If you also have ants in the neighborhood, then… they like to breed aphids for the sugary secretion they make. Basically aphids are ant cattle…
How can you identify aphids?
What do aphids do?
How can you solve an aphid problem?
It is actually simple and cheap…
And don’t worry about the smell; it will go in 24 hours maximum and your roses will be as fragrant as ever.
2: How to Get Rid of Black Leaf Spot on Your Container Roses
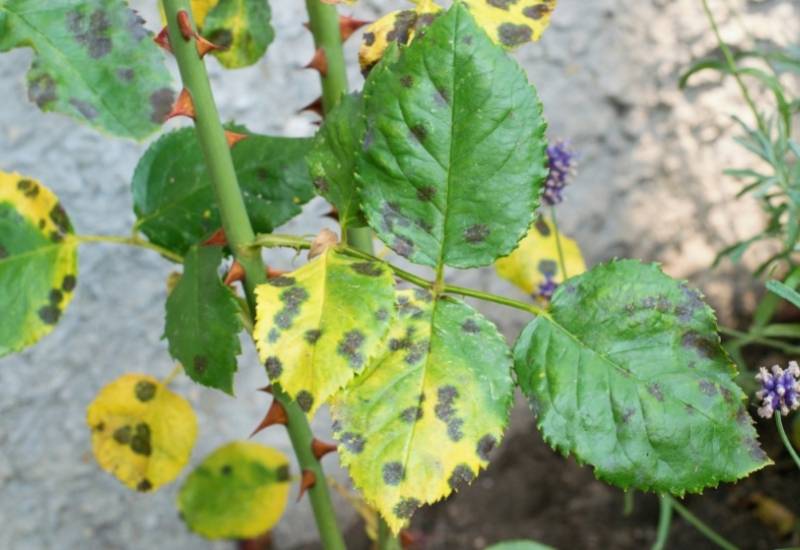
Black spot is a very serious disease for roses. It is caused by a fungus called Diplocarpon roses. It is often caused by high humidity and poor ventilation.
How can you identify black spot?
What does black spot do?
How can you treat black spot?
It is cheap, but laborious…
Phase 1:
Phase 2:
3: How to Get Rid of Powdery Mildew on Your Container Roses
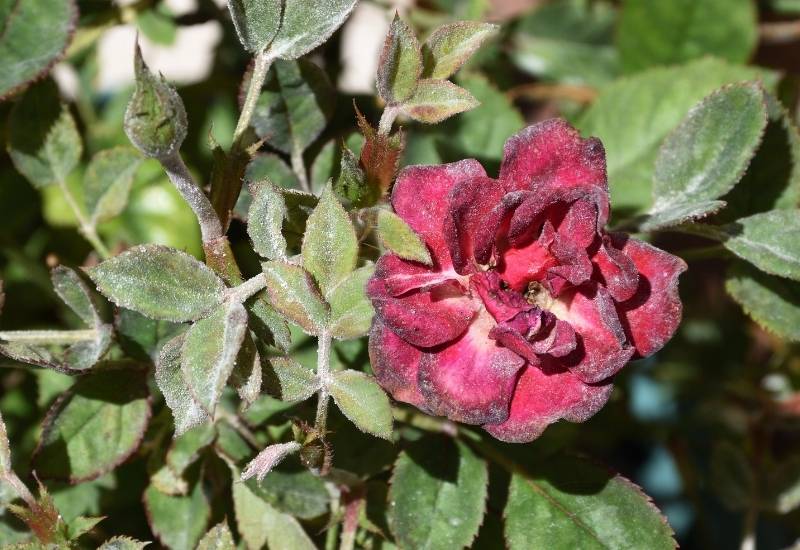
Powdery mildew is a common plant disease caused by a fungus called Podosphaera pannosa. It looks quite disgusting too, and it too is facilitated by bad ventilation and high humidity.
How can you identify powdery mildew?
What does powdery mildew do?
How can you treat powdery mildew?
The treatment is exactly the same as you use for black leaf spot.
Phase 1:
Phase 2:
4: How to Get Rid of Stem Canker on Your Container Roses

Rose canker is caused by a fungus too, of a genus called Conithyrium, and it affects the stems rather than the leaves. It often comes as a consequence of bad pruning, especially if you don’t clean the old stems and foliage after you do it.
How can you identify rose stem canker?
What does rose stem canker do?
How can you treat rose stem canker?
5: What to Do with Flower Balling on Your Container Roses
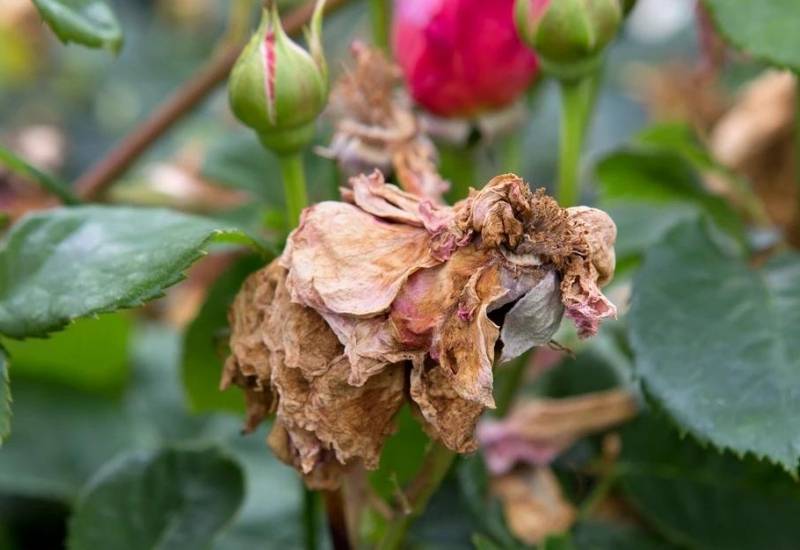
Flower balling is a very strange phenomenon that affects some plants like roses and often camellias. The plant starts off well, with new buds in spring… You expect them to open up and bloom soon… Instead they dry up and fail…
Don’t worry; this only happens in spring and it’s because the weather has suddenly shifted from cold and wet to warm and dry. Your plant is not sick; it has just forsaken a bloom to save energy for later!
How to Choose Companion Plants for Your Container Roses
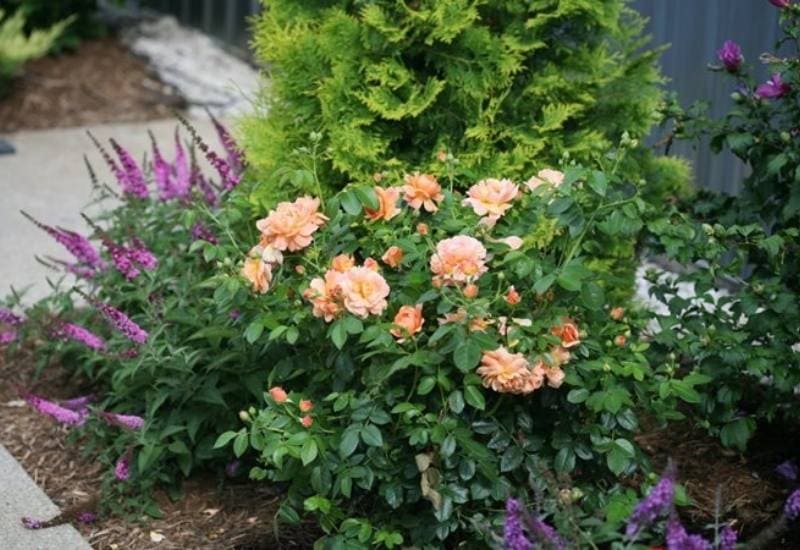
Growing small plants under the rose shrub, “companions” as we call them can have some great beneficial effects:
It is a form of green mulching.
You can fend off pests with the right companions.
You cannot choose any plant to grow at the feet of your rose though. Some are compatible and some are not.
There are some traditional ones that even have smells that green flies and other rose munching bugs, snails and slugs keep far away from… here are some:
These small plants have traditionally grown under the shade of roses in containers and beds alike.
But we need to talk about the safety of your roses…
Happy Rose Container Gardening!
Wow! Now you are an expert! Well, at least you have all the information you need to be a successful – and happy – rose container gardener.
Of course you will need a bit of practice here and there… But you are ready! All I have to say to you now is have a wonderful time growing roses in containers!

Written By
Amber Noyes
Amber Noyes was born and raised in a suburban California town, San Mateo. She holds a master’s degree in horticulture from the University of California as well as a BS in Biology from the University of San Francisco. With experience working on an organic farm, water conservation research, farmers’ markets, and plant nursery, she understands what makes plants thrive and how we can better understand the connection between microclimate and plant health. When she’s not on the land, Amber loves informing people of new ideas/things related to gardening, especially organic gardening, houseplants, and growing plants in a small space.
