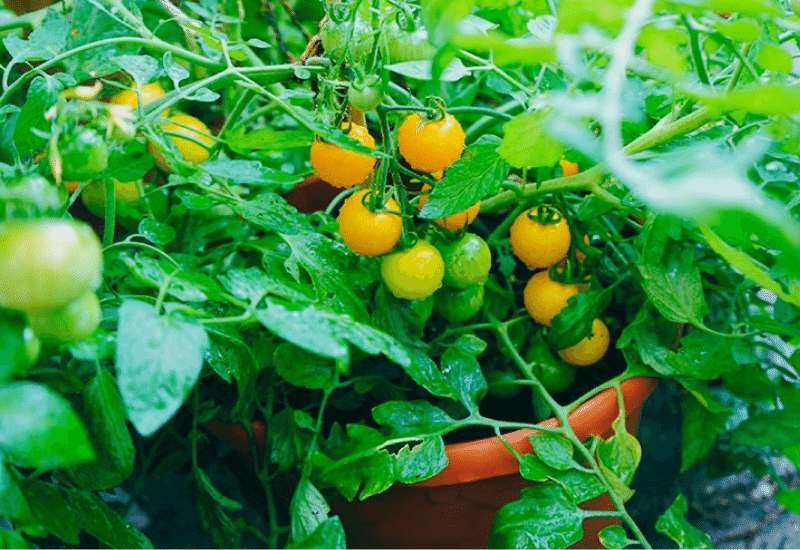
Growing tomatoes in pots levels the playing field for home gardeners, as even with very limited outdoor space you have the opportunity to grow and enjoy fresh, homegrown tomatoes.
Potted tomatoes are a great option for anyone with a small balcony, patio, or porch, but even gardeners with lots of outdoor space often choose to grow their beloved tomatoes in pots for the other helpful benefits they offer.
Read on to get familiar with everything you need to know about growing tomato plants in containers, and follow our step-by-step guide to give it a try yourself!
5 Benefit To Growing Tomatoes In Containers
People have been using pots to grow plants throughout history because of the benefits and flexibility it can offer gardeners.
Here are some of the specific benefits potted tomatoes can provide for you and your garden:
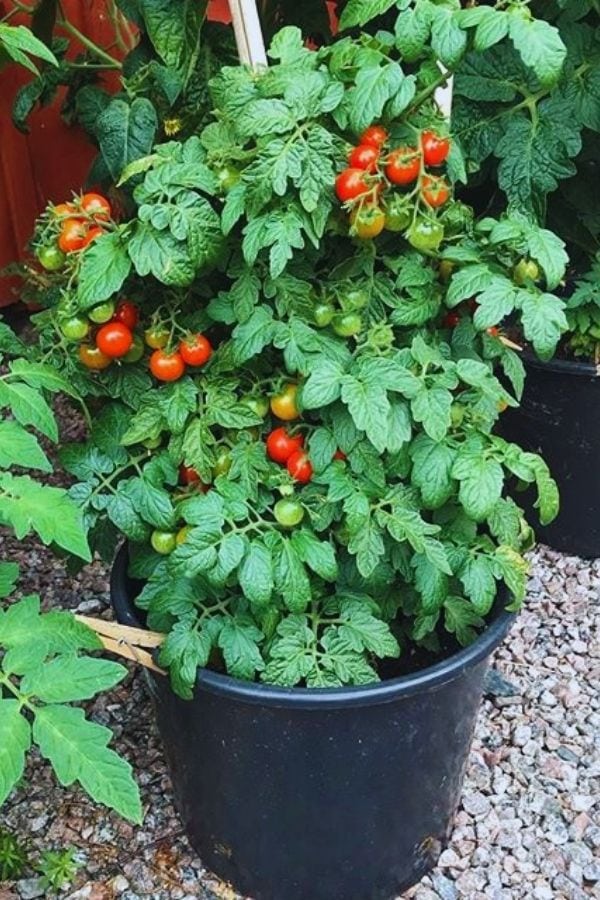
How to Grow Tomatoes in Pots
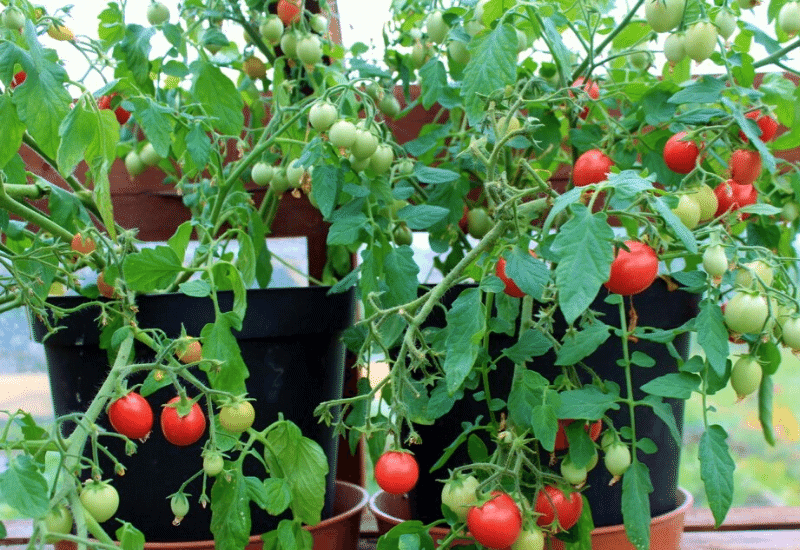
Many different cultivars of tomato can be grown in pots, but the process of doing so is quite different from growing in the ground.
Here is our step-by-step guide to growing delicious and healthy tomatoes in containers:
Choose your method of growing
Before you begin the process of growing tomatoes in pots you need to decide whether you want to start growing them indoors from seed or buy transplants from a plant nursery in the spring.
Starting from seed will give you more choice in terms of cultivar, but you will need to dedicate time and energy to caring for the young and vulnerable seedlings.
Growing from transplants will save you time in the spring but is more expensive and you will typically have less choice in variety.
Choose The Right Variety Of Tomato That Grow Well In Pots
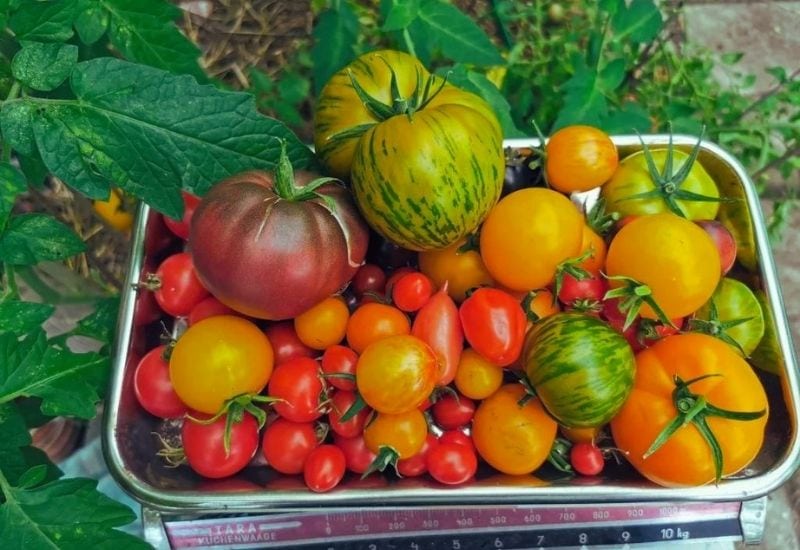
Before you purchase seeds or transplants you also need to decide what variety of tomato you want to grow. Determinate (bush) and indeterminate (vine) tomatoes can both be grown in pots, but generally bush varieties are easier to grow in containers as they max out at around 3-5 feet.
Indeterminate varieties will grow continuously and become extremely tall, but there are some hybrid cultivars available that have more limited vine growth and can be contained to a pot.
If you live somewhere with a long growing season and have a big enough pot with sufficient support, you can still grow vine tomatoes in containers- it might just be more of a challenge!
Start Tomato Seeds Indoors About 6 To 8 Weeks Before Your Last Frost Date
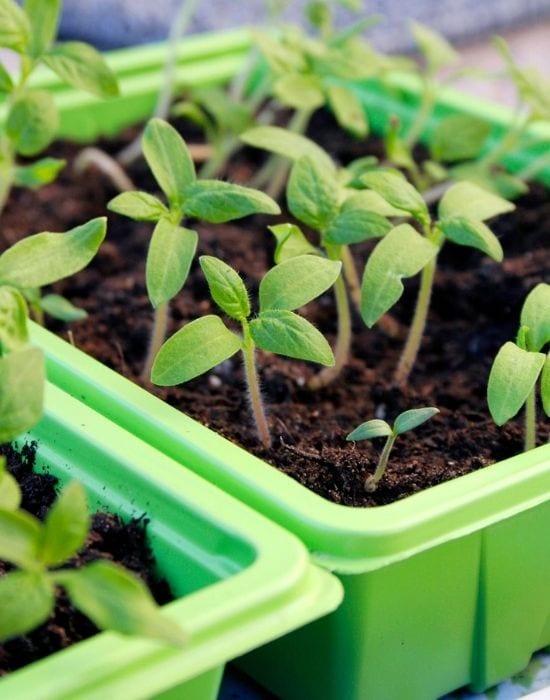
If you have decided to start growing your tomatoes from seed, you can start them indoors about 6 weeks before the last frost.
Plant seeds in a seedling tray or appropriately sized starting pots according to seed packet instructions. Tomato seeds need temperatures of around 70℉ to germinate, and should be kept evenly moist.
Once sprouted, young seedlings need to be closely monitored and given at least 6-8 hours of light to avoid leggy plants. Using growing lights is best as in the spring most windowsills and other indoor spaces won’t receive sufficient sunlight.
Once temperatures are sufficiently high outdoors (>60℉) and all risk of frost has passed, you can plant out your homegrown seedlings into a pot the same way you would a transplant according to the rest of these instructions.
Choose A Container That Is At Least 20 Inches In Diameter And 18 To 24 Inch Deep
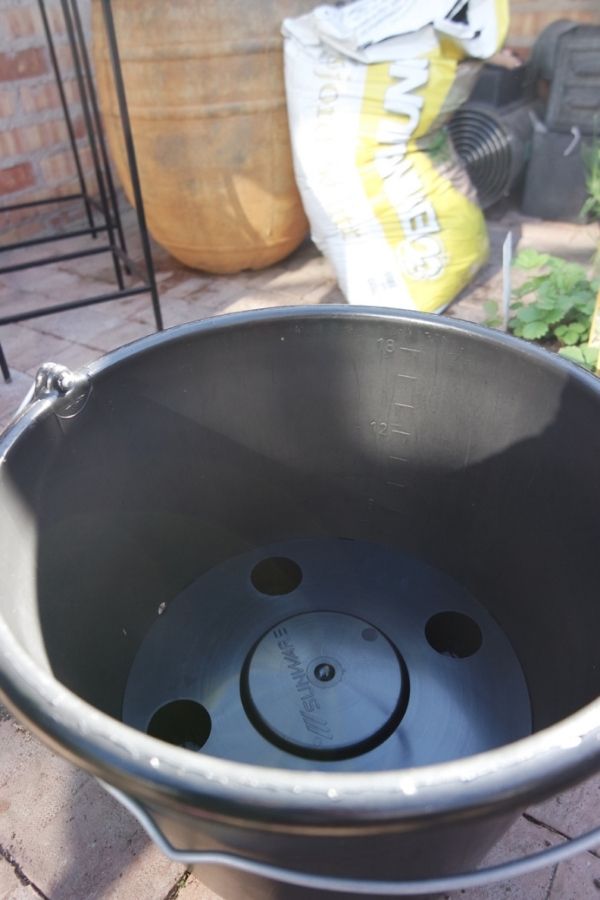
Pot selection is key in growing healthy container tomatoes, and a common mistake is choosing a pot that is too small for the needs of your plant.
It’s better to be safe than sorry as it is much more unlikely that you will select a pot so large that it affects the growth of your tomato plant.
For determinate (bush) tomatoes your pot should be at least 10 gallons, and for indeterminate (vine) tomatoes it should be more like 20 gallons.
Choose A Clay Or Fabric Pot Over A Plastic Pot
Apart from size, another important consideration when selecting a pot is the color and material. Clay or terracotta pots are porous and will leach moisture away from the soil, making it dry out more quickly than soil in plastic pots. This doesn’t mean you can’t use them, just keep this in mind for your watering schedule.
Plastic pots and containers are not very breathable, but in colder climates dark blue or black plastic pots are often used to increase the heat retention of the soil in the spring and fall as these colors absorb heat more efficiently.
Be warned that this can backfire in the heat of summer, and in high temperatures dark colored pots need to be covered with light colored material to prevent this heat retention from creating too-hot soil.
A type of pot that is increasing in popularity are organic fabric pots, which are reusable and breathable for plant roots. No matter the pot you do use, ensure it has a drainage hole or holes as tomatoes won’t survive in soggy soil.
Fun fact: A technique that you can experiment with is upside-down potted tomatoes! If you have a large bucket to spare, you can drill a large hole in the bottom, thread the seedling branches through it, and grow your tomato with gravity on your side!
Upside-down tomato pots can be hung anywhere with good access to sunlight and are a fun experiment that don’t need trellising and provide easy access to ripening fruits.
Fill The Container With Well-Draining Potting Mixture
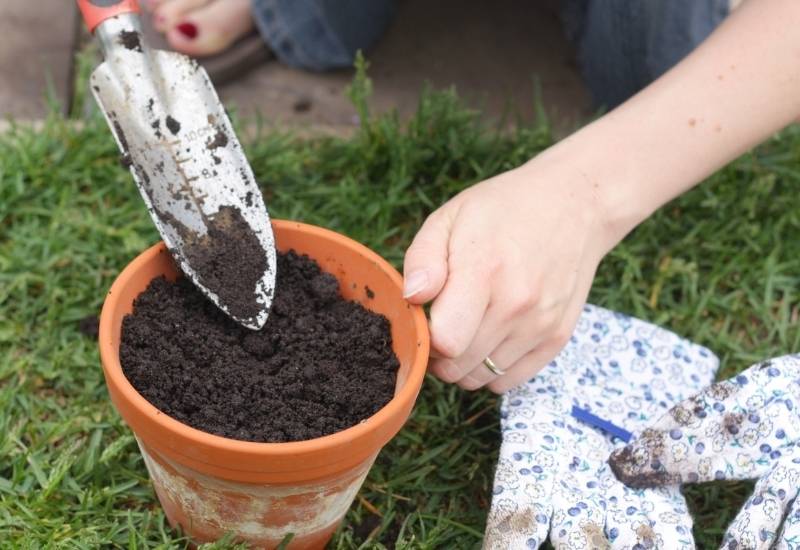
High quality soil is essential when growing tomatoes in pots, and the best way to guarantee your soil has everything it needs is to mix your own.
You should use a light, aerated vegetable potting mix as the basis, but it should be amended with some other components to create the optimal conditions.
To improve drainage, you can add perlite, pumice, or shredded orchid bark to your soil.
To add lots of rich nutrients, mix in well-composted manure, compost, or another source of organic matter- anything with an even balance of nitrogen, phosphorus, and potassium is good for tomatoes.
Plant your tomato seedling In Containers
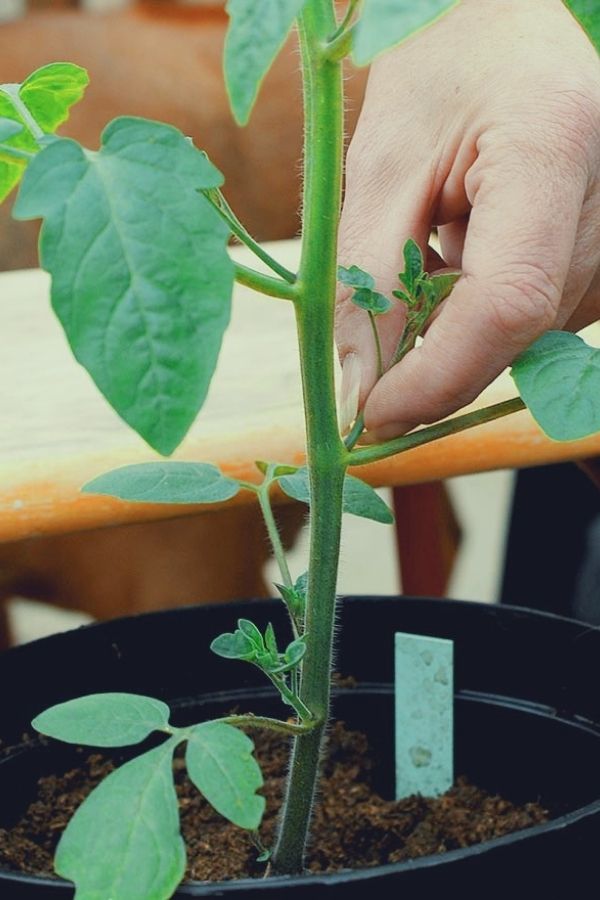
Before planting, prune off any little suckers that are growing below the first node (where a developed branch meets the main stem), and dig a hole sufficiently deep to bury the entire bare stem of the plant.
The hole should be in the centre of the pot. Put a couple handfuls of compost, a seaweed fertilizer, or a similar organic and nitrogen-rich boost at the bottom of the hole before planting, and water the seedling thoroughly.
Plant your tomato seedlings in container by gently loosening any roots that have started to become rootbound (if necessary) and placing it in the hole so that the first node is level with the soil surface.
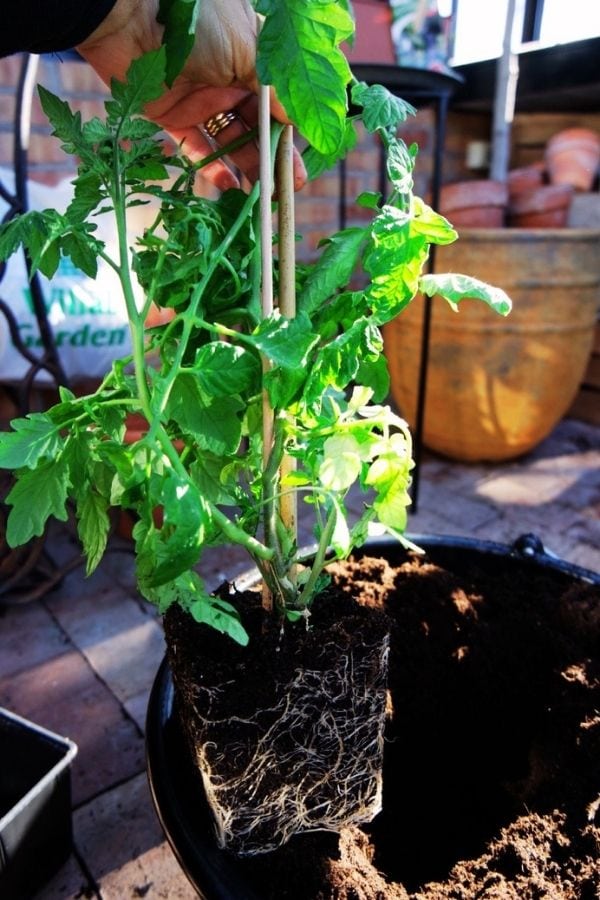
Fill in the soil so that the plant is buried without any mounding around the base, and gently pat down the soil without compressing it so that water doesn’t collect or pool around the stem.
Fun fact: All those little hairs on the stem of your tomato plant have the potential to become roots when buried, so we want to bury as many as possible for a robust root system.
Place Pots In A Spot That Gets 6–8 Hours Of Direct Sun Daily
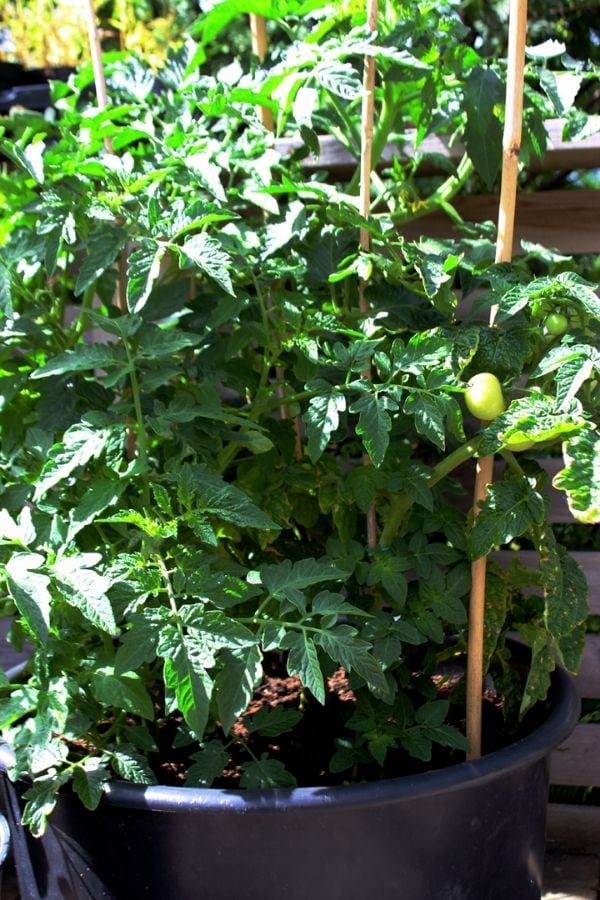
Before you fill your pot up with soil and make it very cumbersome to move around you should decide which spot in your space is best for tomatoes.
Tomatoes are heat-loving plants that need a minimum of 6 hours of sunlight per day and ideally 8-10 hours to really thrive.
A south-facing spot on a patio or balcony is great, and rooftop spaces generally work really well since they often receive unobstructed light throughout the day.
You also want to make sure you will be able to water your plants easily wherever you place them, so plan ahead to make your life easier!
Water on a regular schedule
Once your tomato is potted, develop a regular watering schedule and stick to it so that your tomato does not become stressed.
Generally, most tomatoes prefer a deep drink a few times a week rather than a little everyday, and you can let the soil surface become slightly dry between waterings. Tomatoes need a good supply of moisture to their roots but will suffer in constantly wet soil.
Drip irrigation is a popular way to ensure a constant supply of water without flooding, and there are also several timed water release tools for potted plants that can gauge soil moisture and only irrigate as needed.
When watering, always aim to only soak the soil and reduce the amount of moisture that gets on the leaves. Tomatoes are susceptible to a number of fungal diseases that are more likely to develop when foliage is moist.
Install a trellis for support
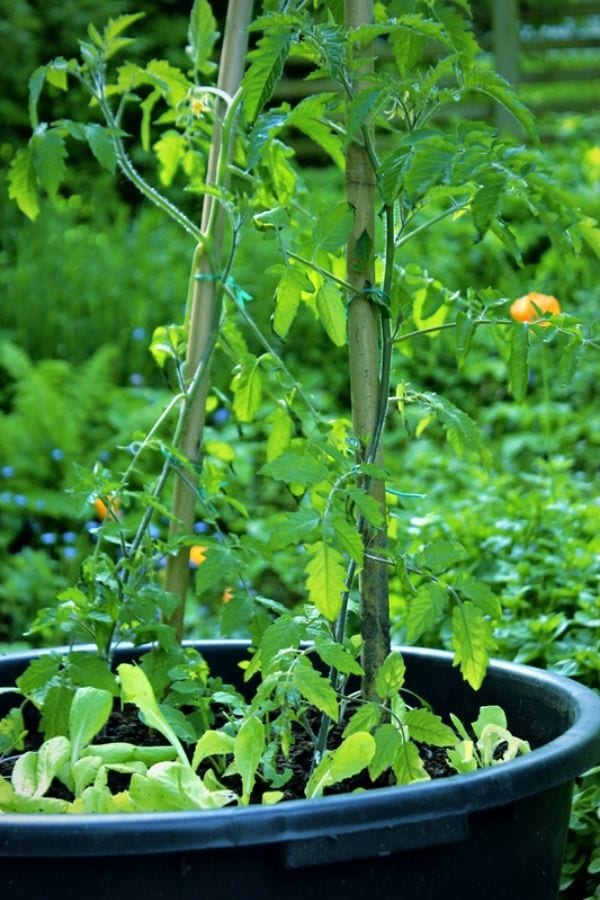
If you have decided to grow any indeterminate tomato varieties you will definitely need to provide them with a sturdy trellis to support their vine-y growth. Here are some trelissing tips:
Mulch around the base of plants
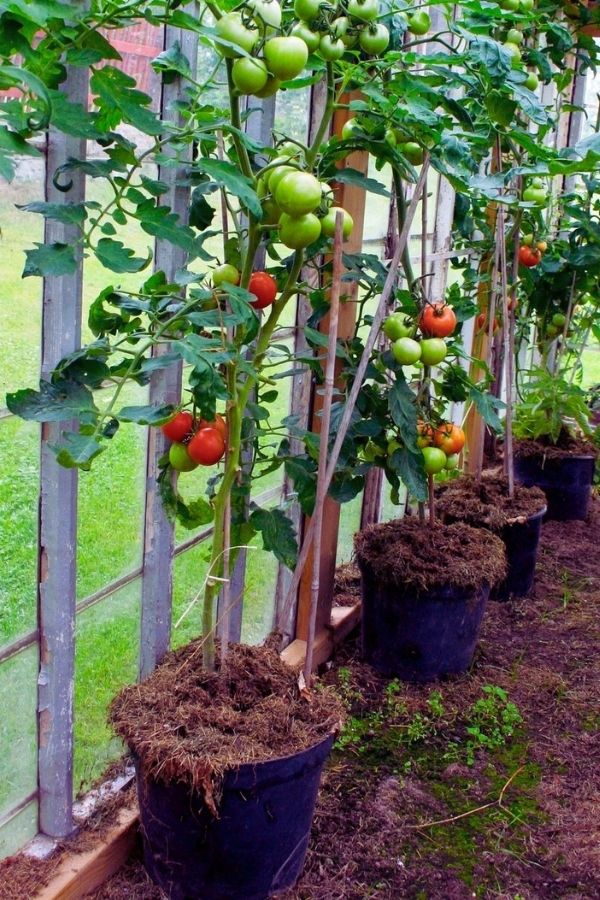
Shortly after planting, mulch around the base of your tomato plants. Potted tomatoes are generally easier to manage when it comes to weed growth as the soil is fresh at planting, but in the summer many opportunists will pop up all the same.
To prevent having to constantly weed your pots, apply a straw mulch to the soil surface, which will also help to protect the soil and retain moisture after irrigation.
Prune as needed throughout the season

If you planted indeterminate tomato varieties, you will want to stay on top of sucker removal and pruning throughout the growing season to avoid your plants becoming unmanageable.
Leave one or two suckers to develop at a time for new growth and remove the rest by pinching them away with clean hands. Vine tomatoes can be extremely vigorous and could topple pots if left unpruned during the summer.
Fertilize every few weeks
Every 6-8 weeks you can give your tomatoes a boost with an organic or homegrown fertilizer. A great option is compost tea, which usually has lots of the nutrients that tomatoes love to feast on and is inexpensive (or free if you make your own!)
Potted tomatoes are more likely to need an extra boost during the season than those in the ground, as they only have the set amount of soil nutrients in the pot available to them.
Not feeding your plants can result in weaker plants with yellowing leaves and low fruit production, but there is no need to fertilize more frequently than every 6 weeks.
Harvest ripe fruits
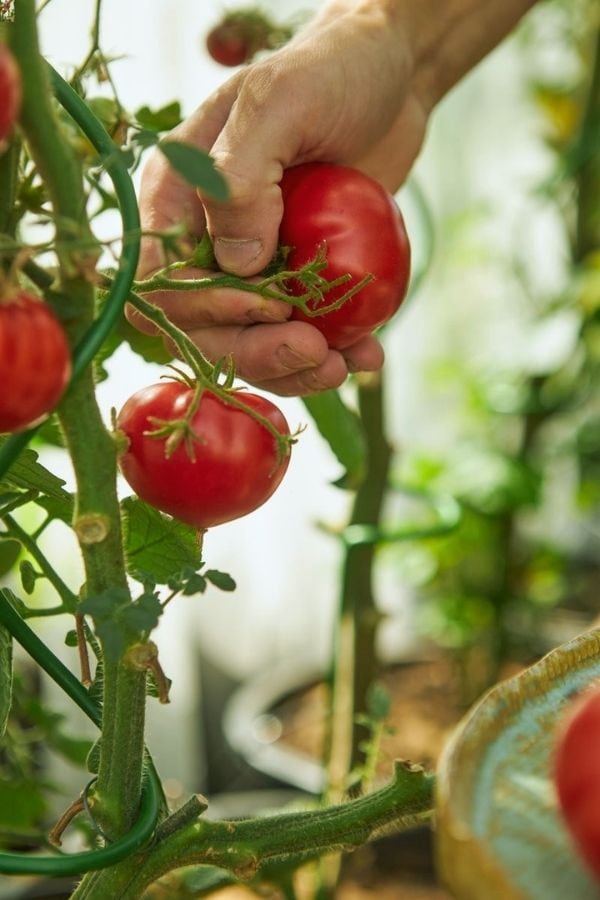
Indeterminate tomatoes will produce fruits on an ongoing basis and they should be picked as they ripen on the vine.
Determinate tomatoes will produce a set amount of fruits that will ripen all around the same time in the late summer or early autumn.
Either way, you should harvest the fruits when they feel tender, have a shine to their skin, have developed a full, rich color (according to the color they are supposed to be), and taste flavorful!
Harvest your container grown tomatoes by gently twisting them off the branch, and they should come away easily when ripe.
Top plants at the end of the season
At the end of the season, around 3-6 weeks before the first frost is predicted for your area, you can cut off the growing tips of your tomato plants to encourage any remaining fruits to ripen quickly.
This can be done to both determinate and indeterminate cultivars, and is a good way to get the most out of your plants at the end of the season. Any fruits that are still green right before the first frost can be picked to ripen indoors.
Keep a Watchful Eye on your Tomatoes
As long as you closely monitor your potted tomatoes, all will be well. Just operate on the logic that potted tomatoes have slightly less space, less access to nutrients, and are more prone to drying out, and adjust your fertilizing and watering as needed.
As with any plant, too little is more easily fixed than too much, so start off with less inputs than you think and increase as needed throughout the season.

Written By
Amber Noyes
Amber Noyes was born and raised in a suburban California town, San Mateo. She holds a master’s degree in horticulture from the University of California as well as a BS in Biology from the University of San Francisco. With experience working on an organic farm, water conservation research, farmers’ markets, and plant nursery, she understands what makes plants thrive and how we can better understand the connection between microclimate and plant health. When she’s not on the land, Amber loves informing people of new ideas/things related to gardening, especially organic gardening, houseplants, and growing plants in a small space.
