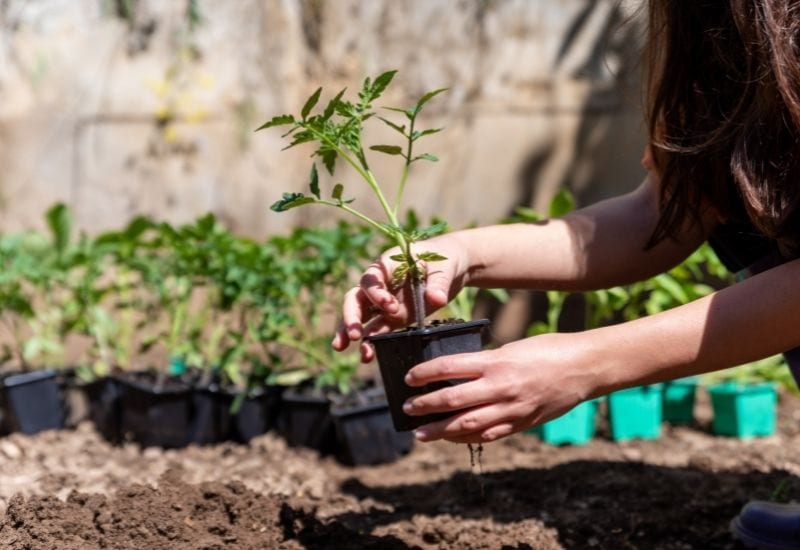
The term transplanting and repotting is often used to describe several actions when growing tomatoes from seed or purchasing seedlings for planting.
Re-potting tomato seedlings two or three times before planting them in your garden will help to get your plants off to a good start in their development.
Let’s break down all the different stages in which tomato plants might need to be transplanted, when to transplant tomato seedlings, and how this can be done in each scenario to ensure your tomato is happy and healthy.
What is Transplanting?
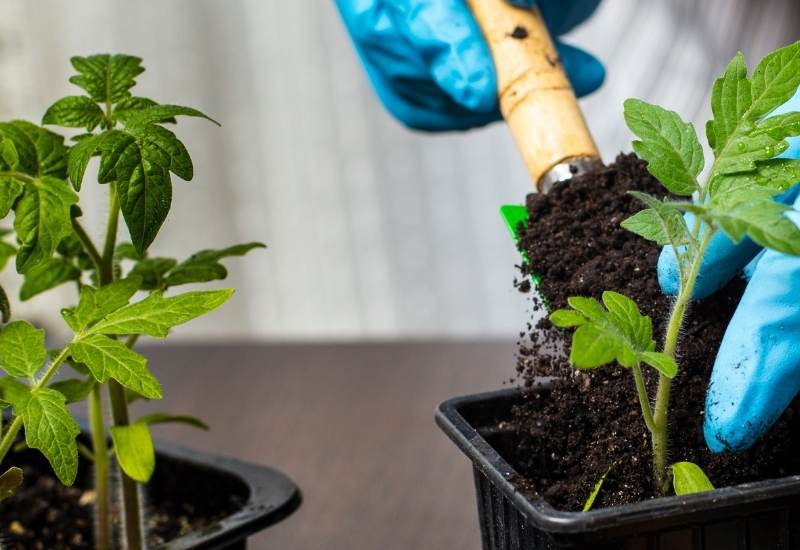
Transplanting is a pretty general term in gardening that basically means moving a plant from one spot to another, often from a smaller space to a larger space. When transplanting a tomato seedlings from one pot to another larger pot, we often say ‘repotting’ as well.
The most notable transplanting period in the gardening season is in the spring, when seedlings grown indoors or purchased from nurseries are transplanted out into the garden.
Young plants purchased from nurseries or gardening centres are even sometimes referred to as ‘transplants’.
Why do I Need to Transplant Tomatoes?
Transplanting tomatoes into larger containers and eventually outside is important for their development, as young tomato plants will quickly outgrow their containers.
If tomatoes are kept in the same small container that they were planted in they will simply run out of room to grow, become rootbound, and likely die.
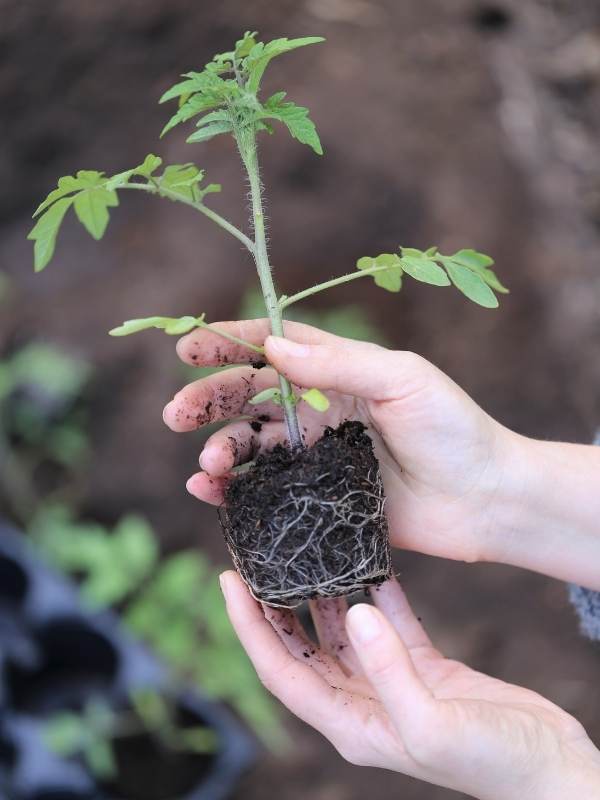
Transplanting helps tomatoes by giving the roots more space and depth to grow downwards and replenishes the soil with fresh nutrients for further growth.
In addition, tomatoes can grow roots from any point on their stem, and you may have noticed the little hairs along the stem that make them slightly fuzzy to touch.
This means that every time tomatoes are transplanted and their exposed stem is buried more deeply, they develop more roots.
This creates a robust and resilient underground root system that will anchor it in place and support the plant for the rest of the season.
Best Time to Transplant Your Tomatoes for Maximum Growth
We can break down the transplanting stages for tomatoes into two main groups: transplanting into larger containers and transplanting out to the garden. Although the process is similar, there are some distinctions to be made between them.
1: Transplanting tomatoes to larger containers (repotting)
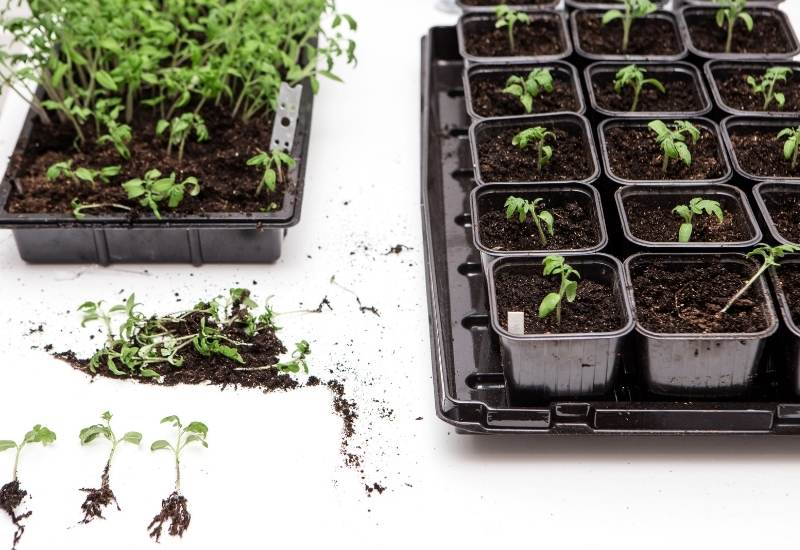
If you choose to start your tomatoes from seed indoors you will need to successively increase the pot size for the young seedlings as they grow.
Tomatoes should be started from seed in the early spring about 6-8 weeks before the last frost in your area, and in that time period will likely need to be repotted 2-3 times.
Repotting is essential for young tomato plants, and supports ambitious growth and creates healthy, strong plants.
2: Transplanting tomatoes outdoors
Once your tomato seedlings are sufficiently large (5-10 inches) and all risk of frost has passed in your area, you will need to transplant them to their final home for the rest of the season.
This transplanting stage is also necessary if you purchased tomato seedlings from a nursery. The exact date of this event is highly dependent on your growing zone, but is usually you should transplant your tomato plant from a container to the garden between April and July, when the soil temperature is at least 50℉.
Before this stage of transplanting, your tomatoes will need to be hardened off, which will be explained a little further below.
If you are growing tomatoes in pots for the whole season, this stage is also used to describe the process of planting your tomatoes into their final, large pot outside.
Stage One: How to Repot Tomato Seedlings to Larger Containers
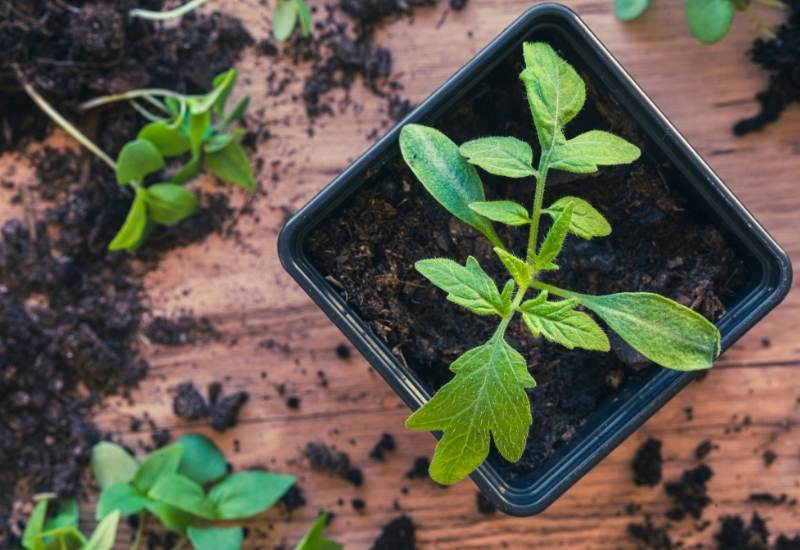
So you have started your seeds in seedling trays or individual pots and they have successfully germinated.
Before you reach the point of transplanting them outdoors there are several waves of repotting that need to happen first.
Here is how to repot your young tomatoes throughout the beginning of the season:
1: Identify when your tomato Seedlings needs to be potted up
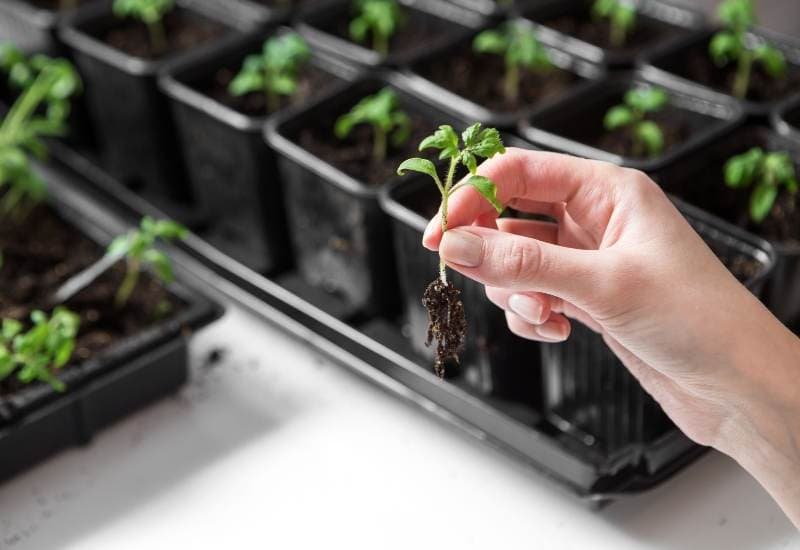
Knowing when your tomato plant is outgrowing its container is a skill best learnt through experience, but a general rule is to transplant tomato your seedlings into a bigger pot when their height is around two to three times the height of their container and have their second pair of leaves.
It is better to pot up tomato seedlings earlier than needed rather than too late when the plant has already started to become rootbound, at which point the likelihood of root damage is greater.
But make sure you aren’t way off as repotting way too early will just cause the soil to crumble and fall away from the under-developed root ball during repotting.
In the two or so months that you keep your tomato seedlings indoors before transplanting out to the garden, you should repot them three times. If you work better on a time frame, you can estimate a repotting every three weeks but adjust this schedule as needed.
2: Select an appropriately large container
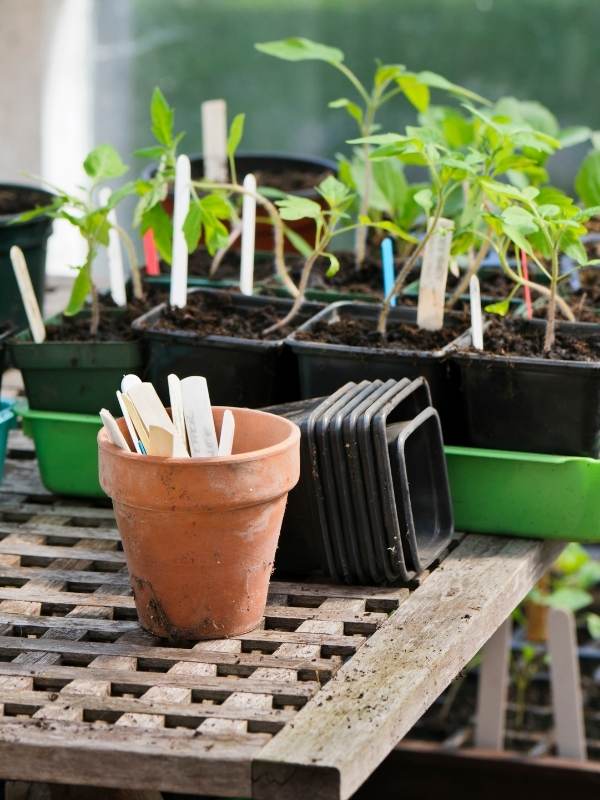
Transplant your seedling into a container that is 2 inches wider in diameter than the previous pot. Always make sure your pot has excellent drainage and has been sterilized since its last use to prevent the spread of disease.
3: Unpot your seedling and place it in the larger pot
The best method for unpotting is to place your palm over the top of the soil with the tomato stem poking through two fingers and flipping the container upside down.
Avoid handling the stem or yanking on it, as it is a very sensitive part of the plant. You can lightly press on the bottom of the pot or around the sides to gently massage the soil block out, but be careful not to damage any roots. Place your seedling (right side up of course) into the new container.
If the first node of the plant is sitting too low below the rim of the pot, you can put a little soil at the base to boost the plant up. The first node should be in line with the top of the pot so that as much of the stem can be buried as possible.
4: Bury your tomato seedling with fresh soil
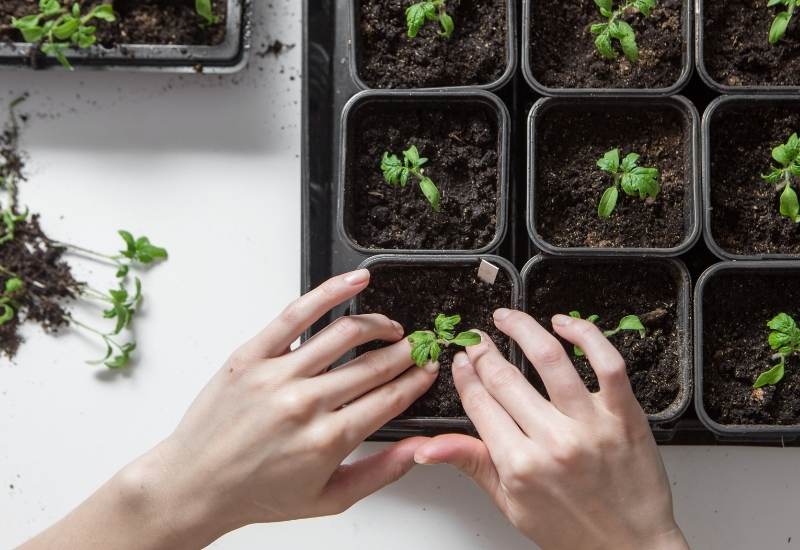
Fill in the pot with soil until about 1 inch from the rim while transplanting. Your soil mix should be nutrient rich, have excellent drainage, and be light and fluffy.
There is no need to compress the soil or pack it really tightly, as once it is watered the soil will firm up and become more compact.
5: Place in a sufficiently sunny and warm location
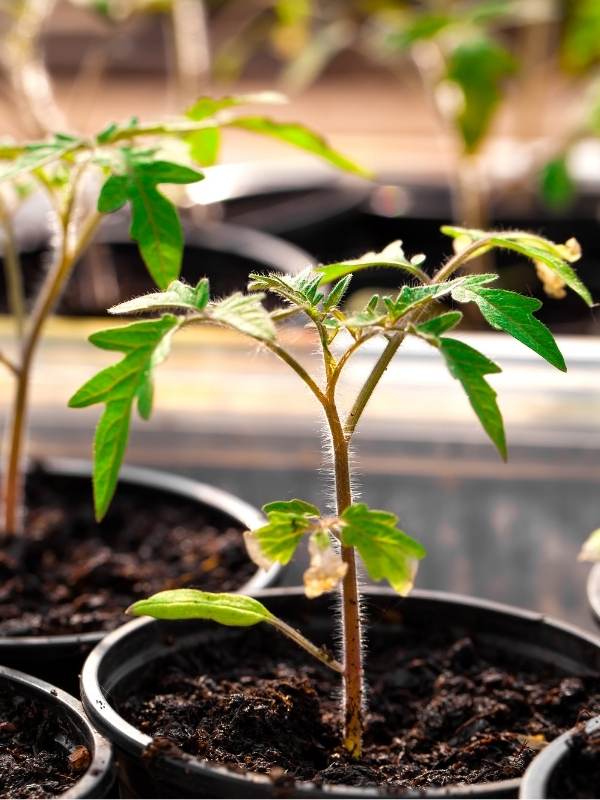
Place your newly transplanted tomato seedling in a location that receives full sun for optimal growth.
Greenhouses are the ideal place for starting seeds and caring for seedlings, but you can keep repotting tomato seedlings indoors even as they get quite large as long as they have grow lights that are continuously adjusted for the height of the plant.
Grow lamps should be positioned about 4 inches from the top of the foliage.
6: Water thoroughly
Water your tomato seedling thoroughly to help it recover from the shock of transplanting and firm up the soil.
It should be fully saturated until water runs out of the bottom, and then allowed to dry out a little before the next watering.
Stage Two: How to Transplant Tomato Seedlings Outdoors Into Your Garden
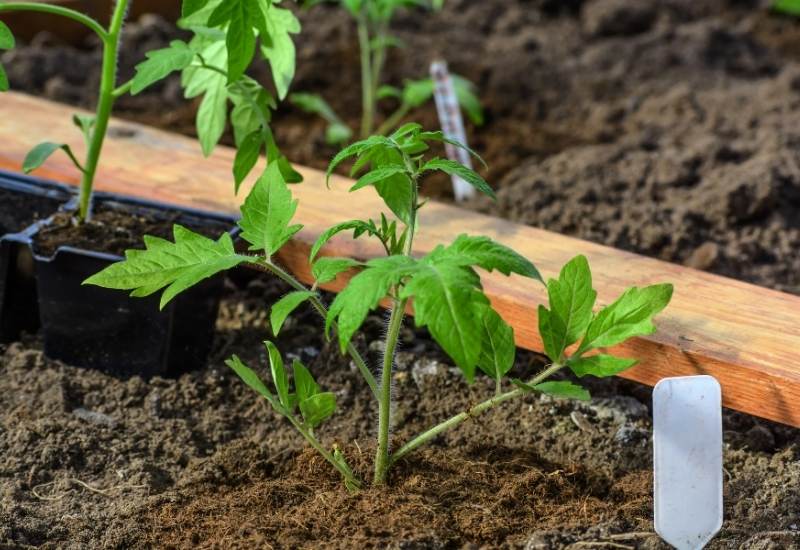
Once spring comes around and the weather is warm again it’s time to transplant your tomato seedlings (homegrown or store bought) into the garden!
This is often the main transplanting event of the gardening season, and here’s what you need to do to make sure you do it successfully:
1: Determine that it is warm enough and your tomatoes are big enough
The most important part about this type of transplanting tomato seedlings outdoors is making sure it is warm enough outside, as a cold snap where temperatures drop to zero will almost certainly kill your tomatoes.
Once you are certain that the risk of frost has passed for your area, the soil temperature is at least 50℉, and your tomatoes are around 5 inches tall, you can get ready to transplant your tomato seedlings by beginning the process of hardening off.
2: Harden off your seedlings for one to two weeks
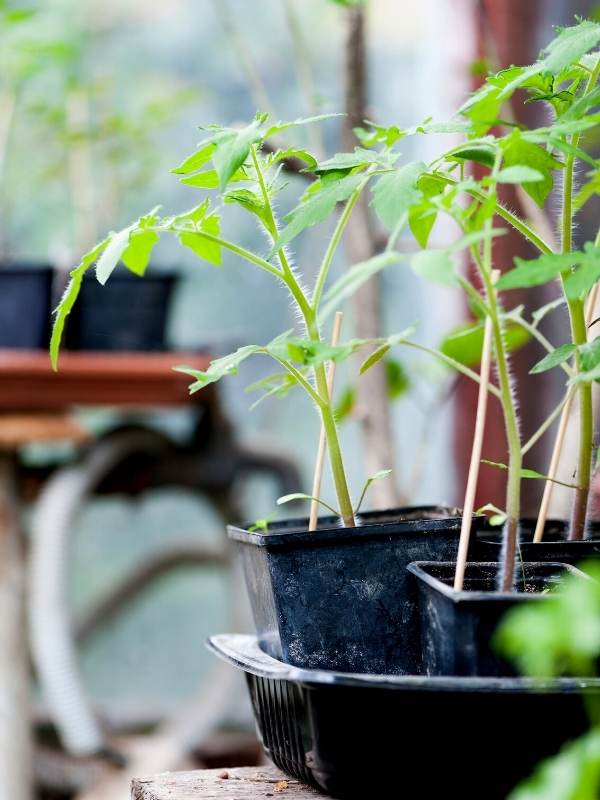
About 7-14 days before you plan to transplant your tomato seedlings, you need to acclimatize them to the outdoors so they are used to temperature fluctuations, wind, rain, and all other weather conditions they would have been sheltered from indoors.
The more time you give your seedlings to adjust the better, and the traditional way to harden off is by bringing your seedlings outdoors everyday for two weeks and increasing the amount of time they spend outside by one hour each time.
The first day they should just spend an hour outside, the next day two hour, etc. For the first few days they should be kept in a sheltered spot next to a wall and gradually exposed to more intense conditions like direct morning sunlight and wind.
If you are short on time, you can expedite this process by hardening off using a cold frame which should have your seedlings ready for transplanting in just one week.
Move your seedlings to an outdoor cold frame all at once and keep the lid open for a few hours more each day.
3: Select a good final location
Whether you are transplanting out into a garden bed, a raised bed, or a pot, you need to make sure the final location your tomatoes are transplanted to will support them for the rest of the season.
Tomatoes are heat-loving and need at least 6-8 hours of sunlight per day but preferably over 10 hours for optimal growth and maximum fruit production.
Before you transplant your tomatoes to the location you have in mind, check that it does receive this much sun and won’t be shaded by another tall plant later in the season.
You should also ensure the soil is nutrient rich and has excellent drainage (clay based soils are not ideal), and make the necessary amendments if needed.
Rotate your tomato plantings and plant them in a different spot than they were the previous season to avoid plants becoming infected with soil-borne tomato disease pathogens.
4: Dig a deep hole and amend with compost
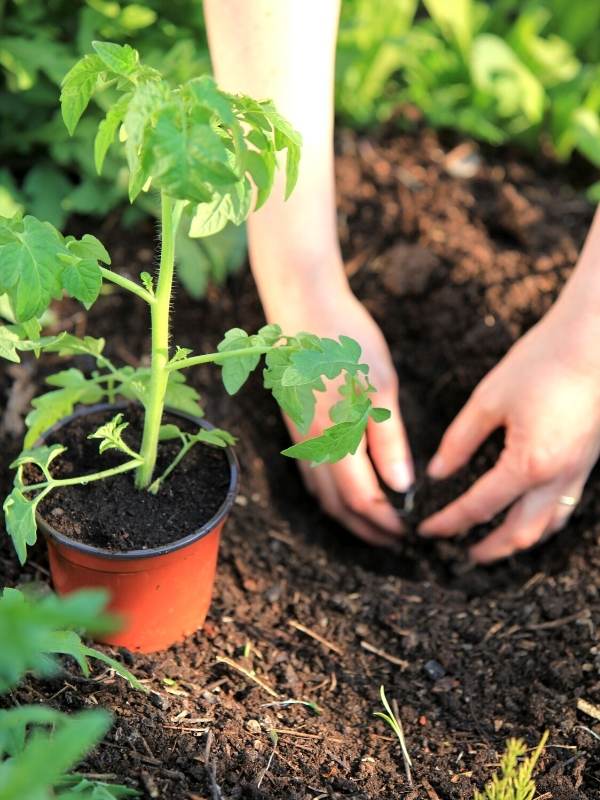
Dig a hole that is deep enough that your tomato will be buried up to the first main branch, and remove any leaves from the stem below this point. Depending on how tall your seedlings are, the hole may need to be almost a foot deep.
At the bottom of the hole, place a couple handfuls of compost of well-rotted manure to give the plant a boost upon transplanting.
Holes should be spaced apart according to the seed packet/plant label instructions of your specific tomato variety, but in general tomatoes should be at least 18 inches apart from one another so that they have sufficient space to grow.
5: Install trellis if needed
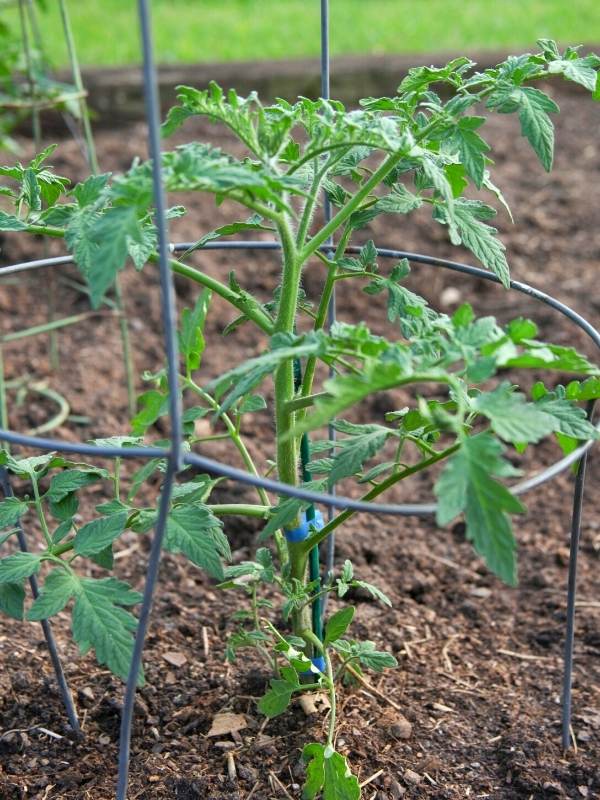
If you are growing an indeterminate tomato variety you will definitely need to support your plants with some kind of trellising structure, and this should be installed before planting the seedlings to prevent root damage.
Position trellises next to or above holes, depending on what system you are using (hanging trellis, cages, A-frame etc).
If you are growing an indeterminate variety, you may still need to provide a cage or stake of some sort to prevent heavy branches from snapping later in the season.
Don’t underestimate how large your tomato plants will become, even though it’s hard to imagine at this stage.
6: Unpot your tomato seedling and transplant into the hole
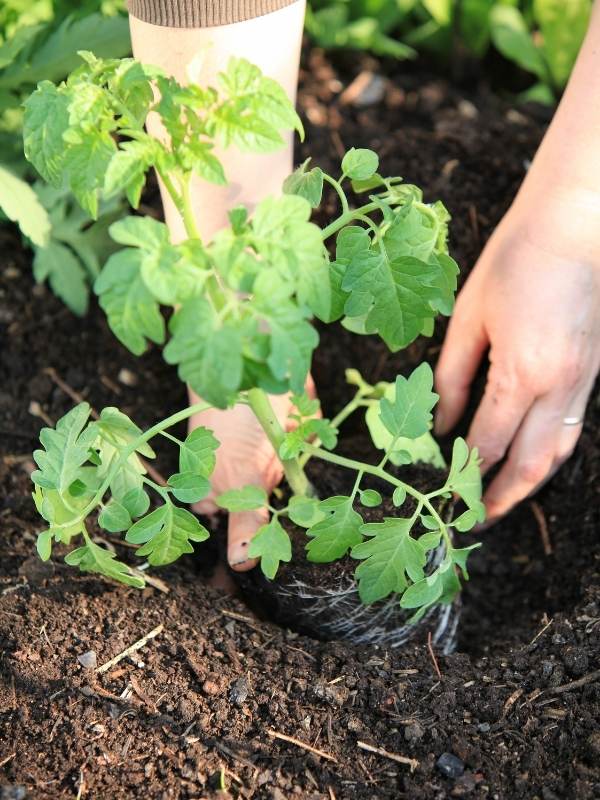
Unpot your tomato in the same way as in stage one, and lightly massage the roots or open up any tangled roots at the bottom that have become rootbound.
Place the seedling into the hole and make sure that the first node is just above the soil level. This is important so that new roots can grow from the stem and create a really strong and well-anchored root network.
Fill in the hole with the same soil you dug out, but take care not to press it down or mound it around the plant- the soil surface should be flat and even around the base of the tomato. Mounds and craters can affect the way irrigation water soaks into the soil and have adverse effects.
7: Water thoroughly
Once your tomato is transplanted, give it a deep drink so that the soil is fully saturated. Keep it well watered for the next week while your tomato is adjusting, but the soil should never be constantly soggy.
Frequently Asked Questions
How tall should my tomato seedlings be before transplanting outdoors?
Your tomatoes should be at least 4-5 inches tall before transplanting outdoors, so that they are robust enough to handle the transition.
The maximum height of tomato seedlings isn’t all that important compared to the soil temperature and weather conditions outside.
If the soil isn’t warm enough or you are concerned there may be another frost you should keep your tomatoes indoors (even if they are really tall!) and just keep repotting.
After I plant my tomatoes outside, can I dig them up and transplant them again?
You technically can dig up and move any plant throughout the season, but it’s really risky.
Tomatoes that have been transplanted outdoors will be establishing themselves for the season and building a root network, which will almost definitely be damaged if it is dug up.
Plan ahead before transplanting outside to make sure the spot you have selected is ideal, as there is a risk that another transplanting will substantially weaken or kill the plant.
Is it better to transplant tomatoes into pots or in the ground?
Whether to grow in pots or in the ground is really dependent on your personal preference and the space that you have available.
Growing tomatoes in pots gives you more flexibility and control, but growing in the ground can give your plants more space to expand. Neither is significantly better than the other!
Should I grow my own tomatoes from seeds or buy starts?
If you are a beginner, it is generally a good idea to purchase tomato seedlings from a plant nursery in the spring for the first couple of seasons, unless you want a challenge!
Starting tomatoes from seed can be quite finicky and it’s good to get a basic understanding of their life cycle and care throughout at least one full season so that you have a knowledge base to work with.
Enjoy Your Thriving Tomato Transplants!
A lot of transplanting goes down in the spring and early summer, especially if you have been growing your tomatoes from seed. Once you have transplanted your final seedling outside, take a break!
Well-transplanted tomatoes are set up for success early on, so enjoy seeing the literal fruits of your labor grow and ripen on your healthy plants.

Written By
Amber Noyes
Amber Noyes was born and raised in a suburban California town, San Mateo. She holds a master’s degree in horticulture from the University of California as well as a BS in Biology from the University of San Francisco. With experience working on an organic farm, water conservation research, farmers’ markets, and plant nursery, she understands what makes plants thrive and how we can better understand the connection between microclimate and plant health. When she’s not on the land, Amber loves informing people of new ideas/things related to gardening, especially organic gardening, houseplants, and growing plants in a small space.
