So you have successfully started your seeds indoors, or have purchased seedlings from an indoor nursery, and now before you transplant them you might be wondering what steps you need to take to harden them off and ensure they thrive in their new home.
Hardening off seedlings doesn’t have to be complicated, but there are a few key things to remember in the process to make sure your plants will be well adjusted to the great outdoors.
Here is our guide on everything you need to know about hardening off plants, with step-by-step instructions on a couple different ways you can do it.
What Does It Mean To “Harden Off” A Plant?
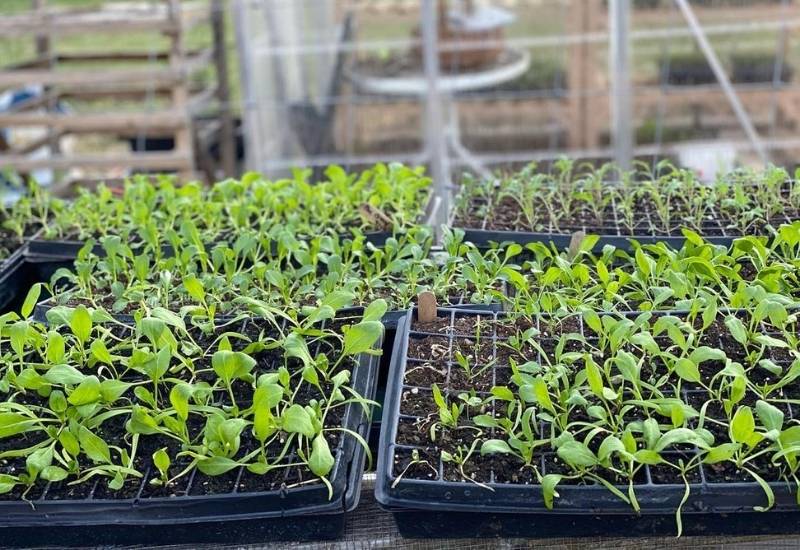
In a nutshell, hardening off is the process of acclimatizing seedlings to the outside conditions of your region by gradually increasing their exposure to the outdoors in the couple weeks before transplanting.
You can use a cold frame or similar structure to speed up the process, but it takes at least a week to successfully harden off young plants.
With or without equipment, the general idea is to reduce the shock that wind, direct sunlight, rain, and temperature fluctuations will have on your seedlings, and in doing so will set them up to be in good health for the season.
Why Do Seedlings Need to be Hardened Off?
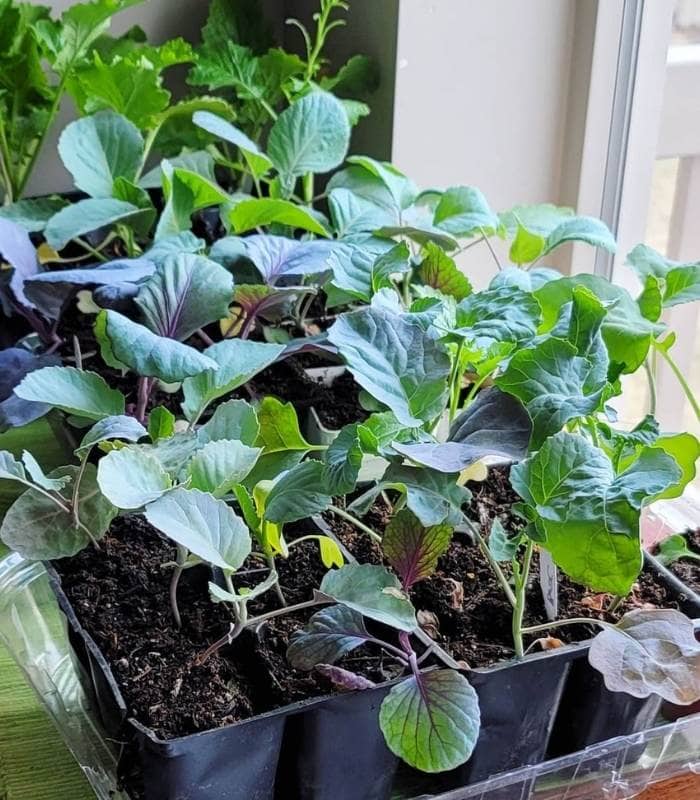
Seedlings that are germinated and raised indoors need to be hardened off so that they can acclimatize to the weather conditions of the outdoors.
Seeds that are sprouted and cared for indoors have not yet fully developed the protective, waxy layer that plants have called a cuticle.
The cuticle “skin” prevents evaporation from the outer layer of the plant (called the epidermis) and repels water, dirt, and potential disease pathogens from entering the plant due to its slightly hydrophobic nature.
So young, vulnerable plants without a fully developed cuticle are much more susceptible to being beat about by the weather and can become highly stressed and even die.
The exposure to intense, direct sunlight commonly gives leaves a “sunburn” where silvery patches will develop on leaves that have been shocked.
Just imagine if you had been in a warm, sheltered, temperature controlled room your whole life and then were suddenly thrown outside with no preparation? You would probably get a shock too!
2 Ways to Harden Off Seedlings for Successful Transplanting
Now that you know the whats and whys about hardening-off, let’s get to the how.
There are two main techniques you can use when it comes close to your transplanting date, the first of which is the more traditional, old-school way to harden your tender plants, and takes around 10-14 days to complete.
The second technique can be done more quickly, but will require you to invest in some equipment.
Most seedlings can only be hardened off and transplanted after the last frost of your area, so plan ahead and take note of when that date is for you.
Method 1: Hardening Off Seedlings By Gradually Exposes The Tender Plants To Outdoor Conditions
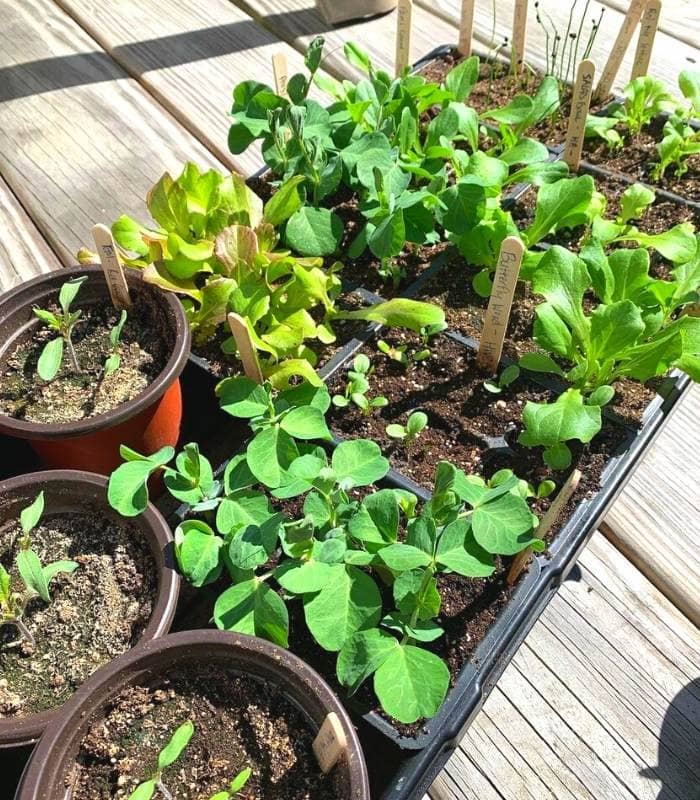
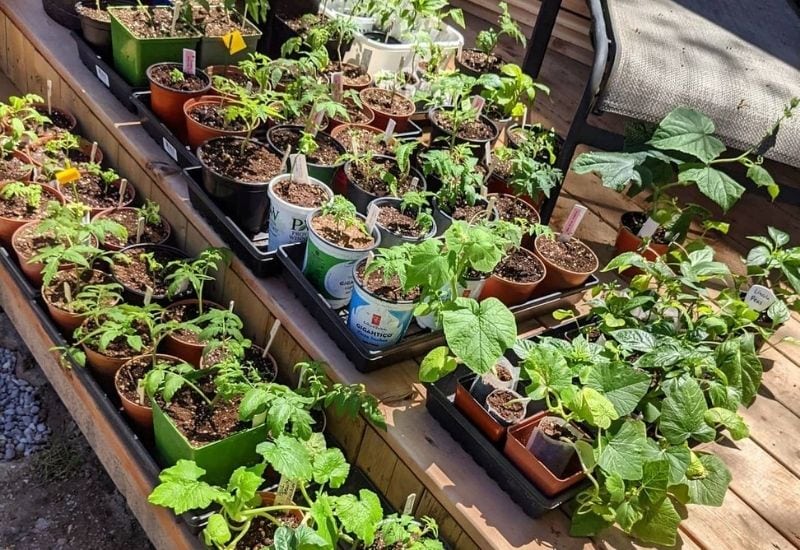
Slow and steady wins the race with this technique, which is the most traditional way to harden off seedlings and doesn’t require any equipment or tools.
It takes about two weeks to acclimatize your seedlings this way, but it’s simple and free- all you need is a semi-sheltered spot outside.
Method 2: Harden Off Seedlings In A Cold Frame Or A Mini Greenhouse
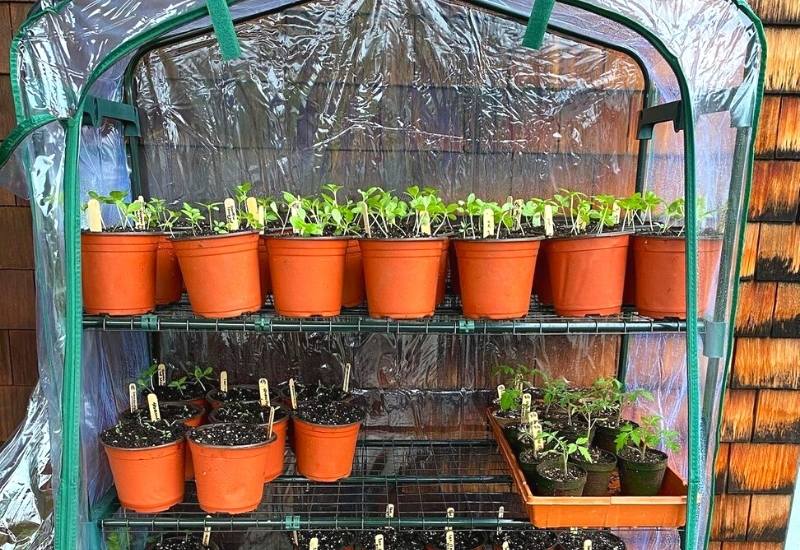
Maybe you lost track of time and need to plant out your seedlings in less than a week, or maybe you just don’t have the patience for method one.
In that case, you will need to buy a covered cold frame or a mini greenhouse to speed up the process of hardening off.
FAQ
Here are some answers to the most frequently asked questions about hardening off:
Where should I place seedlings when hardening them off?
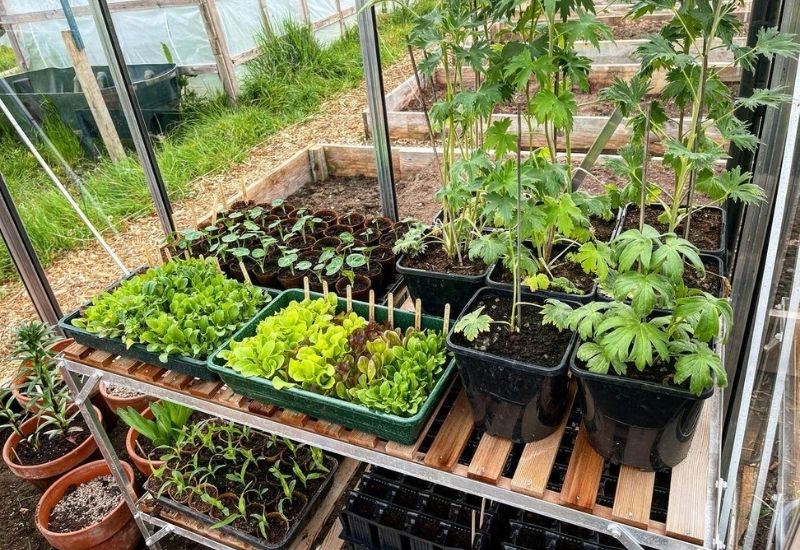
If using the traditional method, place seedlings on a raised surface like a table to protect them from insects or animal pests.
If you have deer that roam around your property, you may want to make sure they are in a fenced or protected area, as the deer will happily munch on plants that are just on a table!
Seedlings in a cold frame will usually be quite well protected, but still keep an eye out for pests.
How do I know when to start hardening off my seedlings?
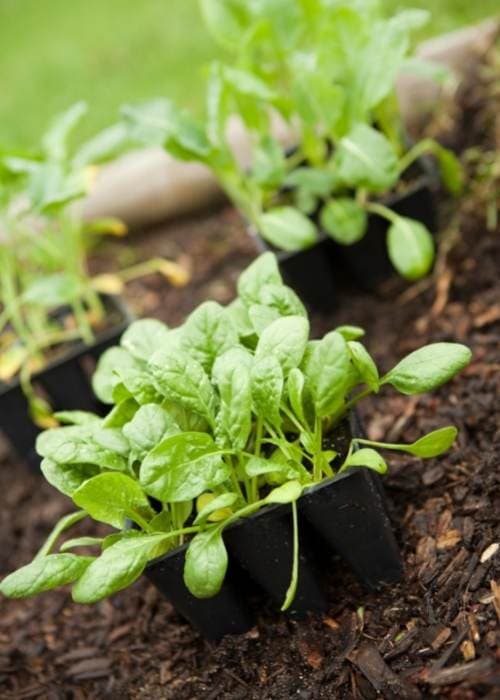
You should count backwards from the recommended transplanting date for the variety of plant you are growing. This information is usually on the back of a seed packet or on the label of a plant bought from a nursery.
If you are unsure, do some research to find out when your particular plant should be transplanted for your area, and then start hardening off 7-14 days before that.
Make sure that you account for the date of last frost, as many seedlings that are being hardened off will die if exposed to freezing temperatures.
What happens if I do not harden off my seedlings?
Seedlings that are not hardened off will usually exhibit signs of stress due to the sudden exposure to weather conditions combined with the shock of transplanting. Strong, direct sunlight can give leaves a sunburn, and they may develop silver patches, curl up, and fall off.
Leggy plants may snap when exposed to wind, and temperature fluctuations could stunt growth.
In the worst case scenario your young plants may die a couple days after transplanting, and even in the best case scenario your plants won’t be set up for success and will be more vulnerable to pests and disease during the season.
Take the time to harden off and you will thank yourself later!
Is there any way to harden off seedlings I already planted?
If you forgot to harden off your seedlings and have already planted them, you should not try to dig them up as this will just further stress them.
If you transplanted them recently, consider purchasing a ‘water tipi’ or similar water-filled structure that can be placed around plants in the ground.
This will be like a band-aid hardening off solution, where they are quickly given some extra warmth and protection after being planted that might reduce the shock.
If it has already been a while and your plants have survived, then great! Count yourself lucky and just prune away any sunburnt leaves.
Are there any plants that don’t need to be hardened off?
Pretty much any fruit, vegetable, herb or ornamental plant that has been grown indoors will need to be hardened off, as it isn’t plant dependent so much as the general process of needing to adjust to new conditions.
If you purchase a seedling from an outdoor nursery, they will have hardened it off for you and then you can go ahead and transplant it right away.
Can I harden off many plants at once?
Yep! As long as you have the space, harden off as many plants as you want together. It will be a bigger target for animal pests (especially when you get to the stage of leaving them out at night), so make sure to take the necessary precautions (spritzing apple cider vinegar around the legs of the table wards off prey animals because its smell mimics predator urine).
You might want to use a wheelbarrow or wagon to transport plants in and out while hardening them off otherwise it will be a lot to ferry back and forth.
What are the main mistakes made when hardening off?
Rushing the process of hardening off is probably the most common mistake, and you need to practice some patience and planning to do it successfully.
Otherwise, letting your seedlings dry out in the new conditions can be a risk as they become exposed to more sunlight, and you should be especially careful if using a cold frame or a mini greenhouse that you don’t cook the seedlings inside- open it up for lots of air circulation very frequently!

Written By
Amber Noyes
Amber Noyes was born and raised in a suburban California town, San Mateo. She holds a master’s degree in horticulture from the University of California as well as a BS in Biology from the University of San Francisco. With experience working on an organic farm, water conservation research, farmers’ markets, and plant nursery, she understands what makes plants thrive and how we can better understand the connection between microclimate and plant health. When she’s not on the land, Amber loves informing people of new ideas/things related to gardening, especially organic gardening, houseplants, and growing plants in a small space.

