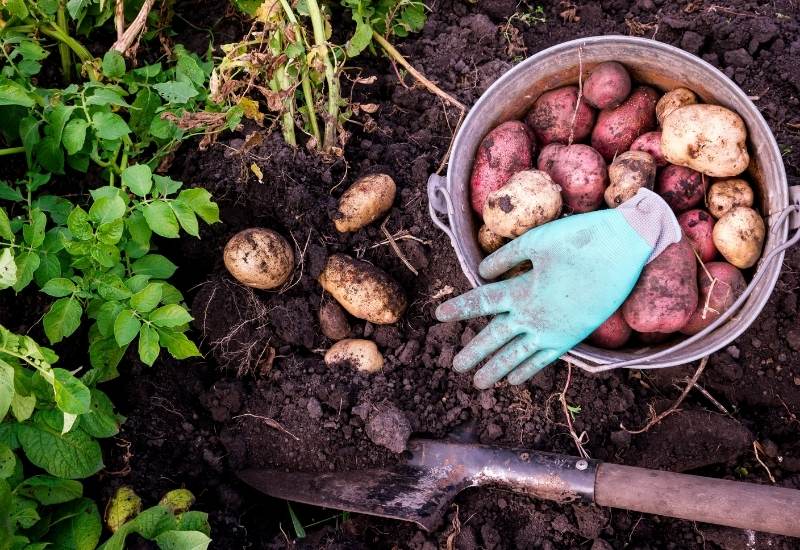
So, you planted your potatoes, they look healthy, you have managed to keep pests away. But when can you actually harvest them? With new potatoes, early potatoes, baking potatoes and all sorts, it is hard to say when potatoes are ready to harvest, isn’t it?
And then, they are not like tomatoes… You can’t see the actual potatoes as they are in the ground.
Nature and the plants themselves will tell you when your potatoes are ready to be dug up. In fact, the harvest of potatoes can take place from 50 to 120 days from planting. Depending on the type of potato, on the local climate and, above all, what the plant tells you, you can understand precisely if it is time to dig potatoes up.
So, if a bountiful potato harvest that transitions well into storage sounds dreamy to you, stick around as I’ll walk you through a clear, step-by-step guide illustrating the tell-tale signs indicating it’s time to dig up your potato plants.
Moreover, I’ll share my tried-and-true methods for harvesting homegrown potatoes, and my trusted techniques for curing and storing them effectively.
How Long Do Potatoes Take To Grow?
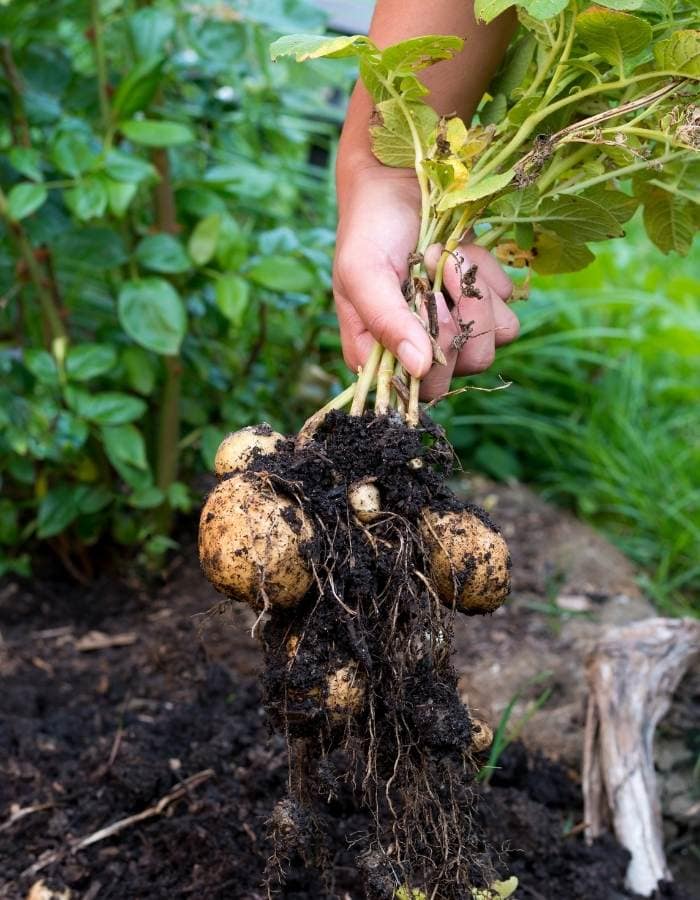
The answer to how long it will take you to harvest potatoes is… it depends… It ranges from 50 to 120+ days from planting, which is a big window.
But it will depend on:
Baby and new potatoes can be harvested as early as 50 days from planting, bigger size potatoes will take from 70 to 120 days.
So, how can you tell when your potatoes are ready to harvest?
How Can You Tell When Potatoes Are Ready to Harvest?
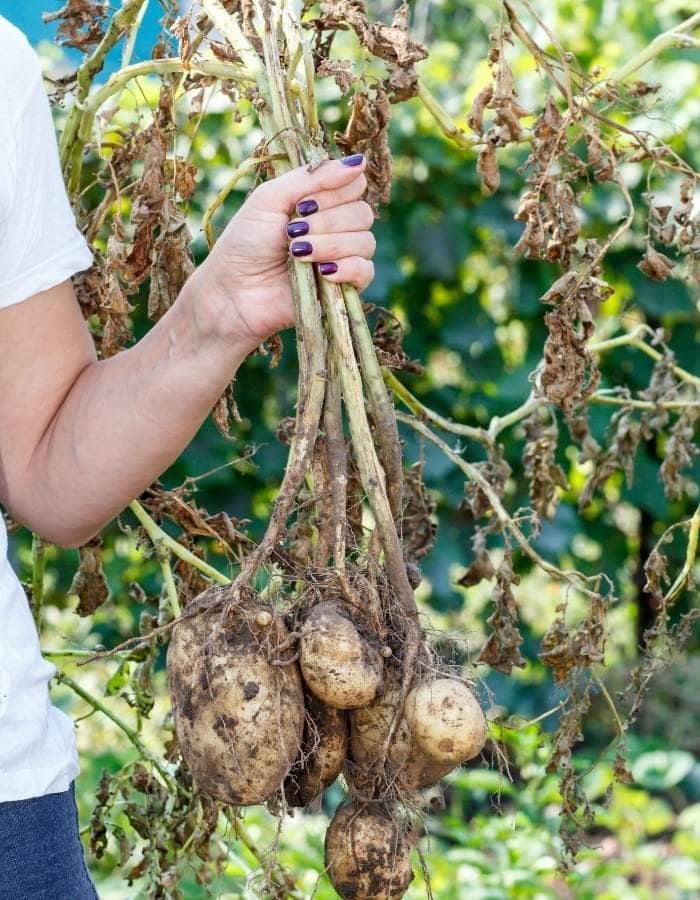
As we said, the best “person” to tell you when your potatoes are ready for the picking is the potato plant itself.
This too depends on whether you want to have small (baby, new etc.) potatoes or mature ones.
The tips of the potato plants will tell you in both cases when to start preparing for harvest:
This seems straightforward and it is in many ways, but these are only basic indicators. To understand exactly when you should uproot your potatoes, you need to understand the life cycle of the plant.
Understanding the Life Cycle of a Potato Plant
We said that the plant will tell you when there are large and nutritious potatoes ready for you, remember? Fine, but if you want to understand what the plant is telling you, you should get to know the life of Solanum tuberosum – that’s just the scientific name of the common potato plant…
Potatoes are actually perennial plants, even if we grow them as annuals. And like most perennials, it goes though three phases:
Potatoes are also tuberous plants, in fact, the potato itself is a tuber. This is very important for us.
When a tuberous plant goes into the dormant phase, it sends virtually all its energy into the tubers. These are “energy reserves” for the plant to do two things:
And here is the trick… Towards the end of their life, tuberous plants send lots of nutrients down into the tubers, which swell and grow, in our case, into big potatoes.
What does it mean for us? It means that the plant will only have small tubers (potatoes) till after it is in bloom. Up to the fruiting stage, lots of its energy will be used to grow first leaves, then flowers and finally the fruits (potatoes have fruits too).
This means that it is a waste of time to harvest potatoes before they have fully bloomed.
This also means that you need to harvest them before they germinate again, or they will use up all the nutrients stored in the tubers to grow new plants.
This is the maximum window for harvesting potatoes, but… In most countries, like temperate ones, you also need to harvest your potatoes before it gets too cold. Potatoes will resist a light frost, in fact, but in temperate winters, they risk rotting away, and surely lose consistency and weight.
Yes, because despite being popular in cold countries like Ireland, potatoes are actually from South America.
To conclude, and to give you a wide frame of reference, you need to harvest your potatoes in a window that goes from when the plant is in full bloom to before the tubers lose strength, which is before winter or regermination, whichever comes first.
But this still leaves a wide window, doesn’t it?
Yes, and we are going to see exactly when within this window you should dig up your potato crop.
When Are Potatoes Ready To Harvest?
A lot depends on which type of potato you want. The difference is actually huge in terms of harvesting. You will notice that you get fresh baby, new and early potatoes from spring, while baking potatoes will come in late summer or even fall.
This does not mean that new potatoes have plants that live shorter than larger potatoes… No… They are harvested earlier.
This is why the processes for these two types of potatoes are different.
Let’s start with the smaller, and more tender potatoes.
When to Harvest Baby, New and Early Potatoes?
The harvest of baby and new potatoes may be as early as 50 days after planting, though it usually ends up being between 60 and 90 days. There are many factors involved in the maturity of the tubers underground, including:
You guessed; the warmer the climate, the faster the growth. Also, loose but rich soil is better than poor and hard soil… Bugs like the famous potato weevil can weaken the foliage and the plant, which in turn cannot send as much energy to be stored down in the tubers.
As to the temperature, extreme changes can affect your new potatoes.
Usually, you will plant them in March or early April for an early crop and in May for a summer crop. If you plant them later, the temperature may exceed the 16 to 21oC average range (60 to 70oF) they need to grow healthy young plants.
But is there a sign the plant will give you?
Yes! And the sign is the bloom:
How to Harvest Baby, New and Early Potatoes
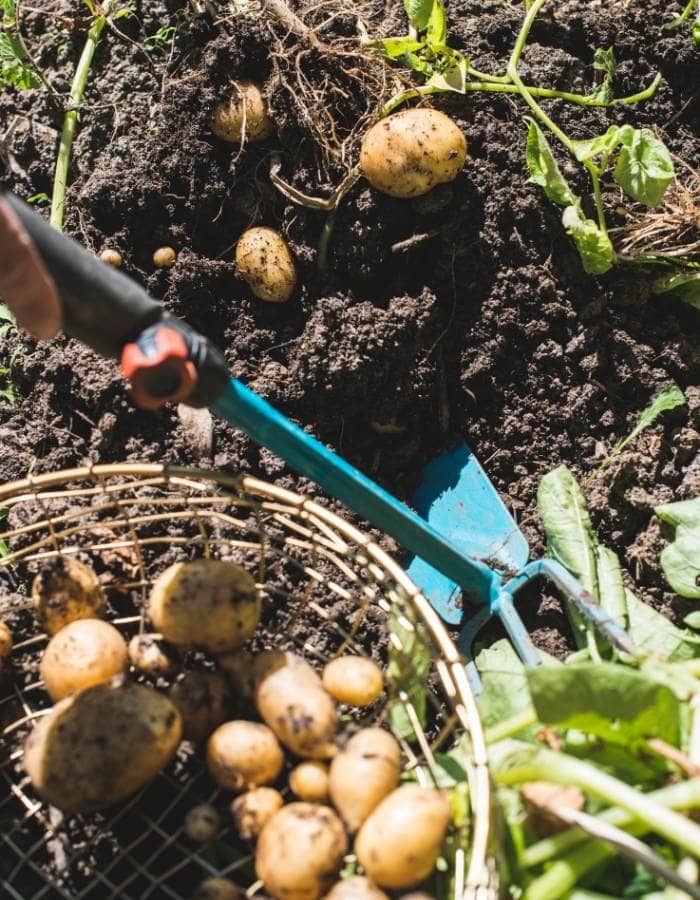
Let’s start with the smaller, and more tender potatoes.
How to Store Baby, New and Early Potatoes
Young potatoes are not as strong as mature potatoes. They will not usually last as long as big, baking size potatoes.
In fact, young potatoes are softer and richer in water. This means that they are more susceptible to the weather.
The skin of new, baby and sometimes early potatoes will come off easily if you rub it. This means that it has not thickened, so, it will only offer little protection to the tuber.
This means one thing: you need to treat baby, new and early potatoes very carefully.
They will not last you a year, but still you can have them for quite a few months, on condition that you store them correctly. Especially early potatoes can really last you till the next spring! So, here is how.
There are also mistakes you must avoid at all costs:
Storing Seed Potatoes
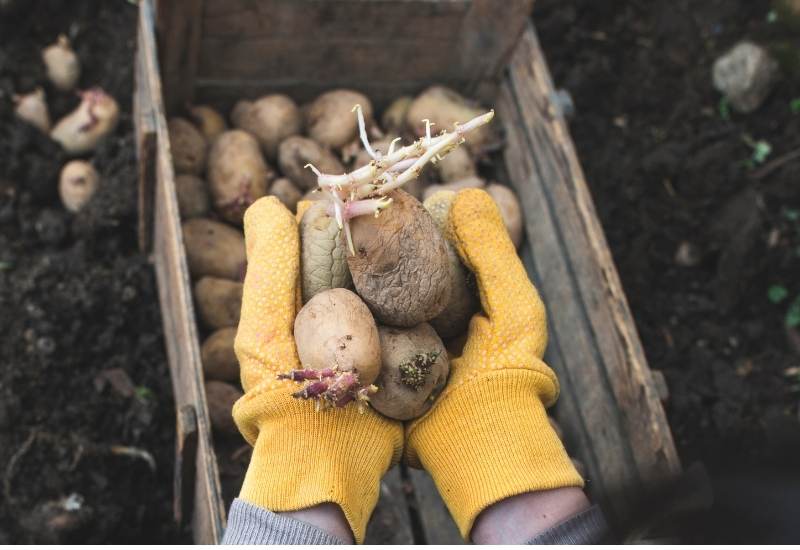
Seed potatoes are the potatoes we will plant next year. They too need to be stored, but first of all you will need to choose them…
Now, on to how you can store them.
These potatoes will be ready for planting whenever you want next year.
Storing seed potatoes is the same process for small potatoes and for mature ones, which we are going to see next.
Harvesting, Curing and Storing Mature, Large Potatoes
Mature potatoes, like baking and boiling ones, are a different story. They take longer to harvest, they will last longer when stored but, above all, they need curing, a process which we will see in a moment.
Timing the Harvest if Large, Mature Potatoes
Large potatoes, like baking potatoes, will take much longer from planting to harvest. This will not occur before than 90 days from planting, and it very often goes well beyond this time, up to 120 days.
Some farmers even do it after this long period, but only in countries where winter comes late or it is very mild.
Why should you wait so long?
Because you want your potatoes as big and rich in nutrients as possible.
And when does that happen?
Technically, when the plant has wilted, it is the time when the potatoes are biggest.
Let’s look back at the life cycle of a potato. Before the leaves and stems (the aerial part) die off for the winter, the plant stores as much energy as possible into the tubers. When the plant is dead, it cannot store any more energy into the tubers.
But the tubers may start losing some of it due to cold weather and other factors. This tells us that the peak of the potato is exactly when the aerial part of the plant has just died off.
But you may not be able to hit this time precisely, for many reasons:
In fact, the growth of the tubers in the last few days may be so limited that most gardeners do not risk having frost ruin their potatoes or just want to use the soil for a winter crop.
So, most gardeners start before the plant has died off completely.
But when exactly?
Once more, the plants will give you a clear hint!
A clear sign that your potato plants are ready for harvest is the change in the leaves. As they begin wilting, the leaves turn pale and papery, indicating that photosynthesis has stopped and they won’t grow any larger. Additionally, you’ll notice the leaves bowing down toward the soil. When they touch the ground, it’s a solid indicator that your potato plant has completed its lifecycle and is ready to be dug up.
Even upon observing these signs, I find it wise to wait for the foliage to fully die back before harvesting. This patience ensures that my potatoes have reached their peak size and nutrient content, making the wait worthwhile. However, as soon as the tips wilt away, you can start planning my harvest.
So, how can you check if the potatoes are ready?
Keeping an eye on the stage of maturity of your potatoes once the first tips start wilting is key to getting the harvest timing right.
Now, especially if you live in a place, like in most Northern US states or Canada, where the weather can change suddenly late in the season, keep checking your potatoes and as soon as they are ready harvest them. You don’t want to risk the whole crop for an extra millimeter in size…
If the skin is hard, but the potatoes are still smallish, yet there is a risk of frost, you’d better harvest them. They will not become huge anyway at this stage.
Before we move on to see how you can harvest your potatoes, one reminder: the last few weeks or month before harvesting your mature potatoes reduce watering!
You want the tubers to have little water and lots of nutrients, to be “on the dry side”. They will store better, last longer and they will actually be more nutritious.
How to Harvest Mature Potatoes
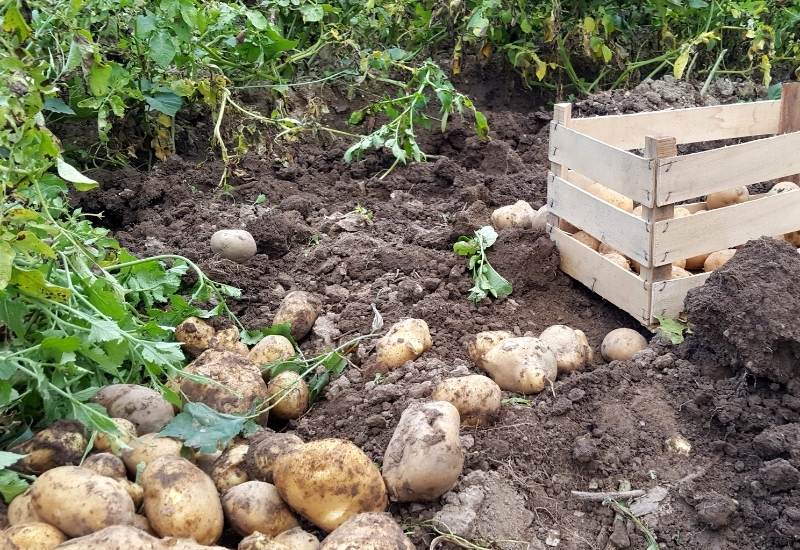
Now you know when to harvest mature potatoes, let’s see how you can do it successfully.
You see, despite potatoes looking rough and strong, they are actually very delicate, especially at this stage. Treat them kindly and they will be ready for the next two steps: curing and storing.
How to Cure Mature Potatoes
Mature potatoes need to be cured before storing them away. This process involves hardening and drying the tubers, so that they can be stored safely. You see, the less water you have inside the tubers, the longer they will last and the least likely they have to develop diseases or rot.
In fact, the curing starts even before harvesting… Do you remember that we said you should reduce watering a few weeks or a month before harvest? That is actually when you start curing them.
But apart from this, what should you do after you have dug them up? Here we go…
There are two phases to curing potatoes: here is the first phase.
Now on to the second phase if curing potatoes.
You will need a well ventilated and dark place, where the temperature is between 7 and 16oC (45 to 60oF). You will also need a simple table, or any flat and dry surface.
Now your potatoes are ready for storage.
Curing may look like a laborious process, and you do need a cool and dark place.
However, it hardens the potato skins, it dries up the potatoes and it also gives you 10 days to 2 weeks to allow any rotting or disease to start, so that you don’t end up storing infected or unhealthy potatoes with healthy ones…
On the whole, it is rally worthwhile!
How to Store Mature Potatoes
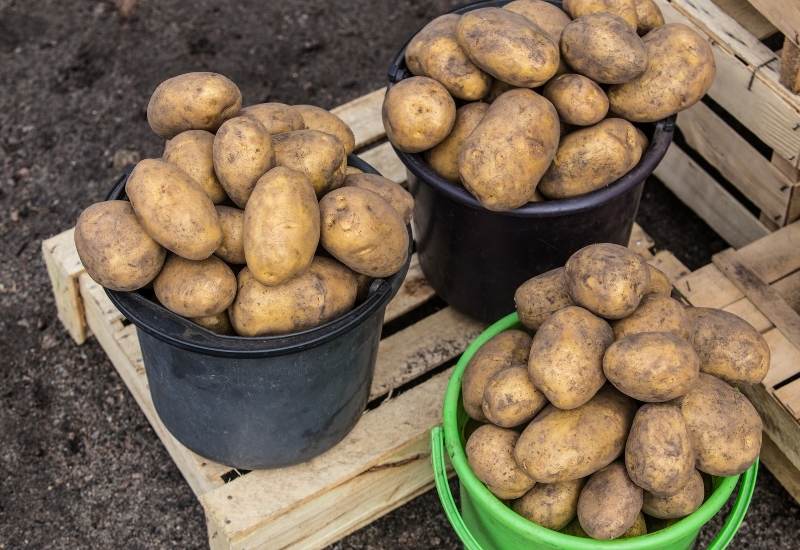
The way you will store big, mature potatoes depends on:
Let’s see…
So, how to store a large crop of mature and cured potatoes?
To start with, the two key elements you need are:
These are the conditions you will find in most cellars.
The place will also need to be dark. Light will encourage the potatoes to sprout.
The principle is to have layers of potatoes with ventilation between them.
How about if you want to take a few potatoes out and store them, maybe in your cupboard or in your shop, before using them?
And…
That’s all folks!
Harvesting Potatoes in Containers, Raised Beds and Grow Bags
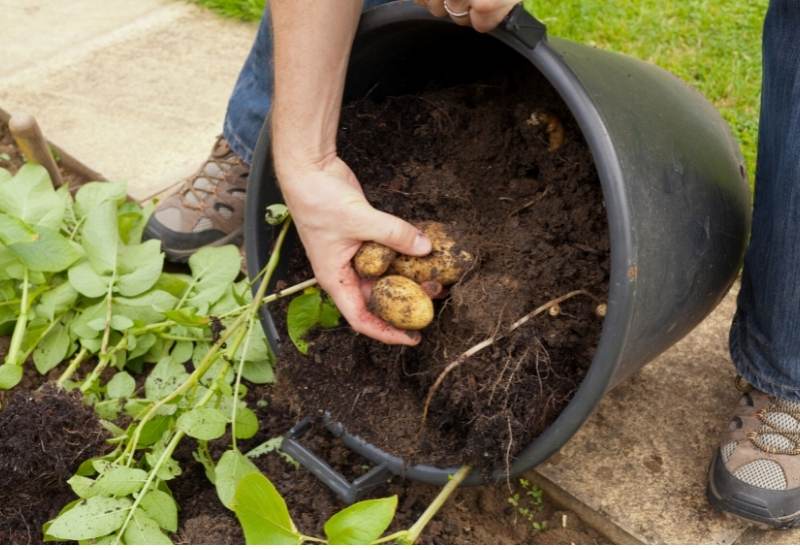
How about if you do not have your potatoes in full soil? Raised beds are becoming very popular in urban and suburban gardens. Some people may grow potatoes in large containers. Finally, howe bags are becoming a favorite alternative to garden beds and rows…
What should you do in this case?
In terms of timing:
How about curing and storing?
How to Harvest Potatoes in containers and Raised Beds
The main difference in the harvesting method is due to the size and to the structure of the containers or raised beds. So, let’s see what changes.
As you can see, it is quite simple and straightforward. But how about grow bags? We will see them next.
How to Harvest Potatoes from Grow Bags
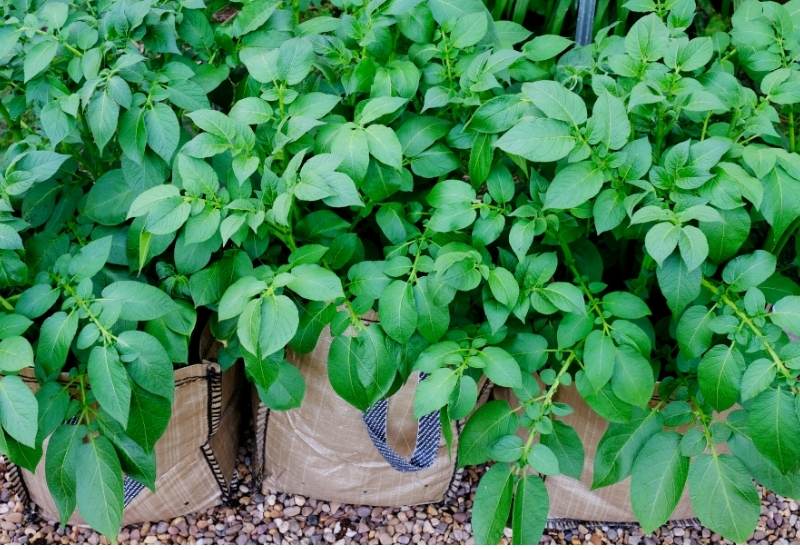
So you prefer grow bags to containers? Fine, harvesting potatoes from grow bags is easy if you are wise in planting. Otherwise, it’s a tiny bit more complicated… So, we need to distinguish between two cases.
1. You planted different varieties in the sam bag (unwise).
2. You planted in,y one variety within each bag (wise).
If you have a “mixed bag”, the chances are that they will not all ripen at the same time… And that will be the main problem. So how can you do it?
Now, compare this with what you need to do if you are wise with planting, i.e. if you have planted the same variety in each bag.
This may be a good time to dry out and disinfect the bags too. A few days un the Sun and wind and a spray of apple cider vinegar will do the trick.
As you cam see, if you are wise when planting your potatoes, you make your life much easier later on!
FAQS on Harvesting Potatoes
So, any other questions? Well, here are the most common I have heard, of course with an expert and comprehensive answer!
What happens if you don’t harvest potatoes?
If you don’t harvest potatoes when the plant’s foliage dies back, they may sprout and produce more potatoes next year, or you may lose most or all of them. But you need both a warm winter and lots of space around each plant to get a new crop from potatoes you have not harvested.
If the potatoes are close by they will not have room to grow healthy plants and tubers. If the winters are cold and wet, they will simply rot.
But even if you live in a hot country and have planted your potatoes vary far apart, the chances are that leftover potatoes will not give you great results… You see, you need loose soil (so you would meed to work it) and rich soil (so you will need to feed it…)
Most farmers forget a few potatoes when they harvest. Most farmers, even in hot and dry countries, see a few plants coming up next year. All farmers know that the chances are that you will get a few, smaller than average potatoes from them, not a great crop!
Can you eat potatoes right after harvest?
Absolutely! Ripening potatoes is not the same as ripening a fruit. The tuber is edible at all times, even when it’s very small and young. It’s just that you don’t get much out of it. Similarly, curing them is only necessary to make them last longer, nothing to do with flavor…
Actually, when you harvest, be ready to eat lots of potatoes for a week or two… Why? As we said, you don’t want to throw away those potatoes you have cut with your spade or pierced with fork. But you can’t store them either. So, the best thing to do is to eat them straight away.
How long can potatoes stay in the ground after the plant dies?
The answer depends on the climate? You see potatoes are made to stay in the ground and provide the energy for new plants next year. So, in their natural environment, they can stay in the ground till spring, when they will sprout and produce many new plants…
But remember where they come from? South America, so… In most temperate countries they will not survive the winter. Water and humidity combined with cold will get the potatoes to rot.
So, if you live in California, your potatoes will stay in the ground till spring. If you live in Canada, just make sure you harvest them before the frost frost, which in many cases is in fall…
Having said this, even if your potatoes may survive till spring, it does not mean that they will be as nutritious or even good to eat. As soon as the plant dies, the potato starts to lose some strength…
But what’s more, as soon as the potato sprouts, it will lose lots of strength, nutrients, size and even texture, and you may end up with half empty “husks”.
Should you wash potatoes before storing?
Absolutely not! Only wash potatoes before cooking them… You see, a bit of “dirt” (soil) on the potato helps it preserve better…
But it also keeps its flavor packed in. As soon as you wash them, the skin will become more liable to weather damage and the flavor will start becoming blander…
Actually, let me share a secret from top chefs… Even when you buy potatoes, but them with “dirt” on them, a top chef would never even look a those clean ones…
Potatoes, Growing, Harvesting, Curing, Storing and Tradition
Now you know when and how to harvest different types of potatoes, how to cure them and how to store them.
But you know what? While with many vegetables methodologies and techniques have changed a lot, for potatoes the old traditional ways are still in use… And they are still the best…
I keep updating my knowledge all the time. But these, with slight improvements, are still the methods my grandfather used!

Written By
Amber Noyes
Amber Noyes was born and raised in a suburban California town, San Mateo. She holds a master’s degree in horticulture from the University of California as well as a BS in Biology from the University of San Francisco. With experience working on an organic farm, water conservation research, farmers’ markets, and plant nursery, she understands what makes plants thrive and how we can better understand the connection between microclimate and plant health. When she’s not on the land, Amber loves informing people of new ideas/things related to gardening, especially organic gardening, houseplants, and growing plants in a small space.
