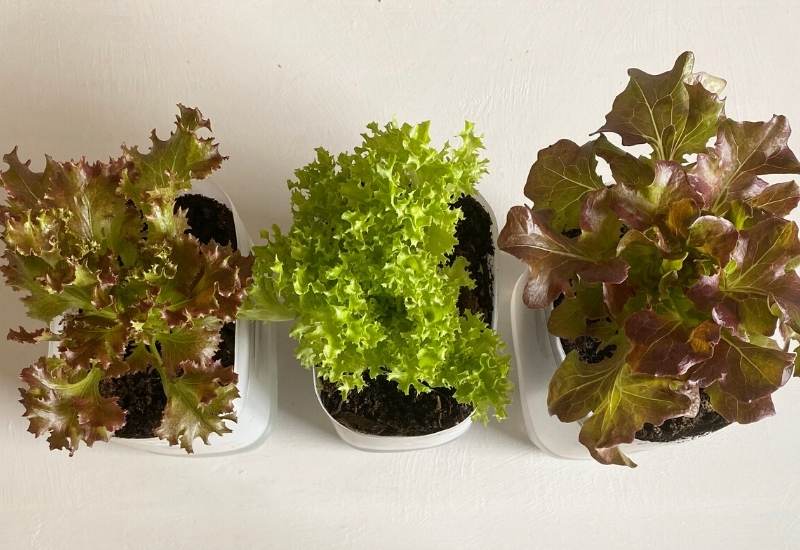
Self-watering planters and pots have become quite popular lately, especially with the boom in small-space urban gardening. They can be purchased in many different shapes and sizes, or even made as an easy DIY project.
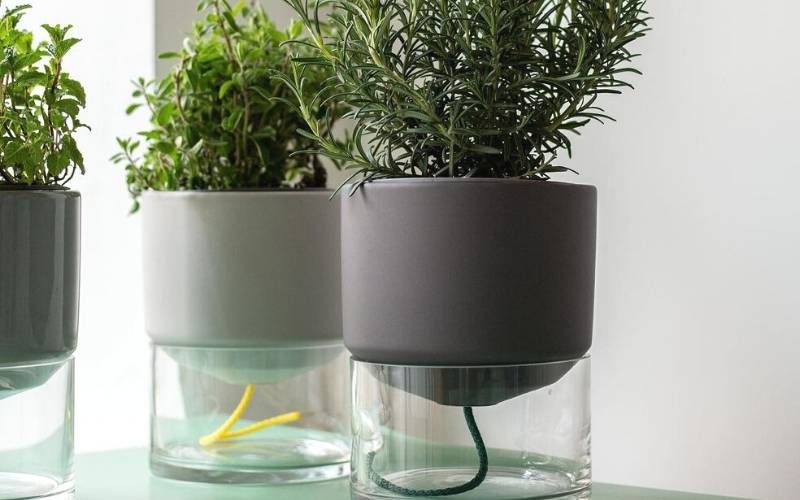
This simple, yet effective design is easy to customize because it only consists of four major components: the planting container, potting soil, water reservoir, and wicking system.
In this article we will discuss how self watering planters work, how to make your own DIY versions, provide tips, and answer some common questions about them.
Whether you plan on buying self-watering pots to fill your space, or making your own at home, you’ll quickly see why their popularity has exploded in recent years.
Do Self Watering Planters Actually Work?
Yes! Self-watering planters make growing any potted plants much easier, especially for first time gardeners. Not only are they a super convenient time saver, but they can actually lead to improved plant health and water efficiency.
Contrary to what the name implies, these planters do not actually water themselves. Instead, they rely on a reservoir system.
When you fill up the reservoir, your plants are then able to draw up their own water as needed, saving you from keeping track of moisture levels and judging how often to water.
So, How Do Self Watering Pots Work?
Self-watering planters and pots use a reservoir with a wicking system to maintain consistent levels of moisture in the soil. Using the mechanism of capillary action, water which is absorbed by the roots is quickly replaced as the soil wicks up more from the reservoir.
The Four Basic Components of a Self-Watering Planter
Regardless of whether you’re buying one from a store, or making your own, there’s always four major components to a self-watering planter:
1: Planting container
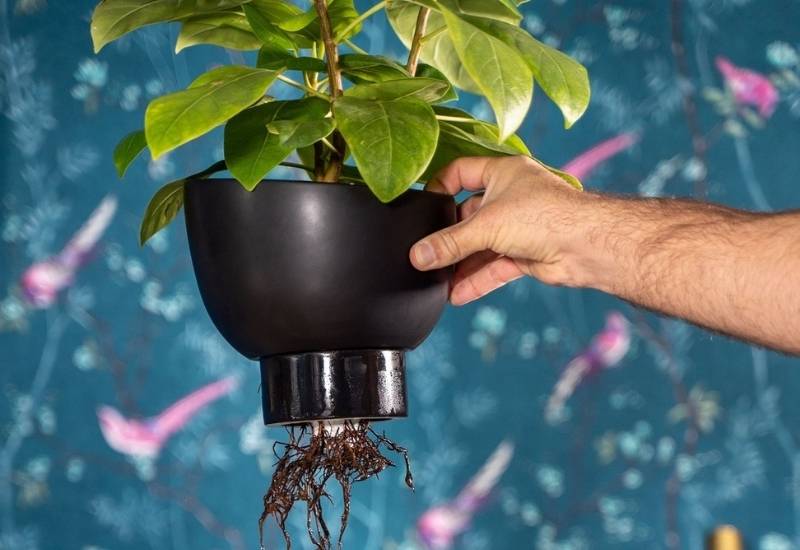
The top section of your self-watering planter is the planting container, where the plant will grow in potting soil.
2: Potting Soil
When using a self-watering container, regular garden soil will likely be too heavy and dense. Always make sure to use a lightweight potting soil, which will be absorbent and avoid compaction.
3: Water Reservoir
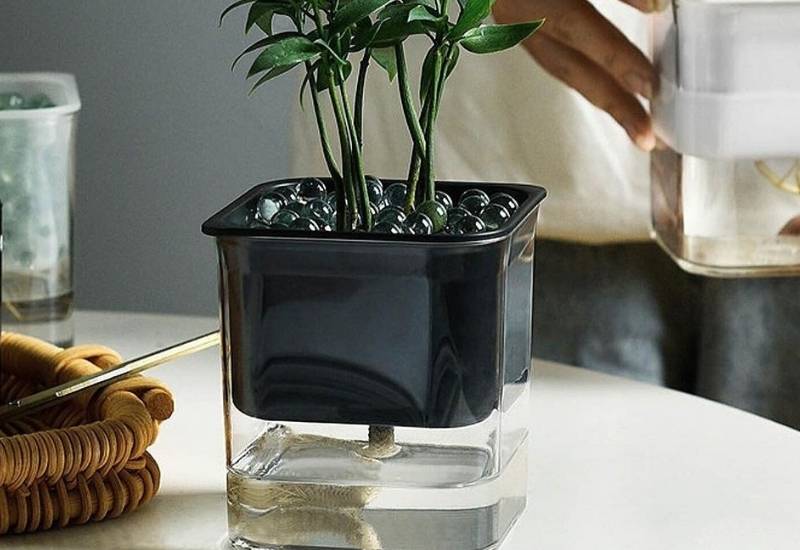
Water reservoirs can vary in size in proportion to the size of the overall planter, located beneath the planting container.
For replenishing the reservoir when it’s low, there will be a fill tube travelling from above the soil surface down into the reservoir below.
Since it’s unlikely you will be able to see how much water is in the reservoir, an overflow spout, float, or viewing window is an important feature.
4: Wicking System
The wicking system uses capillary action to deliver water from the reservoir, to the soil in the planting container.
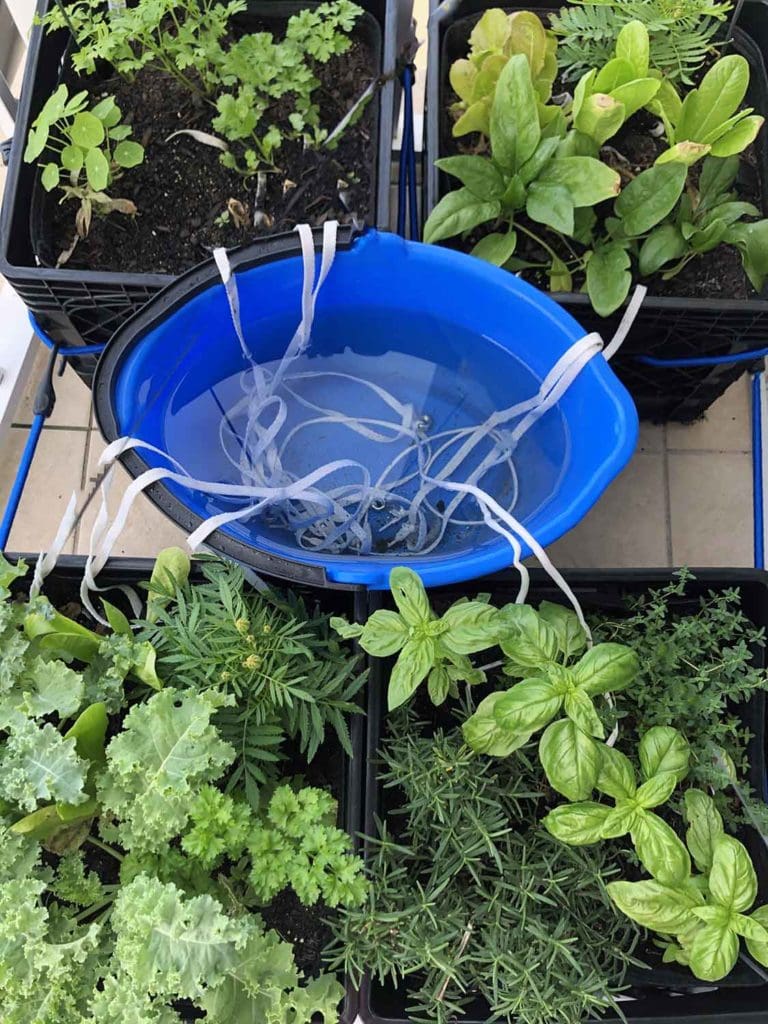
This is achieved by using an absorbent material such as rope or cloth as a wick, with one end in the reservoir and the other in the soil.
Next, we will explore capillary action in greater detail to help you understand this process.
Understanding Self-Watering Planter‘s Capillary Action
Capillary action is the mechanism by which wicking is able to occur. This explains exactly how a sponge is able to absorb liquids, or the way plant roots are able to defy gravity and draw up water from the soil to be transported around the plant.
Due to the strong intermolecular forces between liquids and the solid surfaces surrounding them, liquids can be propelled through narrow spaces in opposition to external forces like gravity.
This is the result of a combination of surface tension and the adhesive forces between the liquid and the solid around it, if the diameter of the tube is small enough.
In terms of self-watering planters, it is important to thoroughly water the soil from the top first.
As photosynthesis occurs and water is evaporated from the leaves of your plant, the roots will quickly draw up more water to replace it
At the same time, the capillary action, or wicking, will occur as the soil draws up more water from the reservoir to replace what has been taken by the roots.
If the system is balanced and working correctly, the soil should always remain consistently moist without ever becoming too saturated.
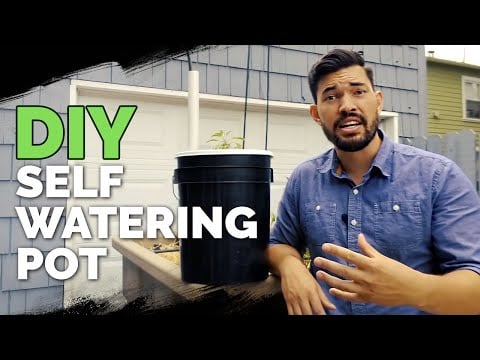
DIY 5 Gallon Self-Watering Planter
The design possibilities for DIY self-watering planters are endless. You can make them out of almost anything, like some 5 gallon paint buckets, reusing old plastic pots, or a more fancy homemade wooden planter with a sealed reservoir below.
As long as you cover the four basic components of a planting container, potting soil, water reservoir, and wicking mechanism, you really can’t go wrong!
Here we’ll cover the most basic example of using two 5 gallon paint buckets, a smaller mixing container, some cloth, a wooden dowel, and a PVC pipe. But this general method can be applied to any materials you plan to use:
Advantages of Using Self-Watering Planters
There are a few major advantages to using self-watering containers, other than the convenience of not having to water your plants every day.
Here we’ll talk about the convince factor, but also a few other key points to consider.
1: Consistent Moisture Without Consistent Effort
Many plants, like tomatoes for example, do not react well to inconsistent watering. Especially during the hottest months of the summer, you might find yourself having to water your plants every single day to keep them moist enough to thrive.
Not only is that a lot of effort, but over or under watering plants is also a concern. The risks of falling behind on watering, or over-saturating your plants, can result in dramatically lowered yields. Luckily, self-watering containers remove any guess-work and minimize this risk.
With a good design some self-watering pots can last a week on a full reservoir, even in 100F+ degree heat. That saves you a lot of time spent watering and helps to guarantee a bountiful yield.
2: Efficient Water Use
Since the water is stored inside of an enclosed reservoir below the soil, it is much more protected from evaporation into the air. Instead, it goes directly to the plants roots where you want it.
Also, when spraying your plants with a hose or using a watering can, lots of water ends up on the leaves or the ground around the container. Pouring watering directly into the enclosed reservoir minimizes water waste.
3: Plant Health and Disease Prevention
Over or under-watering plants are the most common beginner gardener mistakes. Unfortunately, these mistakes can lead to a variety of problems.
Under-watered plants become withered and weak as they are deprived of their ability to maintain cellular structure and conduct photosynthesis. This lowers their immune system, making them much more vulnerable to pests, fungus, and diseases.
Alternatively, over-watered plants suffer a similar fate as well. Soggy, saturated soil will starve the plant of oxygen. It will also act as an ideal habitat for the larva of many insects, as well as mold and fungus.
Some plants, like tomatoes, are even more prone to certain fungal diseases which occur if the leaves get wet.
Another advantage to self-watering planters is that the water is coming from below, protecting the leaves.
Disadvantages of Self-Watering Planters
While the advantages definitely outweigh the disadvantages for using self-watering planters, there are a few downsides of self-watering planters to note.
1: Not Suitable For All Plant Types
Since the whole premise of self-watering planters is consistent soil moisture, it stands to reason that plants who prefer dryer conditions would not thrive in this environment.
This means that drought-tolerant plants like succulents, orchids, cacti, coneflower, and thyme, would not be ideal in a self-watering planter.
For these plants, root rot would become too much of an issue with consistent moisture.
2: Not Suitable In Excessively Rainy Climates
Even with the overflow spout, self-watering planters can become waterlogged in overly rainy or humid conditions.
In these conditions covering the soil, or keeping the plant under a roof might be necessary. Excessive watering of the soil from above will cause it to become too wet.
When this happens, the roots will not be able to remove water fast enough to continue the capillary action. The soil will likely remain oversaturated, rather than consistently moist.
3: Liquid Fertilizers May Cause Salt Buildup
When fertilizing plants in a self-watering pots, it may seem intuitive to use a liquid soluble concentrate in the reservoir. However, this may create an issue with salt buildup inside the reservoir or in the soil.
Flushing out a self-watering planter is especially tricky if there is no overflow spout, like when using them indoors, for example.
However, this problem can be avoided by using slow-release fertilizer pellets on the soil surface, or by using compost or compost tea instead of chemical fertilizer concentrates.
What plants should I grow in a self-watering planter?
Any plant which prefers consistently moist conditions will thrive happily in a self-watering container. In terms of houseplants or ornamental plants, here are some houseplants that will do wonderfully in self watering pots:
The same rule would apply for garden vegetables, some of the best vegetables for self-watering pots are:
What is the best potting mix for a self-watering planter?
The ideal potting mix for a self-watering planter must be a very light and well-draining mix. Anything too heavy or dense is likely to become compacted and starve your plants of oxygen.
You can purchase potting mixes which are specifically made for self-watering planters at most garden centres. If you would like to make your own, the mix would consist of equal parts peat moss, coconut coir, perlite, and finished compost.
Will self-watering planters cause root rot?
Self-watering planters work by only providing water at the rate of which you plant is actually using it. This means that if it has been designed correctly, the system should be in balance and soil should never become over-saturated causing root rot.
However, some plants are more susceptible to root rot than others. Make sure to research the conditions your plant prefers to live in, before deciding to grow it in a self-watering planter.
What if I let the reservoir dry out?
One of the main advantages of self-watering planters is that they are easier for forgetful gardeners to maintain.
However, if you forget for too long and the reservoir dries out, the wicking system will dry out as well. When this happens, it will not work again once you refill the reservoir.
Luckily, the solution to this issue is simple. If the reservoir dries out, you just have to start over as if it was the first time. Fill the reservoir up and water the plant in thoroughly from the top. This will provide the even soil moisture needed to start the capillary action over again.
Conclusion
Self-watering planters are a convenient and efficient gardening solution for first-time gardeners, or busy experienced gardeners alike.
The provide peace of mind on the hottest days of summer, while allowing your plants to thrive in consistently moist conditions.
Whether you’re buying a commercial self-watering planter, or making one at home as a fun and simple DIY project, they will make a wonderful addition to your gardening space.

Written By
Amber Noyes
Amber Noyes was born and raised in a suburban California town, San Mateo. She holds a master’s degree in horticulture from the University of California as well as a BS in Biology from the University of San Francisco. With experience working on an organic farm, water conservation research, farmers’ markets, and plant nursery, she understands what makes plants thrive and how we can better understand the connection between microclimate and plant health. When she’s not on the land, Amber loves informing people of new ideas/things related to gardening, especially organic gardening, houseplants, and growing plants in a small space.

