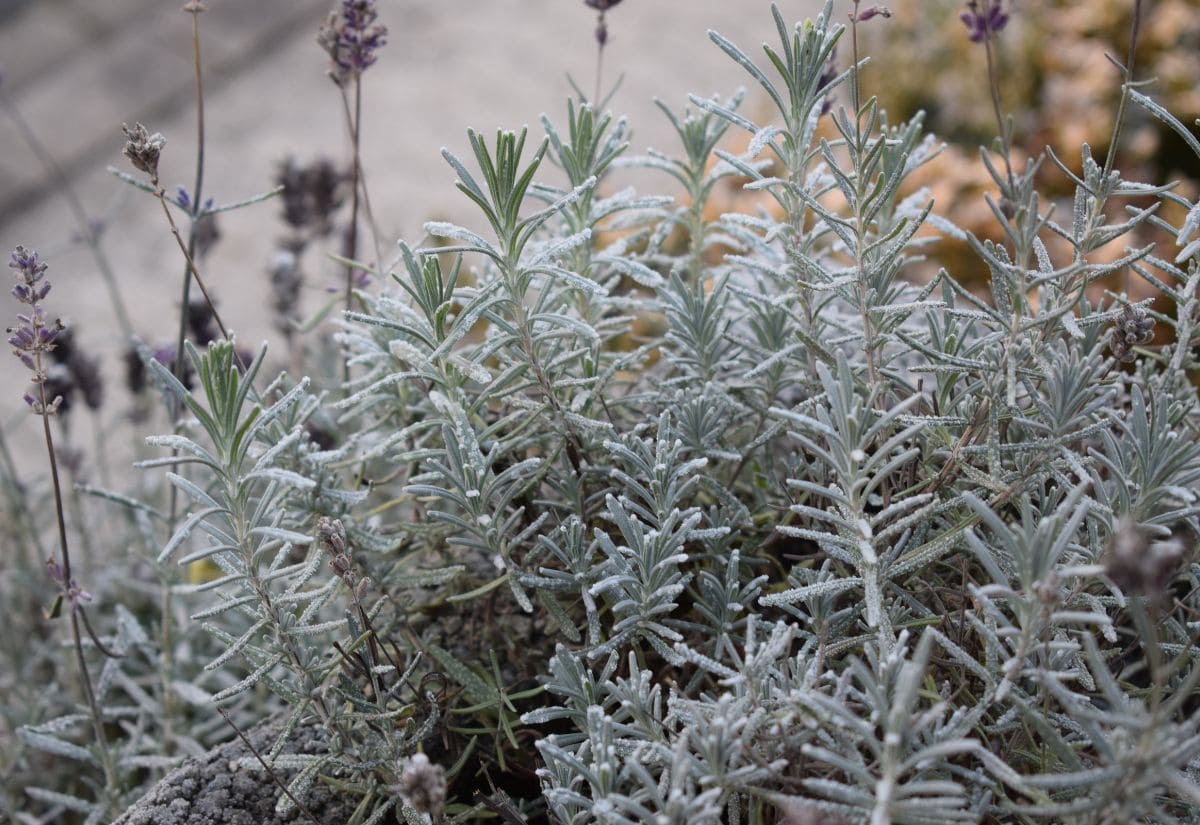
Lavender, native to the sunny, hot, and dry regions of the Mediterranean, Middle East, and India, can be a bit tricky to maintain through the colder winter months, where temperatures drop below freezing. However, it’s not all bleak; this drought-tolerant plant can brave quite the chill, enduring temperatures as low as -15° to -20°C.
However, it’s worth noting that some varieties, such as the butterfly lavender (Lavandula stoechas) and French lavender (Lavandula dentata), might not fare as well, might need extra care to survive the winter in colder zones.
With winter just around the corner, now’s the perfect time to start preparing your precious lavender shrubs for the cold and wet conditions ahead, particularly if they’ve been left exposed or weakened from not receiving the right care in fall.
Lavender plants naturally go dormant in winter. To shield your lavender from harsh winter elements—even in regions where cold snaps, heavy rainfall, and strong winds are rare—it’s crucial to prepare them for the colder months ahead.
Don’t worry – overwintering lavender isn’t a complex process. With just a bit of extra care during the winter days, come spring, your lavender will be in prime condition, robust and ready to burst into a dazzling bloom.
To guide you through this process, I’ve put together filled with tips on overwintering your lavender, ensuring it gets the proper care it needs to not only survive the winter but also thrive in the seasons to follow.
Not All Types of Lavender Need the Same Winter Protection
Lavender has many species, and some are more cold hardy, others are soft, so, it really depends on the USDA zone you grow your Lavandula shrubs in.
The species that most withstand low temperatures is also the most fragrant, English lavender, or Lavandula angustifolia, and the hybrid lavandin (Lavandula x intermedia), both hardy to USDA zone 5. Typically, these varieties can overwinter outdoors without needing additional protection, maintaining their perennial nature.
Next, we have small Spanish, or butterfly lavender(Lavandula stoechas), with showy blossoms and hardy to USDA zone 6.
But French lavender (Lavandula dentata) is quite tender, and only cold hardy to USDA zone 8. The hybrid giant lavender (Lavandula x allardii) is even more tender, and only suitable for USDA zones 9 and above…
So, The need to winterize your lavender will depend on both your USDA zone and the variety of your shrubs.
Regardless of the variety, I always winterize my lavender, even in zones where they are considered hardy. Take English lavender (Lavandula angustifolia) for instance.
If you’ve got it in a zone 5 or 6 garden, giving it a bit of extra TLC during winter is key. The weather’s getting wilder, and the winds can be pretty harsh.
So, a little winter protection goes a long way in keeping your plants hale and hearty.
When Should You Start Overwintering your lavender?
Winterizing lavender is different from other plants and shrubs, because you may need to start well in advance! Even if they are in excellent growing conditions, with dry and well drained soil, you must start at least 6 weeks before the first day of frost, and this process may continue till about the time when temperatures drop to 0oC (or 32oF).
But if your soil has poor, or even less than perfect drainage, you will need to start winterizing your fragrant lavender months ahead, I would suggest in late summer, or after they have bloomed.
All this will become clear right now, when we look at the what you need to do to prepare your lavender shrubs for winter.
5 Ways to Winterize Your Lavender Shrubs to Protect Them From Cold and Wet Winters
You can invent your own methods to protect your bushy lavender in winter, and the aim is to shelter them from cold and wet weather. But there are 5 tried and tested methods I have used for decades, and here they are.
1: Improve Soil Drainage to Protect Your Lavender’s Roots From Wet Winters!
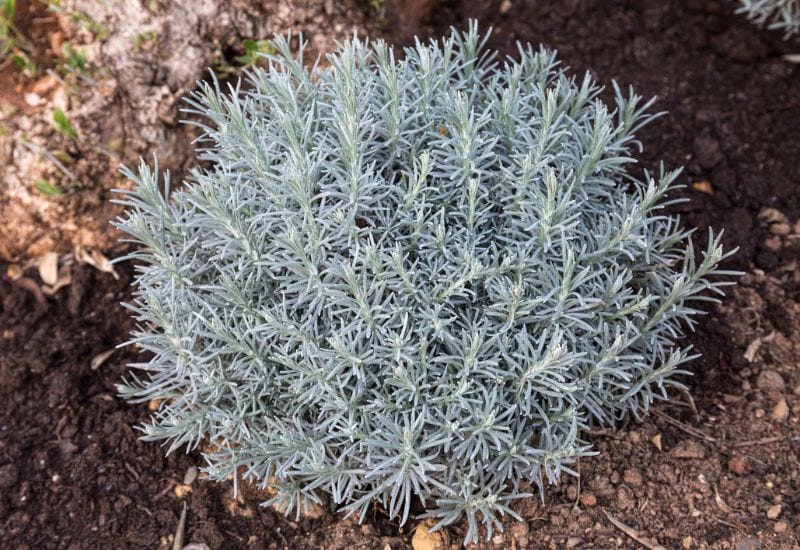
If the roots of your lavender don’t grow in perfectly drained soil, you will have to improve it, otherwise the roots will be wet during the winter months, and water can turn to ice, ruining them or even killing them!
Of course, all lavender varieties need excellent drainage all year round, so, this is not just for winters. However, if your soil isn’t naturally or permanently well-drained, it might become more prone to retaining moisture as the seasons change.
To prevent this, I prefer planting my lavender in open areas, free from falling leaves from deciduous plants, trees, and other shrubs, as these can contribute to the soil retaining more moisture. Of course, I understand that not everyone has the luxury of choosing their planting locations.
As soon as you notice that the soil’s drainage has worsened, (and it may be in summer!) add lots of coarse sand, and allow it to penetrate underground ahead of winter, which can take weeks, even up to a month! If your soil’s drainage is poor because it is clayish, then add gypsum as well, because sand alone will not improve its draining abilities.
I also find that aerating the soil can help, and I use a broadfork to do it – it is quite a pleasant job, and easier than digging or hoeing…
Even if the soil’s drainage is average, but I know the area has very wet winters, I still like to improve it well ahead of winter, even in early fall.
2: Prune Your Lavender in the Late Fall to Keep It Strong During Harsh Winters!
I prune lavender in late summer or early fall, once they’ve finished their blooming season. This not only reduces their size but also bolsters their strength, preparing them to face the harsh winter weather ahead. I’d recommend you do the same to ensure your lavender is winter-ready.
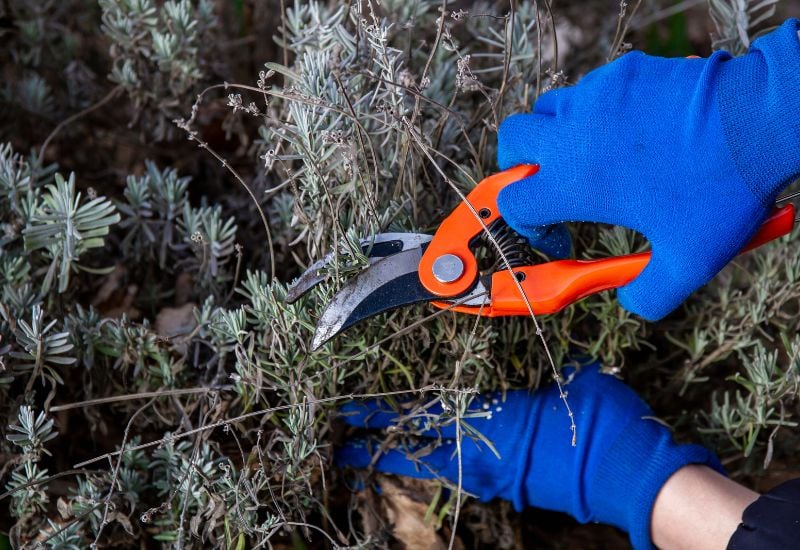
And yes, It’s crucial to note, however, that pruning lavender right before winter sets in is a no-go. Your shrubs need a minimum of six weeks to heal and fortify before the first frost hits. And here is a quick guide on how to do it.
- Take some sharp secateurs and disinfect them. I also wear long gardening gloves, because lavender branches can be quite scratchy!
- First, cut off all the flower stems, that stick out from your lavender shrubs.
- Next, cut back all the new growth to 2 to 3 inches from the woody parts (5.0 to 7.5 cm).
- I suggest you are very particular about lower branches, because they can catch diseases in wet and cold winters, being close to the soil. Also, they stop ventilation.
- To winterize lavender, I also cut all leggy woody branches at the base of the shrub, near the soil, for the same reason.
- While you are at it, give your lavender shrubs a pleasant, dome or cushion shape.
Of course, pruning lavender has many more skills and aspects overall, but this is what you need to make sure that your fragrant shrubs are healthy and strong enough to withstand the winter climate. But, remember, do it at least 6 weeks before frost! The earlier the better (even just after flowering, or when you harvest its blossoms).
3: Apply a Layer of Mulch Around the Base of Your Lavender Shrubs
On the other hand, you can take it easy with mulching your lavender shrubs to protect them from cold and wet winters. You can do this up to the first day of frost, but I usually prefer to do it when I prune them. Just to do everything at a time.
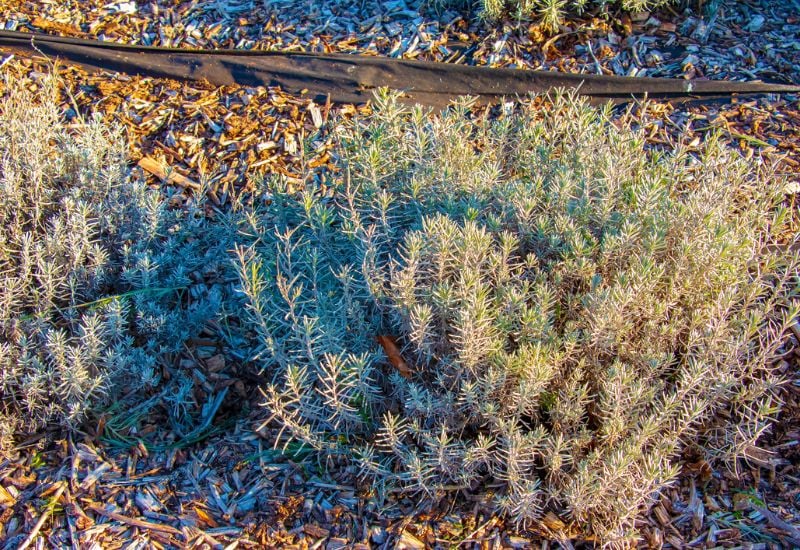
Lay at least 2 inches (5.0 cm) and up to 4 inches (10 cm) of good quality mulch, like wood bark, or straw, making sure you reach the base of the shrubs, and cover all the area where they had spread when in bloom.
I wouldn’t compost lavender in fall; it won’t need it, and it is a shrub that survives on very little in terms of nutrients. What’s more, it withholds humidity, so composting Lavandula shrubs before winter can cause more damage than good!
4: Cover Lavender Plant to Keep Them Warm During Winter
If I expect a very harsh winter, I also like to cover my lavender to protect them from wind and freezing temperatures, and once you have pruned them properly, it is easier and cheaper to do it.
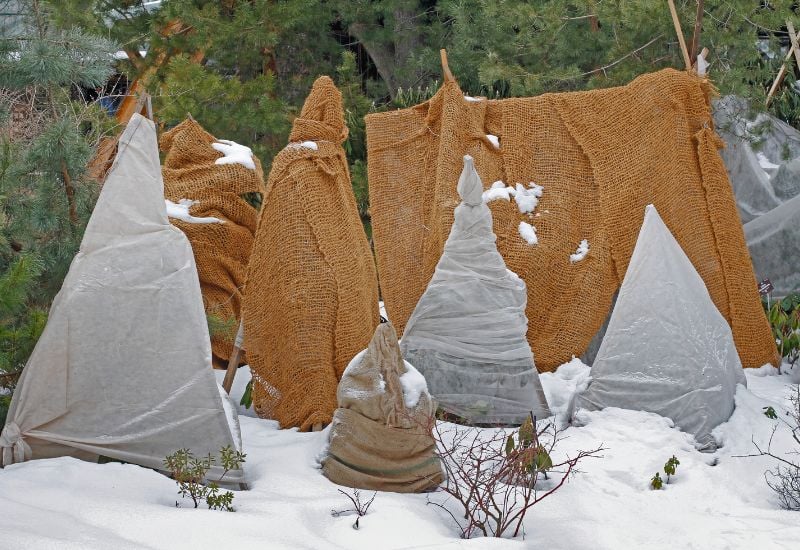
However, to cover your lavender for winter, you should wait till about the first day of frost, because the more they stay in the open air, the healthier they are.
And I also suggest you give your lavender a good spraying of neem oil, which will protect them from fungi and molds (and also parasites) which can thrive in the warm and enclosed environment of plant covers. Mix a teaspoon of neem oil in a one liter spray bottle, and make sure you reach the inner parts of the shrubs, which are quite hidden under the dense foliage and branches.
You can buy a breathable fabric cover, which look like tunnels, or igloo tents, but make sure it is at leas 12 inches (30 cm) larger and taller than your sweet smelling flowering shrub; it needs air and space. Most have windows for ventilation, which you should open during the day when it is mild.
If you find molds and fungi, again, use a neem oil and water solution to get rid of them.
Otherwise, you can make your own, with cellophane and posts or sticks, like bamboo etc. But make sure you place lots of holes in them, to allow your lavender to breathe. Finally, check them regularly for infections and pests, once a week, and make sure you look closely at the inner parts of the shrubs, at the base, and central branches, because that’s where most fungi, molds and other infections find fertile ground to grow!
Also, I would advise you to cover young lavender shrubs even if you don’t expect a very cold winter, because they are more tender than adults.
5: Move Potted Lavender Indoors to Shelter the Shrubs
For container-grown lavender, particularly smaller varieties such as Lavandula stoechas, moving them indoors or to a bright, warmer yet cool space—like a cold greenhouse or conservatory—is the optimal way to safeguard them.
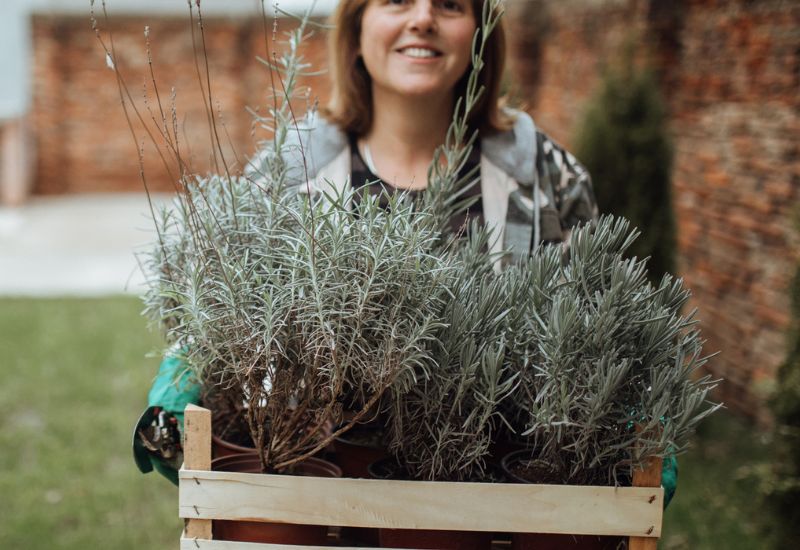
Maintain a temperature range of 45o and 65oF (or 7o to 18oC) throughout day and night. While keeping your lavender adequately hydrated is crucial, cut back significantly on watering; it’s safe to water again once the soil has completely dried out.
Depending on the climate and on the variety, even one of those little and cheap plastic greenhouses you can buy flat packed in most garden centers and online will be fine.
However, for potted lavender plants, you need to be more careful. I would definitely winterize them in a sheltered place even within their hardiness zones. Remember, the cold can be sneaky and penetrate through the pot walls, making it much chillier than it is in the ground.
For instance:
- Lavandula angustifolia and Lavandula x intermedia, hardy to USDA zone 5, should be sheltered in zones 5 and 6 when potted.
- Lavandula stoechas, hardy to zone 6, needs indoor protection in zones 6 and 7.
- Lavandula dentata, hardy to zone 8, should be moved to protection in zones 8 and 9.
- Lavandula x allardii requires shelter in zone 9, but not in zone 10, where freezing is not a concern.
When To Stop Winterizing Your Lavender
Of course, you will uncover your shrubs (if you have covered them) or move potted plants outdoors once winter is over, but to be safe, I suggest you make sure that temperatures are steadily above 0oC (or 32oF).
For all the rest, you don’t need to do anything at all, leave the mulch, while maybe you want to improve soil drainage again in spring, because wet winters can draw away sand, especially if you get strong and torrential rains.
And finally…
What Not To Do To Winterize Lavender Shrubs
Once you have winterized your lavender shrubs, you can basically leave them alone, but there are two things to avoid:
- Do not compost lavender when you winterize them, or during winter.
- Do not water lavender while you are winterizing them.
And this is all you need to make sure that your lavender shrubs survive cold, wet and harsh winters, and come back strong and packed with fragrant blooms next year!
So, winterizing lavender to protect them from the harsh days of winter is a long process, that starts months ahead in some cases, and at least 6 weeks ahead even if your soil is very well drained. But if you are a bit late, don’t worry, act as fast as you can, and your shrubs should be safe enough to come back strong and healthy next year!

Written By
Amber Noyes
Amber Noyes was born and raised in a suburban California town, San Mateo. She holds a master’s degree in horticulture from the University of California as well as a BS in Biology from the University of San Francisco. With experience working on an organic farm, water conservation research, farmers’ markets, and plant nursery, she understands what makes plants thrive and how we can better understand the connection between microclimate and plant health. When she’s not on the land, Amber loves informing people of new ideas/things related to gardening, especially organic gardening, houseplants, and growing plants in a small space.
