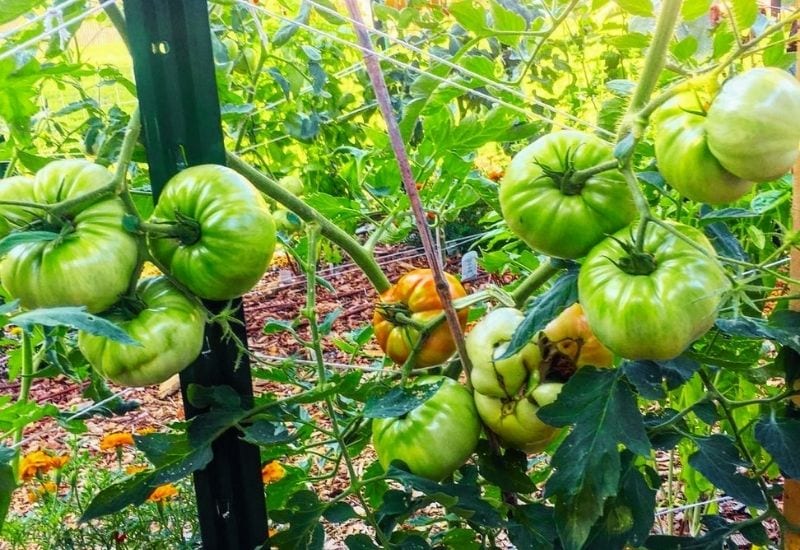
Who doesn’t love big, juicy Beefmaster tomatoes? Beefmaster hybrids is a large tomato variety, typically around two pounds each, and they can be used as a delicious slicing tomato, but you also can use it for tomato sauce. That’s reason enough to learn how to grow Beefmaster tomatoes.
If you’ve successfully grown any tomatoes in your garden, you can grow Beefmaster tomatoes with no problem.
Beefmasters are an excellent addition to your garden. Whether you want a good canning tomato or one that you can slice for delicious BLT sandwiches, Beefmaster tomatoes will be precisely what you want.
Let’s take a look at what you need to know about growing these tomatoes in your garden.
All About Beefmaster Tomatoes
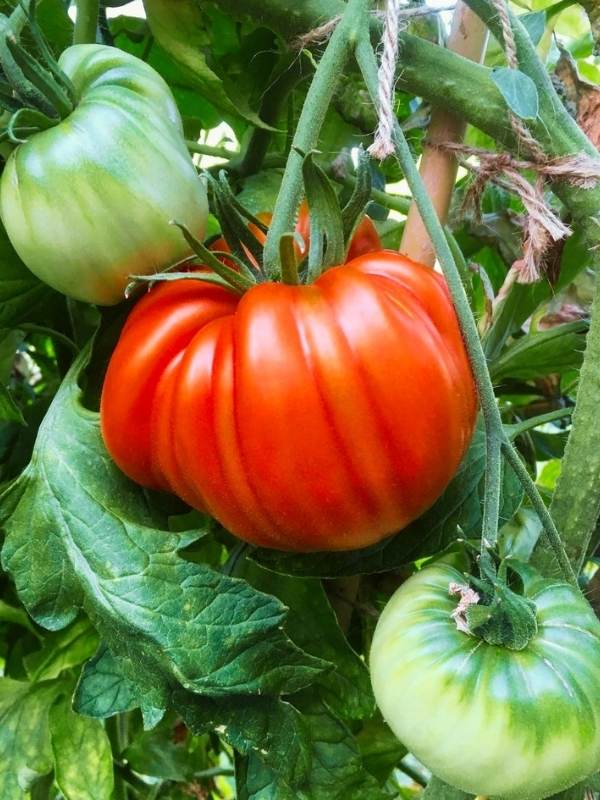
Beefmaster tomatoes are a hybrid tomato created to produce large, meaty, and disease-resistant tomatoes. They’re categorized as F1 hybrid tomatoes, but what does that mean?
F1 tomatoes are a cross between two “pure” tomatoes, assuming that these first-generation hybrids will be more productive with larger yields. However, saving seeds will result in fruits that don’t look like what you expected, or since they’re hybrid, many produce sterile seeds.
So what makes Beefmaster tomatoes so unique? Here are some reasons why gardeners love to include them each year.
How to Grow Beefmaster Tomatoes in Your Garden
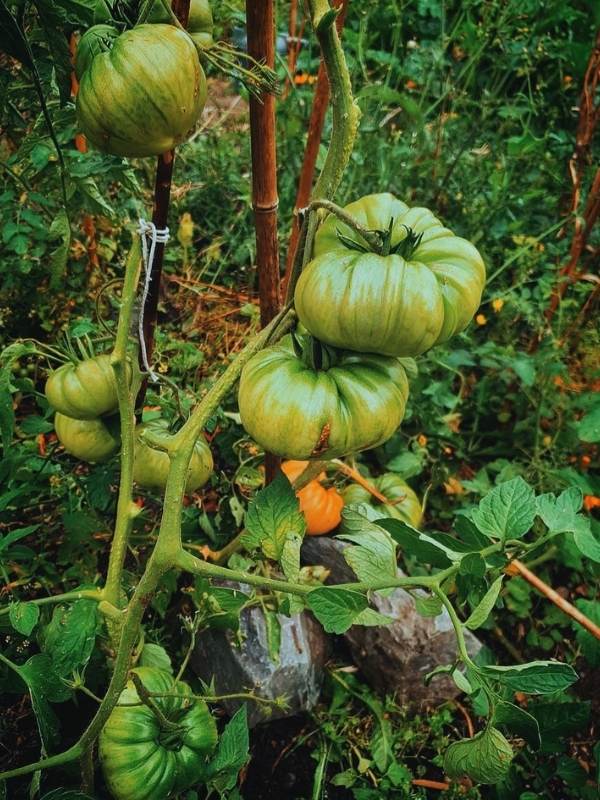
Luckily, if you’ve grown tomatoes in your garden, then you’ll be able to grow Beefmasters in your garden successfully. Here is what you need to know.
1. Pick The Right Spot In Your Garden
Like most tomato plants, Beefmasters need full sunlight to have a productive yield. That means the spot you select needs to receive six to eight hours of sunlight each day.
When you’re picking a spot, you often do so in the spring. Look around you and see if you notice anything that might cast shade in the summer months.
An example would be a tall tree that isn’t full of leaves in the spring, but it will be in the spring.
2. Get The Soil Right
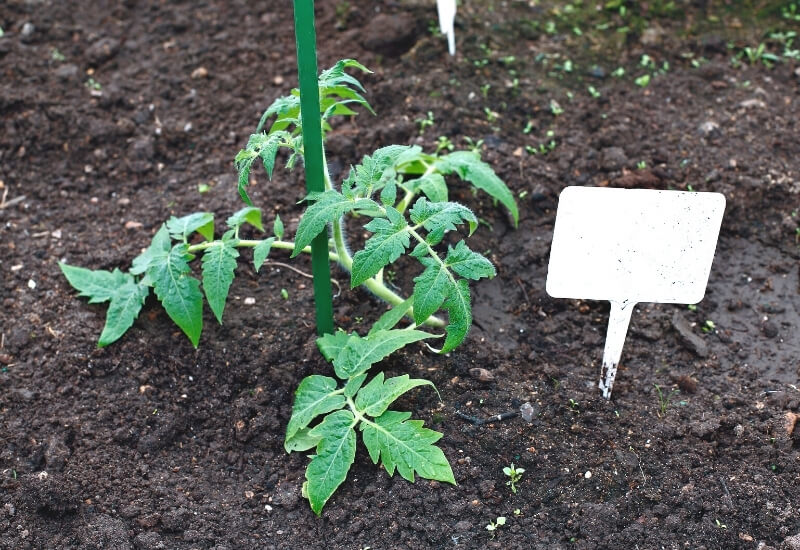
You only have one chance to get soil right for planting, so take your time to do this properly. Tomatoes are heavy feeders, so your soil needs to be nutrient-dense.
It also needs to be well-draining because tomato plants don’t like to have soggy, wet feet; that leads to root rot.
3. Start Seedlings Inside (Or Buy Seedlings)
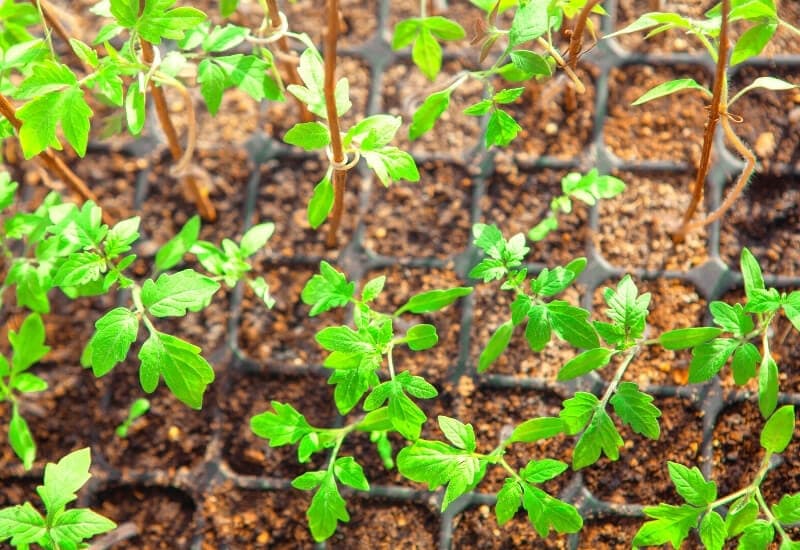
If you can find Beefmaster tomatoes at your local garden center, you can buy seedlings there, but another option (that is cheaper) is to start seedlings inside.
Starting seeds indoors is always less expensive; for the price of one seedling at the store, you can start over a dozen plants inside.
4. Know When To Plant Beefmaster Tomatoes Outside
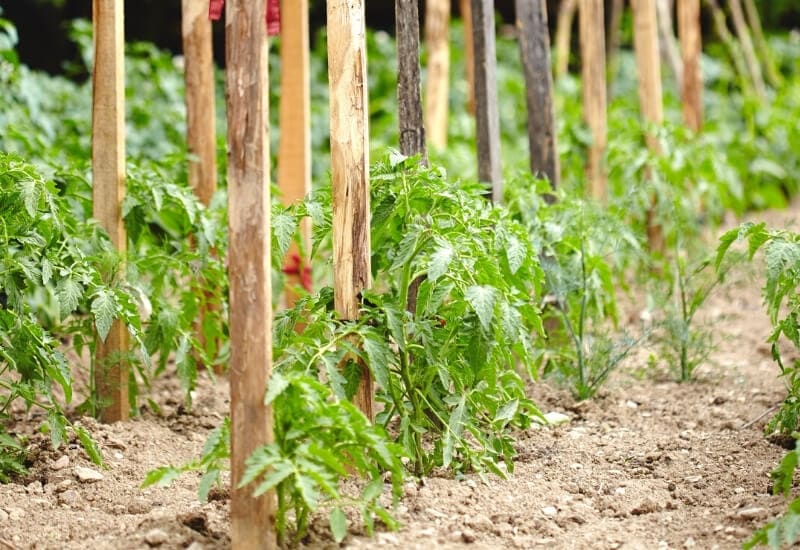
Tomato plants aren’t frost-friendly, so the best time to plant Beefmaster tomatoes is after the last frost date in your area.
Pay attention to the weather; a rogue frost happens. Make sure the risk of frost is gone before you plant.
5. Harden Seedlings Off
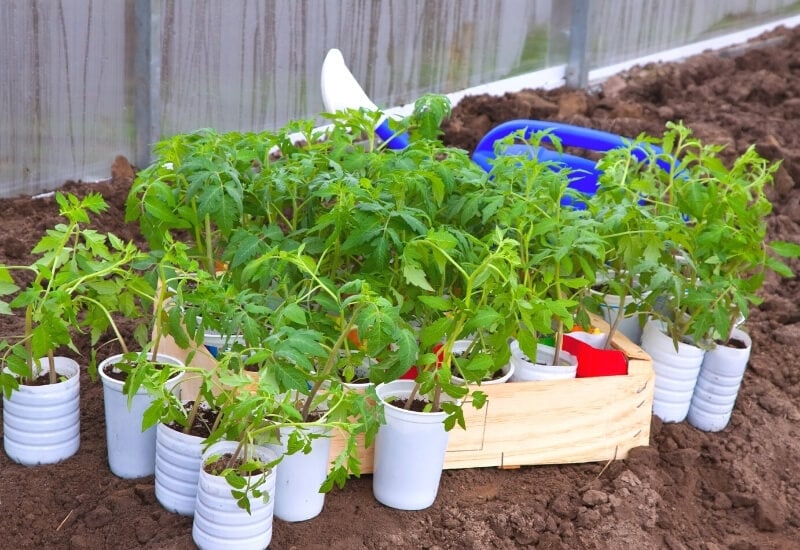
Make sure to harden the seedlings off properly. If you don’t, all of your hard work starting and maintaining the seedlings inside will be for nothing. This is a crucial step.
6. Plant The Tomatoes Outside
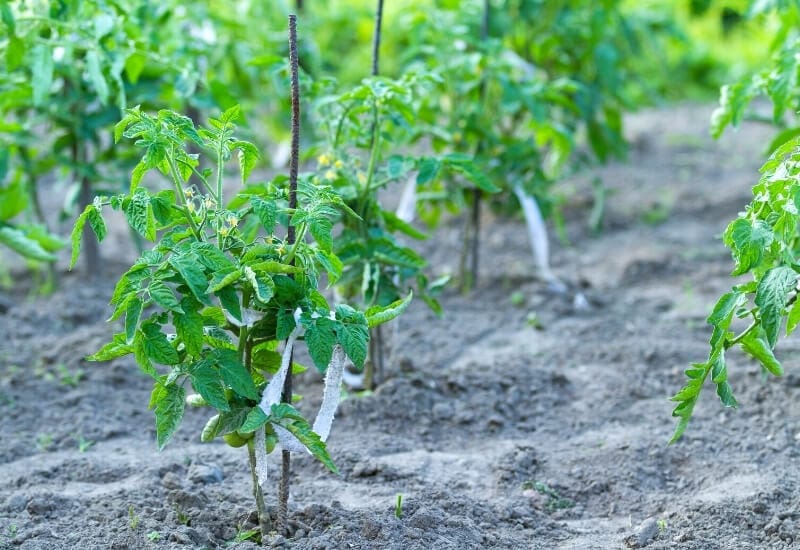
Once you harden off the seedling, it’s time to plant them outside. Remember that these plants are large, so they need proper spacing.
At first, it might seem like the plants are spaced too far apart when you set out these small seedlings, but they do need space to grow.
Caring for Beefmaster Tomatoes
Taking care of this variety of tomatoes is just as easy as others. Here is what you need to remember.
1. Stake Your Plants
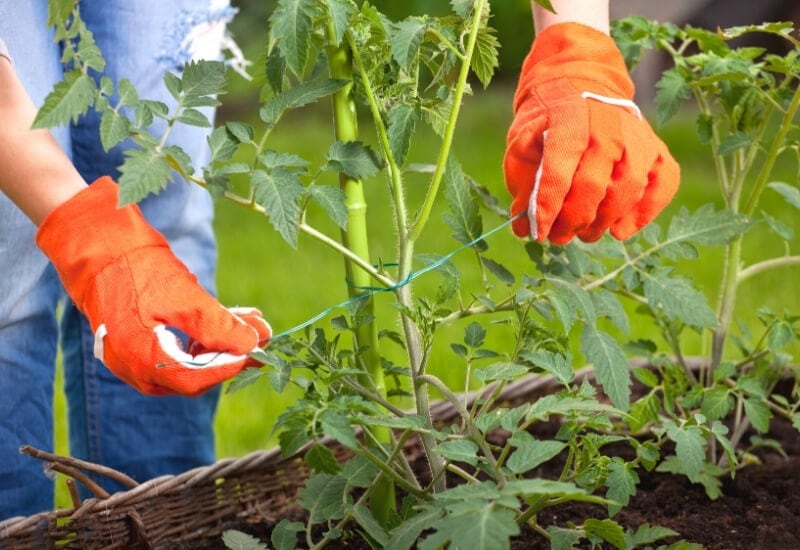
This is NOT optional when growing Beefmasters. As mentioned before, these tomato plants can reach up to ten feet tall, but the stems cannot hold up the plant and fruit without support. You have to provide support.
2. Have A Consistent Watering Schedule
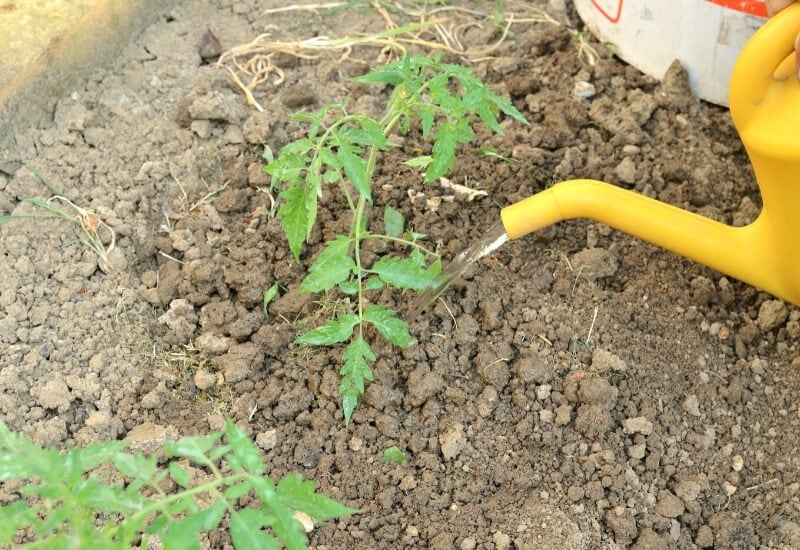
You need to keep the soil moist consistently. Inconsistent watering can cause problems for your plants.
The roots won’t absorb the calcium required for fruiting, resulting in blossom end rot. That will crack and ruin your fruits, so keep your plants moist consistently.
3. Mulch Around The Plants
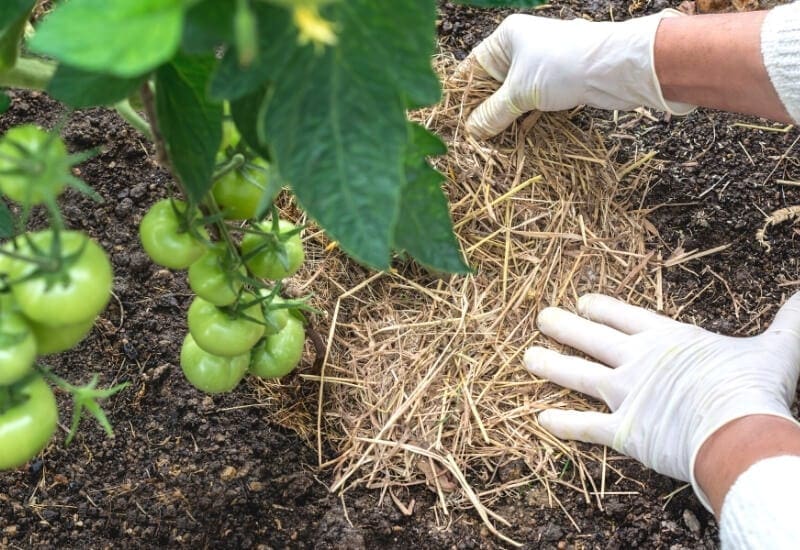
Since consistent moisture is a big deal for tomato plants, mulching makes sense. Using an organic mulch has several benefits, such as:
So, make sure to spread organic mulch around the base of your plants, keeping the mulch two to three inches away from the bottom of your tomatoes.
4. Fertilize Throughout The Growing Season
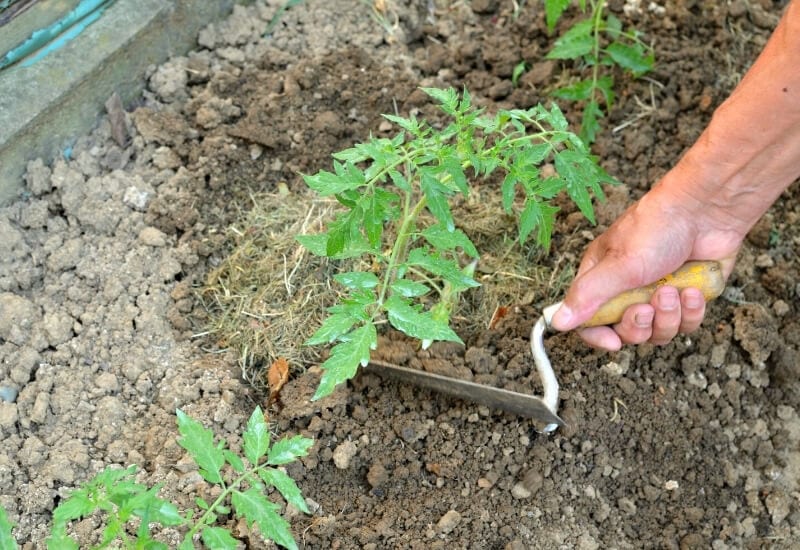
As mentioned before, tomatoes are heavy feeders, so you need to fertilize your Beefmaster tomato plants throughout the growing season.
Ideally, you added plenty of compost to the soil before planting, so your plants have plenty of nutrients for the initial growing period.
Harvesting Beefmaster Tomatoes
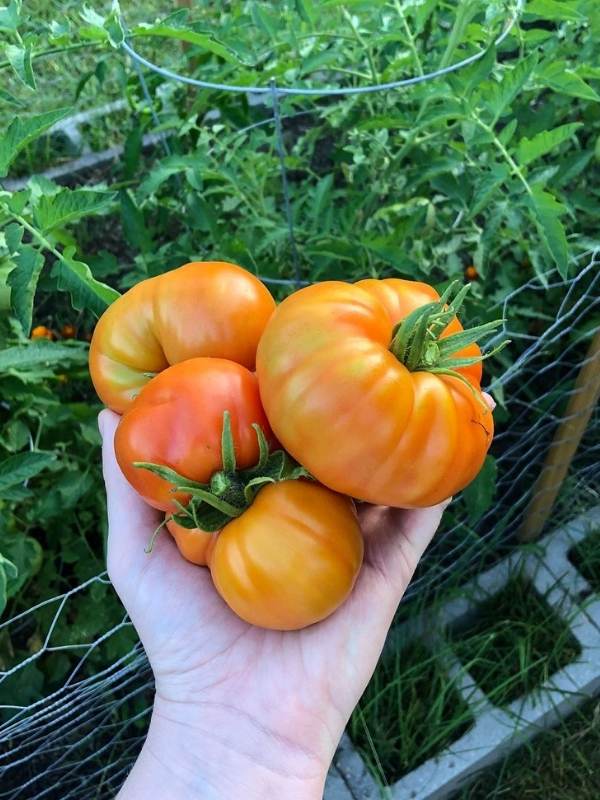
Since these are indeterminate tomatoes, they ripen over a long period, so you need to check your garden to pick the ripe ones regularly.
Look for a perfectly ripe tomato that is the right, deep color. It should feel firm when you squeeze it; remember, tomatoes ripen after being picked off your plant.
When you harvest, grab the tomatoes and twist until the tomato comes free from the stem. The other solution is to use a clean pair of pruners or clippers. Make sure to cut the stems close to the fruit.
It’s best not to refrigerate your Beefmaster tomatoes after harvesting because the temperatures will cause flavor compounds to break down.
Beefmasters store at room temperature in a cool, dark location. You also can store the fruits outside in a shady place.
Common Pests & Diseases That Bother Beefmaster Tomatoes
Since Beefmasters are an F1 hybrid tomato, they resist most of the major problems that other tomato plants encounter, but that doesn’t mean they won’t have any diseases. Here are a few to watch out for during your growing season.
Early & Late Blight
Since Beefmasters are resistant to most major diseases, the two you need to remember the best are early and late blight. Despite both being a form of blight, they aren’t the same. You should know the difference.
Alternaria solani is the fungus that causes early blight. It’s a widespread disease that attacks the old, vulnerable, lower leaves first, and it gradually moves up the plant. You’ll notice small, dark, irregularly shaped lesions that slowly turn into large rings.
Early blight rarely kills your plants, but it will dramatically decrease the yield amount. The best solution is to work towards prevention; space your plants appropriately to ensure there is plenty of air circulation.
Phytophthora is the fungus that causes late blight, and it’s a lot more severe than early blight. You can spot late blight because it creates wet, greasy-looking grey spots to brown, typically nickel-sized. At the same time, you’ll find a white, fuzzy fungal growth on the leaves’ undersides.
Late blight not only bothers your plants, but it also infects the fruits. You’ll find dark-colored lesions on the fruits, making them inedible.
Late blight spreads rapidly, and it’s one of the most destructive diseases. It can kill your mature plant in a week; there is nothing you can do. The best route is to remove the plant, putting it in the trash, or burning it.
Flea Beetles
Here is a severe problem that can cause issues for your tomato plants. Flea beetles look similar to fleas because they are the same size and jump just like a flea.
The primary issue is that flea beetles attack your plants everywhere. Adult flea beetles eat the foliage, so you’ll find thousands of small holes all over your leaves. At the same time, the larvae feed on the roots of the plants.
Worse of all, flea beetles don’t just go after tomato plants; they like all plants. So, nothing is safe; once one is infected, you can expect your entire garden to become infested over time.
So, what can you do if you find your plants infested with flea beetles?
Hornworms
One of the most notorious tomato pests is the large hornworms. These destructive caterpillars are large, especially for insects in the pest category. Hornworms measure three inches long, so you can easily pick them off as you find them.
Despite the size, picking them off can be problematic because they’re a pale green color that blends well into the tomato plants. The juvenile stages are even harder to find on your tomato plants.
If you find hornworms, make sure you pick as many off of the plants as possible. After that, you can use BT, or Bacillus thuringiensis, an organic treatment that will take care of the problem.
Cutworms
These little pests look similar to grubs, but they aren’t; they’re immature caterpillars that love to eat the stems of young plants at night. Cutworms are a serious problem because they can destroy a seedling in an entire night, cutting it right off at ground level.
The best thing that you can do is create little collars around your plants’ stems. Collars can be made out of paper, cardboard, or aluminum foil. Make it four inches long with one inch being sunk into the ground and three inches above the ground.
Try Growing Beefmaster Tomatoes

Beefmaster tomatoes are an excellent cultivar to add to your garden. These large tomatoes can be used for canning or fresh eating, and best of all, learning how to grow Beefmaster tomatoes is just as easy as any other tomato variety. Give them a try this year!

Written By
Amber Noyes
Amber Noyes was born and raised in a suburban California town, San Mateo. She holds a master’s degree in horticulture from the University of California as well as a BS in Biology from the University of San Francisco. With experience working on an organic farm, water conservation research, farmers’ markets, and plant nursery, she understands what makes plants thrive and how we can better understand the connection between microclimate and plant health. When she’s not on the land, Amber loves informing people of new ideas/things related to gardening, especially organic gardening, houseplants, and growing plants in a small space.
